2002 NISSAN QUEST CD player
[x] Cancel search: CD playerPage 174 of 294
position and carefully insert the compact
disc into the slot with the label side up. The
compact disc is automatically pulled into the
slot and starts to play.
If the radio or cassette tape is already
operating, it automatically turns off and the
compact disc begins to play.
CAUTION
Do not force the compact disc into the
slot. This could damage the player.
TAPE/CD
When the CD side of the TAPE/CD button is
pushed with the compact disc loaded and
the tape or the radio playing, the tape or
radio turns off and the compact disc starts to
play.
FF (Fast Forward), REW (Rewind)
When the FF or REW button is pushed
while the compact disc is playing, the com-
pact disc plays at an increased speed while
fast forwarding or rewinding. When the but-
ton is released, the compact disc returns to
normal play speed.SEEK
or
When the SEEKbutton is pushed while the
compact disc is playing, the next selection
following the present one starts to play from
the beginning. Push the SEEK
button sev-
eral times to skip several selections. Each
time the button is pushed, the CD advances
one additional selection. The number appears
in the display window. (When the last selec-
tion on the compact disc is skipped, the first
selection is played.)
When the SEEKbutton is pushed, the se-
lection being played returns to the beginning.
Push the SEEK
button several times to skip
back several selections. Each time the button
is pushed, the CD moves back one selection.
SHUFFLE
When the SHUFFLE button is pressed the
tracks on the CD are played at random, not
following the sequence on the compact disc.
The same program may be repeated twice.
CD EJECT
When the EJ button is pushed with a com-
pact disc loaded, the compact disc ejects.
When the EJ button is pushed while the
compact disc is playing, the disc ejects and
the system turns off.If the compact disc ejects and is not re-
moved within 10 seconds, it is pulled back
into the slot.
DISC indicator light
DISC illuminates when a compact disc is
loaded into the player.
Heater, air conditioner and audio systems
4-31
ZX
Page 175 of 294
COMPACT DISC (CD) PLAYER
(if so equipped)
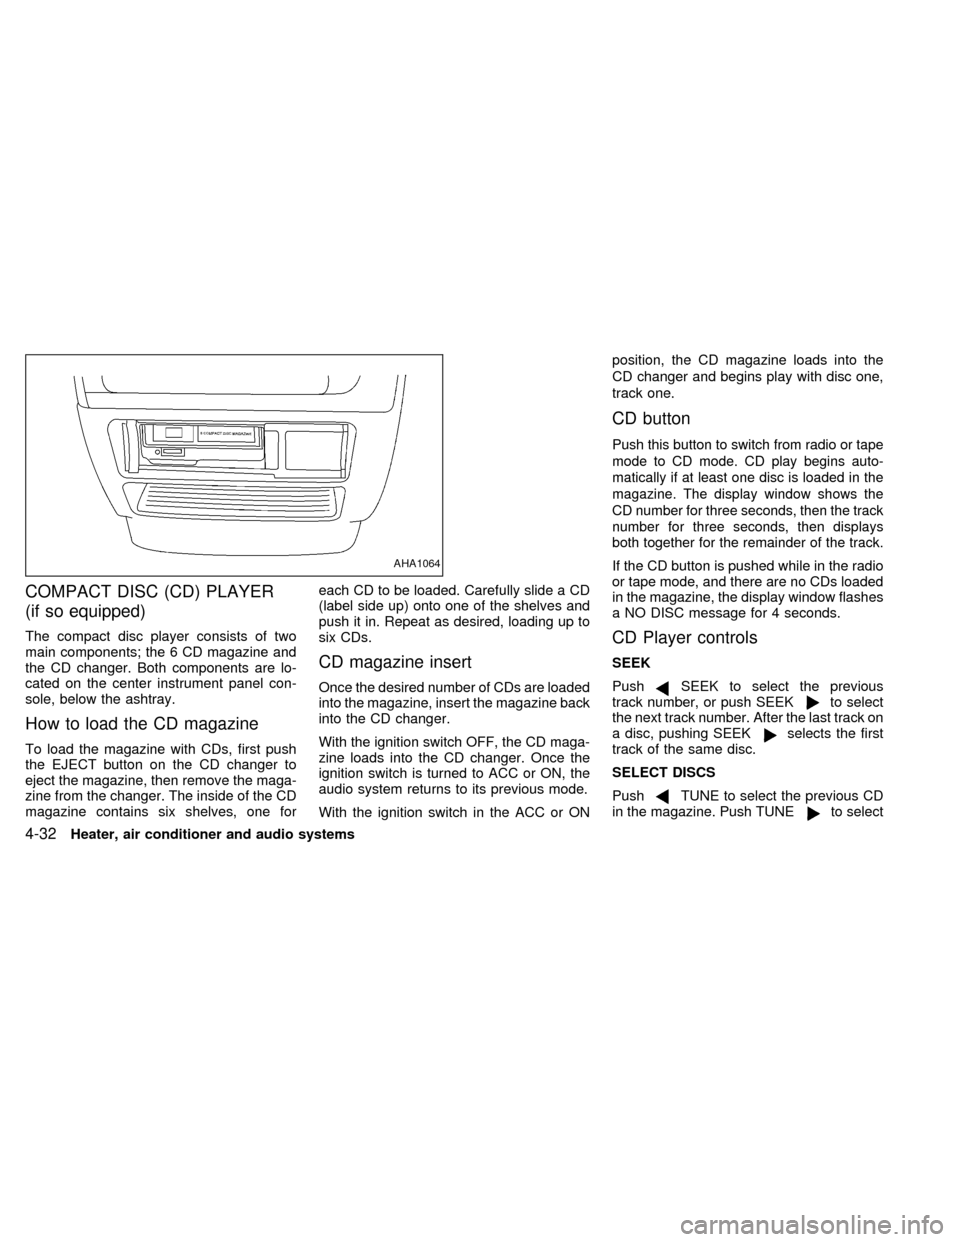
The compact disc player consists of two
main components; the 6 CD magazine and
the CD changer. Both components are lo-
cated on the center instrument panel con-
sole, below the ashtray.
How to load the CD magazine
To load the magazine with CDs, first push
the EJECT button on the CD changer to
eject the magazine, then remove the maga-
zine from the changer. The inside of the CD
magazine contains six shelves, one foreach CD to be loaded. Carefully slide a CD
(label side up) onto one of the shelves and
push it in. Repeat as desired, loading up to
six CDs.
CD magazine insert
Once the desired number of CDs are loaded
into the magazine, insert the magazine back
into the CD changer.
With the ignition switch OFF, the CD maga-
zine loads into the CD changer. Once the
ignition switch is turned to ACC or ON, the
audio system returns to its previous mode.
With the ignition switch in the ACC or ONposition, the CD magazine loads into the
CD changer and begins play with disc one,
track one.
CD button
Push this button to switch from radio or tape
mode to CD mode. CD play begins auto-
matically if at least one disc is loaded in the
magazine. The display window shows the
CD number for three seconds, then the track
number for three seconds, then displays
both together for the remainder of the track.
If the CD button is pushed while in the radio
or tape mode, and there are no CDs loaded
in the magazine, the display window flashes
a NO DISC message for 4 seconds.
CD Player controls
SEEK
Push
SEEK to select the previous
track number, or push SEEKto select
the next track number. After the last track on
a disc, pushing SEEK
selects the first
track of the same disc.
SELECT DISCS
Push
TUNE to select the previous CD
in the magazine. Push TUNEto select
AHA1064
4-32Heater, air conditioner and audio systems
ZX
Page 178 of 294
REAR AUDIO CONTROLS (if so
equipped)
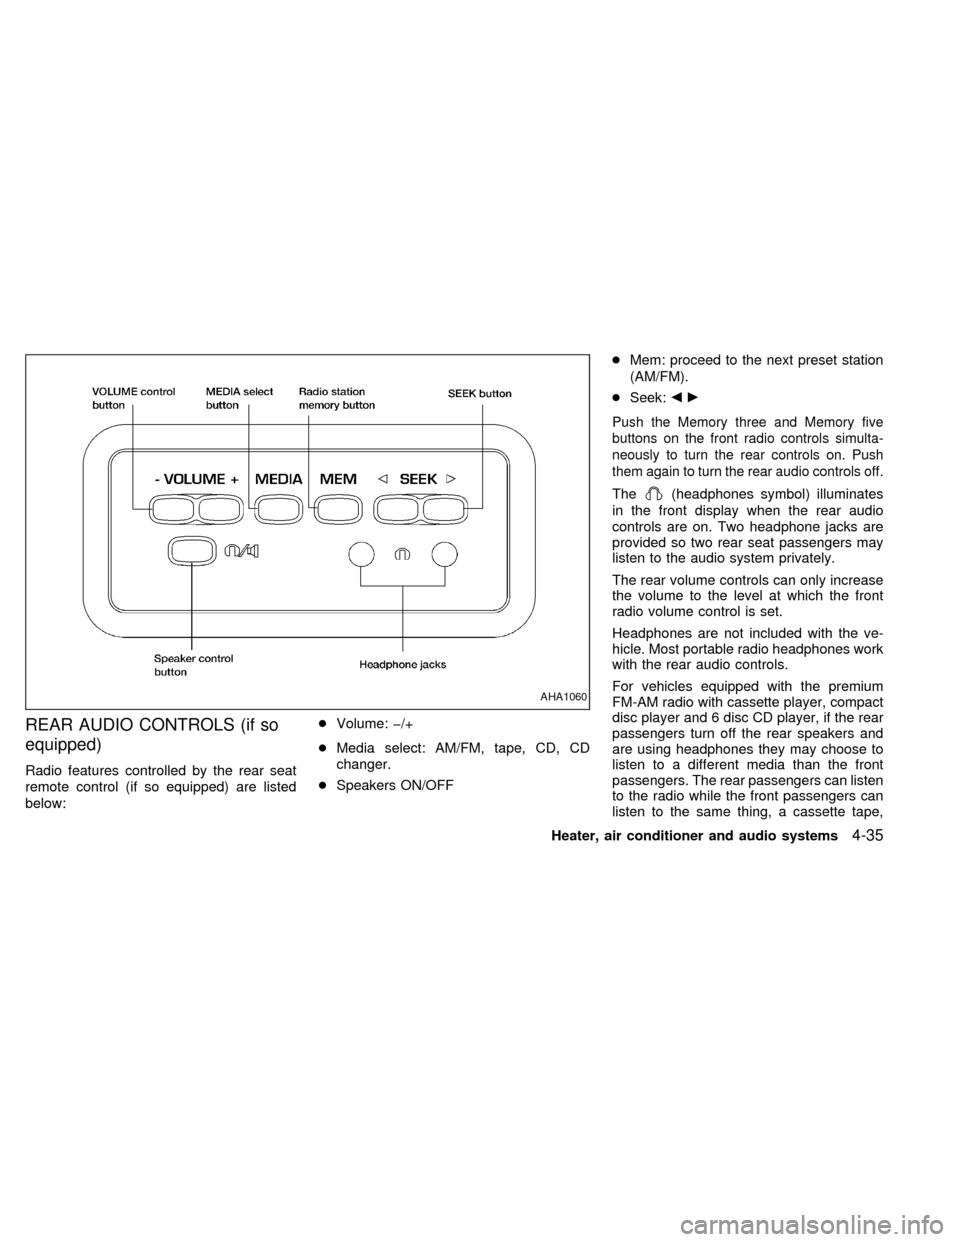
Radio features controlled by the rear seat
remote control (if so equipped) are listed
below:cVolume: þ/+
cMedia select: AM/FM, tape, CD, CD
changer.
cSpeakers ON/OFFcMem: proceed to the next preset station
(AM/FM).
cSeek:bc
Push the Memory three and Memory five
buttons on the front radio controls simulta-
neously to turn the rear controls on. Push
them again to turn the rear audio controls off.
The(headphones symbol) illuminates
in the front display when the rear audio
controls are on. Two headphone jacks are
provided so two rear seat passengers may
listen to the audio system privately.
The rear volume controls can only increase
the volume to the level at which the front
radio volume control is set.
Headphones are not included with the ve-
hicle. Most portable radio headphones work
with the rear audio controls.
For vehicles equipped with the premium
FM-AM radio with cassette player, compact
disc player and 6 disc CD player, if the rear
passengers turn off the rear speakers and
are using headphones they may choose to
listen to a different media than the front
passengers. The rear passengers can listen
to the radio while the front passengers can
listen to the same thing, a cassette tape,
AHA1060
Heater, air conditioner and audio systems4-35
ZX
Page 179 of 294

CD, or the CD changer. The radio will go
into DUAL PLAY mode and the rear pas-
sengers can use the rear controls to change
media.
VOLUME button
The VOLUME button allows the rear pas-
sengers to adjust the headphone volume
level.
MEDIA button
The MEDIA button allows the rear passen-
ger to change between AM, FM1, FM2,
TAPE, CD, and CD DJ. The media options
are listed on the faceplate of the rear audio
controls. When a source of media is se-
lected, that media selection is backlit.
MEM button
In AM, FM1, or FM2 mode the MEM button
allows the rear passenger to successively
access memory preset station 1 through 6.
In CD DJ mode the MEM button allows the
rear passengers to select other compact
discs in the CD changer.
SEEK button
In AM, FM1, or FM2 mode the SEEK
andbutton allows the rear pas-
sengers to find the next radio station up or
down the station band frequency.
In TAPE mode the SEEK
and
button allows the rear passengers use Au-
tomatic Music Search (AMS) to find the next
or previous song on the cassette.
In CD mode the SEEK
andbutton
allows the rear passengers to find the next
or previous selection on the CD.
In CD DJ mode the SEEK
and
button allows the rear passengers to find
the next or previous selection on the CD.
For vehicles equipped with the FM-AM radio
with cassette player, when the rear seat
controls are on, push the SPKRS ON-OFF
button to turn all speakers off. Push again to
turn all speakers on.
For vehicles equipped with the premium
FM-AM radio with cassette player, compact
disc player and 6 disc CD player, when the
rear seat controls are on, push the SPKRS
ON-OFF button to turn the rear speakers
off. Push again to turn the rear speakers on.If the rear audio system was on when the
ignition was turned OFF, the audio system
``remembers'' and the rear system is still on
when the engine is started again. The sys-
tem also ``remembers'' if the speakers were
ON or OFF. Therefore, the speakers may
have to be turned on again by pressing the
SPKRS ON-OFF button or turning the rear
audio controls off.
4-36Heater, air conditioner and audio systems
ZX
Page 180 of 294
ANTENNA
The manual antenna on your vehicle re-
mains in the up position at all times. The
antenna cannot be shortened, but can be
removed. When you need to remove the
antenna, turn the antenna rod counterclock-
wise.
To install the antenna rod, turn the antenna
clockwise. Tighten the antenna rod to speci-
fication using a suitable tool such as a
open-end wrench. The antenna rod tighten-
ing specification is 3.4 - 3.6 Nzm(30-32
in-lb). Do not use pliers to tighten the an-
tenna as they can leave marks on the an-
tenna surface. The antenna rod cannot be
hand tightened to the proper specification.
CAUTION
Always properly tighten the antenna
rod during installation or the antenna
rod may break during vehicle operation.
WARNING
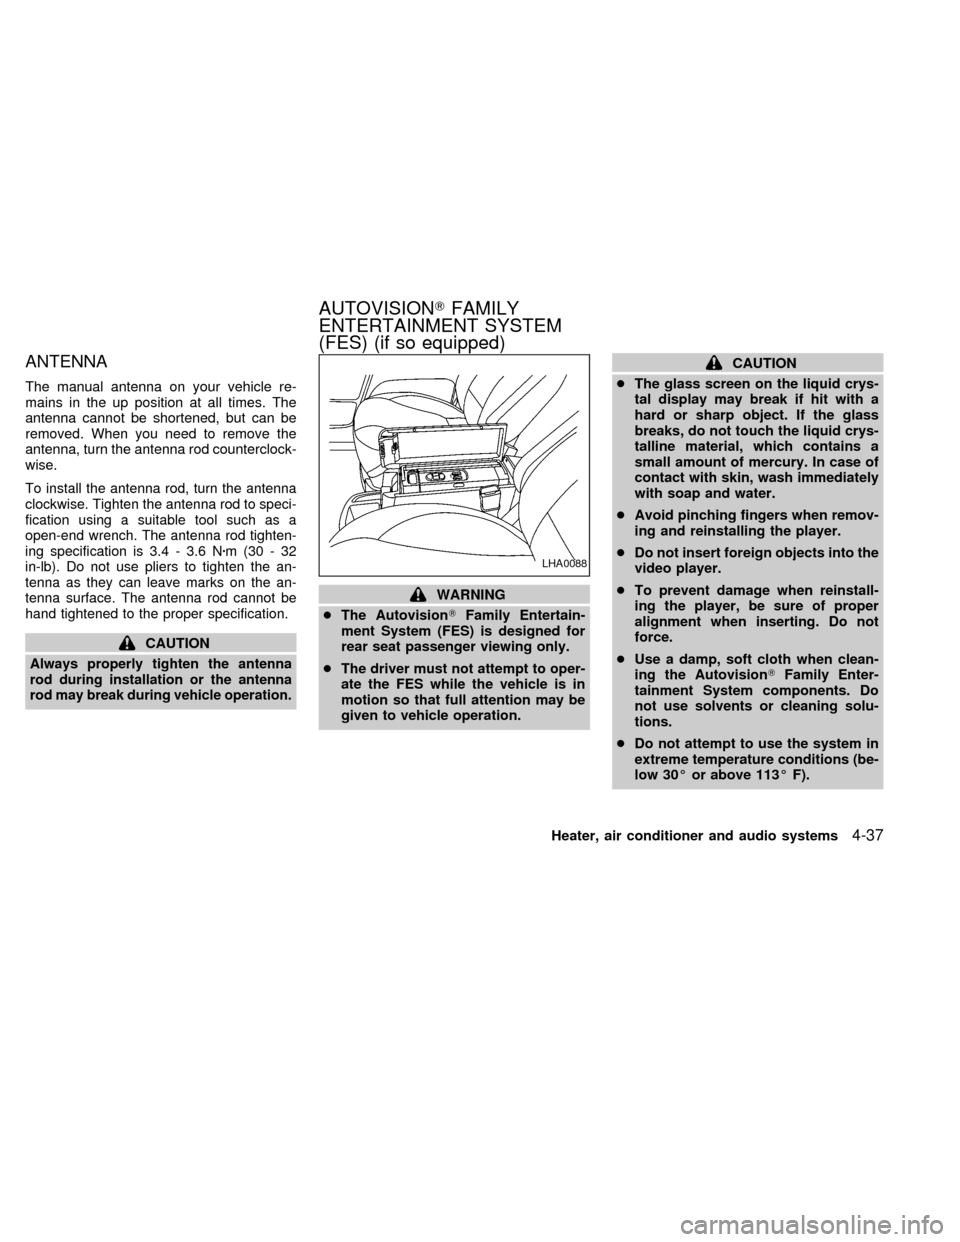
cThe AutovisionTFamily Entertain-
ment System (FES) is designed for
rear seat passenger viewing only.
cThe driver must not attempt to oper-
ate the FES while the vehicle is in
motion so that full attention may be
given to vehicle operation.
CAUTION
cThe glass screen on the liquid crys-
tal display may break if hit with a
hard or sharp object. If the glass
breaks, do not touch the liquid crys-
talline material, which contains a
small amount of mercury. In case of
contact with skin, wash immediately
with soap and water.
cAvoid pinching fingers when remov-
ing and reinstalling the player.
cDo not insert foreign objects into the
video player.
cTo prevent damage when reinstall-
ing the player, be sure of proper
alignment when inserting. Do not
force.
cUse a damp, soft cloth when clean-
ing the AutovisionTFamily Enter-
tainment System components. Do
not use solvents or cleaning solu-
tions.
cDo not attempt to use the system in
extreme temperature conditions (be-
low 30É or above 113É F).
LHA0088
AUTOVISIONTFAMILY
ENTERTAINMENT SYSTEM
(FES) (if so equipped)
Heater, air conditioner and audio systems4-37
ZX
Page 181 of 294
cTo avoid draining the vehicle bat-
tery, do not operate the system more
than 15 minutes without starting the
engine.
Video Cassette Player (VCP) con-
trols
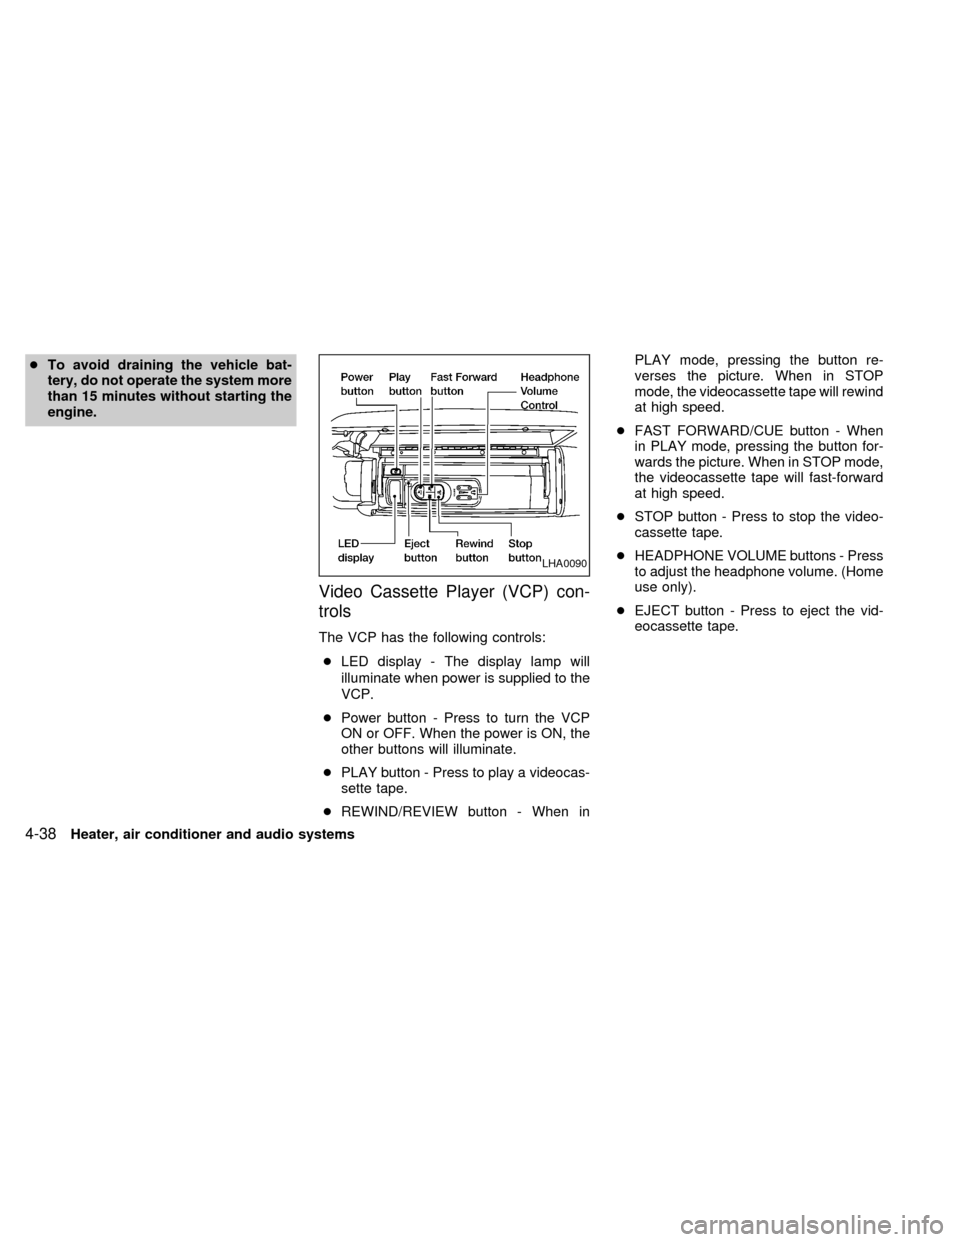
The VCP has the following controls:
cLED display - The display lamp will
illuminate when power is supplied to the
VCP.
cPower button - Press to turn the VCP
ON or OFF. When the power is ON, the
other buttons will illuminate.
cPLAY button - Press to play a videocas-
sette tape.
cREWIND/REVIEW button - When inPLAY mode, pressing the button re-
verses the picture. When in STOP
mode, the videocassette tape will rewind
at high speed.
cFAST FORWARD/CUE button - When
in PLAY mode, pressing the button for-
wards the picture. When in STOP mode,
the videocassette tape will fast-forward
at high speed.
cSTOP button - Press to stop the video-
cassette tape.
cHEADPHONE VOLUME buttons - Press
to adjust the headphone volume. (Home
use only).
cEJECT button - Press to eject the vid-
eocassette tape.
LHA0090
4-38Heater, air conditioner and audio systems
ZX
Page 183 of 294
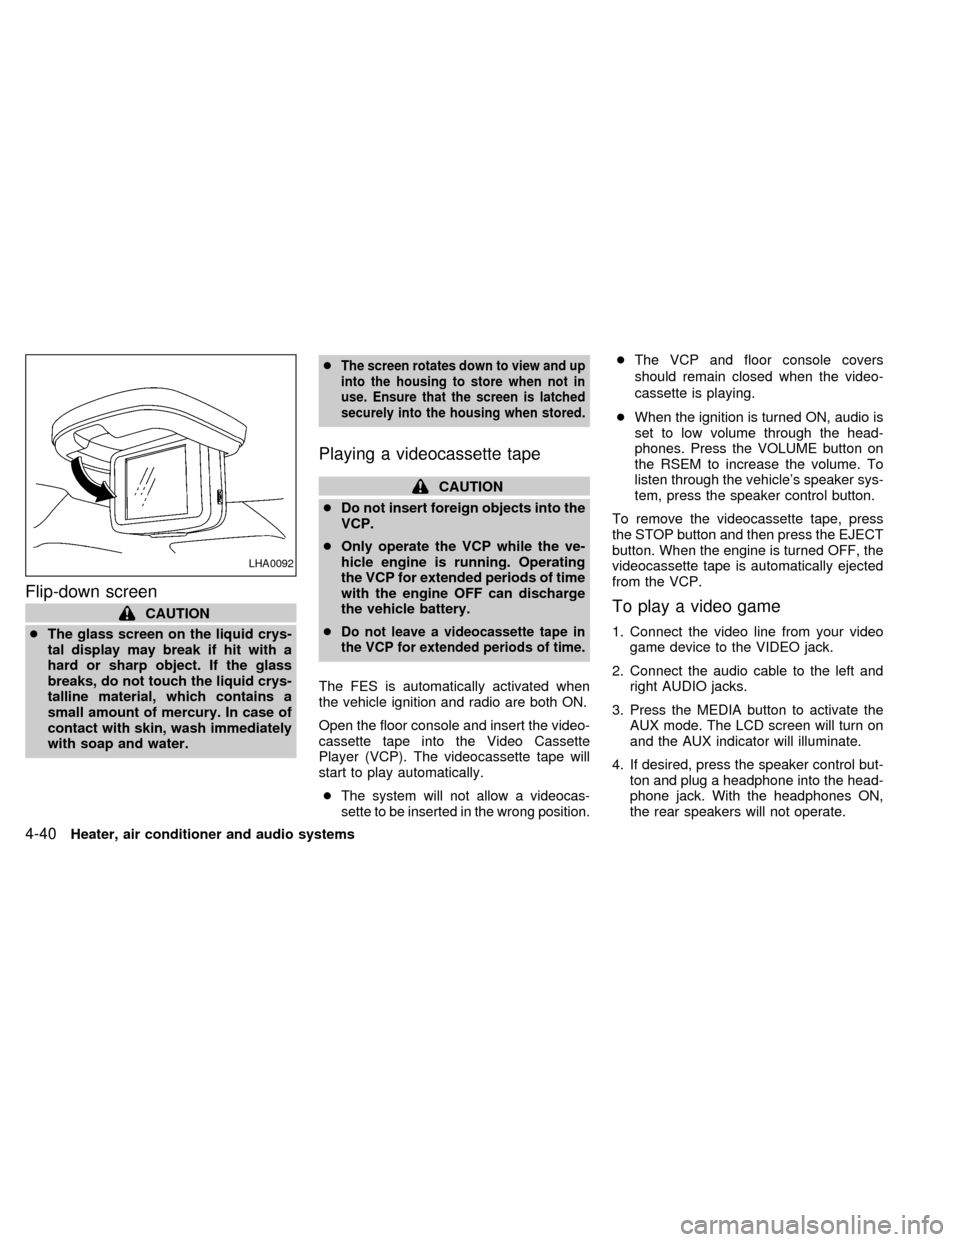
Flip-down screen
CAUTION
cThe glass screen on the liquid crys-
tal display may break if hit with a
hard or sharp object. If the glass
breaks, do not touch the liquid crys-
talline material, which contains a
small amount of mercury. In case of
contact with skin, wash immediately
with soap and water.c
The screen rotates down to view and up
into the housing to store when not in
use. Ensure that the screen is latched
securely into the housing when stored.
Playing a videocassette tape
CAUTION
cDo not insert foreign objects into the
VCP.
cOnly operate the VCP while the ve-
hicle engine is running. Operating
the VCP for extended periods of time
with the engine OFF can discharge
the vehicle battery.
c
Do not leave a videocassette tape in
the VCP for extended periods of time.
The FES is automatically activated when
the vehicle ignition and radio are both ON.
Open the floor console and insert the video-
cassette tape into the Video Cassette
Player (VCP). The videocassette tape will
start to play automatically.
c
The system will not allow a videocas-
sette to be inserted in the wrong position.
cThe VCP and floor console covers
should remain closed when the video-
cassette is playing.
cWhen the ignition is turned ON, audio is
set to low volume through the head-
phones. Press the VOLUME button on
the RSEM to increase the volume. To
listen through the vehicle's speaker sys-
tem, press the speaker control button.
To remove the videocassette tape, press
the STOP button and then press the EJECT
button. When the engine is turned OFF, the
videocassette tape is automatically ejected
from the VCP.
To play a video game
1. Connect the video line from your video
game device to the VIDEO jack.
2. Connect the audio cable to the left and
right AUDIO jacks.
3. Press the MEDIA button to activate the
AUX mode. The LCD screen will turn on
and the AUX indicator will illuminate.
4. If desired, press the speaker control but-
ton and plug a headphone into the head-
phone jack. With the headphones ON,
the rear speakers will not operate.
LHA0092
4-40Heater, air conditioner and audio systems
ZX
Page 185 of 294

and five memory preset buttons to turn OFF
the RSEM.
VOLUME button
The VOLUME button allows the rear pas-
sengers to adjust the headphone volume
level.
Push the1button to increase the volume.
Push the2button to decrease the volume.
MEDIA button
The MEDIA button allows the rear passen-
gers to change between the different media
options. When a source of media is se-
lected, that media selection is backlit.
cAM - AM radio frequency band
cFM1, FM2 - FM radio frequency bands
cTAPE - cassette tape
cCD - single CD player (if so equipped)
cCD DJ - CD changer (if so equipped)
cVCP - video cassette player
cAUX - auxiliary jack input
MEM button
In AM, FM1 or FM2 mode, the MEM button
allows the rear passengers to successively
access memory preset stations 1 through 6.
In CD DJ mode, the MEM button allows the
rear passengers to select other compact
discs in the CD changer. Play will begin with
the first track.
SEEK button
In AM, FM1 or FM2 mode, the SEEK < and
> buttons allow the rear passengers to find
the next radio station up or down the station
band frequency.
In TAPE mode, the SEEK < and > buttons
allow the rear passengers to use Automatic
Music Search (AMS) to find the next or
previous song on the cassette.
In CD mode, the SEEK < and > buttons
allow the rear passengers to find the next or
previous selection on the CD.
In CD DJ mode, the SEEK < and > buttons
allow the rear passengers to find the next or
previous selection on the CD.
Speaker control button
With the speakers ON, rear seat passen-
gers can adjust the audio output to all
system speakers - both front and rear to-
gether (headphones are disabled in this
mode). The rear seat passengers cannot
raise the volume of the system above the
level of the front radio.
With the speakers OFF, the headphones
are enabled. The rear seat passengers
have control over the desired headphone
volume levels.
Headphone jacks
Two headphone jacks are available so two
rear seat passengers may listen to the
audio system.
Headphones are not included with the ve-
hicle. Most portable radio headphones will
work with the rear audio controls.
Auxiliary input jacks
The auxiliary input jacks on the RSEM con-
trol panel accept video and audio connec-
tors for all standard video games. Other
compatible devices such as DVD players,
camcorders and portable CD players can
4-42Heater, air conditioner and audio systems
ZX