2002 NISSAN PATHFINDER steering
[x] Cancel search: steeringPage 115 of 288

Foldable outside mirrorsPush the mirror backward to fold it.
AUTOMATIC SEAT POSITIONER
OPERATIONThis system is designed so that the driver's
seat will automatically move when the auto-
matic transmission selector lever is in the P
(Park) position. This allows the driver to get
into and out of the driver's seat more easily.
When one of the following conditions is met,
the driver's seat will slide backward:
IWhen the key is removed from the ignition
switch.
IWhen the driver's door is opened with the
key turned to ACC or LOCK.
IWhen the key is turned from ON to LOCK
with the driver's door open.
When one of the following conditions is met,
the driver's seat will return to the positions
before being set.
IWhen the key is inserted into the ignition
switch.
IWhen the driver's door is closed with the
key turned to ACC or LOCK.
IWhen the key is turned to ON.Procedure for storing memoryTwo positions can be stored in the automaticdrive positioner memory.Follow these proce-
dures to use the memory system.
1. Set the automatic transmission selector le-
ver to the P (Park) position.
2. Turn the ignition ON.
3. Adjust the driver's seat and steering column
to the desired positions by manually oper-
ating each adjusting switch. For additional
information, see ªSeatsº in the ª1. Seats,
restraints and supplemental air bag sys-
temsº section and ªSteering wheelº earlier
in this section.
During this step, do not turn the ignition to
M008
SPA1164
AUTOMATIC SEAT POSITIONER
(if so equipped)
3-16
Pre-driving checks and adjustments
Z
01.9.21/R50-D/V5
X
Page 118 of 288

4 Heater, air conditioner and audio systemsVentilators ................................................................. 4-2
Heater and air conditioner (Manual) ......................... 4-2
Controls ................................................................ 4-3
Heater operation................................................... 4-4
Air conditioner operation ...................................... 4-5
Air flow charts....................................................... 4-5
Heater and air conditioner (Automatic) ..................... 4-8
Automatic operation ............................................. 4-9
Manual operation.................................................. 4-9
Operating tips ..................................................... 4-10
Ventilation air filter .............................................. 4-10
Servicing air conditioner .......................................... 4-10
Audio system........................................................... 4-11
FM radio reception ............................................. 4-11AM radio reception ............................................. 4-12
Audio operation precautions .............................. 4-12
FM-AM radio with cassette player and compact disc
(CD) player ......................................................... 4-14
FM-AM radio with cassette player and compact disc
(CD) player/cd changer ...................................... 4-21
CD care and cleaning ........................................ 4-26
FM-AM radio with cassette player Ð for navigation
system equipped models ................................... 4-26
Steering wheel switch for audio control
(if so equipped) ....................................................... 4-30
Antenna .............................................................. 4-31
Car phone or CB radio ........................................... 4-32
Z
01.9.21/R50-D/V5
X
Page 147 of 288

ªMODEº select switchPush the mode select switch to change the
mode in the sequence of AM, FM1, FM2, CD
player, CD autochanger and Tape.Volume control switchesPush the upper or lower side switch to in-
crease or decrease the volume.
Tuning
Memory change (radio):
Push the tuning switch
or
for lessthan 1.5 seconds to change the preset radio
channels.
Seek tuning (radio):
Push the tuning switch
or
for more
than 1.5 seconds to seek the next or previous
radio station.
APS (Automatic Program Search) FF, APS
REW (tape or CD changer):
Push the tuning switch
or
for less
1.5 seconds to return to the beginning of the
present program or skip to the next program.
Push several times to skip back or skip
through programs.
This system searches for the blank intervals
between selections. If there is a blank interval
within one program or there is no interval
between programs, the system may not stop in
the desired or expected location.
FF REW (tape or CD changer):
Push the tuning switch
or
for more
than 1.5 seconds to rewind or fast forward the
tape or to change the playing disc up or down.
In CD player operation, pushing the tuning
switch changes the track up or down.
To stop the FF or REW function, press the
or
button for more than 1.5 sec-
onds again.
SAA0464
STEERING WHEEL SWITCH FOR
AUDIO CONTROL (if so equipped)4-30
Heater, air conditioner and audio systems
Z
01.9.21/R50-D/V5
X
Page 150 of 288

5 Starting and drivingPrecautions when starting and driving ...................... 5-2
Exhaust gas (Carbon monoxide).......................... 5-2
Three way catalyst ............................................... 5-3
On-pavement and offroad driving precautions ..... 5-3
Avoiding collision and rollover .............................. 5-4
Drinking alcohol/drugs and driving ....................... 5-4
Driving safety precautions .................................... 5-4
Ignition switch............................................................ 5-6
Automatic transmission ........................................ 5-6
Manual transmission ............................................ 5-7
Key positions ........................................................ 5-8
Nissan vehicle immobilizer system ...................... 5-8
Before starting the engine ......................................... 5-9
Starting the engine .................................................... 5-9
Driving the vehicle ................................................... 5-10
Automatic transmission ...................................... 5-10
Manual transmission .......................................... 5-14
Parking brake .......................................................... 5-16
Cruise control (if so equipped) ................................ 5-17
Precautions on cruise control ............................. 5-17
Cruise control operations ................................... 5-17Break-in schedule ................................................... 5-19
Increasing fuel economy ......................................... 5-19
Using part time four wheel drive (4WD) ................. 5-20
Transfer case shifting procedures ...................... 5-21
Using all-mode four wheel drive (4WD) .................. 5-23
Transfer case shifting procedures ...................... 5-23
Parking/parking on hills ........................................... 5-30
Power steering ........................................................ 5-31
Brake system .......................................................... 5-32
Braking precautions............................................ 5-32
Anti-lock brake system (ABS) ............................ 5-32
Cold weather driving ............................................... 5-34
Freeing a frozen door lock ................................. 5-34
Anti-freeze .......................................................... 5-34
Battery ................................................................ 5-34
Draining of coolant water ................................... 5-34
Tire equipment ................................................... 5-34
Special winter equipment ................................... 5-35
Driving on snow or ice ....................................... 5-35
Engine block heater (if so equipped) ................. 5-35
Z
01.9.21/R50-D/V5
X
Page 154 of 288

fastened. This will keep you and your
passengers in position when driving
over rough terrain.
IBefore driving up or down grades,
check the road surface for bumps or
potholes. Be sure to climb a gentle
slope and descend a gentle slope.
IDo not drive across steep slopes.
Instead drive either straight up or
straight down the slopes. Off-road
vehicles can tip over sideways much
more easily than they can forward or
backward.
IMany hills are too steep for any ve-
hicle. If you drive up them, you may
stall. If you drive down them, you may
not be able to control your speed. If
you drive across them, you may roll
over.
IDo not shift gears while driving on
downhill grades as this could cause
loss of control of the vehicle.
IBe sure to use the engine brake. The
foot brake performance may be re-duced, resulting in a possible acci-
dent.
IStay alert when driving to the top of a
hill. At the top there could be a drop-
off or other hazard that could cause
an accident.
IStay alert when driving to the top of a
hill. At the top there could be a drop-
off or other hazard that could cause
an accident.
IIf your engine stalls or you cannot
make it to the top of a steep hill, never
attempt to turn around. Your vehicle
could tip or roll over. Always back
straight down in R (Reverse) gear.
Never back down in N (Neutral) or
with the clutch depressed (manual
transmission vehicles), using only
the brake, as this could cause loss of
control.
IHeavy braking going down a hill
could cause your brakes to overheat
and fade, resulting in loss of control
and an accident. Apply brakes lightlyand use a low gear to control your
speed.
IUnsecured cargo can be thrown
around when driving over rough ter-
rain. Properly secure all cargo so it
will not be thrown forward and cause
injury to you or your passengers.
ITo avoid raising the center of gravity
excessively, do not exceed the rated
capacity of the roof rack and evenly
distribute the load. Secure heavy
loads in the cargo area as far forward
and as low as possible. Do not equip
the vehicle with tires larger than
specified in this manual. This could
cause your vehicle to roll over.
IDo not grip the inside or spokes of
the steering wheel when driving of-
froad. The steering wheel could move
suddenly and injure your hands. In-
stead drive with your fingers and
thumbs on the outside of the rim.
IBefore operating the vehicle, ensure
that the driver and all passengers
Starting and driving
5-5
Z
01.9.21/R50-D/V5
X
Page 155 of 288

have their seat belts fastened.
IAlways drive with the floor mats in
place as the floor may become hot.
ILower your speed when encounter-
ing strong crosswinds. With a higher
center of gravity, your NISSAN is
more affected by strong side winds.
Slower speeds ensure better vehicle
control.
IDo not drive beyond the performance
of the tires, even with 4WD engaged.
Accelerating quickly, sharp steering
maneuvers or sudden braking may
cause loss of control.
IIf at all possible, avoid sharp turning
maneuvers, particularly at high
speeds. Your NISSAN four wheel
drive vehicle has a higher center of
gravity than a two wheel drive ve-
hicle. The vehicle is not designed for
cornering at the same speeds as con-
ventional two wheel drive vehicles.
Failure to operate this vehicle cor-
rectly could result in loss of controland/or a roll over accident.
IAlways use tires of the same type,
size, brand, construction (bias, bias-
belted or radial), and tread pattern on
all four wheels. Install tire chains on
the rear wheels when driving on slip-
pery roads and drive carefully.
IBe sure to check the brakes immedi-
ately after driving in mud or water.
See ªBrake systemº later in this sec-
tion for wet brakes.
IAvoid parking your vehicle on steep
hills. If you get out of the vehicle and
it rolls forward, backward or side-
ways, you could be injured.
IWhenever you drive off-road through
sand, mud or water as deep as the
wheel hub, more frequent mainte-
nance may be required. See ªPeriodic
maintenanceº in the ªService and
Maintenance Guideº.
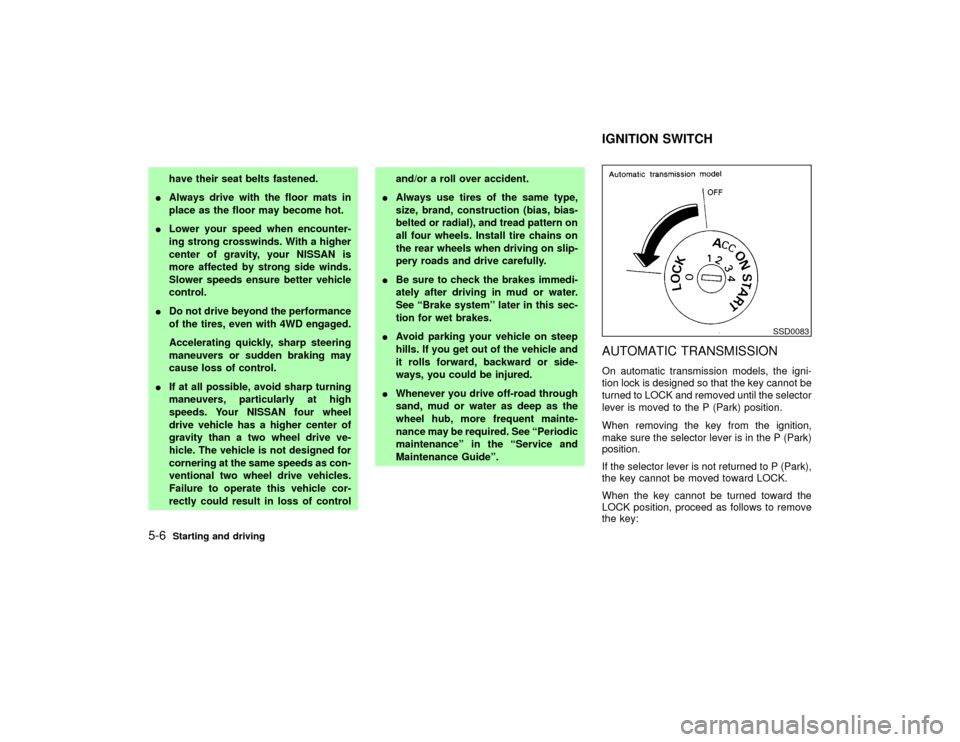
AUTOMATIC TRANSMISSIONOn automatic transmission models, the igni-
tion lock is designed so that the key cannot be
turned to LOCK and removed until the selector
lever is moved to the P (Park) position.
When removing the key from the ignition,
make sure the selector lever is in the P (Park)
position.
If the selector lever is not returned to P (Park),
the key cannot be moved toward LOCK.
When the key cannot be turned toward the
LOCK position, proceed as follows to remove
the key:
SSD0083
IGNITION SWITCH
5-6
Starting and driving
Z
01.9.21/R50-D/V5
X
Page 156 of 288

1) Move the selector lever into the P (Park)
position.
2) Turn the ignition key slightly in the ON
direction.
3) Turn the key toward the LOCK position.
4) Remove the key.
If the key is removed from the ignition switch,
the selector lever cannot be moved from P
(Park).The selector lever can be moved if
the ignition switch is in the ON position and
the foot brake pedal is depressed.
There is an OFF position in between LOCK
and ACC, although it does not show on the
lock cylinder. When the ignition is in OFF the
steering wheel is not locked.
In order for the steering wheel to be locked, it
must be turned about 1/6 of a turn clockwise
from the straight up position.
To lock the steering wheel, turn the key to
the LOCK position. Remove the key. To
unlock the steering wheel, insert the key
and turn it gently while rotating the steer-
ing wheel slightly right and left.
WARNING
Never remove or turn the key to the
LOCK position while driving. The steer-
ing wheel will lock. This may cause the
driver to lose control of the vehicle and
could result in serious vehicle damage
or personal injury.
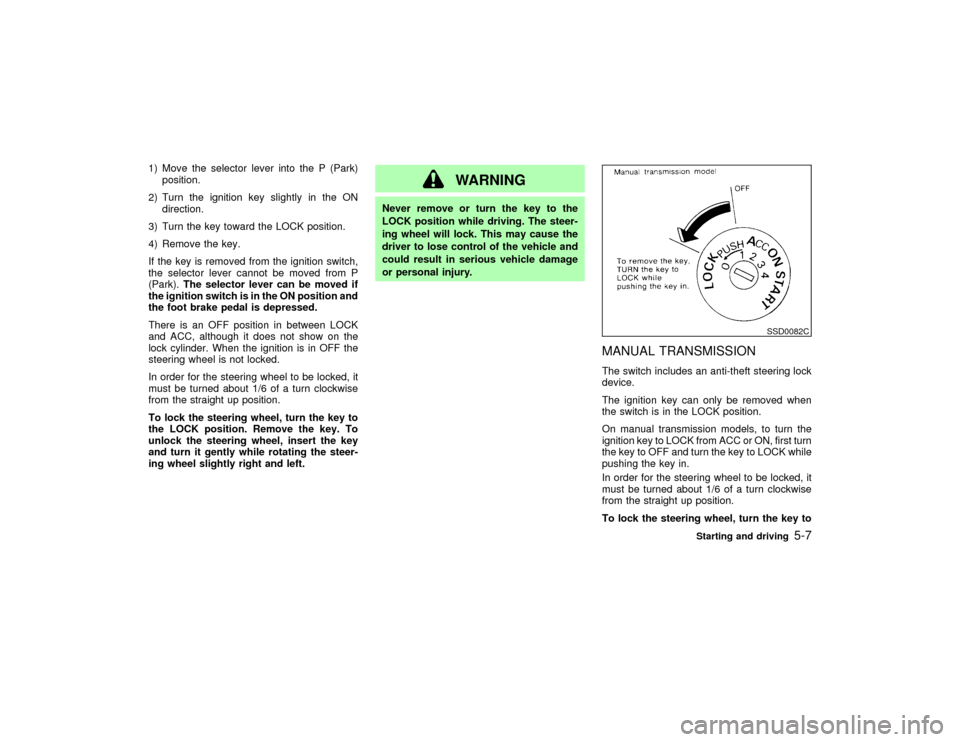
MANUAL TRANSMISSIONThe switch includes an anti-theft steering lock
device.
The ignition key can only be removed when
the switch is in the LOCK position.
On manual transmission models, to turn the
ignition key to LOCK from ACC or ON, first turn
the key to OFF and turn the key to LOCK while
pushing the key in.
In order for the steering wheel to be locked, it
must be turned about 1/6 of a turn clockwise
from the straight up position.
To lock the steering wheel, turn the key to
SSD0082C
Starting and driving
5-7
Z
01.9.21/R50-D/V5
X
Page 157 of 288

the LOCK position. Remove the key. To
unlock the steering wheel, insert the key
and turn it gently while rotating the steer-
ing wheel slightly right and left.
WARNING
Never remove or turn the key to the
LOCK position while driving. The steer-
ing wheel will lock. This may cause the
driver to lose control of the vehicle and
could result in serious vehicle damage
or personal injury.KEY POSITIONSLOCK (Normal parking position) (0)
The ignition key can only be removed when
the switch is at this position.
OFF (1)
The engine can be turned off without locking
the steering wheel.
ACC (Accessories) (2)
This position activates electrical accessories
such as the radio when the engine is not
running.ON (Normal operating position) (3)
This position turns on the ignition system and
the electrical accessories.
START (4)
This position activates the starter motor, start-
ing the engine.
NISSAN VEHICLE IMMOBILIZER
SYSTEMThe Nissan Vehicle Immobilizer System will
not allow the engine to start without the use of
the registered Nissan Vehicle Immobilizer Sys-
tem key.
If the engine fails to start using the registered
Nissan Vehicle Immobilizer System key (for
example, when interference is caused by an-
other Nissan Vehicle Immobilizer System key,
an automated toll road device or automated
payment device on the key ring), restart the
engine using the following procedures:
1. Leave the ignition switch in the ON position
for approximately 5 seconds.
2. Turn the ignition switch to the OFF or LOCK
position, and wait approximately 5 seconds.
3. Repeat step 1 and 2.
4. Restart the engine while holding the device(which may have caused the interference)
separate from the registered Nissan Ve-
hicle Immobilizer System key.
If the no start condition re-occurs, NISSAN
recommends placing the registered Nissan
Vehicle Immobilizer System key on a separate
key ring to avoid interference from other de-
vices.
5-8
Starting and driving
Z
01.9.21/R50-D/V5
X