Page 61 of 273

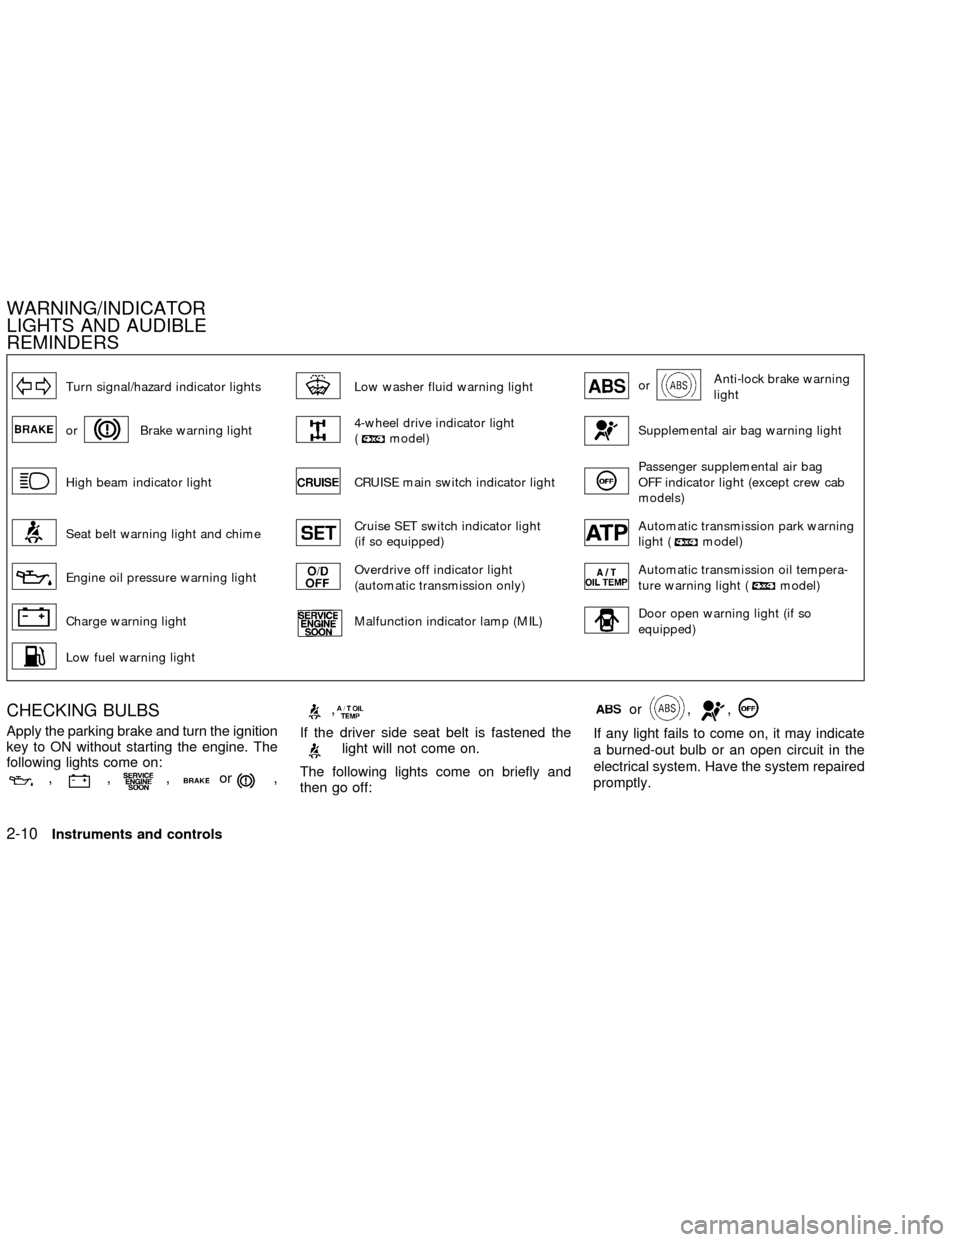
Turn signal/hazard indicator lightsLow washer fluid warning lightorAnti-lock brake warning
light
orBrake warning light4-wheel drive indicator light
(model)Supplemental air bag warning light
High beam indicator lightCRUISE main switch indicator lightPassenger supplemental air bag
OFF indicator light (except crew cab
models)
Seat belt warning light and chimeCruise SET switch indicator light
(if so equipped)Automatic transmission park warning
light (model)
Engine oil pressure warning lightOverdrive off indicator light
(automatic transmission only)Automatic transmission oil tempera-
ture warning light (model)
Charge warning lightMalfunction indicator lamp (MIL)Door open warning light (if so
equipped)
Low fuel warning light
CHECKING BULBS
Apply the parking brake and turn the ignition
key to ON without starting the engine. The
following lights come on:
,,,or,
,
If the driver side seat belt is fastened thelight will not come on.
The following lights come on briefly and
then go off:
or,,
If any light fails to come on, it may indicate
a burned-out bulb or an open circuit in the
electrical system. Have the system repaired
promptly.
WARNING/INDICATOR
LIGHTS AND AUDIBLE
REMINDERS
2-10Instruments and controls
ZX
Page 63 of 273

in the ``Maintenance and do-it-yourself''
section of this manual.
2. If the brake fluid level is correct, have the
warning system checked by an autho-
rized NISSAN dealer.
WARNING
c
Your brake system may not be work-
ing properly if the warning light is on.
Driving could be dangerous. If you
judge it to be safe, drive carefully to
the nearest service station for repairs.
Otherwise have your vehicle towed
because driving it could be danger-
ous.
cPressing the brake pedal with the
engine stopped and/or low brake
fluid level may increase your stop-
ping distance and require greater
pedal effort as well as pedal travel.
cIf the brake fluid level is below the
MINIMUM or MIN mark on the brake
fluid reservoir, do not drive until the
brake system has been checked at
an authorized NISSAN dealer.
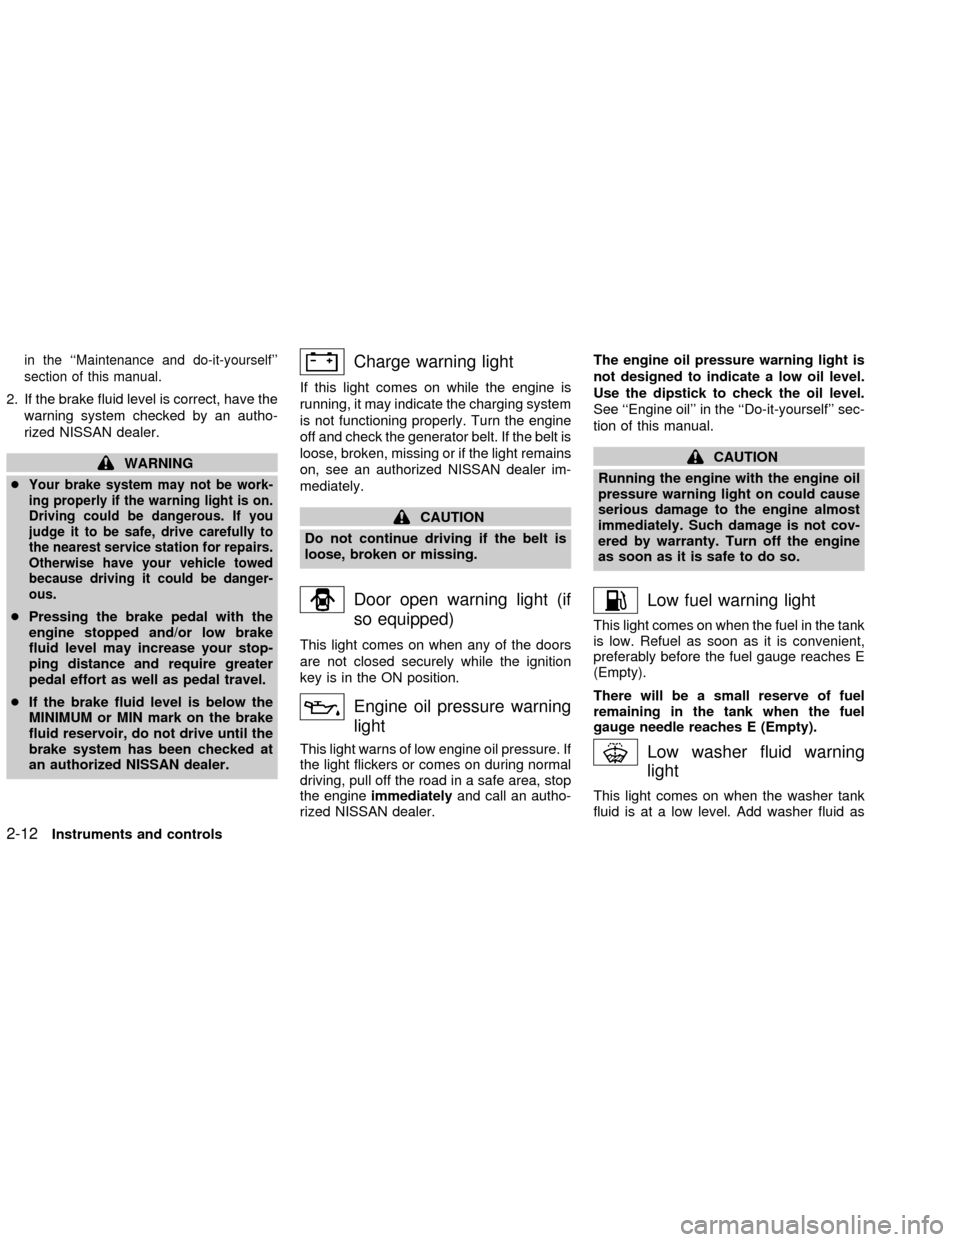
Charge warning light
If this light comes on while the engine is
running, it may indicate the charging system
is not functioning properly. Turn the engine
off and check the generator belt. If the belt is
loose, broken, missing or if the light remains
on, see an authorized NISSAN dealer im-
mediately.
CAUTION
Do not continue driving if the belt is
loose, broken or missing.
Door open warning light (if
so equipped)
This light comes on when any of the doors
are not closed securely while the ignition
key is in the ON position.
Engine oil pressure warning
light
This light warns of low engine oil pressure. If
the light flickers or comes on during normal
driving, pull off the road in a safe area, stop
the engineimmediatelyand call an autho-
rized NISSAN dealer.The engine oil pressure warning light is
not designed to indicate a low oil level.
Use the dipstick to check the oil level.
See ``Engine oil'' in the ``Do-it-yourself'' sec-
tion of this manual.
CAUTION
Running the engine with the engine oil
pressure warning light on could cause
serious damage to the engine almost
immediately. Such damage is not cov-
ered by warranty. Turn off the engine
as soon as it is safe to do so.
Low fuel warning light
This light comes on when the fuel in the tank
is low. Refuel as soon as it is convenient,
preferably before the fuel gauge reaches E
(Empty).
There will be a small reserve of fuel
remaining in the tank when the fuel
gauge needle reaches E (Empty).
Low washer fluid warning
light
This light comes on when the washer tank
fluid is at a low level. Add washer fluid as
2-12Instruments and controls
ZX
Page 221 of 273

cAiming is not necessary after replac-
ing the bulb. When aiming adjust-
ment is necessary, contact an autho-
rized NISSAN dealer.
cDo not leave the bulb out of the
headlight reflector for a long period
of time as dust, moisture, and smoke
may enter the headlight body and
affect the performance of the head-
light.
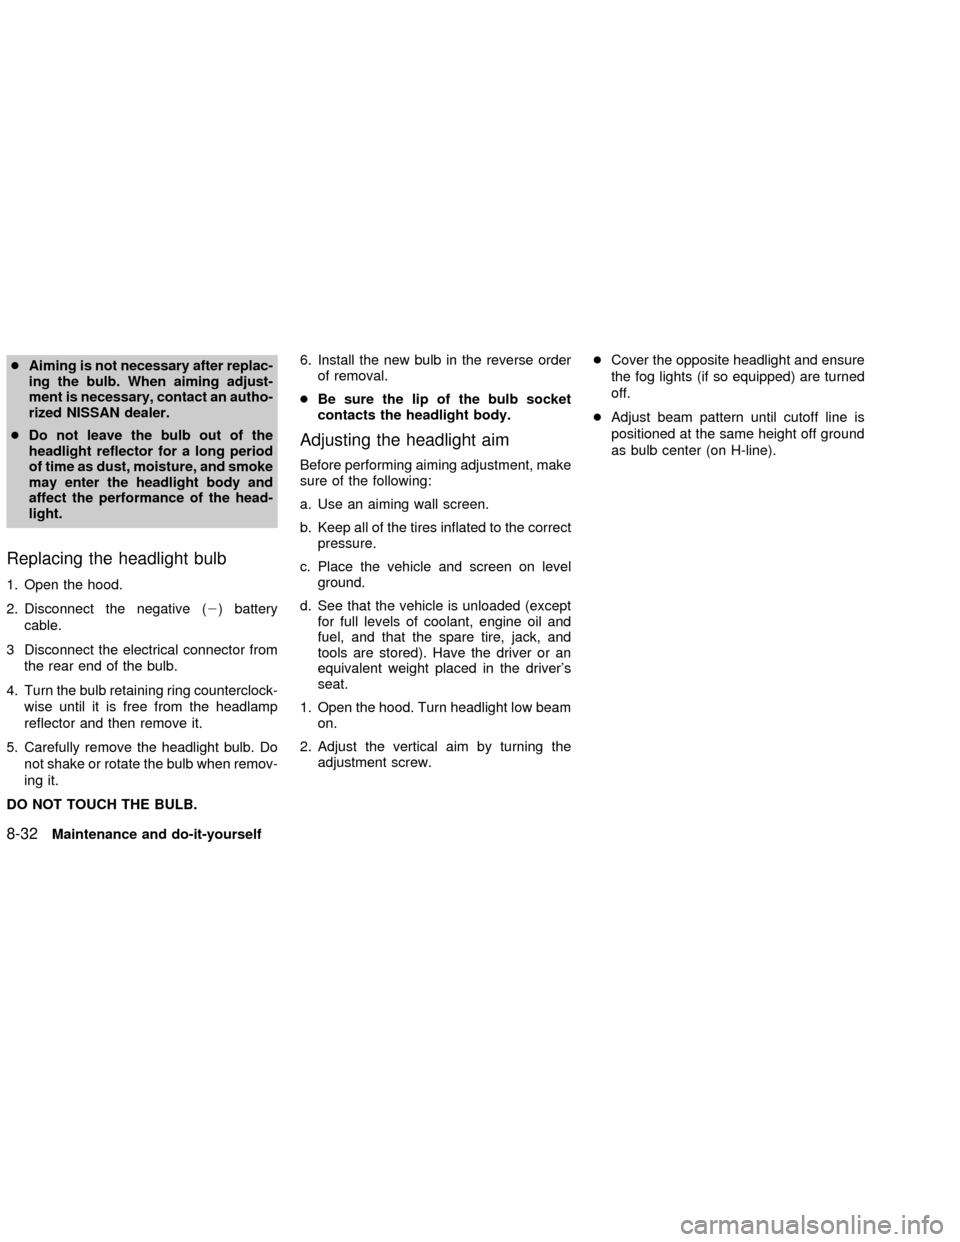
Replacing the headlight bulb
1. Open the hood.
2. Disconnect the negative (2) battery
cable.
3 Disconnect the electrical connector from
the rear end of the bulb.
4. Turn the bulb retaining ring counterclock-
wise until it is free from the headlamp
reflector and then remove it.
5. Carefully remove the headlight bulb. Do
not shake or rotate the bulb when remov-
ing it.
DO NOT TOUCH THE BULB.6. Install the new bulb in the reverse order
of removal.
cBe sure the lip of the bulb socket
contacts the headlight body.
Adjusting the headlight aim
Before performing aiming adjustment, make
sure of the following:
a. Use an aiming wall screen.
b. Keep all of the tires inflated to the correct
pressure.
c. Place the vehicle and screen on level
ground.
d. See that the vehicle is unloaded (except
for full levels of coolant, engine oil and
fuel, and that the spare tire, jack, and
tools are stored). Have the driver or an
equivalent weight placed in the driver's
seat.
1. Open the hood. Turn headlight low beam
on.
2. Adjust the vertical aim by turning the
adjustment screw.cCover the opposite headlight and ensure
the fog lights (if so equipped) are turned
off.
cAdjust beam pattern until cutoff line is
positioned at the same height off ground
as bulb center (on H-line).
8-32Maintenance and do-it-yourself
ZX
Page 272 of 273

Recommended fuel:
Unleaded gasoline, at least 87 AKI number
(RON 91) (except supercharger) or 91 AKI
number (RON 96) (supercharger).
For further details such as gasohol or diesel
fuel grade, see ``Fuel recommendation'' in
the ``Technical and consumer information''
section.
CAUTION
cUsing fuel other than that specified
could adversely effect the emissions
control system, and may also affect
warranty coverage.
cUnder no circumstances should a
leaded gasoline be used since this
will damage the three-way catalyst.
Recommended engine oil:
cAPI Certification Mark
cAPI grade SG/SH Energy Conserving I
& II or API grade SJ Energy Conserving
cILSAC grade GF-I & GF-II
c5W-30 Viscosity preferred
See9Engine oil and filter recommendation9in the ``Technical and consumer informa-
tion'' section.
Tire cold pressure:
See the tire placard affixed to the inside of
the glove box lid.
Recommended new vehicle
break-in procedure:
During the first 1,000 miles (1,600 km) of
vehicle use, follow the recommendations
outlined in the ``BREAK-IN SCHEDULE''
found in the ``Starting and driving'' section of
this Owner's Manual. Follow these recom-
mendations for the future reliability and
economy of your new vehicle.
GAS STATION INFORMATION
ZX