Page 73 of 273

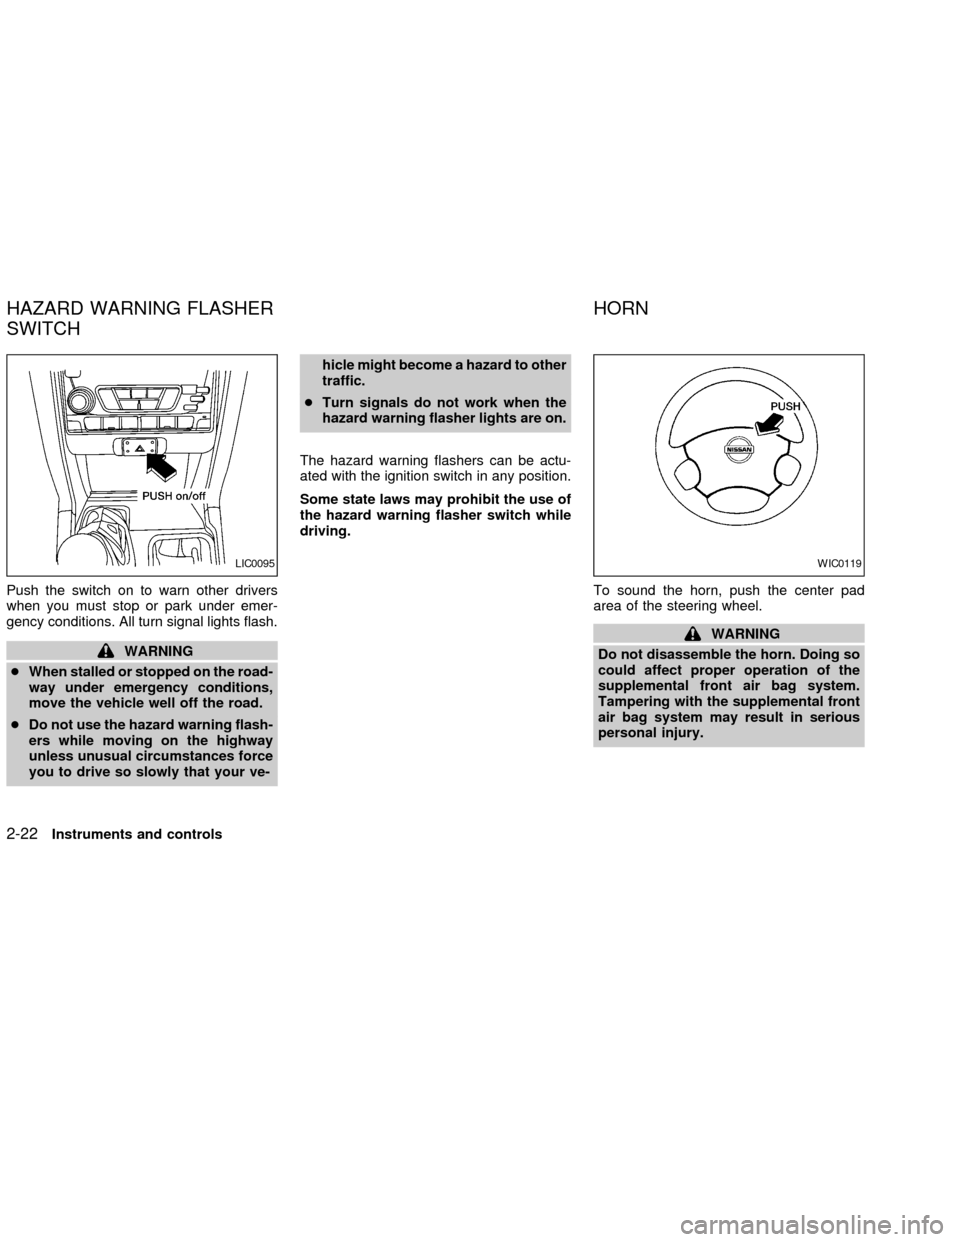
Push the switch on to warn other drivers
when you must stop or park under emer-
gency conditions. All turn signal lights flash.
WARNING
cWhen stalled or stopped on the road-
way under emergency conditions,
move the vehicle well off the road.
cDo not use the hazard warning flash-
ers while moving on the highway
unless unusual circumstances force
you to drive so slowly that your ve-hicle might become a hazard to other
traffic.
cTurn signals do not work when the
hazard warning flasher lights are on.
The hazard warning flashers can be actu-
ated with the ignition switch in any position.
Some state laws may prohibit the use of
the hazard warning flasher switch while
driving.
To sound the horn, push the center pad
area of the steering wheel.
WARNING
Do not disassemble the horn. Doing so
could affect proper operation of the
supplemental front air bag system.
Tampering with the supplemental front
air bag system may result in serious
personal injury.
LIC0095WIC0119
HAZARD WARNING FLASHER
SWITCHHORN
2-22Instruments and controls
ZX
Page 75 of 273
The cigarette lighter element and ashtray
are accessories. They can be purchased
from an authorized NISSAN dealer.
The cigarette lighter operates when the
ignition switch is in the ACC or ON position.
Push the lighter in all the way. When the
lighter is heated, it springs out.
Return the lighter to its original position after
use.
WARNING
The cigarette lighter should not be
used while driving so that full attention
may be given to vehicle operation.
CAUTION
The cigarette lighter socket is a power
source for the cigarette lighter element
only. The use of the cigarette lighter
socket as a power source for any other
accessory is not recommended.
STORAGE COMPARTMENT
A storage compartment is located in the
bottom center of the instrument panel.
WIC0155LIC0097
CIGARETTE LIGHTER AND
ASH TRAY (accessories)STORAGE
2-24Instruments and controls
ZX
Page 76 of 273
CUP HOLDERS
(if so equipped)
WARNING
The cup holder should not be used
while driving so full attention may be
given to vehicle operation.
CAUTION
cAvoid abrupt starting and braking
when the cup holder is being used to
prevent spilling the drink. If the liq-
uid is hot, it can scald you or your
passenger.
cUse only soft cups in the cup holder.
Hard objects can injure you in an
accident.
Some cup holders have a rubber insert that
can be removed for cleaning and for using
larger cups.
LIC0123LIC0124
Instruments and controls2-25
ZX
Page 77 of 273
GLOVE BOX
Open the glove box by pulling the handle.
WARNING
Keep glove box lid closed while driving
to prevent injury in an accident or a
sudden stop.
CONSOLE BOX
WARNING
The center console box should not be
used while driving so full attention may
be given to vehicle operation.
WARNING
cThis power socket is not designed
for use with a cigarette lighter unit.
cDo not use accessories that exceed
12 volt, 120W (10A) power draw. Do
not use double adapters or more
than one electrical accessory.
Upper half
Pull up on the lever to open the upper half of
the console box. The rubber mat may be
LIC0098
LIC0128
2-26Instruments and controls
ZX
Page 78 of 273

removed for cleaning.
The upper half of the console box may be
used for storage of cellular phones. An
access hole is provided at the bottom of the
upper half of the console box for phone cord
routing to the power socket.
To route a phone cord to the power socket:
1. open the upper half of the console box
2. remove the rubber mat, and then remove
the cutout area from the mat
3. remove the access hole cover
4. install the rubber mat
5. route the phone cord through the access
hole and plug into the power socket
Lower half
Pull up on the lever to open the lower half of
the console box. A power socket is located
inside the console box and there is storage
for cassette tapes and compact discs.
GROCERY HOOKS (King Cab
only)
The grocery hooks allow for 2 standard size
plastic grocery bags to hang side-by-side.
Do not apply a total load of more than 55 lbs
(25 kg) to a single grocery hook.
WARNING
cProperly secure all cargo to help pre-
vent it from sliding or shifting. Do not
place cargo higher than the seat-
backs. In a sudden stop or collision,
unsecured cargo could cause per-
sonal injury.
cUse suitable ropes and hooks to se-
cure cargo.
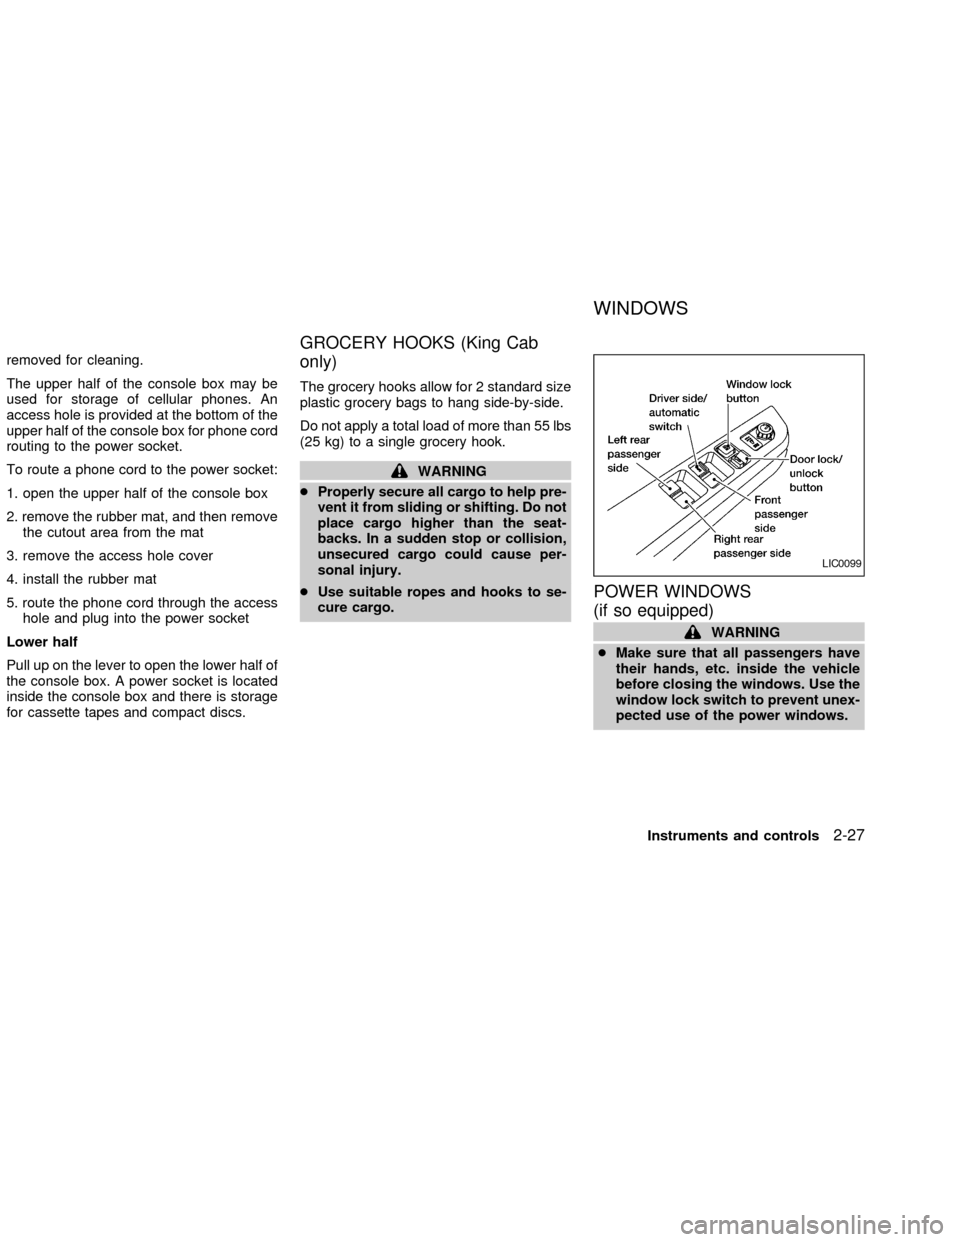
POWER WINDOWS
(if so equipped)
WARNING
cMake sure that all passengers have
their hands, etc. inside the vehicle
before closing the windows. Use the
window lock switch to prevent unex-
pected use of the power windows.
LIC0099
WINDOWS
Instruments and controls2-27
ZX
Page 81 of 273
TILTING THE SUNROOF
Pull the handle down, then push the handle
up to the fully tilted position.
WARNING
cIn an accident you could be thrown
from the vehicle through an open
sunroof. Always use seat belts and
child restraints.cDo not allow anyone to stand up or
extend any portion of their body out
of the sunroof opening while the
vehicle is in motion or while the
sunroof is closing.
CAUTION
cRemove water drops, snow, ice or
sand from the sunroof before open-
ing.
cDo not place heavy objects on the
sunroof or surrounding area.
Pull the handle forward to unlock, then push
the handle up completely to lock the sunroof
closed.
IC0197IC0198
SUNROOF
(if so equipped)
2-30Instruments and controls
ZX
Page 82 of 273
REMOVING/INSTALLING
WARNING
Do not remove or install the sun shade
while driving so full attention may be
given to vehicle operation.
Removing the sun shade
1. Turn each lock bolt counterclockwise
while supporting the sun shade.
2. Slide the shade backward to remove it.
Installing the sun shade
1. Insert the two hooks on the front edge of
sun shade into holders on the sunroof.
2. Align the two lock bolts on the rear edge
of sun shade with the lock nuts. Turn
each lock bolt clockwise to securely lock
the sunshade in place.
AIC1083
Instruments and controls2-31
ZX
Page 83 of 273
Removing the sunroof
WARNING
Do not remove the sunroof while driv-
ing so full attention may be given to
vehicle operation.
1. Remove the sun shade.
2. Tilt the sunroof up.
3. Push the knobs located on each end of
the handle and push the sunroof up-
wards to disengage the handle linkage.
4. Pull the sunroof up from outside of thevehicle until it is perpendicular to the roof
panel.
5. Slide the sunroof to the left and remove
it.
Installing the sunroof
1. While placing the sunroof perpendicular
to the roof panel, position the sunroof
and engage the retainer with the hinge.
2. Slide the sunroof to the right until the red
mark on the hinge disappears.
3. Carefully lower the sunroof, making sure
it is centered with in the roof opening.
4. Push the knobs located on each end of
the handle and engage the handle link-
age.
Be sure the sunroof is securely installed.
SIC0072
2-32Instruments and controls
ZX