2002 NISSAN FRONTIER ECU
[x] Cancel search: ECUPage 62 of 273
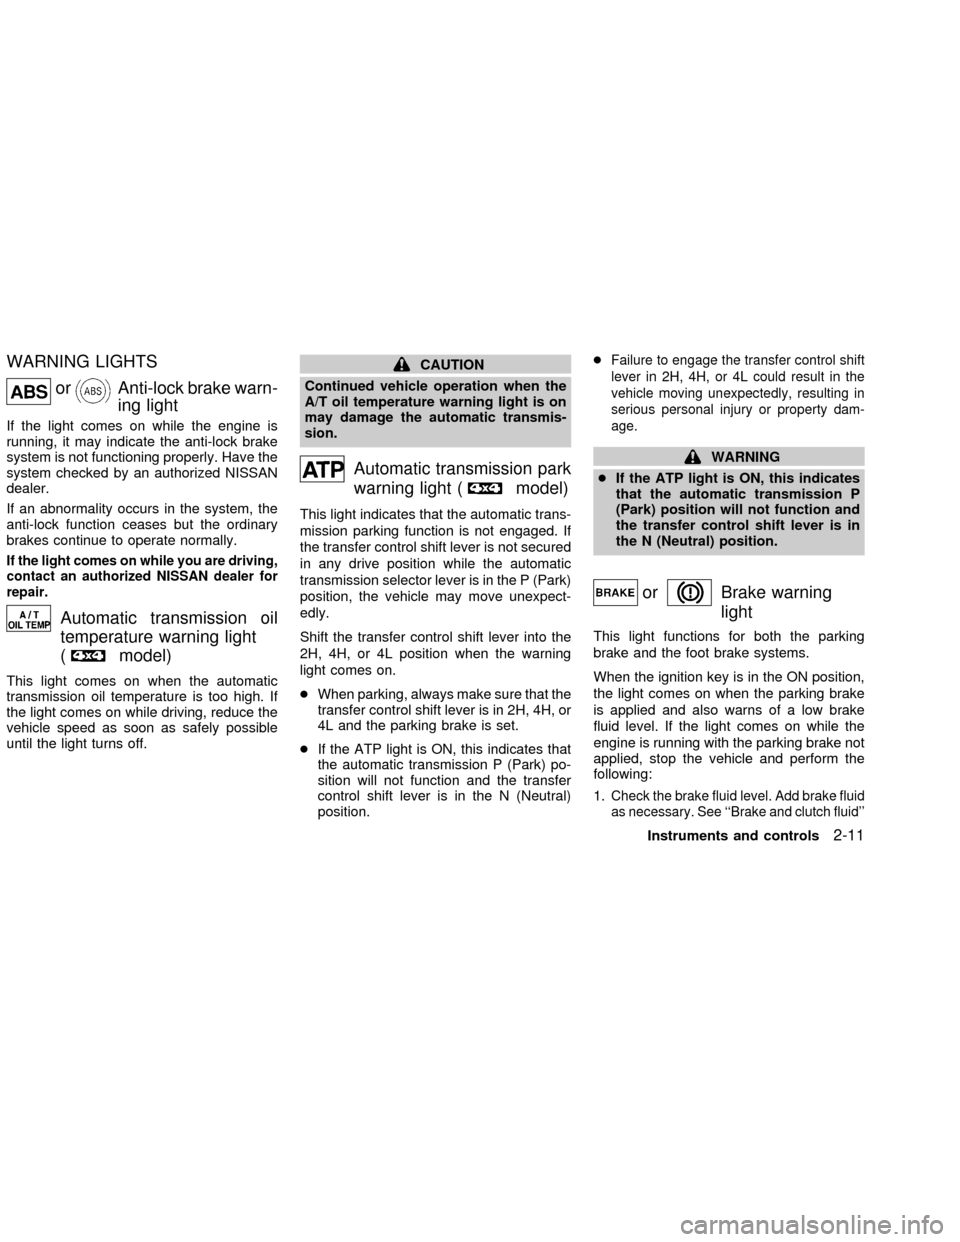
WARNING LIGHTS
orAnti-lock brake warn-
ing light
If the light comes on while the engine is
running, it may indicate the anti-lock brake
system is not functioning properly. Have the
system checked by an authorized NISSAN
dealer.
If an abnormality occurs in the system, the
anti-lock function ceases but the ordinary
brakes continue to operate normally.
If the light comes on while you are driving,
contact an authorized NISSAN dealer for
repair.
Automatic transmission oil
temperature warning light
(
model)
This light comes on when the automatic
transmission oil temperature is too high. If
the light comes on while driving, reduce the
vehicle speed as soon as safely possible
until the light turns off.
CAUTION
Continued vehicle operation when the
A/T oil temperature warning light is on
may damage the automatic transmis-
sion.
Automatic transmission park
warning light (
model)
This light indicates that the automatic trans-
mission parking function is not engaged. If
the transfer control shift lever is not secured
in any drive position while the automatic
transmission selector lever is in the P (Park)
position, the vehicle may move unexpect-
edly.
Shift the transfer control shift lever into the
2H, 4H, or 4L position when the warning
light comes on.
cWhen parking, always make sure that the
transfer control shift lever is in 2H, 4H, or
4L and the parking brake is set.
cIf the ATP light is ON, this indicates that
the automatic transmission P (Park) po-
sition will not function and the transfer
control shift lever is in the N (Neutral)
position.c
Failure to engage the transfer control shift
lever in 2H, 4H, or 4L could result in the
vehicle moving unexpectedly, resulting in
serious personal injury or property dam-
age.
WARNING
cIf the ATP light is ON, this indicates
that the automatic transmission P
(Park) position will not function and
the transfer control shift lever is in
the N (Neutral) position.
orBrake warning
light
This light functions for both the parking
brake and the foot brake systems.
When the ignition key is in the ON position,
the light comes on when the parking brake
is applied and also warns of a low brake
fluid level. If the light comes on while the
engine is running with the parking brake not
applied, stop the vehicle and perform the
following:
1.
Check the brake fluid level. Add brake fluid
as necessary. See ``Brake and clutch fluid''
Instruments and controls2-11
ZX
Page 63 of 273
in the ``Maintenance and do-it-yourself''
section of this manual.
2. If the brake fluid level is correct, have the
warning system checked by an autho-
rized NISSAN dealer.
WARNING
c
Your brake system may not be work-
ing properly if the warning light is on.
Driving could be dangerous. If you
judge it to be safe, drive carefully to
the nearest service station for repairs.
Otherwise have your vehicle towed
because driving it could be danger-
ous.
cPressing the brake pedal with the
engine stopped and/or low brake
fluid level may increase your stop-
ping distance and require greater
pedal effort as well as pedal travel.
cIf the brake fluid level is below the
MINIMUM or MIN mark on the brake
fluid reservoir, do not drive until the
brake system has been checked at
an authorized NISSAN dealer.
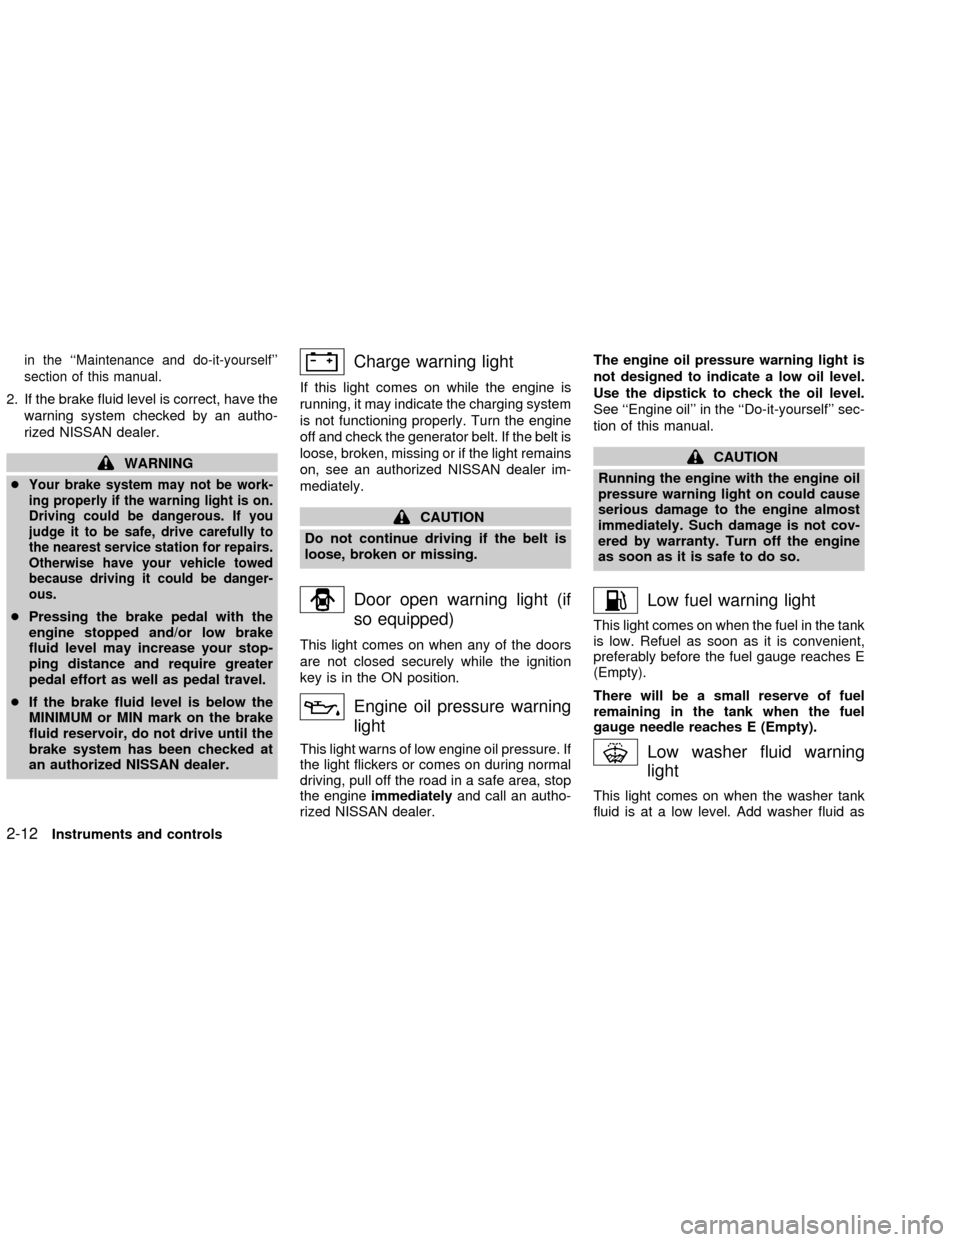
Charge warning light
If this light comes on while the engine is
running, it may indicate the charging system
is not functioning properly. Turn the engine
off and check the generator belt. If the belt is
loose, broken, missing or if the light remains
on, see an authorized NISSAN dealer im-
mediately.
CAUTION
Do not continue driving if the belt is
loose, broken or missing.
Door open warning light (if
so equipped)
This light comes on when any of the doors
are not closed securely while the ignition
key is in the ON position.
Engine oil pressure warning
light
This light warns of low engine oil pressure. If
the light flickers or comes on during normal
driving, pull off the road in a safe area, stop
the engineimmediatelyand call an autho-
rized NISSAN dealer.The engine oil pressure warning light is
not designed to indicate a low oil level.
Use the dipstick to check the oil level.
See ``Engine oil'' in the ``Do-it-yourself'' sec-
tion of this manual.
CAUTION
Running the engine with the engine oil
pressure warning light on could cause
serious damage to the engine almost
immediately. Such damage is not cov-
ered by warranty. Turn off the engine
as soon as it is safe to do so.
Low fuel warning light
This light comes on when the fuel in the tank
is low. Refuel as soon as it is convenient,
preferably before the fuel gauge reaches E
(Empty).
There will be a small reserve of fuel
remaining in the tank when the fuel
gauge needle reaches E (Empty).
Low washer fluid warning
light
This light comes on when the washer tank
fluid is at a low level. Add washer fluid as
2-12Instruments and controls
ZX
Page 66 of 273
tem. To reduce or avoid emission control
system damage:
cdo not drive at speeds above 45 MPH
(72 km/h).
c
avoid hard acceleration or deceleration.
cavoid steep uphill grades.
cif possible, reduce the amount of cargo
being hauled or towed.
The malfunction indicator lamp may stop
blinking and come on steady.
Have the vehicle inspected by an autho-
rized NISSAN dealer. You do not need to
have your vehicle towed to the dealer.
CAUTION
Continued vehicle operation without
having the emission control system
checked and repaired as necessary
could lead to poor driveability, reduced
fuel economy, and possible damage to
the emission control system.
Overdrive off indicator light
(automatic transmission
only)
This light comes on when the overdrive
switch is pushed to the OFF position.
Turn signal/hazard indicator
lights
These lights flash when the turn signal
switch or hazard switch is turned on.
AUDIBLE REMINDERS
Brake pad wear warning
The disc brake pads have audible wear
warnings. When a brake pad requires re-
placement, it makes a high pitched scraping
sound when the vehicle is in motion whether
or not the brake pedal is depressed. Have
the brakes checked as soon as possible if
the warning sound is heard.
Key reminder chime
The chime sounds when the driver's door is
opened and the key is left in the ignition
switch. Take the ignition key when you
leave the vehicle.
Light reminder chime
A chime sounds if the driver's door is
opened with the headlight switch on unless
the ignition key is in the ON position. Turn
the headlight switch off when you leave the
vehicle.
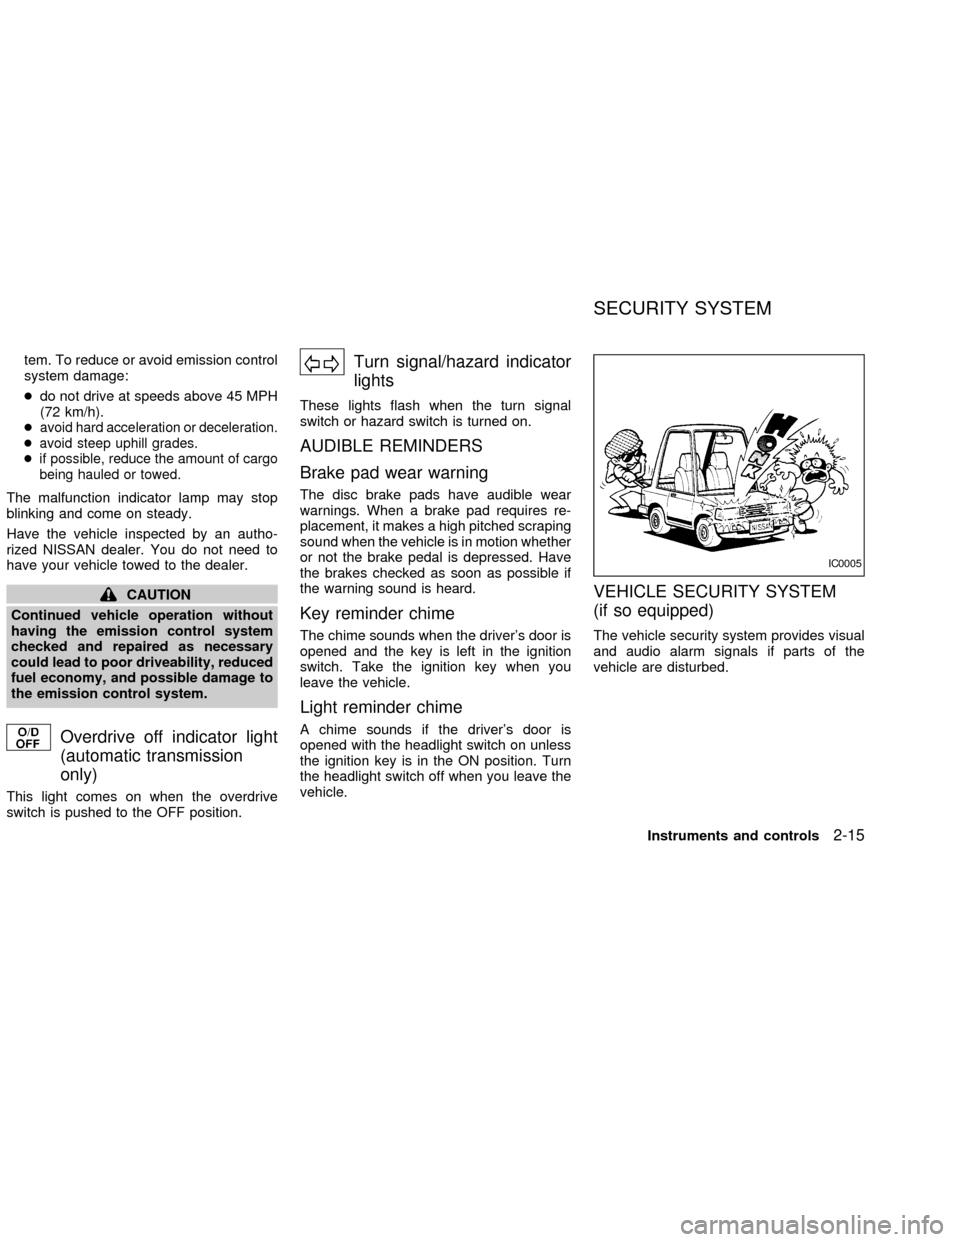
VEHICLE SECURITY SYSTEM
(if so equipped)
The vehicle security system provides visual
and audio alarm signals if parts of the
vehicle are disturbed.
IC0005
SECURITY SYSTEM
Instruments and controls2-15
ZX
Page 67 of 273

Security indicator light
The security indicator light shows the status
of the vehicle security system.
The light operates whenever the ignition
switch is in the LOCK, OFF, or ACC posi-
tion.
The vehicle security system has four
phases. For each phase the operation of the
security indicator light is different.
How to activate the vehicle security
system
1. Close all windows.(The system can be
activated even if the windows are
open.)
2. Remove the key from the ignition switch.
3. Close the hood and all doors. The doors
can be locked using the key, power door
lock switch or keyfob.
Keyfob operation:
cPush the LOCK button on the keyfob.
All doors lock. The hazard lights flash
twice and the horn beeps once to
indicate all doors are locked.
cWhen the LOCK button is pushed with
all doors locked, the hazard lights flash
twice and the horn beeps once as a
reminder that the doors are already
locked. The horn may or may not beep
once. Refer to ``Silencing the horn
beep feature'' later in this section.
4.
Confirm that the SECURITY indicator
light comes on. The SECURITY light
glows for about 30 seconds and then
begins to flash once every three seconds.
LIC0093
LIC0053
2-16Instruments and controls
ZX
Page 68 of 273

The system is now activated. If, during
this 30 second time period, a door is
unlocked by the key or the keyfob, or the
ignition key is turned to ACC or ON, the
system will not activate.
cIf the key is turned slowly when lock-
ing the door, the system may not acti-
vate. Furthermore, if the key is turned
excessively to the unlock position, the
system may be deactivated when the
key is removed. If the indicator light
fails to glow for 30 seconds, unlock
the door once and lock it again.
cEven when the driver and/or passen-
gers are in the vehicle, the system will
activate with doors, and hood locked
and with the ignition key in the OFF
position. Turn the ignition key to ACC
or ON to turn the system off.
The vehicle security system is NOT acti-
vated if one of the following occurs:
cA door is unlocked or the ignition key is
turned to the ACC or ON position during
the 30 seconds in which the SECURITY
light stays on.
cThe SECURITY light blinks at a steady
1/2 second on - 1/2 second off rate (adoor, or the hood is open and the key is
not in the ACC or ON position). When the
ignition key is turned to the ACC or ON
position, the SECURITY light turns off.
Vehicle security system operation
The vehicle security system emits the fol-
lowing alarm:
cThe headlights blink and the horn sounds
intermittently. In addition, the starter mo-
tor does not operate.
c
The alarm automatically turns off after 50
seconds. However, the alarm reactivates
if the vehicle is tampered with again. The
alarm can be shut off by unlocking a door
with the key or by pressing the UNLOCK
buttonon the keyfob.
The alarm is activated by:
copening a door without using the key
(even if the door is unlocked by releasing
the inside lock knob).
copening the hood.
How to stop the alarm
The alarm stops only by unlocking a door
with the key or by pressing the UNLOCK
buttonon the keyfob.The alarm does notstop if the ignition switch is turned to ACC or
ON position.
Instruments and controls
2-17
ZX
Page 78 of 273
removed for cleaning.
The upper half of the console box may be
used for storage of cellular phones. An
access hole is provided at the bottom of the
upper half of the console box for phone cord
routing to the power socket.
To route a phone cord to the power socket:
1. open the upper half of the console box
2. remove the rubber mat, and then remove
the cutout area from the mat
3. remove the access hole cover
4. install the rubber mat
5. route the phone cord through the access
hole and plug into the power socket
Lower half
Pull up on the lever to open the lower half of
the console box. A power socket is located
inside the console box and there is storage
for cassette tapes and compact discs.
GROCERY HOOKS (King Cab
only)
The grocery hooks allow for 2 standard size
plastic grocery bags to hang side-by-side.
Do not apply a total load of more than 55 lbs
(25 kg) to a single grocery hook.
WARNING
cProperly secure all cargo to help pre-
vent it from sliding or shifting. Do not
place cargo higher than the seat-
backs. In a sudden stop or collision,
unsecured cargo could cause per-
sonal injury.
cUse suitable ropes and hooks to se-
cure cargo.
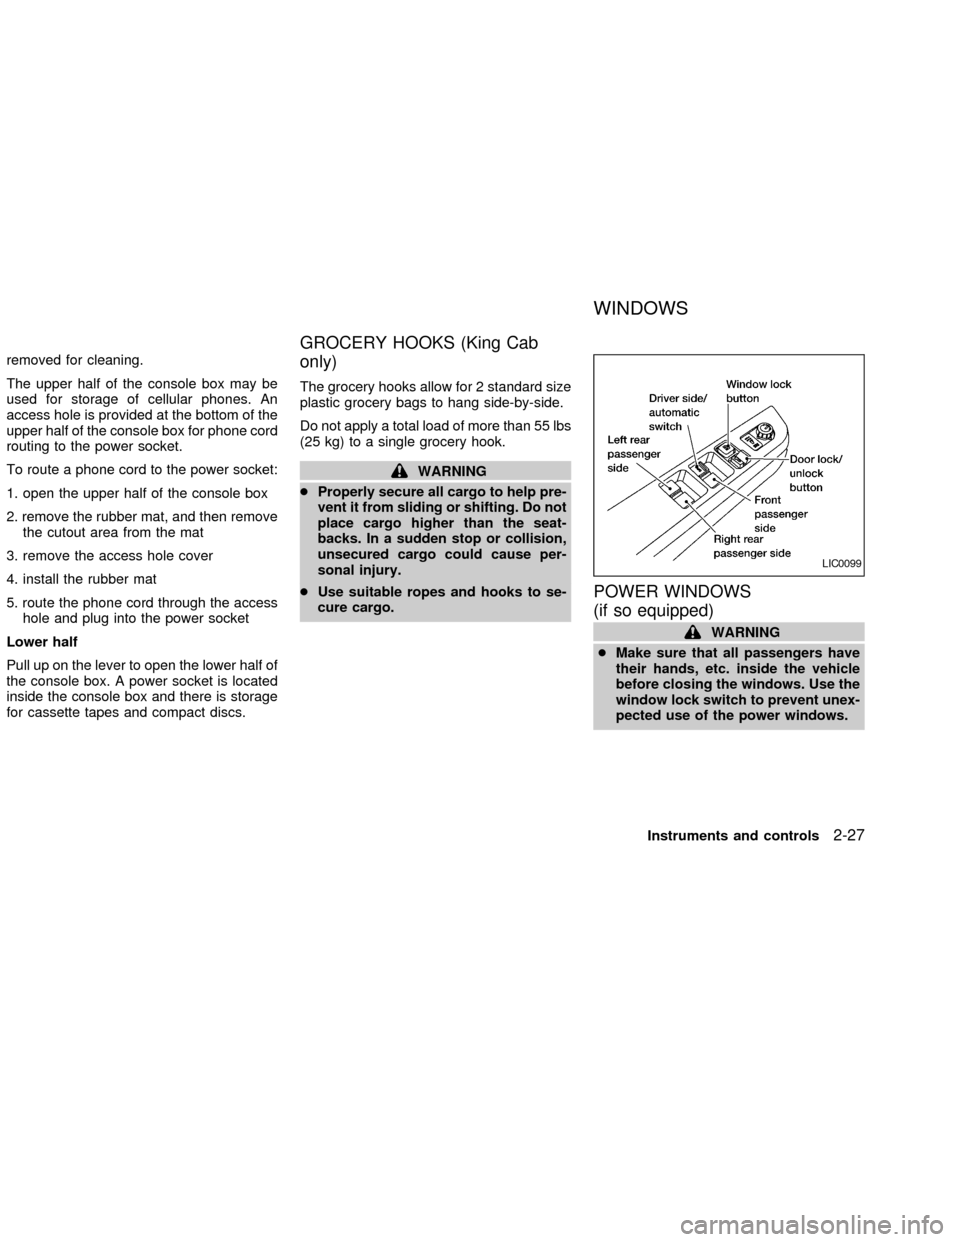
POWER WINDOWS
(if so equipped)
WARNING
cMake sure that all passengers have
their hands, etc. inside the vehicle
before closing the windows. Use the
window lock switch to prevent unex-
pected use of the power windows.
LIC0099
WINDOWS
Instruments and controls2-27
ZX
Page 82 of 273
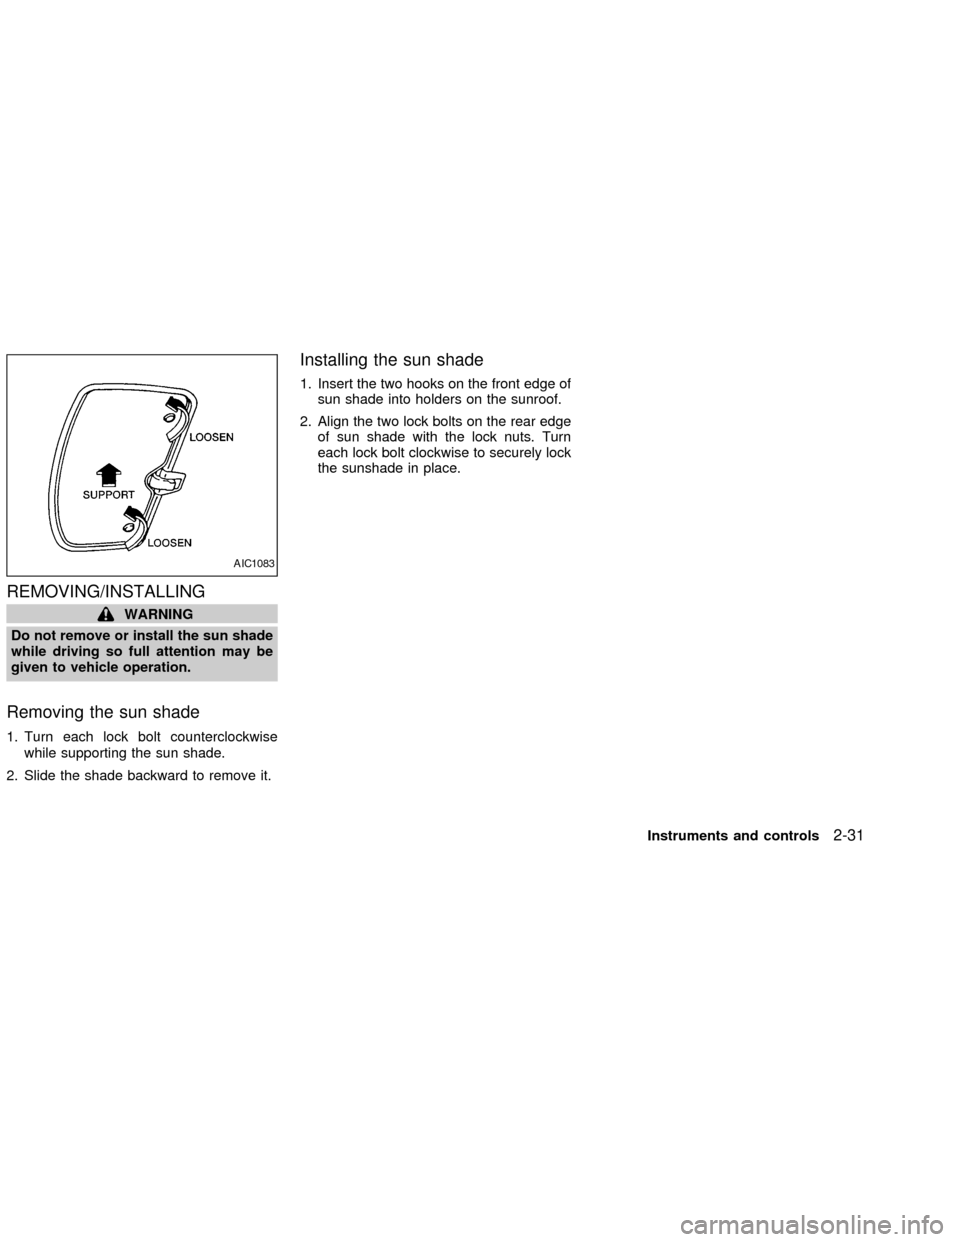
REMOVING/INSTALLING
WARNING
Do not remove or install the sun shade
while driving so full attention may be
given to vehicle operation.
Removing the sun shade
1. Turn each lock bolt counterclockwise
while supporting the sun shade.
2. Slide the shade backward to remove it.
Installing the sun shade
1. Insert the two hooks on the front edge of
sun shade into holders on the sunroof.
2. Align the two lock bolts on the rear edge
of sun shade with the lock nuts. Turn
each lock bolt clockwise to securely lock
the sunshade in place.
AIC1083
Instruments and controls2-31
ZX
Page 83 of 273
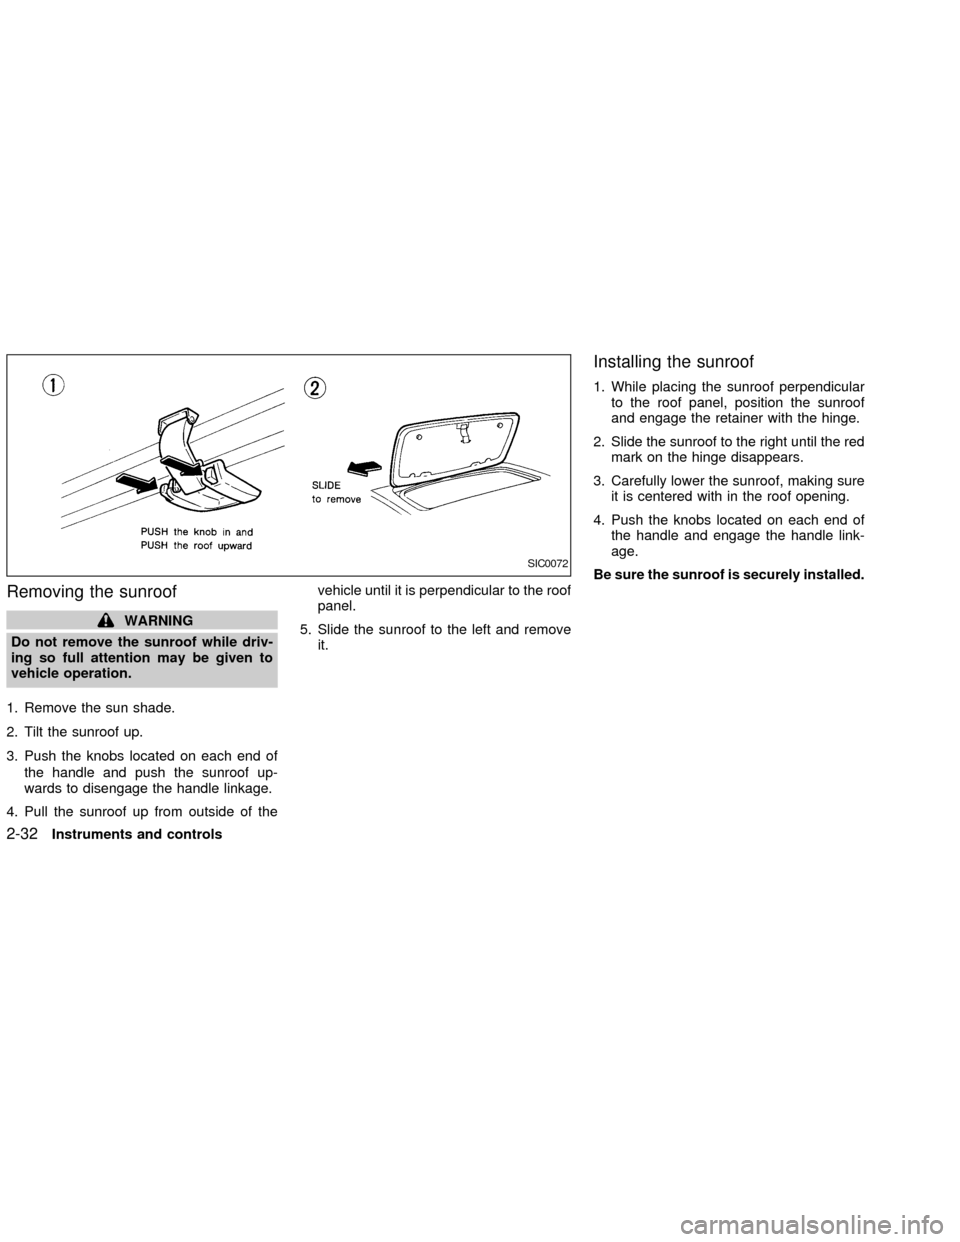
Removing the sunroof
WARNING
Do not remove the sunroof while driv-
ing so full attention may be given to
vehicle operation.
1. Remove the sun shade.
2. Tilt the sunroof up.
3. Push the knobs located on each end of
the handle and push the sunroof up-
wards to disengage the handle linkage.
4. Pull the sunroof up from outside of thevehicle until it is perpendicular to the roof
panel.
5. Slide the sunroof to the left and remove
it.
Installing the sunroof
1. While placing the sunroof perpendicular
to the roof panel, position the sunroof
and engage the retainer with the hinge.
2. Slide the sunroof to the right until the red
mark on the hinge disappears.
3. Carefully lower the sunroof, making sure
it is centered with in the roof opening.
4. Push the knobs located on each end of
the handle and engage the handle link-
age.
Be sure the sunroof is securely installed.
SIC0072
2-32Instruments and controls
ZX