2002 NISSAN ALTIMA instrument cluster
[x] Cancel search: instrument clusterPage 69 of 249

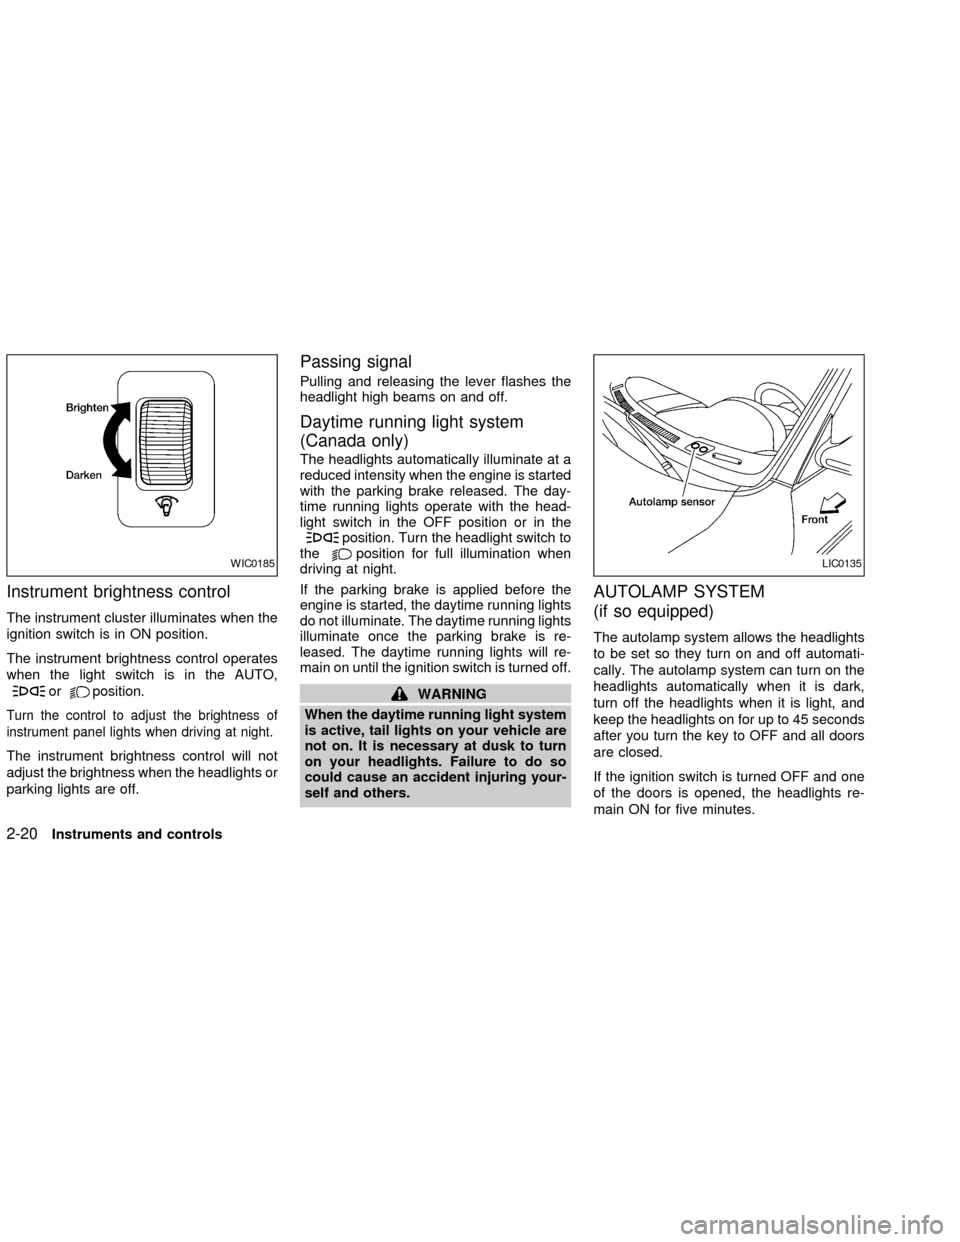
Instrument brightness control
The instrument cluster illuminates when the
ignition switch is in ON position.
The instrument brightness control operates
when the light switch is in the AUTO,
orposition.
Turn the control to adjust the brightness of
instrument panel lights when driving at night.
The instrument brightness control will not
adjust the brightness when the headlights or
parking lights are off.
Passing signal
Pulling and releasing the lever flashes the
headlight high beams on and off.
Daytime running light system
(Canada only)
The headlights automatically illuminate at a
reduced intensity when the engine is started
with the parking brake released. The day-
time running lights operate with the head-
light switch in the OFF position or in the
position. Turn the headlight switch to
theposition for full illumination when
driving at night.
If the parking brake is applied before the
engine is started, the daytime running lights
do not illuminate. The daytime running lights
illuminate once the parking brake is re-
leased. The daytime running lights will re-
main on until the ignition switch is turned off.
WARNING
When the daytime running light system
is active, tail lights on your vehicle are
not on. It is necessary at dusk to turn
on your headlights. Failure to do so
could cause an accident injuring your-
self and others.
AUTOLAMP SYSTEM
(if so equipped)
The autolamp system allows the headlights
to be set so they turn on and off automati-
cally. The autolamp system can turn on the
headlights automatically when it is dark,
turn off the headlights when it is light, and
keep the headlights on for up to 45 seconds
after you turn the key to OFF and all doors
are closed.
If the ignition switch is turned OFF and one
of the doors is opened, the headlights re-
main ON for five minutes.
WIC0185LIC0135
2-20Instruments and controls
ZX
Page 144 of 249

form the following procedure.
1. Turn the ignition key to the LOCK posi-
tion and remove the key.
2. Apply the parking brake.
3. Remove the shift lock release cover as
shown.
4. Insert a small screwdriver in the shift lock
release slot and push down.
5. Move the shift selector lever to the N
(neutral) position while holding down the
shift lock release.
6. Turn the key to the ON position to unlock
the steering wheel.
Now the vehicle may be moved to the
desired location.
If the lever cannot be moved out of P (Park),
have your authorized NISSAN dealer check
the automatic transmission system as soon
as possible.WARNING
If the selector lever cannot be moved
from the P (Park) position while the
engine is running and the brake pedal
is depressed, the stop lights may not
work. Malfunctioning stop lights could
cause an accident injuring yourself and
others.
Accelerator downshift Ð In D posi-
tion Ð
For passing or hill climbing, fully depress
the accelerator pedal to the floor. This shifts
the transmission down into second gear or
first gear, depending on the vehicle speed.
Fail-safe
When the fail-safe operation occurs, the
next time the key is turned to the ON
position, the light in the instrument cluster of
the selected shift position will blink for ap-
proximately 8 seconds after the ignition is
turned ON. While the vehicle can be driven
under these circumstances, please note
that the gears in the automatic transmission
will be locked in third gear.
If the vehicle is driven under extremeconditions, such as excessive wheel
spinning and subsequent hard braking,
the fail-safe system may be activated.
This will occur even if all electrical cir-
cuits are functioning properly. In this
case, turn the ignition key OFF and wait
for 3 seconds. Then turn the key back to
the ON position. The vehicle should re-
turn to its normal operating condition. If
it does not return to its normal operating
condition, have your NISSAN retailer
check the transmission and repair if nec-
essary.
MANUAL TRANSMISSION
WARNING
cDo not downshift abruptly on slip-
pery roads. This may cause a loss of
control.
cDo not over-rev the engine when
shifting to a lower gear. This may
cause a loss of control or engine
damage.
Starting and driving
5-11
ZX
Page 147 of 249

PRECAUTIONS ON CRUISE
CONTROL
cIf the cruise control system malfunctions,
it cancels automatically. The SET indica-
tor light in the instrument panel then
blinks to warn the driver.
cIf the SET indicator light blinks, turn the
cruise control main switch off and have
the system checked by an authorized
NISSAN dealer.
cThe SET indicator light may blink when
the cruise control main switch is turned
ON while pushing the RES/ACCEL,COAST/SET, or CANCEL switch (lo-
cated on the steering wheel). To properly
use the cruise control system, use the
following procedures.
WARNING
Do not use the cruise control when
driving under the following conditions.
cWhen it is not possible to keep the
vehicle at a set speed.
cIn heavy traffic or in traffic that var-
ies in speed.
cOn winding or hilly roads.
c
On slippery roads (rain, snow, ice, etc.).
cIn very windy areas.
Doing so could cause a loss of vehicle
control and result in an accident.
CAUTION
On manual transmission models, do
not shift into N (Neutral) without de-
pressing the clutch pedal when the
cruise control is set. Should this occur,
depress the clutch pedal and turn the-
main switch off immediately. Failure to
do so may cause engine damage.
CRUISE CONTROL OPERA-
TIONS
The cruise control allows driving at a speed
between 30 to 90 MPH (48 to 144 km/h)
without keeping your foot on the accelerator
pedal.
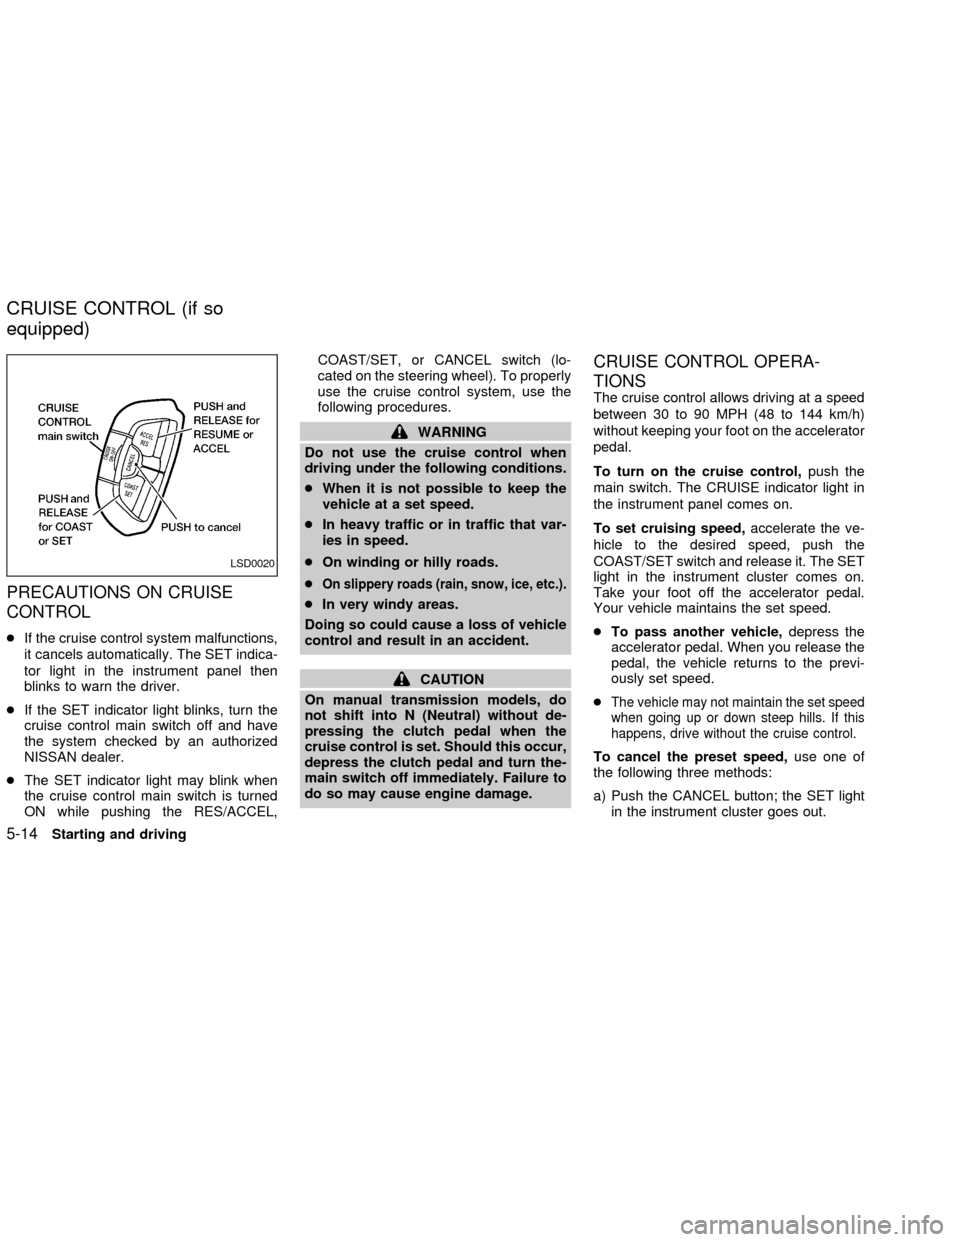
To turn on the cruise control,push the
main switch. The CRUISE indicator light in
the instrument panel comes on.
To set cruising speed,accelerate the ve-
hicle to the desired speed, push the
COAST/SET switch and release it. The SET
light in the instrument cluster comes on.
Take your foot off the accelerator pedal.
Your vehicle maintains the set speed.
cTo pass another vehicle,depress the
accelerator pedal. When you release the
pedal, the vehicle returns to the previ-
ously set speed.
c
The vehicle may not maintain the set speed
when going up or down steep hills. If this
happens, drive without the cruise control.
To cancel the preset speed,use one of
the following three methods:
a) Push the CANCEL button; the SET light
in the instrument cluster goes out.
LSD0020
CRUISE CONTROL (if so
equipped)
5-14Starting and driving
ZX
Page 148 of 249

b) Tap the brake pedal; the SET light goes
out.
c) Turn the main switch off. Both the
CRUISE indicator on the main switch and
SET light in the instrument cluster go out.
The cruise control is automatically can-
celled and the SET light in the instrument
panel goes out if:
cyou depress the brake or clutch pedal
while pushing the RES/ACCEL or
COAST/SET switch.
cthe vehicle slows down more than 8 MPH
(13 km/h) below the set speed.
cyou depress the clutch pedal (manual
transmission), or move the shift selector
lever to N (Neutral) (automatic transmis-
sion).
To reset at a faster cruising speed,use
one of the following three methods.
a) Depress the accelerator pedal. When the
vehicle attains the desired speed, push
and release the COAST/SET switch.
b) Push and hold the RES/ACCEL switch.
When the vehicle attains the speed you
desire, release the switch.c)Push and release the RES/ACCEL switch.
Each time you do this, the set speed
increases by about 1 MPH (1.6 km/h).
To reset at a slower cruising speed,use
one of the following three methods:
a) Lightly tap the brake pedal. When the
vehicle attains the desired speed, push
the COAST/SET switch and release it.
b) Push and hold the COAST/SET switch.
Release the switch when the vehicle
slows to the desired speed.
c) Push and release the COAST/SET
switch. Each time you do this, the set
speed decreases by about 1 MPH (1.6
km/h).
To resume the preset speed,push and re-
lease the RES/ACCEL switch. The vehicle
returns to the last set cruising speed when the
vehicle speed is over 30 MPH (48 km/h).
During the first 1,000 miles (1,600 km),
follow these recommendations for the future
reliability and economy of your new vehicle.
cAvoid driving for long periods at constant
speed, either fast or slow.
cDo not accelerate at full throttle in any
gear.
cAvoid quick starts.
cAvoid hard braking as much as possible.
cDo not tow a trailer for the first 500 miles
(800 km).
BREAK-IN SCHEDULE
Starting and driving5-15
ZX