Page 37 of 216
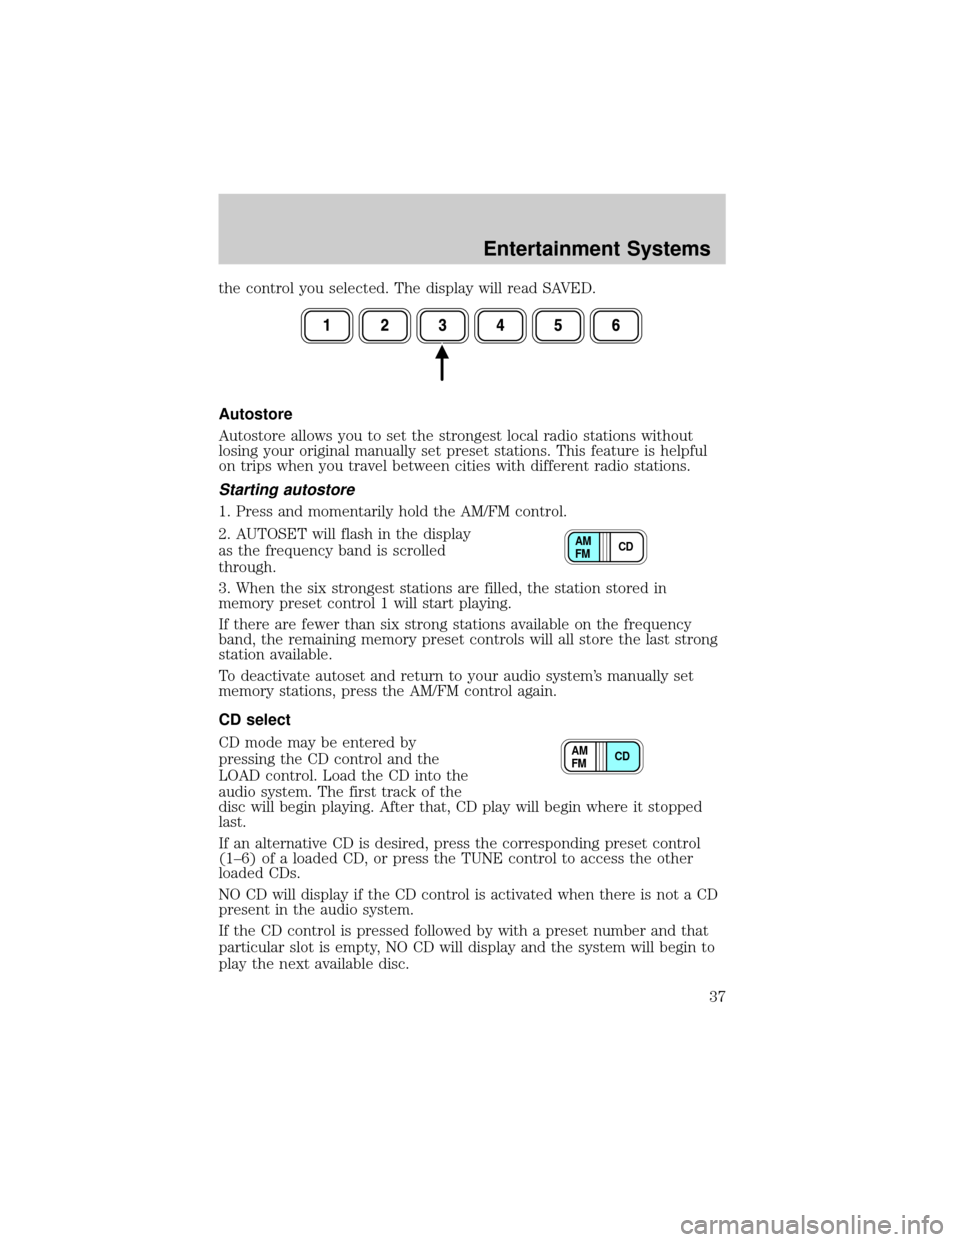
the control you selected. The display will read SAVED.
Autostore
Autostore allows you to set the strongest local radio stations without
losing your original manually set preset stations. This feature is helpful
on trips when you travel between cities with different radio stations.
Starting autostore
1. Press and momentarily hold the AM/FM control.
2. AUTOSET will flash in the display
as the frequency band is scrolled
through.
3. When the six strongest stations are filled, the station stored in
memory preset control 1 will start playing.
If there are fewer than six strong stations available on the frequency
band, the remaining memory preset controls will all store the last strong
station available.
To deactivate autoset and return to your audio system's manually set
memory stations, press the AM/FM control again.
CD select
CD mode may be entered by
pressing the CD control and the
LOAD control. Load the CD into the
audio system. The first track of the
disc will begin playing. After that, CD play will begin where it stopped
last.
If an alternative CD is desired, press the corresponding preset control
(1±6) of a loaded CD, or press the TUNE control to access the other
loaded CDs.
NO CD will display if the CD control is activated when there is not a CD
present in the audio system.
If the CD control is pressed followed by with a preset number and that
particular slot is empty, NO CD will display and the system will begin to
play the next available disc.
CD AM
FM
CD AM
FM
Entertainment Systems
37
Page 38 of 216
CD units are designed to play commercially pressed 12 cm (4.75
in) audio compact discs only. Due to technical incompatibility,
certain recordable and re-recordable compact discs may not
function correctly when used in Ford CD players. Irregular
shaped CDs, CDs with a scratch protection film attached, and CDs
with homemade paper (adhesive) labels should not be inserted
into the CD player. The label may peel and cause the CD to
become jammed. It is recommended that homemade CDs be
identified with permanent felt tip marker rather than adhesive
labels. Ball point pens may damage CDs. Please contact your
dealer for further information.
Display description
Six circles are always lit in the digital display. These signify the six CD
slots in the audio system. When a disc is loaded into a particular slot
(1±6), the number inside that specific circle lights. If the circle is empty,
there is no CD in that particular slot.
Load
The load feature allows you to load
single CDs into the player internal
to the radio.
This six disc CD player is equipped with a CD door. Compact
discs should only be inserted into the player after the door has
been opened by the player. Do not attempt to force the door
open. Compact discs should only be loaded by pressing the LOAD
control.
Press the LOAD control. (You can choose which slot will be loaded by
pressing the desired preset number. If you do not choose a slot, the
system will choose the next available one.) Wait until the CD door opens.
Load the CD into the player. LOADING CD# is displayed. When the CD
has been loaded, the door will close and the CD will begin to play. For
example, to load a CD into slot 2, press the LOAD control and then press
preset 2.
Auto load
This feature allows you to autoload
up to 6 discs into the multi disc CD
player internal to the radio.
Press and hold the LOAD control until AUTOLOAD # is displayed. The
CD door will open. Load the desired discs, one at a time. The CD is
LOAD
LOAD
Entertainment Systems
38
Page 39 of 216
loaded into position and the audio system will display CD#. Each time
the CD door opens, INSERT CD# is displayed. The door will close and
the player will move to the next slot after each disc has been loaded.
The process is repeated until all 6 slots are full. The audio system plays
the last CD loaded and the display is updated. If some slots are already
full and autoload is activated, the system will fill all empty slots.
Eject
Press the EJ control to stop and
eject a CD. You can choose which
CD will be ejected by pressing the
EJ control and the desired preset number (1±6). For example, to eject
CD 2, press the EJ control and then press the preset 2 control. If you do
not choose a specific CD, the player will eject the current CD.
If a CD is ejected and not removed from the door of the CD player, the
player will automatically reload the CD. This feature may be used when
the ignition is ON or OFF.
Auto eject
Press and momentarily hold the EJ
control to engage auto eject. All CDs
which are present in the player will
be ejected one at a time. If a CD is ejected and not removed from the
door of the CD player, the player will automatically reload the CD. This
feature may be used when the ignition is ON or OFF.
Rewind
The rewind control works in CD
modes.
Press and hold the REW control
until the desired selection is reached. If the beginning of the disc is
reached, the CD will begin play at the first track. Release the control to
disengage rewind mode.
When in rewind mode, your audio system will automatically lower the
volume level of the playing media.
Fast forward
The fast forward control works in
CD modes.
EJ
EJ
REW FF
REW FF
Entertainment Systems
39
Page 40 of 216
Press and hold the FF control until the desired selection is reached. If
the end of the disc is reached, the CD will return to the first track.
Release the control to disengage fast forward mode.
When in fast forward mode, your audio system will automatically lower
the volume level of the playing media.
Shuffle feature
Press the SHUF control until the
desired shuffle mode is displayed.
The audio system will then engage
the desired shuffle mode.
When engaged, the shuffle feature has two different modes: SHUFFLE
DISC and SHUFFLE TRK.
SHUFFLE DISC randomly plays tracks from all the discs presently in the
audio system.
SHUFFLE TRK plays all the tracks on the current disc in random order.
Compression feature
The compression feature operates in CD mode and brings soft and loud
CD passages together for a more consistent listening level.
Press the COMP control until COMP
ON is displayed.
Bass adjust
The bass adjust control allows you
to increase or decrease the audio
system's bass output.
Press the BASS control. Use the
SEL control to increase or decrease
the amount of bass.
Treble adjust
The treble adjust control allows you
to increase or decrease the audio
system's treble output.
Press the TREB control. Use the
SEL control to increase or decrease
the amount of treble.
SEL
BASS
TREB
+
SEL
BASS
TREB
+
Entertainment Systems
40
Page 43 of 216
RADIO RECEPTION FACTORS
Three factors can affect radio reception:
²Distance/strength.The further an FM signal travels, the weaker it is.
The listenable range of the average FM station is approximately 40 km
(24 miles). This range can be affected by ªsignal modulation.º Signal
modulation is a process radio stations use to increase their
strength/volume relative to other stations.
²Terrain.Hills, mountains and tall buildings between your vehicle's
antenna and the radio station signal can cause FM reception problems.
Static can be caused on AM stations by power lines, electric fences,
traffic lights and thunderstorms. Moving away from an interfering
structure (out of its ªshadowº) returns your reception to normal.
²Station overload.Weak signals are sometimes captured by stronger
signals when you pass a broadcast tower. A stronger signal may
temporarily overtake a weaker signal and play while the weak station
frequency is displayed.
The audio system automatically switches to single channel reception if it
will improve the reception of a station normally received in stereo.
AUDIO SYSTEM WARRANTIES AND SERVICE
Refer to theWarranty Guidefor audio system warranty information.
If service is necessary, see your dealer or a qualified technician.
Entertainment Systems
43
Page 60 of 216
CLOCK
The clock can be set to either a 12 hour or a 24 hour format.
Press the CLOCK button until it
flashes.
Press the UNITS button once to
display 12HR. Press the RESET
button to toggle between 12 and 24
HR.
Press the UNITS button until the
hour flashes. Press the RESET
button to set the hour.
Press the UNITS button until the
minutes flash. Press the RESET button to set the minutes.
Press the CLOCK button to store the time.
POWER WINDOWS
Press and hold the rocker switches to open and close windows.
²Press the top portion of the
rocker switch to close.
²Press the bottom portion of the
rocker switch to open.
POWER SIDE VIEW MIRRORS
The power mirrors can be operated at any time.
Driver Controls
60
Page 66 of 216
TRIP COMPUTER
The trip computer tells you about the condition of your vehicle through
a constant monitor of vehicle systems. You may select display features on
the trip computer for a display of status.
The trip computer only operates with the ignition in the ON position.
Selectable features
Select
Press this control to select the
following features:
²Temperature
²Average speed
²Trip odometer
²Distance to empty
²Average fuel economy
Units
Press this control to change the trip computer display between metric
and English units.
Reset
Press this control to reset the function to zero.
Temperature
Shows the outside air temperature.
It may take several minutes of
driving for the display to update the
present temperature.
Average speed
Shows the average speed since last
reset.
Trip odometer
Refer toGaugesin theInstrument
clusterchapter
Driver Controls
66
Page 67 of 216
Distance to empty
This displays the approximate
distance you can drive with the fuel
remaining in the tank.
Average fuel economy
Shows the average fuel economy
since last reset.
TRUNK REMOTE CONTROL
Push the control located under the
instrument panel by the driver's
door to open the luggage
compartment.
FRONT ASHTRAY
The ashtray is located beneath the
radio.
To open, press and the ashtray
opens automatically. To empty,
extract the ashtray.
CENTER CONSOLE
Your vehicle has a variety of console features. These include:
²Utility compartment
²Cupholder
²Coin holder slots
Use only soft cups in the cupholder. Hard objects can injure you
in a collision.
Driver Controls
67