2002 MERCEDES-BENZ SLK320 temperature
[x] Cancel search: temperaturePage 94 of 290

91 Climate control
Te ch n i c a l
data Instruments
and controlsOperationDrivingInstrument
cluster displayPractical hints Car care Index Air recirculation
This mode can be selected to temporarily reduce the
entry of annoying odors or dust into the vehicle’s
interior.
Outside air is not supplied to the vehicle’s interior.
To s el ect , p res s O button.
To cancel, press O button again.
The system will automatically switch from recirculated
air to fresh air
•after approximately 5 minutes at outside
temperatures below approximately 40°F (5°C),
•after approximately 30 minutes, at outside
temperatures above approximately 40°F (5°C),
•after approximately 5 minutes, if button S is
pressed.
At high outside temperatures, the system automatically
engages the recirculated air mode for approximately
30 minutes, thereby increasing the cooling capacity
performance. Press O button again to extend the
recirculated air mode.Residual engine heat utilization (REST)
With the engine switched off, it is possible to continue
heating the interior for a short while.
Air volume is controlled automatically. Select
temperature for each side of the passenger
compartment. Set air distribution control switch to the
desired position.
To s e l e c t :
Turn key in steering lock to position 1 or 0 or remove.
Press O button. Indicator lamp in the button lights
up.
This function selection will not activate if the battery
charge level is insufficient.
To c a n c e l :
Press O button. Indicator lamp in the button goes
out.
The system will automatically shut off
•if you turn key in steering lock to position 2,
•after approximately 30 minutes,
•if the battery voltage drops.
Page 107 of 290
104 Audio system
Te ch n i c a l
data Instruments
and controlsOperationDrivingInstrument
cluster displayPractical hints Car care Index
CD mode
General notes on CD mode
Should excessive temperatures occur while in CD mode,
“TEMP HIGH” will appear in the display and muting
will take place. The unit will then switch back to radio
mode until the temperature has decreased to a safe
operating level.
Should temperatures occur while in CD mode which are
too low, “TEMP LOW” will be displayed, but the CD will
play. It will be sensitive to skipping if you are driving
over rough roads.
Handle CDs carefully to prevent interference during
playback.
Avoid fingerprints and dust on CDs. Do not write on the
CDs or apply any label to the CDs.
Clean CDs from time to time with a commercially
available cleaning cloth. No solvents, anti-static sprays,
etc. should be used.
Replace the CD in its container after use. Protect CDs
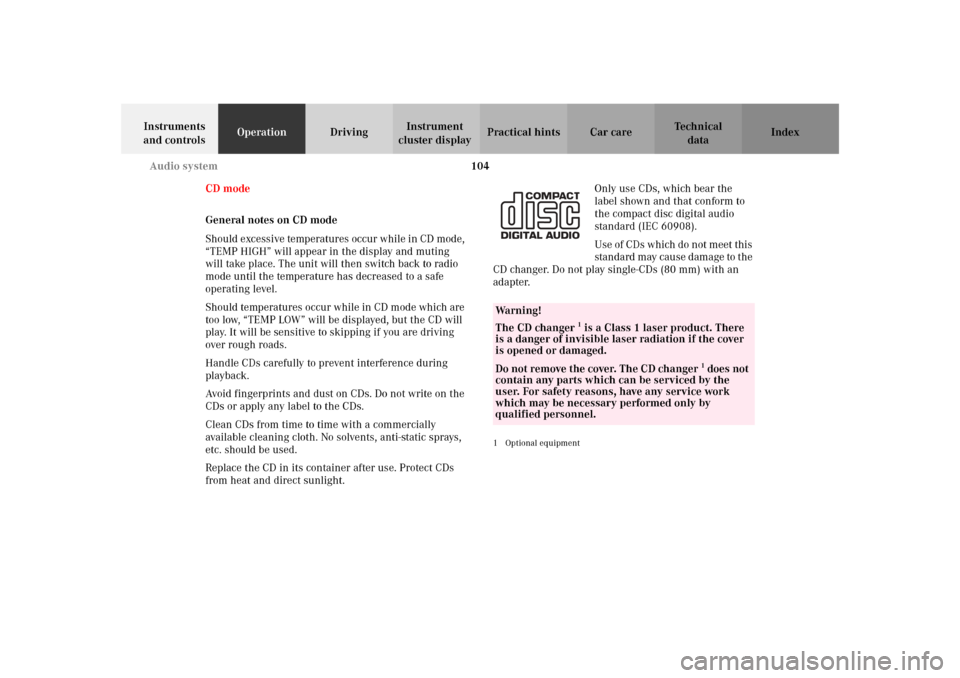
from heat and direct sunlight.Only use CDs, which bear the
label shown and that conform to
the compact disc digital audio
standard (IEC 60908).
Use of CDs which do not meet this
standard may cause damage to the
CD changer. Do not play single-CDs (80 mm) with an
adapter.
1Optional equipmentWa r n i n g !
The CD changer
1 is a Class 1 laser product. There
is a danger of invisible laser radiation if the cover
is opened or damaged.
Do not remove the cover. The CD changer
1 does not
contain any parts which can be serviced by the
user. For safety reasons, have any service work
which may be necessary performed only by
qualified personnel.
Page 147 of 290

144 Starting and turning off the enging
Te ch n i c a l
data Instruments
and controlsOperationDrivingInstrument
cluster displayPractical hints Car care Index
Starting and turning off the engine
Before starting
Ensure that parking brake is engaged and that selector
lever is in position “P” or “N” (gearshift lever in
neutral). Turn key in steering lock to position 2.
Starting
Vehicles with automatic transmission:
Do not depress accelerator. Briefly turn key in steering
lock clockwise to the stop and release. The starter will
engage until the engine is running.
If engine will not run, and the starting procedure stops,
turn key completely to the left and repeat starting the
engine.
After several unsuccessful attempts, have the system
checked at the nearest authorized Mercedes-Benz
Center.Vehicles with manual transmission:
Do not depress accelerator. Fully depress clutch pedal,
otherwise the engine cannot be started due to the
integrated safety interlock.
Turn key in steering lock clockwise to the stop. Release
key only when the engine is firing regularly.
Important!
Due to the installed starter nonrepeat feature, the key
must be turned completely to the left before attempting
to start the engine again.
In areas where temperatures frequently drop below
-4°F(-20°C) we recommend that an engine block heater
be installed. Your authorized Mercedes-Benz Center will
advise you on this subject, see page 165.
Turning off
Turn the key in the steering lock to position 0 to stop the
engine.
Vehicles with automatic transmission:
The key can only be removed with your foot off the
brake pedal and the selector lever in position “P”.
Page 155 of 290

152 Automatic transmission
Te ch n i c a l
data Instruments
and controlsOperationDrivingInstrument
cluster displayPractical hints Car care Index
Briefly press selector lever in the “D +” direction:
The transmission will shift from the current gear range
to the next higher gear range. If the transmission is
already in gear range “D”, an additional upshift of one
gear is possible.
Press and hold selector lever in the “D +” direction:
The transmission will shift from the current gear range
directly to gear range “D”.Important!
With transmission in gear range “D”, “4” or “3”,
upshifting from 1st to 2nd to 3rd gear is delayed
depending on vehicle speed and engine temperature.
This allows the catalytic converter to heat up more
quickly to operating temperatures.
During the brief warm-up period this delayed upshift
and increased engine noise might be perceived as a
malfunction. However, neither the engine nor
transmission are negatively affected by this mode of
operation.
The delayed upshift is effective with vehicle speeds
below 31 mph (50 km / h) at partial throttle and engine
temperatures below 95°F (35°C).
To prevent the engine from laboring at low RPM when
driving uphill gradients or with your vehicle heavily
loaded, the automatic transmission will downshift when
necessary to maintain engine RPM within the best
torque range.
Wa r n i n g !
On slippery road surfaces, never downshift in order
to obtain braking action. This could result in drive
wheel slip and reduced vehicle control. Your
vehicle’s ABS will not prevent this type of loss of
control.
Page 162 of 290
159 Driving instructions
Te ch n i c a l
data Instruments
and controlsOperationDrivingInstrument
cluster displayPractical hints Car care Index Caution!
When driving down long and steep grades, relieve the
load on the brakes by shifting into a lower gear to use
the engine’s braking power. This helps prevent
overheating of the brakes and reduces brake pad wear.
After hard braking, it is advisable to drive on for some
time, rather than immediately parking, so the air stream
will cool down the brakes faster.
Driving off
Apply the service brakes to test them briefly after
driving off. Perform this procedure only when the road
is clear of other traffic.
Warm up the engine smoothly. Do not place full load on
the engine until the operating temperature has been
reached.
When starting off on a slippery surface, do not allow one
drive wheel to spin for an extended period with the ESP
switched off. Doing so may cause serious damage to the
drive train which is not covered by the Mercedes-Benz
Limited Warranty.Parking
Wa r n i n g !
To reduce the risk of personal injury as a result of
vehicle movement, before
turning off the engine
and leaving the vehicle, always:
1. Keep right foot on the service brake pedal.
2. Firmly engage parking brake.
3. Move the selector lever to position “P”
(manual transmission: first or reverse gear).
4. Slowly release the service brake pedal.
5. Turn front wheels towards the road curb.
6. Turn the key to steering lock position 0 and
remove.
7. Take the key and lock vehicle when leaving.
Page 164 of 290
161 Driving instructions
Te ch n i c a l
data Instruments
and controlsOperationDrivingInstrument
cluster displayPractical hints Car care IndexSpecified tire pressures must be maintained. This
applies particularly if the tires are subjected to high
loads (e.g. high speeds, heavy loads, high ambient
temperatures).
Aquaplaning
Depending on the depth of the water layer on the road,
aquaplaning may occur, even at low speeds and with
new tires. Reduce vehicle speed, avoid track grooves in
the road and apply brakes cautiously in the rain.
Wa r n i n g !
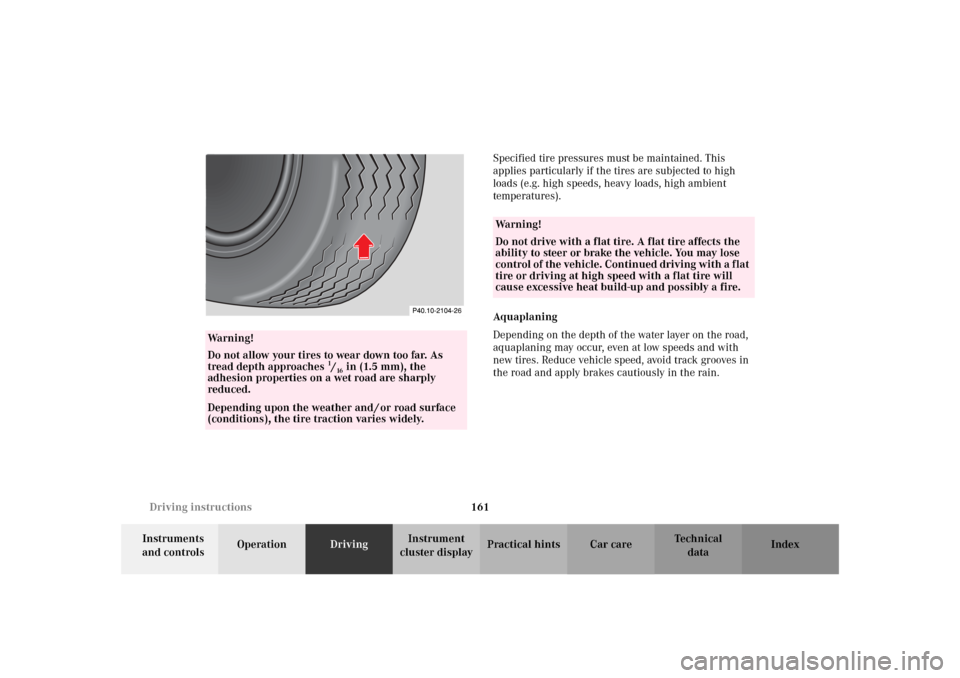
Do not allow your tires to wear down too far. As
tread depth approaches
1/16 in (1.5 mm), the
adhesion properties on a wet road are sharply
reduced.
Depending upon the weather and / or road surface
(conditions), the tire traction varies widely.
Wa r n i n g !
Do not drive with a flat tire. A flat tire affects the
ability to steer or brake the vehicle. You may lose
control of the vehicle. Continued driving with a flat
tire or driving at high speed with a flat tire will
cause excessive heat build-up and possibly a fire.
Page 165 of 290
162 Driving instructions
Te ch n i c a l
data Instruments
and controlsOperationDrivingInstrument
cluster displayPractical hints Car care Index
Tire traction
The safe speed on a wet, snow covered or icy road is
always lower than on a dry road.
You should pay particular attention to the condition of
the road whenever the outside temperatures are close to
the freezing point.
We recommend M+S rated radial-ply tires for the winter
season for all four wheels to insure normal balanced
handling characteristics. On packed snow, they can
reduce your stopping distance as compared with
summer tires. Stopping distance, however, is still
considerably greater than when the road is not snow or
ice covered.Tire speed rating
Vehicles without Sport Package:
Your vehicle is factory equipped with “V”-rated tires,
which have a speed rating of 149 mph (240 km / h).
Vehicles with Sport Package only:
Your vehicle is factory equipped with “Z”-rated tires,
which are permissible for speeds over 149 mph
(240 km/h).
Despite the tire rating, local speed limits should be
obeyed. Use prudent driving speeds appropriate to
prevailing conditions.
Wa r n i n g !
If ice has formed on the road, tire traction will be
substantially reduced. Under such weather
conditions, drive, steer and brake with extreme
caution.
Wa r n i n g !
Even when permitted by law, never operate a
vehicle at speeds greater than the maximum speed
rating of the tires.Exceeding the maximum speed for which tires are
rated can lead to sudden tire failure causing loss of
vehicle control and resulting in personal injury
and possible death.
Page 167 of 290
164 Driving instructions
Te ch n i c a l
data Instruments
and controlsOperationDrivingInstrument
cluster displayPractical hints Car care Index
Winter driving
Have your vehicle winterized at your authorized
Mercedes-Benz Center before the onset of winter.
•Change the engine oil if the engine contains an oil
which is not approved for winter operation. For
viscosity (SAE / CCMC class) and filling quantity,
see page 266.
•Check engine coolant anticorrosion / antifreeze
concentration.•Additive for the windshield washer and headlamp
cleaning system: Add MB Concentrate “S” to a
premixed windshield washer solvent / antifreeze
which is formulated for below freezing
temperatures, see page 199.
•Test battery: Battery capacity drops with decreasing
ambient temperature. A well charged battery helps
to ensure that the engine can be started, even at low
ambient temperatures.
•Tires: We recommend M+S rated radial-ply tires on
all four wheels for the winter season. Observe
permissible maximum speed for M+S rated radial-
ply tires and the legal speed limit.
Note:
In winter operation, the maximum effectiveness of the
antilock brake system (ABS) or electronic stability
program (ESP) can only be achieved with M+S rated
radial-ply tires and / or snow chains recommended by
Mercedes-Benz. Snow chains maximize performance.
Wa r n i n g !
If the vehicle becomes stuck in snow, make sure
that snow is kept clear of the exhaust pipe and
from around the vehicle with engine running.
O t h e rw i s e , d e a d ly c a r b o n m on ox i d e ( CO ) ga s e s m ay
enter vehicle interior resulting in unconsciousness
and death.To assure sufficient fresh air ventilation, open a
window slightly on the side of the vehicle not
facing the wind.