2002 MERCEDES-BENZ S600 oil
[x] Cancel search: oilPage 327 of 430

324 Malfunction and warning messages
Te ch n i c a l
data Instruments
and controlsOperation DrivingInstrument
cluster displayPractical hints Car care Index
ENGINE OIL LEVEL
* C = Category, see page 309.
1 The engine oil level must be checked immediately. See Engine oil
level indicator on page 156.
2 There is no oil in the engine. There is a danger of engine damage.3 There is a risk of damaging the engine or catalytic converter. The
engine oil level must be checked immediately. See Engine oil level
indicator on page 156.
4 The engine oil level has dropped to a critical level.
Check the engine oil level immediately. See Engine oil level
indicator on page 156 and check the engine for visible leakage
(loss of oil).
Possibility of water in the engine oil. Have the engine oil checked.
5 The measuring system is malfunctioning.
When the “ENGINE OIL LEVEL – CHECK LEVEL!”
message appears while the engine is running and at
operating temperature, the engine oil level has dropped
to approximately the minimum mark on the dipstick.
When this occurs, the warning will first come on
intermittently and then stay on if the oil level drops
further.
If no oil leaks are noted, continue to drive to the nearest
service station where the engine oil should be topped to
the “full” mark on the dipstick with an approved oil.
The engine oil level warnings should not be ignored.
Extended driving with the symbol displayed could
result in serious engine damage that is not covered by
the Mercedes-Benz Limited Warranty.
Line 1 Line 2 C*
ENGINE OIL LEVEL CHECK LEVEL!
1
2
ENGINE OIL LEVEL STOP, ENGINE OFF!
2
1
ENGINE OIL LEVEL REDUCE OIL LEVEL
3
2
ENGINE OIL VISIT WORKSHOP!
4
2
ENGINE OIL LEVEL VISIT WORKSHOP!
5
2
Page 338 of 430
335 Contents – Practical hints
Te ch n i c a l
data Instruments
and controlsOperation DrivingInstrument
cluster displayPractical hintsCar care Index
Practical hintsFirst aid kit .....................................336
Stowing things in the vehicle ......336
Fuses ................................................337
Hood .................................................339
Checking engine oil level .............342
Automatic transmission
fluid level ...................................343
Active body control (ABC)
fluid level ...................................343
Coolant level ...................................344
Adding coolant ...........................344
Windshield and headlamp
washer system ...........................345
Windshield and headlamp
washer fluid mixing ratio .........345Spare wheel, vehicle tools,
storage compartment ............... 346
Vehicle jack .................................... 347
Wheels ............................................ 348
Tire Replacement ....................... 348
Rotating wheels ......................... 349
Spare wheel .................................... 349
Changing wheels ........................... 351
Tire inflation pressure ................. 356
Battery ............................................. 357
Jump starting ................................. 359
Towing the vehicle ........................ 361
Exterior lamps ............................... 364
Headlamp assembly .................. 365
Taillamp assemblies .................. 368Changing batteries in
the electronic key ..................... 371
Synchronizing
remote control ............................373
Changing batteries in the
KEYLESS-GO-card ..................... 374
Emergency engine
shut-down .................................. 376
Fuel filler flap,
manual release .......................... 376
Emergency operation of
sliding/pop-up roof ...................377
Replacing wiper blades .................378
Roof rack .........................................380
Page 343 of 430
340 Engine compartment
Te ch n i c a l
data Instruments
and controlsOperation DrivingInstrument
cluster displayPractical hintsCar care Index
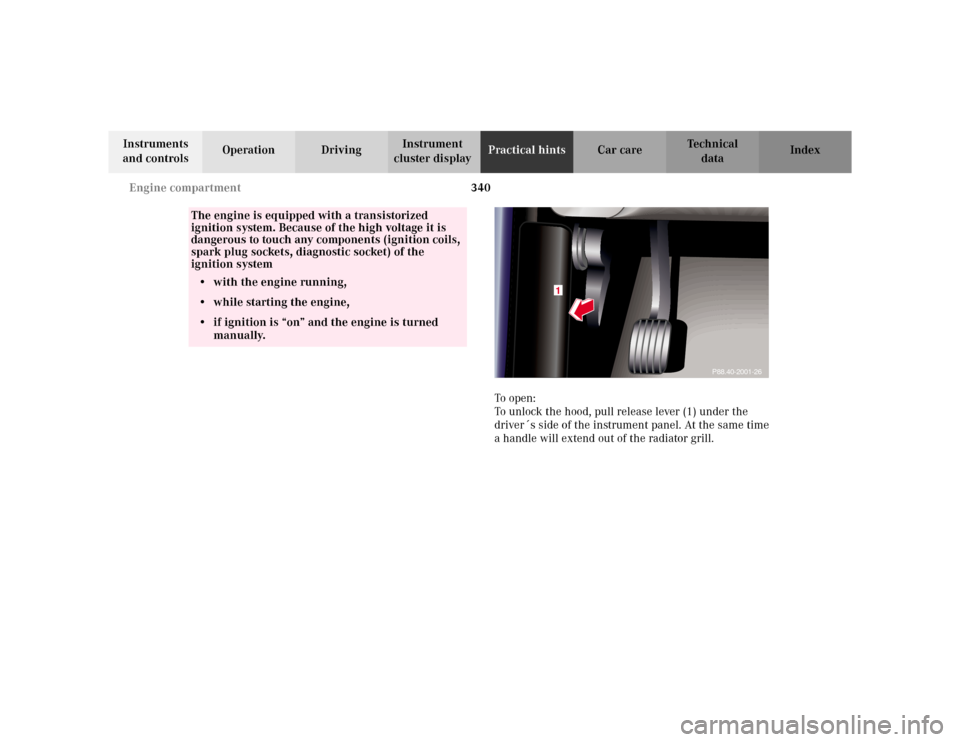
To o p e n :
To unlock the hood, pull release lever (1) under the
driver´s side of the instrument panel. At the same time
a handle will extend out of the radiator grill.
The engine is equipped with a transistorized
ignition system. Because of the high voltage it is
dangerous to touch any components (ignition coils,
spark plug sockets, diagnostic socket) of the
ignition system
• with the engine running,
• while starting the engine,
• if ignition is “on” and the engine is turned
manually.
1
P88.40-2001-26
Page 345 of 430
342 Engine compartment
Te ch n i c a l
data Instruments
and controlsOperation DrivingInstrument
cluster displayPractical hintsCar care Index
Checking engine oil level
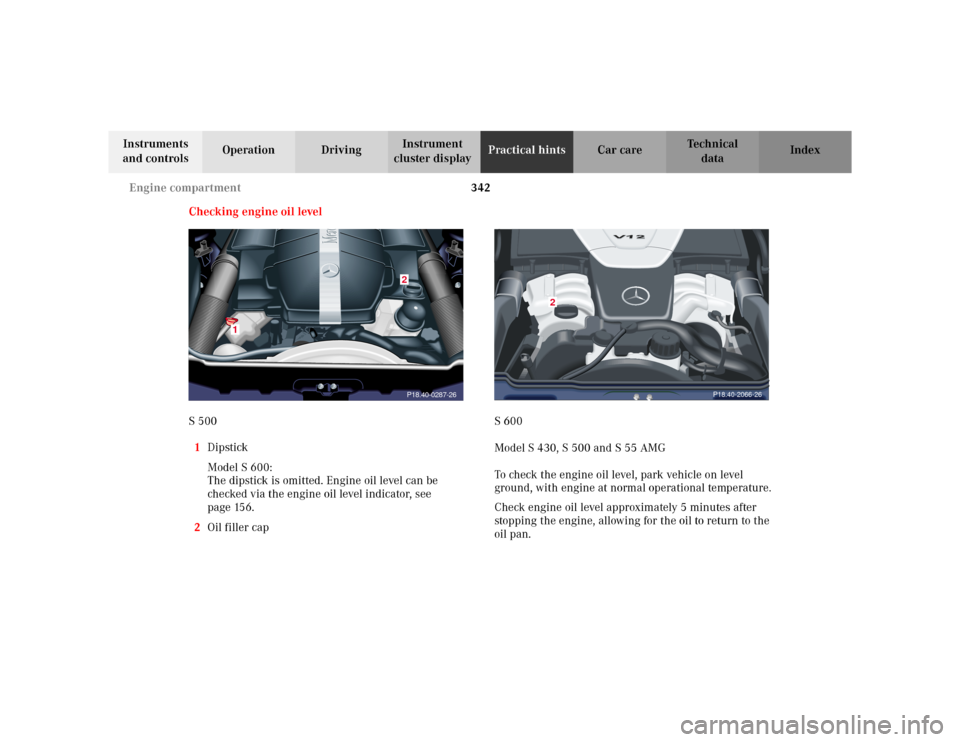
S 500
1Dipstick
Model S 600:
The dipstick is omitted. Engine oil level can be
checked via the engine oil level indicator, see
page 156.
2Oil filler capS 600
Model S 430, S 500 and S 55 AMG
To check the engine oil level, park vehicle on level
ground, with engine at normal operational temperature.
Check engine oil level approximately 5 minutes after
stopping the engine, allowing for the oil to return to the
oil pan.
1
P18.40-0287-262
P18.40-2066-26
2
Page 346 of 430
343 Engine compartment
Te ch n i c a l
data Instruments
and controlsOperation DrivingInstrument
cluster displayPractical hintsCar care Index The engine oil level can be checked by either the oil
dipstick or via the multifunction display in the
instrument cluster, see page 156.
Wipe the oil dipstick clean prior to checking the engine
oil level. Fully insert dipstick in tube, and remove after
three seconds to obtain accurate reading.
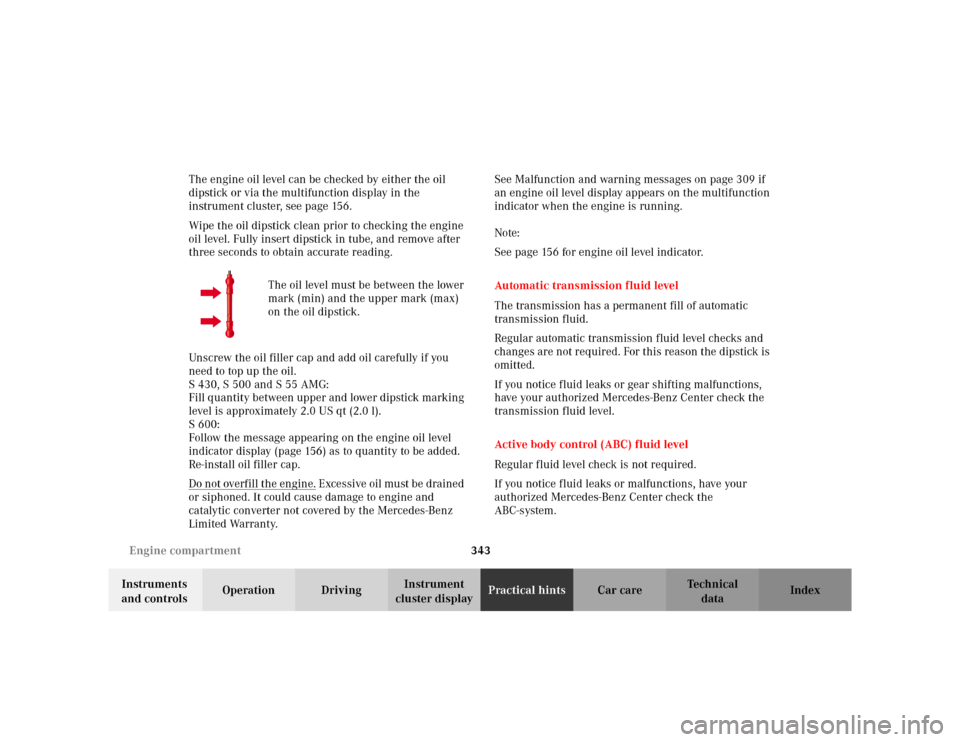
The oil level must be between the lower
mark (min) and the upper mark (max)
on the oil dipstick.
Unscrew the oil filler cap and add oil carefully if you
need to top up the oil.
S 430, S 500 and S 55 AMG:
Fill quantity between upper and lower dipstick marking
level is approximately 2.0 US qt (2.0 l).
S 600:
Follow the message appearing on the engine oil level
indicator display (page 156) as to quantity to be added.
Re-install oil filler cap.
Do not overfill the engine.
Excessive oil must be drained
or siphoned. It could cause damage to engine and
catalytic converter not covered by the Mercedes-Benz
Limited Warranty.See Malfunction and warning messages on page 309 if
an engine oil level display appears on the multifunction
indicator when the engine is running.
Note:
See page 156 for engine oil level indicator.
Automatic transmission fluid level
The transmission has a permanent fill of automatic
transmission fluid.
Regular automatic transmission fluid level checks and
changes are not required. For this reason the dipstick is
omitted.
If you notice fluid leaks or gear shifting malfunctions,
have your authorized Mercedes-Benz Center check the
transmission fluid level.
Active body control (ABC) fluid level
Regular fluid level check is not required.
If you notice fluid leaks or malfunctions, have your
authorized Mercedes-Benz Center check the
ABC-system.
Page 358 of 430
355 Tires, Wheels
Te ch n i c a l
data Instruments
and controlsOperation DrivingInstrument
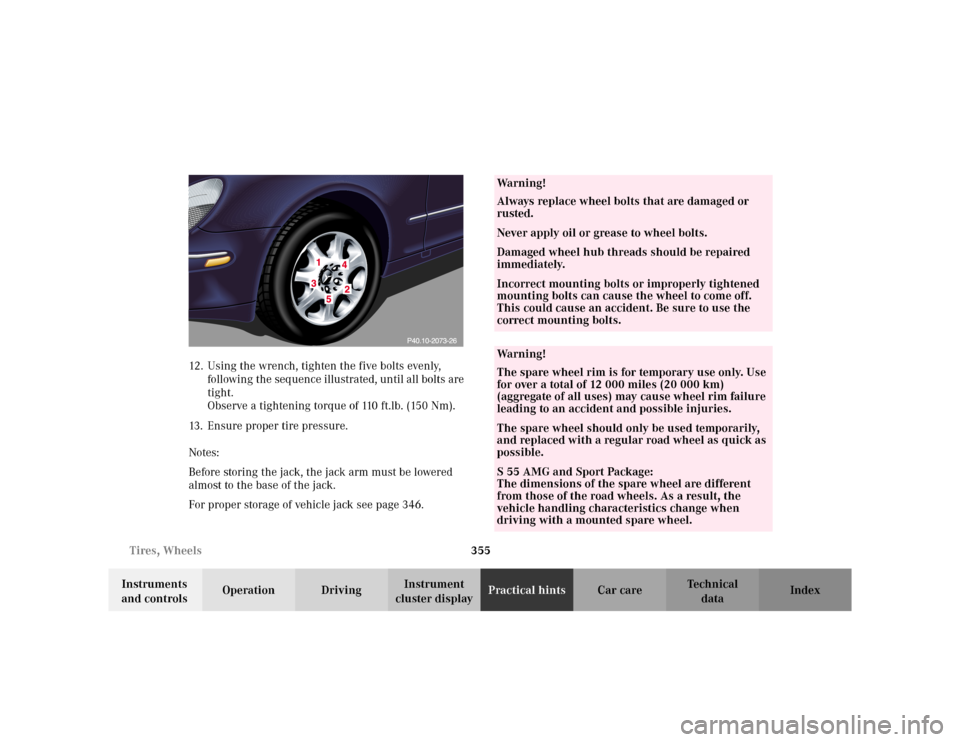
cluster displayPractical hintsCar care Index 12. Using the wrench, tighten the five bolts evenly,
following the sequence illustrated, until all bolts are
tight.
Observe a tightening torque of 110 ft.lb. (150 Nm).
13. Ensure proper tire pressure.
Notes:
Before storing the jack, the jack arm must be lowered
almost to the base of the jack.
For proper storage of vehicle jack see page 346.
Wa r n i n g !
Always replace wheel bolts that are damaged or
rusted.Never apply oil or grease to wheel bolts.Damaged wheel hub threads should be repaired
immediately.Incorrect mounting bolts or improperly tightened
mounting bolts can cause the wheel to come off.
This could cause an accident. Be sure to use the
correct mounting bolts.Wa r n i n g !
The spare wheel rim is for temporary use only. Use
for over a total of 12 000 miles (20 000 km)
(aggregate of all uses) may cause wheel rim failure
leading to an accident and possible injuries.The spare wheel should only be used temporarily,
and replaced with a regular road wheel as quick as
possible.S 55 AMG and Sport Package:
The dimensions of the spare wheel are different
from those of the road wheels. As a result, the
vehicle handling characteristics change when
driving with a mounted spare wheel.
Page 385 of 430
382 Cleaning and care of the vehicle
Te ch n i c a l
data Instruments
and controlsOperation DrivingInstrument
cluster displayPractical hintsCar careIndex
Cleaning and care of the vehicle
In operation, your vehicle is subjected to varying
external influences which, if gone unchecked, can
attack the paintwork as well as the underbody and
cause lasting damage.
Such damage is caused not only by extreme and varying
climatic conditions, but also by air polution, road salt,
tar, gravel and stone chipping. Grease and oil, fuel,
coolant, brake fluid, bird droppings, insects, tree resins
etc. should be removed immediately to avoid paint
damage. Frequent washing reduces and/or eliminates
the aggressiveness and potency of the above adverse
influences.More frequent washings are necessary to deal with
unfavorable conditions; for example, near the ocean, in
industrial areas (smoke, exhaust emissions), or during
winter operation.
You should check your vehicle from time to time for
stone chipping or other damage. Any damage should be
repaired as soon as possible to prevent the start of
corrosion.
In doing so, do not neglect the underside of the vehicle.
A prerequisite for a thorough check is a washing of the
underbody followed by a thorough inspection. Damaged
areas need to be reundercoated.
Your vehicle has been treated at the factory with a wax-
base rustproofing in the body cavities which will last for
the lifetime of the vehicle. Post-production treatment is
neither necessary nor recommended by Mercedes-Benz
because of the possibility of incompatibility between
materials used in the production process and others
applied later.
We have selected car-care products and compiled
recommendations which are specially matched to our
vehicles and which always reflect the latest technology.
You can obtain Mercedes-Benz approved car-care
products at your authorized Mercedes-Benz Center.
Wa r n i n g !
Many cleaning products can be hazardous. Some
are poisonous, others are flammable. Always follow
the instructions on the particular container.
Always open your vehicle’s doors or windows when
cleaning the inside.Never use fluids or solvents that are not designed
for cleaning your vehicle.
Page 392 of 430
389 Cleaning and care of the vehicle
Te ch n i c a l
data Instruments
and controlsOperation DrivingInstrument
cluster displayPractical hintsCar careIndex Seat belts
The webbing must not be treated with chemical
cleaning agents. Use only clear, lukewarm water and
soap. Do not dry the webbing at temperatures above
176
°F (80
°C) or in direct sunlight.
Headliner and shelf below rear window
Clean with soft bristle brush, or use a dry-shampoo
cleaner in case of excessive dirt.
Leather upholstery
Using aftermarket seat covers or wearing clothing that
have the tendency to give off coloring (e.g. when wet
etc.) may cause the upholstery to become permanently
discolored. By lining the seats with a proper
intermediate cover, contact-discoloration will be
prevented.Wipe leather upholstery with a damp cloth and dry
thoroughly or clean with Mercedes-Benz approved
Leather Care. Exercise particular care when cleaning
perforated leather as its underside should not become
wet.
Hard plastic trim items
Pour Mercedes-Benz approved Interior Care onto soft
lint-free cloth and apply with light pressure.
Plastic and rubber parts
Do not use oil or wax on these parts.
Use a gentle dishwashing detergent or mild detergent
for delicate fabrics as a washing solution. Wipe with a
cloth moistened in lukewarm solution. Do not use
scouring agents.
Wa r n i n g !
Do not bleach or dye seat belts as this may severely
weaken them. In a crash they may not be able to
provide adequate protection.