2002 MERCEDES-BENZ S500 Page 33
[x] Cancel search: Page 33Page 156 of 430
153 Tire inflation pressure monitor
Te ch n i c a l
data Instruments
and controlsOperationDrivingInstrument
cluster displayPractical hints Car care Index Notes:
Following a tire inflation pressure reactivation process
the real tire inflation pressures are displayed only after
a few minutes travel time.
Possible differences between readings of a tire pressure
gauge of an air hose, e.g. gas station equipment, and the
vehicle’s multifunction display can occur. The vehicle’s
multifunction display of the tire inflation pressure
monitor is a more precise reading.Activation of tire inflation pressure monitor
Activation of tire inflation pressure monitor is
necessary if tire inflation pressure is being changed,
wheels or tires are replaced, or new wheels are installed
on the vehicle.
Tire inflation pressure should be checked and corrected
according to the label affixed inside the fuel filler flap.
For a detailed description, refer to page 356.
Page 157 of 430
154 Tire inflation pressure monitor
Te ch n i c a l
data Instruments
and controlsOperationDrivingInstrument
cluster displayPractical hints Car care Index
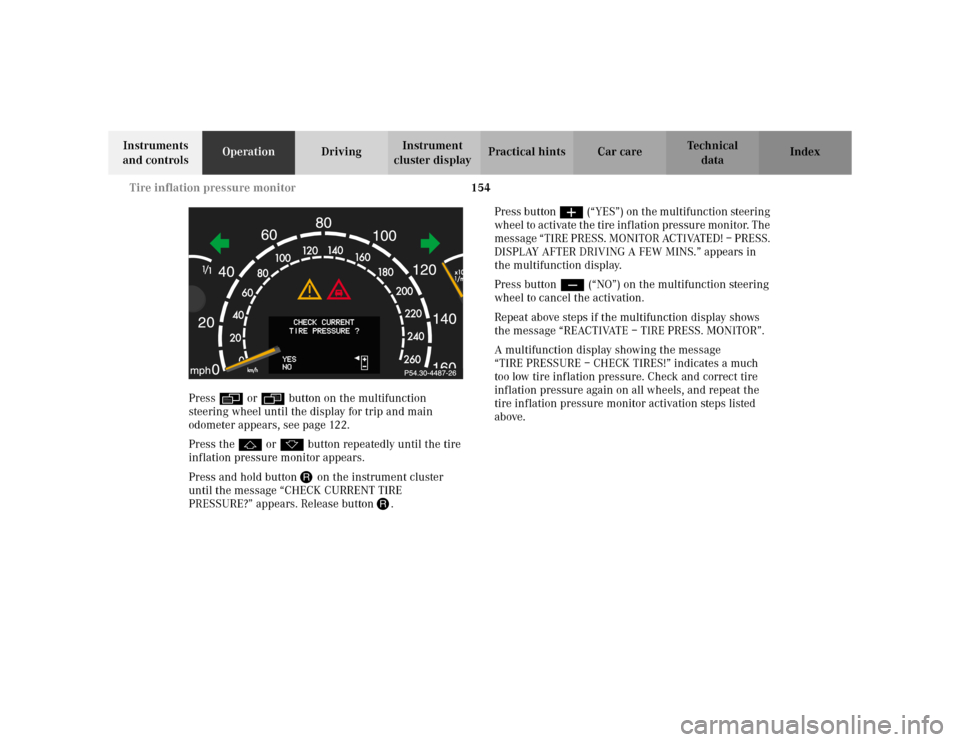
Press è or ÿ button on the multifunction
steering wheel until the display for trip and main
odometer appears, see page 122.
Press the j or k button repeatedly until the tire
inflation pressure monitor appears.
Press and hold button J on the instrument cluster
until the message “CHECK CURRENT TIRE
PRESSURE?” appears. Release button J.Press button æ (“YES”) on the multifunction steering
wheel to activate the tire inflation pressure monitor. The
message “TIRE PRESS. MONITOR ACTIVATED! – PRESS.
DISPLAY AFTER DRIVING A FEW MINS.” appears in
the multifunction display.
Press button ç (“NO”) on the multifunction steering
wheel to cancel the activation.
Repeat above steps if the multifunction display shows
the message “REACTIVATE – TIRE PRESS. MONITOR”.
A multifunction display showing the message
“TIRE PRESSURE – CHECK TIRES!” indicates a much
too low tire inflation pressure. Check and correct tire
inflation pressure again on all wheels, and repeat the
tire inflation pressure monitor activation steps listed
above.
Page 158 of 430

155 Tire inflation pressure monitor
Te ch n i c a l
data Instruments
and controlsOperationDrivingInstrument
cluster displayPractical hints Car care Index Notes:
To ensure proper functioning of the tire inflation
pressure monitor, the tire inflation pressure should be
checked and corrected according to the label affixed
inside the fuel filler flap. For a detailed description,
refer to page 356.
The message “REACTIVATE – TIRE PRESS. MONITOR”
appears if the tire inflation pressure shows an increase
of 4.4 psi (0.3 bar) or more. Reactivate the tire inflation
pressure monitor.
The tire inflation pressure monitor only functions on
wheels equipped with the proper electronic sensors.
Inquire at your authorized Mercedes-Benz Center about
retrofitting other than original Mercedes-Benz wheels
with electronic sensors.
Transporting a deflated road wheel in the vehicle, e.g.
after having a flat, the tire inflation pressure monitor
should only be activated once the flat tire and rim are
removed from the vehicle.To prevent possible damage to the electronic sensors,
have tire changes only performed at an authorized
Mercedes-Benz Center.
For malfunction and warning messages, see page 309.
When checking the tire inflation pressure of the road
wheels, also check the spare tire.
The tire inflation pressure of the spare wheel, mounted
or not mounted, is not monitored by the tire inflation
pressure monitor.
See page 346 for location of the spare wheel, and
page 356 for tire inflation pressure.
Page 159 of 430
156 Engine oil level indicator
Te ch n i c a l
data Instruments
and controlsOperationDrivingInstrument
cluster displayPractical hints Car care Index
Engine oil level indicator
To check the engine oil level, park vehicle on level
ground, with engine at normal operational temperature.
Check oil level approximately 5 minutes after turning
off the engine, allowing for the oil to return to the oil
pan.
The message “OBSERVE WAITING PERIOD” will be
displayed if the required waiting period has not been
observed after turning off the engine:
•with engine at operational temperature
approximately 5 minutes.•with engine not at operational temperature up to
approximately 30 minutes.
The engine oil level check can be repeated after a short
time.
Turn the electronic key in starter switch to position 2.
To call up the trip odometer and main odometer, press
button è or ÿ on the multifunction steering
wheel until the display appears. See page 122.
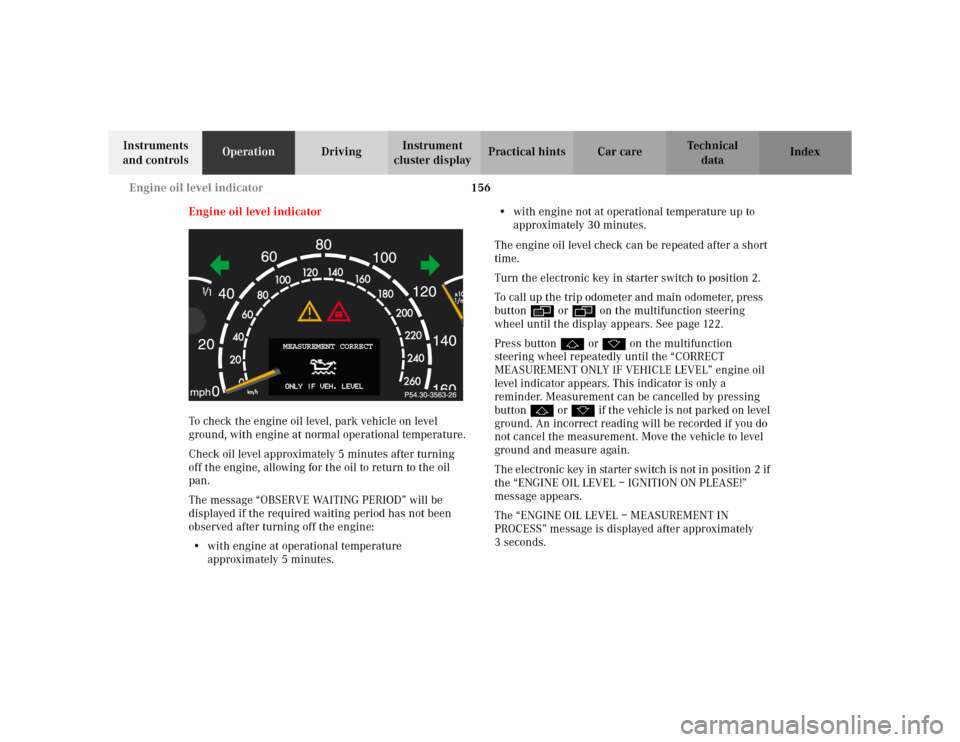
Press button j or k on the multifunction
steering wheel repeatedly until the “CORRECT
MEASUREMENT ONLY IF VEHICLE LEVEL” engine oil
level indicator appears. This indicator is only a
reminder. Measurement can be cancelled by pressing
button j or k if the vehicle is not parked on level
ground. An incorrect reading will be recorded if you do
not cancel the measurement. Move the vehicle to level
ground and measure again.
The electronic key in starter switch is not in position 2 if
the “ENGINE OIL LEVEL – IGNITION ON PLEASE!”
message appears.
The “ENGINE OIL LEVEL – MEASUREMENT IN
PROCESS” message is displayed after approximately
3seconds.
MEASUREMENT CORRECT
Page 160 of 430
157 Engine oil level indicator
Te ch n i c a l
data Instruments
and controlsOperationDrivingInstrument
cluster displayPractical hints Car care Index One of the following messages will subsequently appear
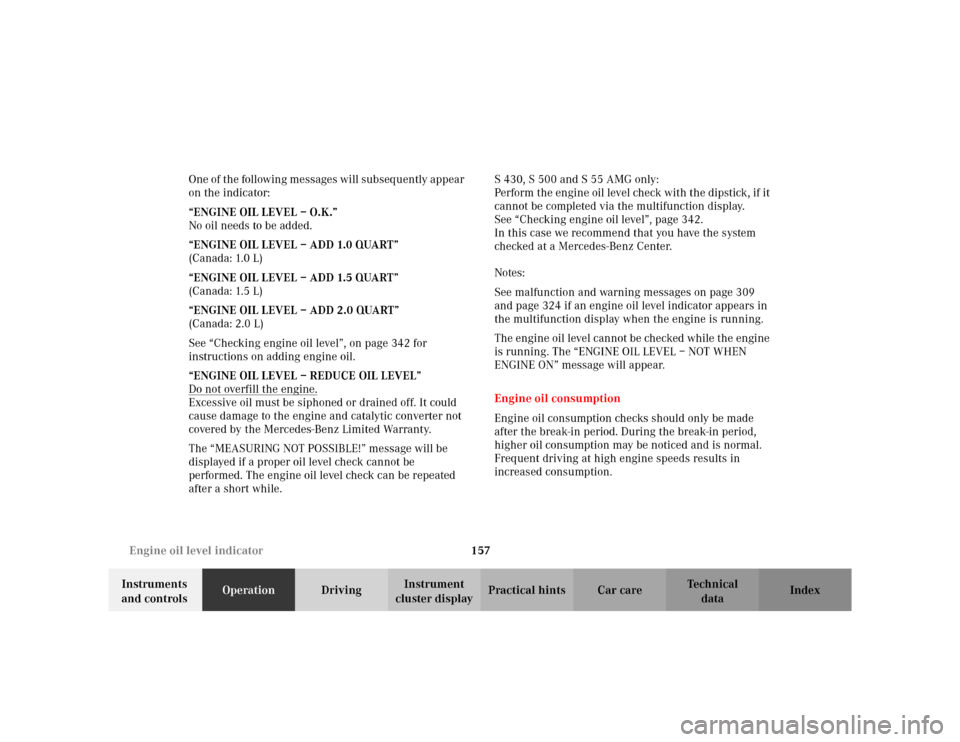
on the indicator:
“ENGINE OIL LEVEL – O.K.”
No oil needs to be added.
“ENGINE OIL LEVEL – ADD 1.0 QUART”
(Canada: 1.0 L)
“ENGINE OIL LEVEL – ADD 1.5 QUART”
(Canada: 1.5 L)
“ENGINE OIL LEVEL – ADD 2.0 QUART”
(Canada: 2.0 L)
See “Checking engine oil level”, on page 342 for
instructions on adding engine oil.
“ENGINE OIL LEVEL – REDUCE OIL LEVEL”
Do not overfill the engine.
Excessive oil must be siphoned or drained off. It could
cause damage to the engine and catalytic converter not
covered by the Mercedes-Benz Limited Warranty.
The “MEASURING NOT POSSIBLE!” message will be
displayed if a proper oil level check cannot be
performed. The engine oil level check can be repeated
after a short while.S 430, S 500 and S 55 AMG only:
Perform the engine oil level check with the dipstick, if it
cannot be completed via the multifunction display.
See “Checking engine oil level”, page 342.
In this case we recommend that you have the system
checked at a Mercedes-Benz Center.
Notes:
See malfunction and warning messages on page 309
and page 324 if an engine oil level indicator appears in
the multifunction display when the engine is running.
The engine oil level cannot be checked while the engine
is running. The “ENGINE OIL LEVEL – NOT WHEN
ENGINE ON” message will appear.
Engine oil consumption
Engine oil consumption checks should only be made
after the break-in period. During the break-in period,
higher oil consumption may be noticed and is normal.
Frequent driving at high engine speeds results in
increased consumption.
Page 162 of 430
159 Exterior lamp switch
Te ch n i c a l
data Instruments
and controlsOperationDrivingInstrument
cluster displayPractical hints Car care Index Headlamp mode
Manual headlamp mode
The low beam headlamps and parking lamps can be
switched on and off with the exterior lamp switch. For
exterior lamp switch, see page 158.
Note:
With the daytime running lamp mode activated and the
engine running, the low beam headlamps cannot be
switched off manually. See page 160 for notes on the
daytime running lamp mode.Automatic headlamp mode
Turn exterior lamp switch to positionU.
•Electronic key in starter switch position 1:
The parking lamps switch on and off automatically
depending on the brightness of the ambient light.
•Electronic key in starter switch position 2 and the
engine running:
The low beam headlamps and parking lamps are
switched on and off automatically depending on the
brightness of the ambient light.
The low beam headlamps and parking lamps can
still be switched on and off manually using the
exterior lamp switch.
Note:
With the daytime running lamp mode activated, the low
beam headlamps cannot be switched off automatically.
The headlamps will not be automatically switched on
under foggy conditions.
Front fog lamps and rear fog lamp cannot be switched
on manually with exterior lamp switch in positionU.
To activate the fog lamps turn exterior lamp switch to
positionB.
Wa r n i n g !
The driver is responsible for the operation of the
vehicle’s lights at all times. The automatic
headlamp feature is only an aid to the driver.
Switch on the vehicle lights by hand when driving
or traffic conditions require you to do so.
Page 163 of 430

160 Exterior lamp switch
Te ch n i c a l
data Instruments
and controlsOperationDrivingInstrument
cluster displayPractical hints Car care Index
Daytime running lamp mode
Turn exterior lamp switch to positionM orU.
When the engine is running, the low beam headlamps
are automatically switched on. In low ambient light
conditions the parking lamps will also switch on.
•Canada only:
When shifting from a driving position to
position “N” or “P”, the low beam switches off
(3 minutes delay).
For nighttime driving the exterior lamp switch
should be turned to position B to permit
activation of the high beam headlamps.
•USA only:
The high beam headlamps can also be activated
when driving with the daytime running lamp mode
activated and exterior lamp switch in positionM.
To activate the daytime running lamp mode, see the
individual setting menu “LIGHTING” – “LAMP
CIRCUIT HEADLAMP” on page 142.
Note:
See page 158 for notes on the exterior lamp switch.Night security illumination
Turn exterior lamp switch to positionU.
At low ambient light conditions and with the engine
having been turned off, the exterior lamps (fog lamps
and parking lamps) switch on for added illumination.
After the last door has been closed the lamp-on time
period commences.
To activate the function see the individual setting menu
“LIGHTING” –“HEADLAMPS DELAYED SHUT-OFF” on
page 142.
The lamp-on time period for night security illumination
can be set at several different timed levels from 0 (off) to
60 seconds.
Note:
Within 10 minutes after closing the last door the night
security illumination can be reactivated by opening a
door.
If after switching the engine off, no doors are opened or
if after opening the doors they are not closed, the night
security illumination will switch off automatically after
approximately 60 seconds.
Page 164 of 430
161 Exterior lamp switch
Te ch n i c a l
data Instruments
and controlsOperationDrivingInstrument
cluster displayPractical hints Car care Index Deactivating night security illumination temporarily:
Turn the electronic key in starter switch to position 0
then to position 2 and back to position 0 again before
getting out of the vehicle. The night security
illumination will not be activated when the door is
opened.
Locator lighting
Turn exterior lamp switch to positionU.
After unlocking the vehicle with the electronic key
during darkness the fog lamps and parking lamps
switch on for a approx. 40 seconds.
The exterior lamps will be switched off when opening
the driver’s door.
To activate the function see the individual setting menu
“LIGHTING” –“LOCATOR LIGHTING” on page 142.Headlamp cleaning system (optional on model S 430)
Turn the electronic key in starter switch to position 2.
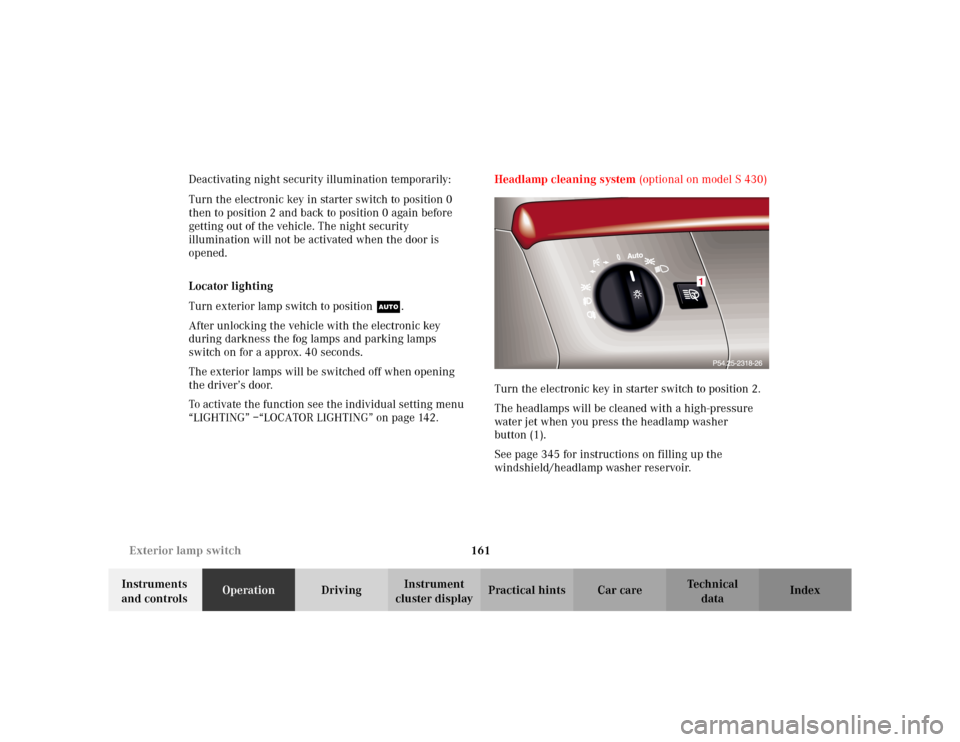
The headlamps will be cleaned with a high-pressure
water jet when you press the headlamp washer
button (1).
See page 345 for instructions on filling up the
windshield/headlamp washer reservoir.
Auto
1