2002 MERCEDES-BENZ S500 Control arm
[x] Cancel search: Control armPage 63 of 430
60 Antitheft alarm system
Te ch n i c a l
data Instruments
and controlsOperationDrivingInstrument
cluster displayPractical hints Car care Index
Antitheft alarm system
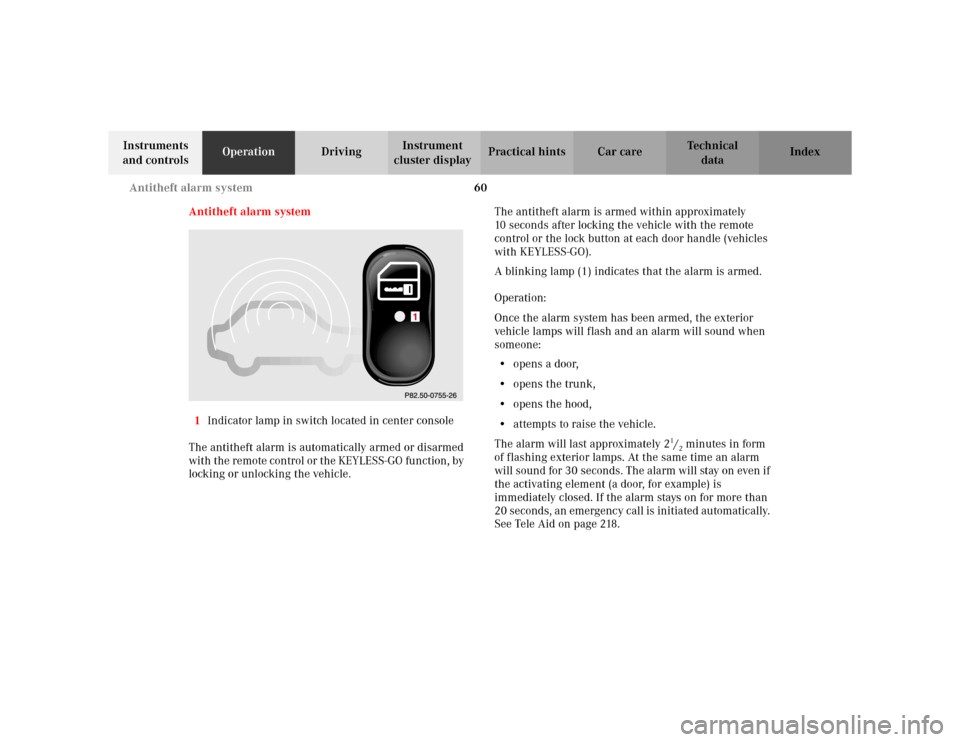
1Indicator lamp in switch located in center console
The antitheft alarm is automatically armed or disarmed
with the remote control or the KEYLESS-GO function, by
locking or unlocking the vehicle.The antitheft alarm is armed within approximately
10 seconds after locking the vehicle with the remote
control or the lock button at each door handle (vehicles
with KEYLESS-GO).
A blinking lamp (1) indicates that the alarm is armed.
Operation:
Once the alarm system has been armed, the exterior
vehicle lamps will flash and an alarm will sound when
someone:
•opens a door,
•opens the trunk,
•opens the hood,
•attempts to raise the vehicle.
The alarm will last approximately 2
1/2minutes in form
of flashing exterior lamps. At the same time an alarm
will sound for 30 seconds. The alarm will stay on even if
the activating element (a door, for example) is
immediately closed. If the alarm stays on for more than
20 seconds, an emergency call is initiated automatically.
See Tele Aid on page 218.
Page 64 of 430
61 Tow-away alarm
Te ch n i c a l
data Instruments
and controlsOperationDrivingInstrument
cluster displayPractical hints Car care Index Note:
When you unlock the driver’s door with the mechanical
key, the exterior lamps will flash and the alarm will
sound.
To cancel the alarm, insert the electronic key in the
starter switch or press buttonŒ or‹ on the
electronic key; or (vehicles with KEYLESS-GO) when
carrying the KEYLESS-GO-card, grasp the door handle
or press the start-/stop button on the gear selector lever.Tow-away alarm
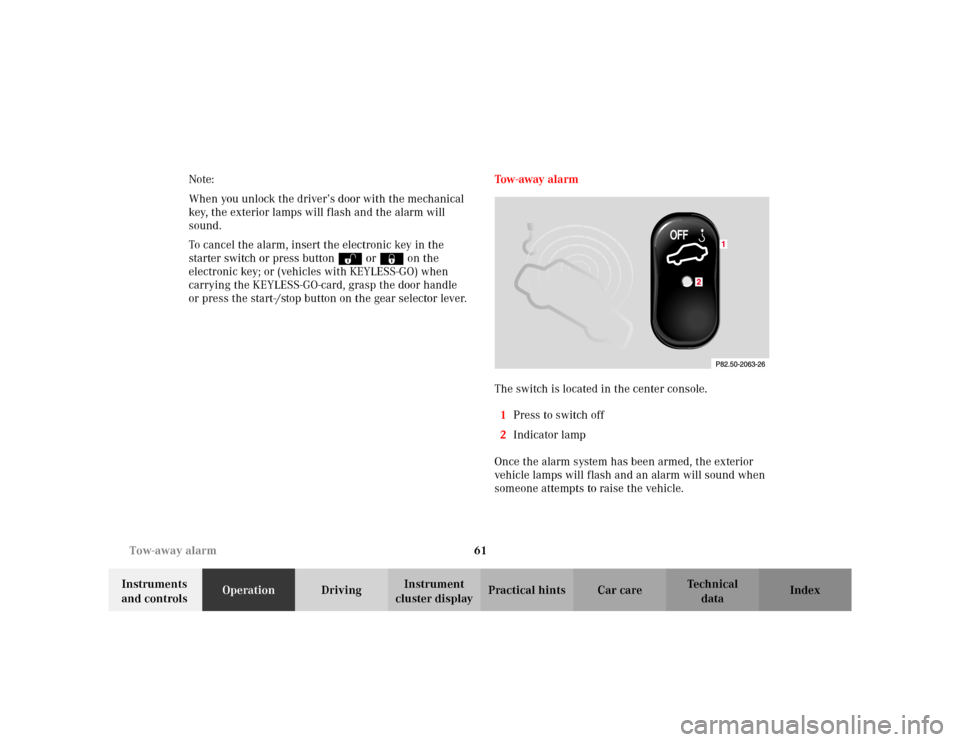
The switch is located in the center console.
1Press to switch off
2Indicator lamp
Once the alarm system has been armed, the exterior
vehicle lamps will flash and an alarm will sound when
someone attempts to raise the vehicle.
Page 65 of 430
62 Tow-away alarm
Te ch n i c a l
data Instruments
and controlsOperationDrivingInstrument
cluster displayPractical hints Car care Index
The alarm will last approximately 2
1/2minutes in form
of flashing exterior lamps. At the same time an alarm
will sound for 30 seconds. The alarm will stay on even if
the vehicle is immediately lowered. To cancel the alarm,
insert the electronic key in the starter switch or press
buttonŒ or‹ on the electronic key; or (vehicles
with KEYLESS-GO) when carrying the KEYLESS-GO-
card, grasp the door handle or press the start-/stop
button on the gear selector lever.
If the alarm stays on for more than 20 seconds, an
emergency call is initiated automatically. See Tele Aid
on page 218.To prevent triggering the tow-away alarm feature, switch
off the tow-away alarm before towing the vehicle, or
when parking on a surface subject to movement, such
as a ferry or auto train.
To do so, turn electronic key in starter switch to
position 1 or 0, or remove electronic key from starter
switch. Press tow-away alarm switch (1). The indicator
lamp (2) illuminates briefly.
Exit vehicle, and lock vehicle with the electronic key or
(vehicles with KEYLESS-GO) the lock button at each
door handle.
The tow-away alarm remains switched off until the
vehicle is locked again with the electronic key or the
lock button at each door handle (vehicles with
KEYLESS-GO), at which time it is automatically
reactivated.
Page 68 of 430

65 Seats
Te ch n i c a l
data Instruments
and controlsOperationDrivingInstrument
cluster displayPractical hints Car care Index The switches are located in each front door.
We recommend to adjust the power seat in the following
order:
1Seat adjustment, fore / aft
Press the switch (fore / aft direction) until a
comfortable seating position is reached that still
allows you to reach the accelerator / brake pedal
safely. The position should be as far rearward as
possible, consistent with ability to properly operate
controls.Note:
Do not move the front passenger seat completely
forward if objects are stored in the parcel net in the
front passenger-side footwell. Items in the net may
be damaged.
2Seat, up / down
Press the switch (up / down direction) until
comfortable seating position with still sufficient
headroom is reached.
3Seat cushion tilt
Press the switch in the direction of the arrow until
your legs are lightly supported.
4Backrest tilt
Press the switch in the direction of the arrow until
your arms are slightly angled when holding the
steering wheel.
5Seat cushion depth
Press the switch fore or aft until your legs are
supported comfortably.
Page 89 of 430
86 Restraint systems
Te ch n i c a l
data Instruments
and controlsOperationDrivingInstrument
cluster displayPractical hints Car care Index
Wa r n i n g !
USE SEAT BELTS PROPERLY.• Seat belts can only work when used properly.
Never wear seat belts in any other way than as
described in this section, as that could result
in serious injuries in case of an accident.• E ach oc c upan t s houl d wear t hei r s ea t bel t a t al l
times, because seat belts help reduce the
likelihood of and potential severity of injuries
in accidents, including rollovers. The
integrated restraint system includes “SRS”
(driver airbag, front passenger airbag, side
impact airbags, head protection window
curtain airbags for side windows), “ETR” (seat
belt emergency tensioning retractors), and
front knee bolsters. The system is designed to
enhance the protection offered to properly
belted occupants in certain frontal (front
airbags) and side (side impact and window
curtain airbags) impacts which exceed preset
deployment thresholds.
• Never wear the shoulder belt under your arm,
against your neck or off your shoulder. In a
crash, your body would move too far forward.
That would increase the chance of head and
neck injuries. The belt would also apply too
much force to the ribs or abdomen, which
could severely injure internal organs such as
your liver or spleen.• Never wear belts over rigid or breakable
objects in or on your clothing, such as
eyeglasses, pens, keys etc., as these might
cause injuries.• Position the lap belt as low as possible on your
hips and not across the abdomen. If the belt is
positioned across your abdomen, it could cause
serious injuries in a crash.• Each seat belt should never be used for more
than one person at a time. Do not fasten a seat
belt around a person and another person or
other objects.• Belts should not be worn twisted. In a crash,
you wouldn’t have the full width of the belt to
manage impact forces. The twisted belt against
your body could cause injuries.
Page 98 of 430
95 Restraint systems
Te ch n i c a l
data Instruments
and controlsOperationDrivingInstrument
cluster displayPractical hints Car care Index Your vehicle was originally equipped with airbags
which are designed to activate in certain impacts
exceeding a preset threshold to reduce the potential
and severity of injury. It is important to your safety
and that of your passenger that you replace deployed
airbags and repair any malfunctioning airbags to
ensure the vehicle will continue to provide crash
protection for occupants.
Wa r n i n g !
To reduce the risk of injury when the front airbags
inflate, it is very important for the driver and front
passenger to always be in a properly seated
position and to wear their seat belts.For maximum protection in the event of a collision
always be in normal seated position with your back
against the backrest. Fasten your seat belt and
ensure that it is properly positioned on your body.Since the airbag inflates with considerable speed
and force, a proper seating and hands on steering
wheel position will help to keep you at a safe
distance from the airbag. Occupants who are
unbelted, out of position or too close to the airbag
can be seriously injured by an airbag as it inflates
with great force in the blink of an eye:
• Sit properly belted in an upright position with
your back against the backrest.• Adjust the driver’s seat as far as possible
rearward, still permitting proper operation of
vehicle controls. The distance from the center
of the driver’s breastbone to the center of the
airbag cover on the steering wheel must be at
least ten inches (25 cm) or more. You should be
able to accomplish this by a combination of
adjustments to the seat and steering wheel. If
you have any problems, please see your
authorized Mercedes-Benz Center.• Do not lean with your head or chest close to the
steering wheel or dashboard.• Keep hands on the outside of steering wheel
rim. Placing hands and arms inside the rim
can increase the risk and potential severity of
hand / arm injury when driver front airbag
inflates.• Adjust the front passenger seat as far as
possible rearward from the dashboard when
the seat is occupied.
Page 172 of 430

169 Automatic climate control
Te ch n i c a l
data Instruments
and controlsOperationDrivingInstrument
cluster displayPractical hints Car care Index Automatic climate control
The system is always at operational readiness, except
when manually switched off.
The automatic climate control only operates with the
engine running.
The temperature selector should be left at the desired
temperature setting. The temperature selected is
reached as quickly as possible.
The system will not heat or cool any quicker by setting a
higher or lower temperature.
The desired interior temperature and air distribution
can be selected separately for the left and right side of
the passenger compartment. Adjust the temperature
settings in small increments.
The automatic climate control removes considerable
moisture from the air during operation in the cooling
mode. It is normal for water to drip on the ground
through ducts in the underbody.
The air conditioning will not engage (no cooling) if the
economy mode AC
OFF
is selected, see page 176. Notes:
The current settings (Temperature, Air volume, AC
OFF,
Activated charcoal filter, ON / OFF) are stored for each
electronic key before the electronic key is removed from
the starter switch or when the vehicle is locked using
the KEYLESS-GO-card (vehicles with keyless-go), see
key dependent memory settings on page 111.
Do not obstruct the air flow by placing objects on the air
flow-through exhaust slots below the rear window.
Also keep the air intake grill in front of the windshield
free of snow and debris.
The storage compartment between the front seats can be
ventilated. See page 178 for notes on ventilating the
storage space under the armrest in the center console.
The air conditioner switches itself off for its own
protection if refrigerant is lost. No cooling will then take
place. Economy mode AC
OFF
cannot be switched off.
Have the air conditioner checked by a Mercedes-Benz
Center should this happen.
If the vehicle interior has been heated by direct sunlight
and is very hot, ventilate the interior (open door or
windows for a short period) before driving off.
Page 181 of 430
178 Automatic climate control
Te ch n i c a l
data Instruments
and controlsOperationDrivingInstrument
cluster displayPractical hints Car care Index
Front center console storage compartment
ventilation
The front center console compartment has its own air
outlet.
To open: Slide the lever up.
To close: Slide the lever down.
The air volume is dependent on the setting of:
•air distribution control,
•air volume control,
•air outlets in the dashboard.
The air temperature is about the same as that of the
dashboard air outlets. It cannot be regulated separately.Note:
The compartment can get very warm due to its confined
space. When storing heat sensitive objects in the
compartment, close the air outlet while heating the
passenger compartment.
Do not allow articles to obstruct the air outlet in the
storage compartment.