2002 MERCEDES-BENZ ML320 steering wheel instruments
[x] Cancel search: steering wheel instrumentsPage 271 of 342
268 Tires, Wheels
Te ch n i c a l
data Instruments
and controlsOperation DrivingInstrument
cluster displayPractical hintsCar care Index
Move vehicle to a level area which is a safe distance
from the roadway.
Important!
The vehicle doors lock if the left front wheel rotates with
the engine running. Do not leave the engine running
while changing a wheel.
1. Set parking brake and turn on hazard warning
flasher.
2. Move selector lever to position “P”, turn off the
engine, and remove key from the steering lock. Lock
steering wheel with wheels in the straight ahead
position.
3. Prevent vehicle from rolling away by blocking
wheels with wheel chocks (not supplied with
vehicle) or sizable wood block or stone. When
changing a wheel on a hill, place chocks on the
downhill side blocking both wheels of the other
axle. On a level road, place one chock in front of and
one behind the wheel that is diagonally opposite to
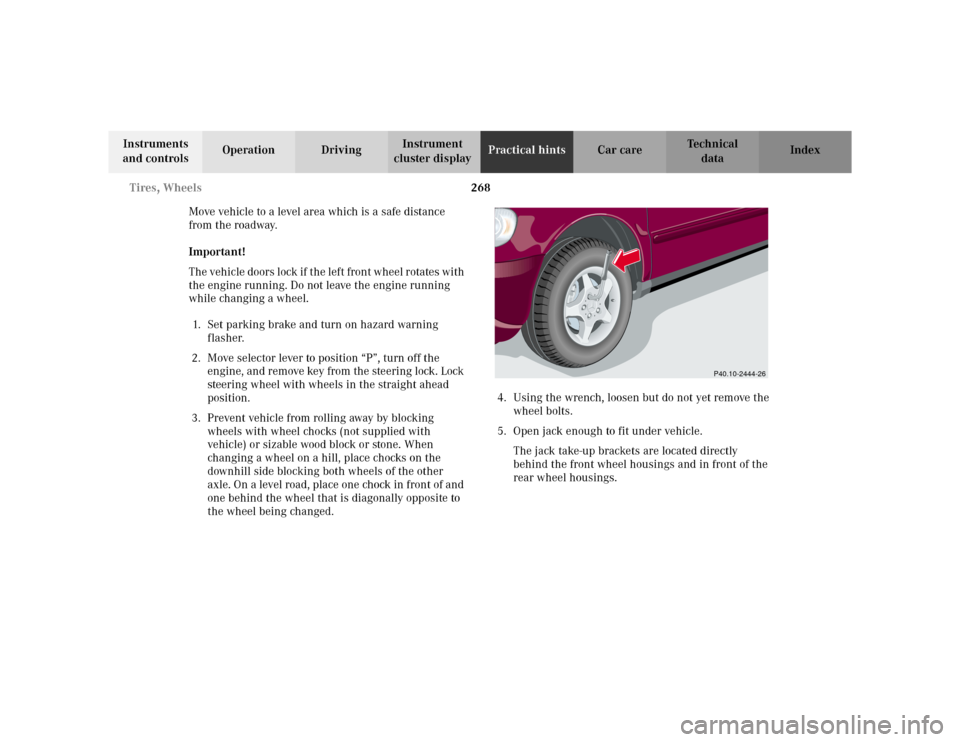
the wheel being changed.4. Using the wrench, loosen but do not yet remove the
wheel bolts.
5. Open jack enough to fit under vehicle.
The jack take-up brackets are located directly
behind the front wheel housings and in front of the
rear wheel housings.
P40.10-2444-26
Page 280 of 342
277 Towing
Te ch n i c a l
data Instruments
and controlsOperation DrivingInstrument
cluster displayPractical hintsCar care Index Towing the vehicle
Important!
When towing the vehicle, please, note the following:
With the automatic central locking activated and the
engine running, the vehicle doors lock if the left front
wheel is turning at vehicle speeds of approximately
9 mph (15 km / h) or more.
To prevent the vehicle door locks from locking,
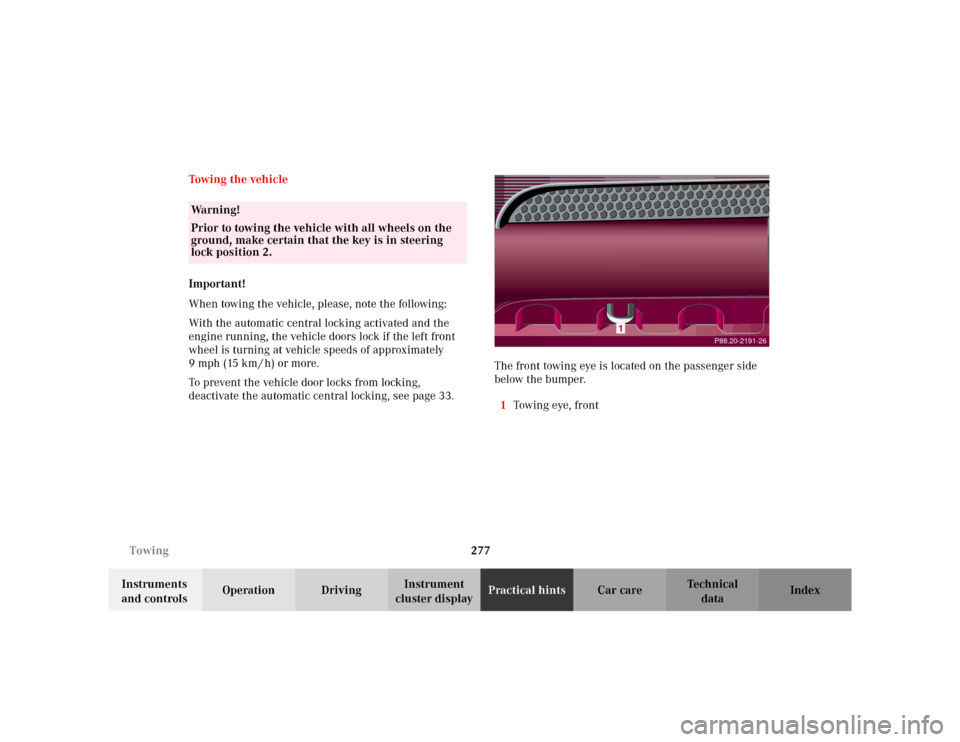
deactivate the automatic central locking, see page 33.The front towing eye is located on the passenger side
below the bumper.
1Towin g eye, fr on t
Wa r n i n g !
Prior to towing the vehicle with all wheels on the
ground, make certain that the key is in steering
lock position 2.
P88.20-2191-26
Page 282 of 342
279 Towing
Te ch n i c a l
data Instruments
and controlsOperation DrivingInstrument
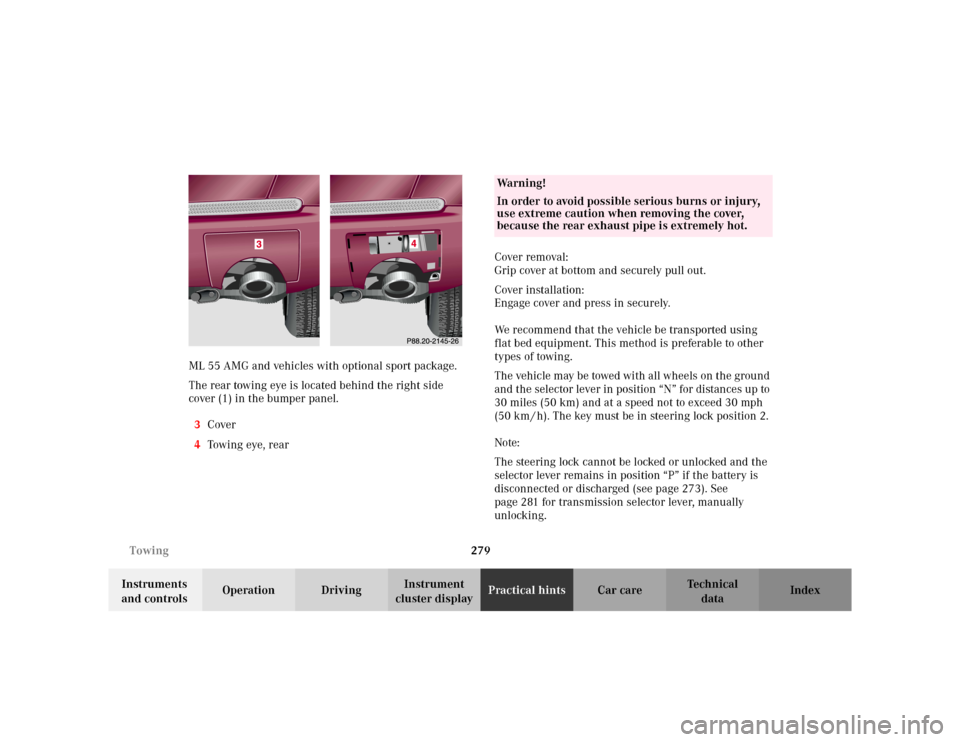
cluster displayPractical hintsCar care Index ML 55 AMG and vehicles with optional sport package.
The rear towing eye is located behind the right side
cover (1) in the bumper panel.
3Cover
4Tow i n g eye , r e a rCover removal:
Grip cover at bottom and securely pull out.
Cover installation:
Engage cover and press in securely.
We recommend that the vehicle be transported using
flat bed equipment. This method is preferable to other
types of towing.
The vehicle may be towed with all wheels on the ground
and the selector lever in position “N” for distances up to
30 miles (50 km) and at a speed not to exceed 30 mph
(50 km / h). The key must be in steering lock position 2.
Note:
The steering lock cannot be locked or unlocked and the
selector lever remains in position “P” if the battery is
disconnected or discharged (see page 273). See
page 281 for transmission selector lever, manually
unlocking.
Wa r n i n g !
In order to avoid possible serious burns or injury,
use extreme caution when removing the cover,
because the rear exhaust pipe is extremely hot.
Page 283 of 342
280 Towing
Te ch n i c a l
data Instruments
and controlsOperation DrivingInstrument
cluster displayPractical hintsCar care Index
To be certain to avoid additional damage to the vehicle
powertrain, however you should do the following:
•With damage to front axle, raise front axle. Remove
flexible drive shaft between rear axle and transfer
case
•With damage to rear axle, raise rear axle and tow
vehicle with wheel lift or dolly placed under front
wheels.
•With damage to transfer case, remove flexible drive
shafts to the drive axles.
Note:
Always install new self-locking nuts when reinstalling
the flexible drive shaft.Caution!
If the vehicle is towed with the front axle raised, the
engine must be shut off (key in steering lock position 1).
Otherwise, the 4-ETS+ may become engaged which may
cause loss of towing control. Switch off the tow-away
alarm (see page 37) as well as the ESP (see page 225).
Note:
To signal turns while being towed with hazard warning
flasher in use, turn key in steering lock to position 2
and activate combination switch for left or right turn
signal in usual manner. Now deactivate the hazard
warning flasher, only the selected turn signal will
operate. Upon canceling the turn signal, the hazard
warning flasher must be activated again.
Wa r n i n g !
With the engine not running, there is no power
assistance for the braking and steering systems. In
this case, it is important to keep in mind that a
considerably higher degree of effort is necessary to
brake and steer the vehicle.
Page 300 of 342
297 Contents - Car care
Te ch n i c a l
data Instruments
and controlsOperation DrivingInstrument
cluster displayPractical hintsCar careIndex
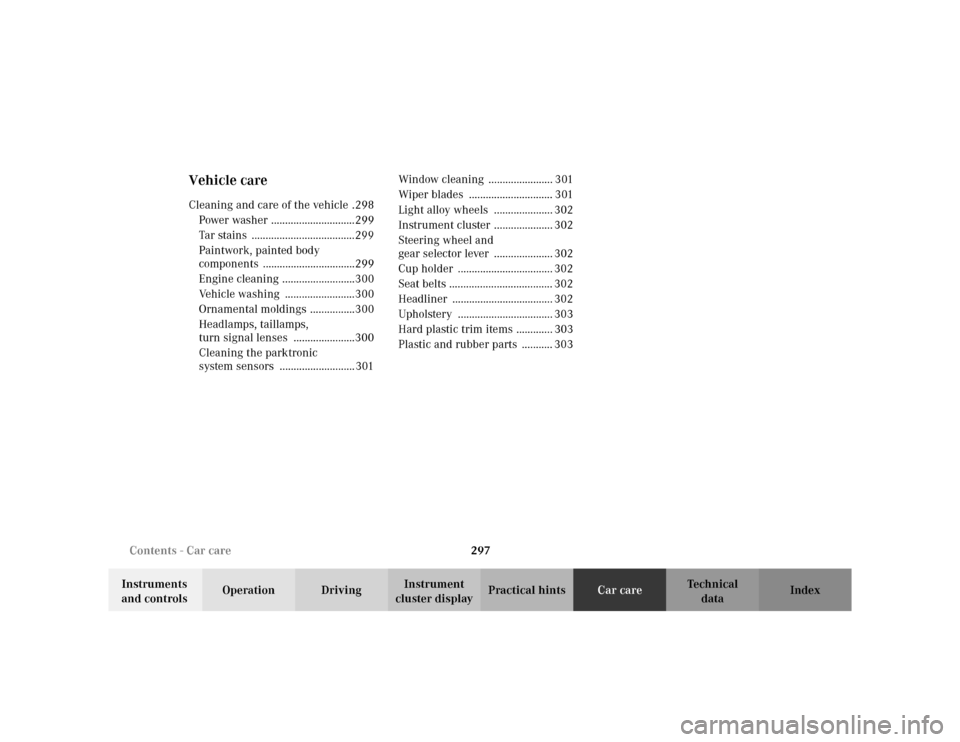
Vehicle careCleaning and care of the vehicle .298
Power washer ..............................299
Tar stains .....................................299
Paintwork, painted body
components .................................299
Engine cleaning ..........................300
Vehicle washing .........................300
Ornamental moldings ................300
Headlamps, taillamps,
turn signal lenses ......................300
Cleaning the parktronic
system sensors ........................... 301Window cleaning ....................... 301
Wiper blades .............................. 301
Light alloy wheels ..................... 302
Instrument cluster ..................... 302
Steering wheel and
gear selector lever ..................... 302
Cup holder .................................. 302
Seat belts ..................................... 302
Headliner .................................... 302
Upholstery .................................. 303
Hard plastic trim items ............. 303
Plastic and rubber parts ........... 303
Page 305 of 342
302 Cleaning and care of the vehicle
Te ch n i c a l
data Instruments
and controlsOperation DrivingInstrument
cluster displayPractical hintsCar careIndex
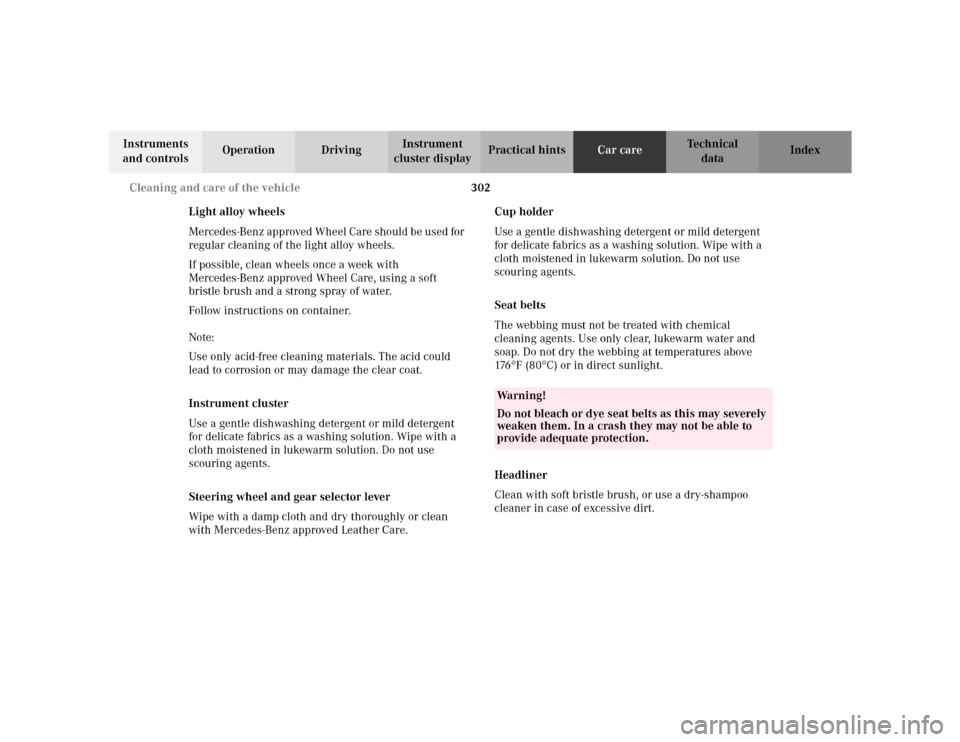
Light alloy wheels
Mercedes-Benz approved Wheel Care should be used for
regular cleaning of the light alloy wheels.
If possible, clean wheels once a week with
Mercedes-Benz approved Wheel Care, using a soft
bristle brush and a strong spray of water.
Follow instructions on container.
Note:
Use only acid-free cleaning materials. The acid could
lead to corrosion or may damage the clear coat.
Instrument cluster
Use a gentle dishwashing detergent or mild detergent
for delicate fabrics as a washing solution. Wipe with a
cloth moistened in lukewarm solution. Do not use
scouring agents.
Steering wheel and gear selector lever
Wipe with a damp cloth and dry thoroughly or clean
with Mercedes-Benz approved Leather Care.Cup holder
Use a gentle dishwashing detergent or mild detergent
for delicate fabrics as a washing solution. Wipe with a
cloth moistened in lukewarm solution. Do not use
scouring agents.
Seat belts
The webbing must not be treated with chemical
cleaning agents. Use only clear, lukewarm water and
soap. Do not dry the webbing at temperatures above
176
°F (80
°C) or in direct sunlight.
Headliner
Clean with soft bristle brush, or use a dry-shampoo
cleaner in case of excessive dirt.
Wa r n i n g !
Do not bleach or dye seat belts as this may severely
weaken them. In a crash they may not be able to
provide adequate protection.
Page 317 of 342

314 Fuels, coolants, lubricants etc. - capacities
Te ch n i c a l
data Instruments
and controlsOperation DrivingInstrument
cluster displayPractical hints Car care Index
Fuels, coolants, lubricants etc. – capacities
Vehicle components and their respective lubricants must match. Therefore use only brands tested and recommended
by us. Please refer to the Factory Approved Service Products pamphlet, or inquire at your Mercedes-Benz Light Truck
Center.
Fuels, coolants, lubricants etc. Model Capacity
Engine with oil filter
(recommended engine oils)ML 320 / ML 500
ML 55 AMG8.5 US qt (8.0 l)
8.0 US qt (7.5 l)
Automatic transmission
(automatic transmission fluid)9.0 US qt (8.5 l)
Transfer case
(Dexron 3 or Dexron 2E)1.6 US qt (1.5 l)
Rear axle
(Hypoid gear oil SAE 90, 85 W 90)1.3 US qt (1.25 l)
Front axle
(Hypoid gear oil SAE 90)1.2 US qt (1.1 l)
Power steering
(MB Power steering fluid)approx. 0.65 US qt (0.6 l)
Front wheel hubs
(high temperature roller bearing grease)approx. 1.5 oz (43 g) each
Page 325 of 342
322 Index
Te ch n i c a l
data Instruments
and controlsOperation DrivingInstrument
cluster displayPractical hints Car careIndex
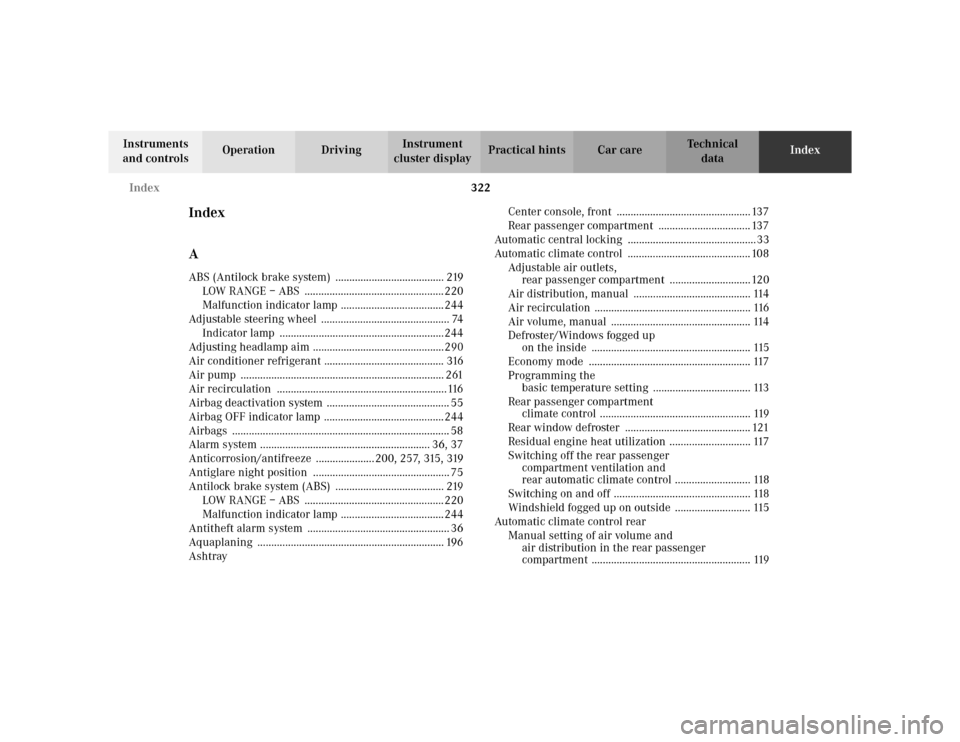
Index
AABS (Antilock brake system) ....................................... 219
LOW RANGE – ABS .................................................. 220
Malfunction indicator lamp ..................................... 244
Adjustable steering wheel .............................................. 74
Indicator lamp ...........................................................244
Adjusting headlamp aim ...............................................290
Air conditioner refrigerant ........................................... 316
Air pump ......................................................................... 261
Air recirculation .............................................................116
Airbag deactivation system ............................................ 55
Airbag OFF indicator lamp ........................................... 244
Airbags .............................................................................. 58
Alarm system ............................................................. 36, 37
Anticorrosion/antifreeze ..................... 200, 257, 315, 319
Antiglare night position ................................................. 75
Antilock brake system (ABS) ....................................... 219
LOW RANGE – ABS .................................................. 220
Malfunction indicator lamp ..................................... 244
Antitheft alarm system ................................................... 36
Aquaplaning ................................................................... 196
AshtrayCenter console, front ................................................ 137
Rear passenger compartment ................................. 137
Automatic central locking .............................................. 33
Automatic climate control ............................................ 108
Adjustable air outlets,
rear passenger compartment .............................120
Air distribution, manual .......................................... 114
Air recirculation ........................................................ 116
Air volume, manual .................................................. 114
Defroster/Windows fogged up
on the inside ......................................................... 115
Economy mode .......................................................... 117
Programming the
basic temperature setting ................................... 113
Rear passenger compartment
climate control ...................................................... 119
Rear window defroster ............................................. 121
Residual engine heat utilization ............................. 117
Switching off the rear passenger
compartment ventilation and
rear automatic climate control ........................... 118
Switching on and off ................................................. 118
Windshield fogged up on outside ........................... 115
Automatic climate control rear
Manual setting of air volume and
air distribution in the rear passenger
compartment ......................................................... 119