2002 MERCEDES-BENZ ML320 Not shifting
[x] Cancel search: Not shiftingPage 81 of 342
78 Rear view mirrors
Te ch n i c a l
data Instruments
and controlsOperationDrivingInstrument
cluster displayPractical hints Car care Index
Storing exterior rear view mirror positions
(only vehicle with memory function)
The exterior rear view mirror positions are stored in
memory with the seat positions and can be recalled
when necessary. See page 43 for notes on the memory
function.
Parking position (only vehicle with memory function)
The passenger side exterior mirror can be adjusted and
programmed to assist the driver during parking
maneuvers (e.g. to observe the curb or other objects
close to the vehicle).
With the key in steering lock position 2, and the exterior
rear view mirror switch in the passenger side position,
the passenger side mirror will be turned downward
when placing the gear selector lever in “R” reverse.
The passenger side mirror will return to its previous
position:
•immediately at speeds above approx. 6 mph
(10 km/h) – independent of the engaged gear,
•after 10 seconds when shifting gear selector lever
from “R” Reverse,
•by pressing the driver’s side mirror button%.To store passenger side mirror parking position:
1. The vehicle must be stationary.
Turn key to steering lock position 1 or 2.
2. Select passenger side mirror& and adjust the
mirror to view the curb.
3. Push the memory button “M”, see page 43.
4. Within 3 seconds push bottom of adjustment
button (3), see page 77.
The mirror should not move.
Repeat the memory procedure if the mirror moves.
Note:
The selected position will be stored relative to the
memory button (1, 2, 3) pushed.
Page 103 of 342
100 Exterior lamp switch
Te ch n i c a l
data Instruments
and controlsOperationDrivingInstrument
cluster displayPractical hints Car care Index
Daytime running lamp mode (Canada only)
Turn exterior lamp switch to positionD.
When the engine is running the low beam headlamps
are automatically switched on. In low ambient light
conditions the parking lamps will also switch on.
When shifting from a driving position to position “N”
or “P”, the exterior lamps switches off (3 minutes delay).For nighttime driving the exterior lamp switch should
be turned to position õ or U to permit activation
of the high beam headlamps.
Note:
The high beam flasher is always available.
Page 109 of 342
106 Rear window wiper/washer
Te ch n i c a l
data Instruments
and controlsOperationDrivingInstrument
cluster displayPractical hints Car care Index
Move stalk up for:
Normal wiper speed
Fast wiper speed
Note:
When shifting into reverse with windshield wipers on,
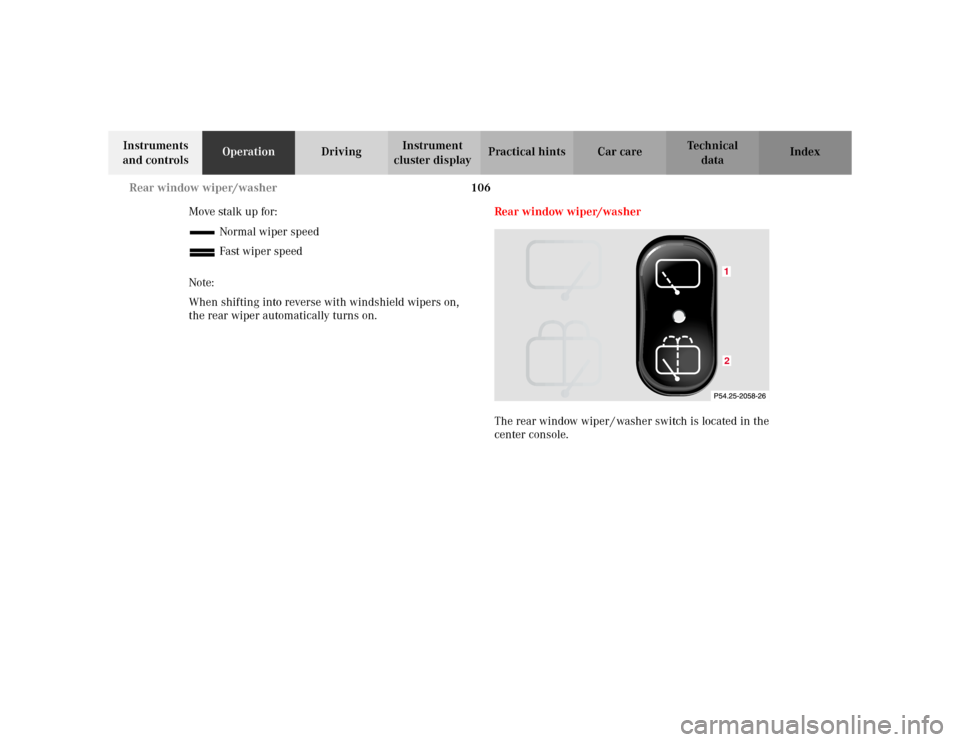
the rear wiper automatically turns on.Rear window wiper/washer
The rear window wiper / washer switch is located in the
center console.
12
Page 168 of 342
165 The first 1 000 miles
Te ch n i c a l
data Instruments
and controlsOperationDrivingInstrument
cluster displayPractical hints Car care Index The first 1 000 miles (1 500 km)
The more cautiously you treat your vehicle during the
break-in period, the more satisfied you will be with its
performance later on. Therefore, drive your vehicle
during the first 1 000 miles (1 500 km) at moderate
vehicle and engine speeds.
During this period, avoid heavy loads (full throttle
driving) and excessive engine speeds.
Avoid accelerating by kickdown. It is not recommended
to brake the vehicle by manually shifting to a lower gear.
We recommend that you select positions “3”, “2” or “1”
only at moderate speeds (for hill driving).
After 1 000 miles (1 500 km) speeds may be gradually
increased to the permissible maximum.Maintenance
We strongly recommend that you have your vehicle
serviced by your authorized Mercedes-Benz Light Truck
Center, in accordance with the Service Booklet at the
times called for by the FSS.
Failure to have the vehicle maintained in accordance
with the Service Booklet at the designated times /
mileage may result in vehicle damage not covered by
the Mercedes-Benz Limited Warranty.
For information on the Flexible service system (FSS) see
page 94.
Check regularly and before a long trip, see page 238.
Page 187 of 342

184 Automatic transmission
Te ch n i c a l
data Instruments
and controlsOperationDrivingInstrument
cluster displayPractical hints Car care Index
Driving
The selector lever is automatically locked while in
position “P”. To move the selector lever out of
position “P”, the service brake pedal must be firmly
depressed before the shift lock will release.
Shift selector lever to the desired position only when the
engine is idling normally and the service brake is
applied. Do not release the brake until ready to drive.
The vehicle may otherwise start creeping when the
selector lever is in drive or reverse position.Important!
After selecting any driving position from “N” or “P”,
wait a moment to allow the gear to fully engage before
accelerating, especially when the engine is cold.
Accelerator position
Partial throttle = early upshifting = normal acceleration
Full throttle = later upshifting = rapid acceleration
Kickdown (depressing the accelerator beyond full
throttle) = downshifting to a lower gear = maximum
acceleration. Once the desired speed is attained, ease up
on the accelerator – the transmission shifts up again.
Stopping
For brief stops, e.g. at traffic lights, leave the
transmission in gear and hold vehicle with the service
brake.
For longer stops with the engine idling, shift into “N”
or “P” and hold the vehicle with the service brake.
When stopping the vehicle on an uphill gradient, do not
hold it with the accelerator, use the brake. This avoids
unnecessary transmission heat build up.
Wa r n i n g !
It is dangerous to shift the selector lever out of “P”
or “N” if the engine speed is higher than idle speed.
If your foot is not firmly on the brake pedal, the
vehicle could accelerate quickly forward or in
reverse. You could lose control of the vehicle and
hit someone or something. Only shift into gear
when the engine is idling normally and when your
right foot is firmly on the brake pedal.
Page 188 of 342
185 Automatic transmission
Te ch n i c a l
data Instruments
and controlsOperationDrivingInstrument
cluster displayPractical hints Car care Index Maneuvering
To maneuver in tight areas, e.g. when pulling into a
parking space, control the vehicle speed by gradually
releasing the brakes. Accelerate gently and never
abruptly step on the accelerator.
To rock a vehicle out of soft ground (mud or snow),
alternately shift from forward to reverse, while applying
slight partial throttle.
Rocking a vehicle free in this manner may cause the
ABS or traction system malfunction indicator lamp to
come on. Turn off and restart the engine to clear the
malfunction indication.Towing a trailer
If the transmission hunts between gears on inclines,
manually shift to a lower gear (select “4”, “3”, “2”
or “1”). A lower gear and reduction of speed reduces the
chance of engine overloading and / or overheating.
At very steep inclines, not manageable with selector
lever in position “1”, switch transfer case to LOW
RANGE, see page 227 for instructions on how to engage
LOW RANGE.
For instructions on trailer towing refer to page 209.
Wa r n i n g !
Getting out of your vehicle with the selector lever
not fully engaged in position “P” is dangerous.
Also, when parked on an incline, position “P” alone
may not prevent your vehicle from moving,
possibly hitting people or objects.Always set the parking brake in addition to shifting
to position “P”, see page 191 for parking brake. When parked on an incline, also turn front wheel
against curb.
Wa r n i n g !
When leaving the vehicle always remove the key
from the steering lock, and lock the vehicle. Do not
leave children unattended in the vehicle, or with
access to an unlocked vehicle. Children could move
the gear selector lever from position “P”, which
could result in an accident or serious injury.
Page 189 of 342
186 Automatic transmission
Te ch n i c a l
data Instruments
and controlsOperationDrivingInstrument
cluster displayPractical hints Car care Index
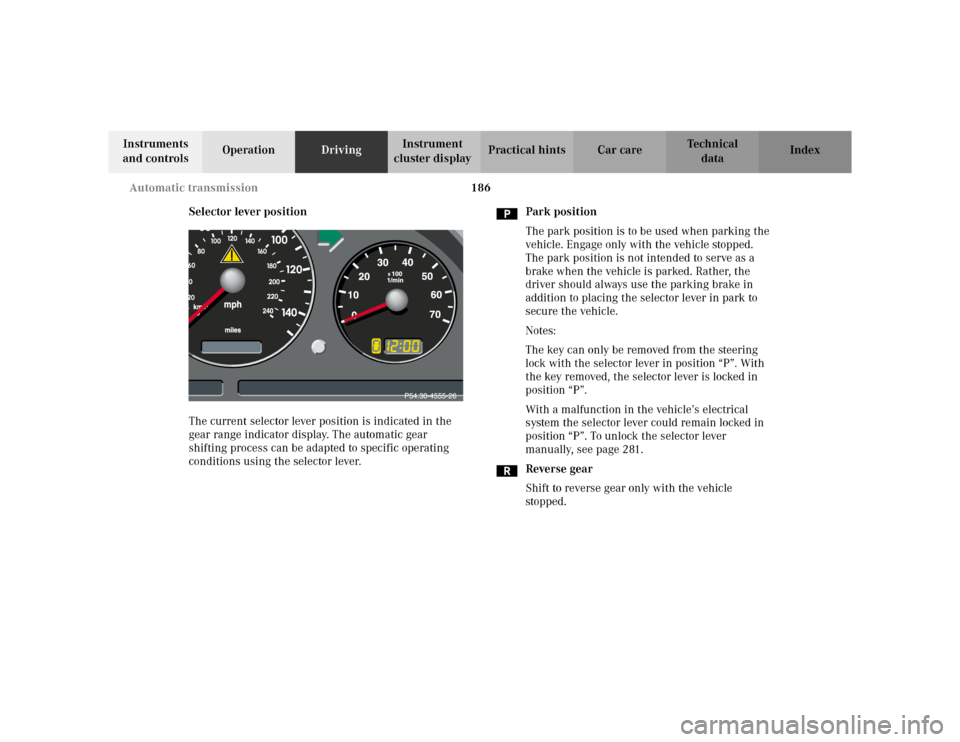
Selector lever position
The current selector lever position is indicated in the
gear range indicator display. The automatic gear
shifting process can be adapted to specific operating
conditions using the selector lever.Park position
The park position is to be used when parking the
vehicle. Engage only with the vehicle stopped.
The park position is not intended to serve as a
brake when the vehicle is parked. Rather, the
driver should always use the parking brake in
addition to placing the selector lever in park to
secure the vehicle.
Notes:
The key can only be removed from the steering
lock with the selector lever in position “P”. With
the key removed, the selector lever is locked in
position “P”.
With a malfunction in the vehicle’s electrical
system the selector lever could remain locked in
position “P”. To unlock the selector lever
manually, see page 281.
Reverse gear
Shift to reverse gear only with the vehicle
stopped.
Page 190 of 342
187 Automatic transmission
Te ch n i c a l
data Instruments
and controlsOperationDrivingInstrument
cluster displayPractical hints Car care Index Neutral
No power is transmitted from the engine to the
drive axle. When the brakes are released, the
vehicle can be moved freely (pushed or towed). Do
not engage “N” while driving except to coast
when the vehicle is in danger of skidding (e.g. on
icy roads, see winter driving instructions on
page 199).
Important!
Coasting the vehicle, or driving for any other
reason with selector lever in “N” can result in
transmission damage that is not covered by the
Mercedes-Benz Limited Warranty.
The transmission automatically upshifts through
5th gear. Position “D” provides optimum driving
characteristics under all normal operating
conditions.Gear selection for special circumstances
The transmission gear ranges for special circumstances
can be selected by pressing the selector lever to the
right or the left with the selector lever in position “D”.
The gear range currently selected is indicated in the
instrument cluster display.
Briefly press selector lever in the “D –” direction:
The transmission will shift from the current gear range
to the next lower gear range.
Press and hold selector lever in the “D –” direction:
The selector lever position display will switch to the
gear range currently selected by the automatic
transmission.
Shifting into another gear range that allows for quicker
acceleration or to slow the vehicle down is possible.
Downshifts can also be performed.
Note:
To avoid overrevving the engine when the selector lever
is moved in “D –” direction, the transmission will not
shift to a lower gear range if the engine’s revolutions
per minute limit would be exceeded.