Page 288 of 342

285 Exterior lamps
Te ch n i c a l
data Instruments
and controlsOperation DrivingInstrument
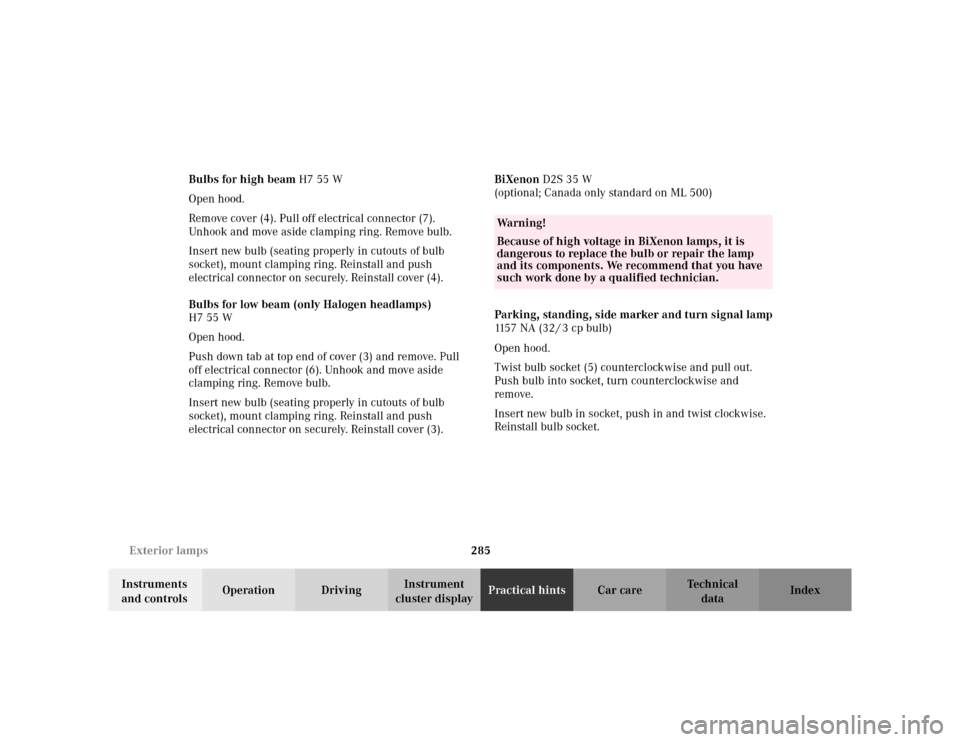
cluster displayPractical hintsCar care Index Bulbs for high beam H7 55 W
Open hood.
Remove cover (4). Pull off electrical connector (7).
Unhook and move aside clamping ring. Remove bulb.
Insert new bulb (seating properly in cutouts of bulb
socket), mount clamping ring. Reinstall and push
electrical connector on securely. Reinstall cover (4).
Bulbs for low beam (only Halogen headlamps)
H7 55 W
Open hood.
Push down tab at top end of cover (3) and remove. Pull
off electrical connector (6). Unhook and move aside
clamping ring. Remove bulb.
Insert new bulb (seating properly in cutouts of bulb
socket), mount clamping ring. Reinstall and push
electrical connector on securely. Reinstall cover (3).BiXenon D2S 35 W
(optional; Canada only standard on ML 500)
Parking, standing, side marker and turn signal lamp
115 7 N A ( 3 2 / 3 c p b u l b )
Open hood.
Twist bulb socket (5) counterclockwise and pull out.
Push bulb into socket, turn counterclockwise and
remove.
Insert new bulb in socket, push in and twist clockwise.
Reinstall bulb socket.
Wa r n i n g !
Because of high voltage in BiXenon lamps, it is
dangerous to replace the bulb or repair the lamp
and its components. We recommend that you have
such work done by a qualified technician.
Page 289 of 342
286 Exterior lamps
Te ch n i c a l
data Instruments
and controlsOperation DrivingInstrument
cluster displayPractical hintsCar care Index
Fog lamp assembly
The foglamps are located in the front bumper.
Check and readjust foglamps at regular intervals and
when a bulb has been replaced.
Removing fog lamp assembly:
Remove foglamp holder from bumper by pressing
locking tab of fog lamp holder using a suitable tool
(e.g. screw driver). Swing fog lamp holder out of bumper
and remove fog lamp from holder.1Bulbs for fog lamps
H8 35 W
2Ta b s
Remove connector from lamp (1), turn lamp socket
towards left and pull out. Remove bulb.
Insert new bulb into lamp socket and insert into
housing. Turn socket towards right.
During fog lamp installation, make sure that fog lamp
tabs (2) firmly seat into the slots of the holder.
P82.10-2764-26
Page 291 of 342
288 Exterior lamps
Te ch n i c a l
data Instruments
and controlsOperation DrivingInstrument
cluster displayPractical hintsCar care Index
Pull off electrical connector (2).
Squeeze tabs (3) together and remove bulb holder.
Push bulb into socket, turn counterclockwise and
remove.
Insert new bulb in socket, push in and twist clockwise.
Reinstall bulb holder.
Reinstall electrical connector (2).
Reinstall taillamp.Additional turn signals on the exterior mirror
The Additional turn signals on the exterior mirror are
equipped with LEDs.
Have the system checked at an authorized
Mercedes-Benz Center if a malfunction occurs.
P82.10-2753-26
Page 292 of 342
289 Exterior lamps
Te ch n i c a l
data Instruments
and controlsOperation DrivingInstrument
cluster displayPractical hintsCar care Index License plate lamps (C 5 W [tubular] bulb)
Remove both securing screws, remove lamp and take
out bulb.High mounted stop lamp (1073 [32 cp bulb])
To replace bulb, squeeze both sides (1, arrows) of cover,
fold forward and remove.
Press tab (2, arrow) on reflector and remove reflector.
Press bulb down, turn counterclockwise and remove.
Insert new bulb in socket, push in and twist clockwise.
Reinstall reflector.
Position tabs of cover in slots (3, arrows) and reinstall
cover until properly seated.
P82.10-2347-26
P82.10-2346-26
Page 294 of 342
291 Exterior lamps
Te ch n i c a l
data Instruments
and controlsOperation DrivingInstrument
cluster displayPractical hintsCar care Index 5. (High beams on):
Simultaneously turn adjusting screws (1 and 2 on
page 283 or 284) counterclockwise to adjust
headlamp downward, clockwise upward.
Graduations:
screw 1: 0.50
° pitch,
screw 2: 0.67° pitch.
6. Horizontal headlamp aim (High beams on):
Turn adjusting screw (2) (left headlamp:
counterclockwise to adjust to the left, clockwise to
the right [right headlamp in opposite direction])
until the headlamp (high beam pattern) is centered
about the vertical centerline (1) as shown.
The left and right headlamps must be adjusted
individually.
Graduations: 0.33
° pitch.Note:
If it is not possible to obtain a proper headlamp
adjustment, have the system checked at your authorized
Mercedes-Benz Light Truck Center.
Page 295 of 342
292 Remote control
Te ch n i c a l
data Instruments
and controlsOperation DrivingInstrument
cluster displayPractical hintsCar care Index
Remote control battery replacement
Changing batteries
Unfold master key from holder by pressing key release
button. Pull off battery cover (1).
Change batteries, inserting new ones with (+) side
facing up.
Press battery cover onto housing until locked in place.Notes:
To assure proper operation of the remote control, push
each button. Repeat battery installation, if remote
control does not function correctly.
If the remote control does not function correctly after
repeating battery installation, the system may have to be
resynchronized, see below.
Page 296 of 342

293 Remote control
Te ch n i c a l
data Instruments
and controlsOperation DrivingInstrument
cluster displayPractical hintsCar care Index Synchronizing remote control
If the remote control does not function correctly and the
batteries are in order, the system may have to be
resynchronized.
Turn key in steering lock to position 2, then to
position 0 and remove.
Within 10 seconds, push and hold button‹ while
pushing buttonΠfive times.
Release the button, and press‹, Œ orŠ once.
Check all functions. The remote control should once
again be operational.
Note:
If it is not possible to resynchronize the remote control,
have the system checked at your authorized Mercedes-
Benz Light Truck Center.Important!
Batteries contain materials that can harm the
environment if disposed of improperly. Recycling of
batteries is the preferred method of disposal. For
disposal, please follow manufacturer’s recommendation
on battery package.
Replacement Battery:
Lithium, type CR 2025 or equivalent.
Page 297 of 342

294 Emergency operation of sliding/pop-up roof
Te ch n i c a l
data Instruments
and controlsOperation DrivingInstrument
cluster displayPractical hintsCar care Index
Emergency operation of sliding/pop-up roof
The sliding / pop-up roof can be opened or closed
manually should an electrical malfunction occur.
The sliding / pop-up roof drive is located behind the
cover between the front interior lamps.
1. Open cover by using a flat blade screw driver at top
edge.
2. Obtain crank (supplied with vehicle) and insert in
hexagon drive hole, located at rear end of the open
cover.Note:
Push crank upward while turning it, to disengage the
electric motor.
To slide the roof closed or to raise the roof at the rear:
turn crank clockwise.
To slide the roof open or to lower the roof at the rear:
turn crank counterclockwise.
Synchronizing the sliding / pop-up roof
After manually operating the sliding / pop-up roof, a
timing synchronization is needed for future electrical
operation of the roof. To do so, remove fuse for sliding/
pop-up roof operation, located in fuse box, for one
second and reinstall. Now push and hold switch until
the sliding / pop-up roof is fully raised. Continue to hold
switch for another second.
For notes on fuses, see page 250.
RESETMODEMODE