Page 134 of 399

131 Multifunction steering wheel, multifunction display
Te ch n i c a l
data Instruments
and controlsOperationDrivingInstrument
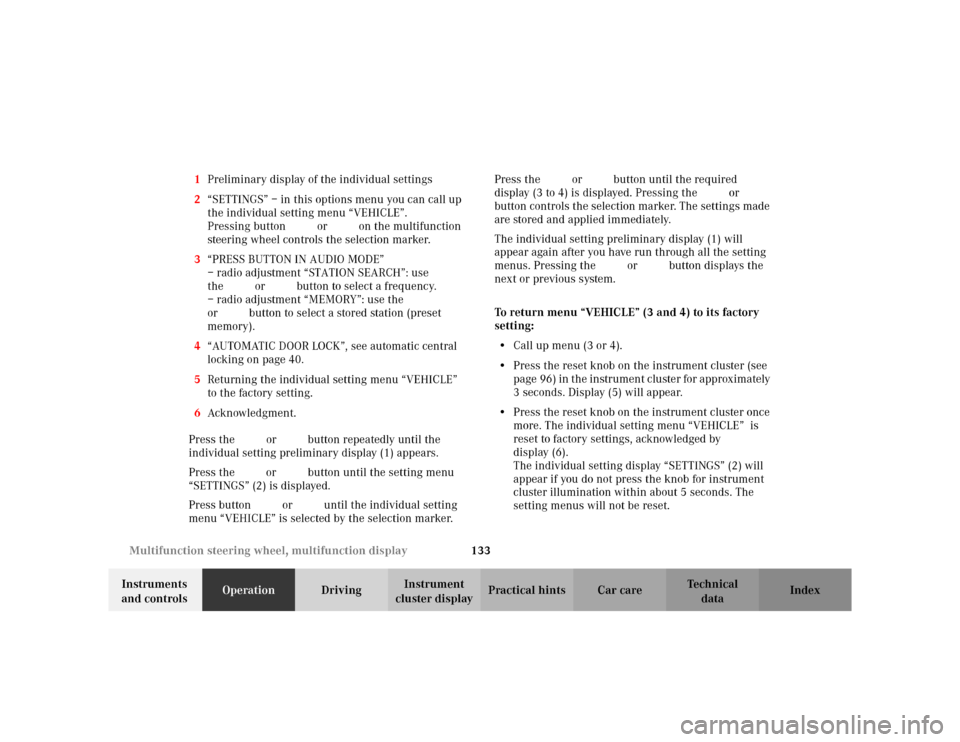
cluster displayPractical hints Car care Index To return menu “LIGHTING” (3 to 6) to its factory
setting:
•Call up menu (3 to 6).
•Press the reset knob on the instrument cluster (see
page 96) in the instrument cluster for approximately
3 seconds. Display (7) will appear.
•Press the reset knob on the instrument cluster once
more. The individual setting menu “LIGHTING” is
reset to factory settings, acknowledged by
display (8).
The individual setting display “SETTINGS” (2) will
appear if you do not press the reset knob on the
instrument cluster within about 5 seconds. The
setting menus will not be reset.Note:
For safety reasons, the individual setting “LIGHT
CIRCUIT HEADLAMP MODE” in menu “LIGHTING”
cannot be reset while driving. If an attempt is made, the
message “LIGHTING” – “CANNOT BE COMPLETELY
RESET TO FACTORY SETTINGS WHILE DRIVING” will
be displayed.
Page 136 of 399

133 Multifunction steering wheel, multifunction display
Te ch n i c a l
data Instruments
and controlsOperationDrivingInstrument
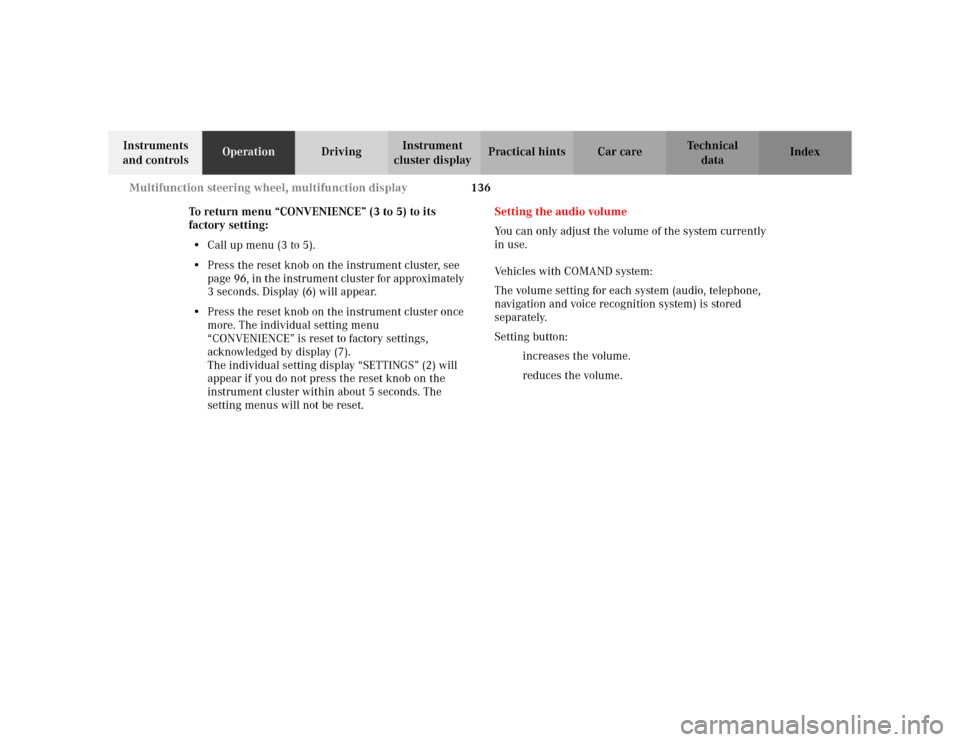
cluster displayPractical hints Car care Index 1Preliminary display of the individual settings
2“SETTINGS” – in this options menu you can call up
the individual setting menu “VEHICLE”.
Pressing buttonæ orç on the multifunction
steering wheel controls the selection marker.
3“PRESS BUTTON IN AUDIO MODE”
– radio adjustment “STATION SEARCH”: use
thej ork button to select a frequency.
– radio adjustment “MEMORY”: use the j
ork button to select a stored station (preset
memory).
4“AUTOMATIC DOOR LOCK”, see automatic central
locking on page 40.
5Returning the individual setting menu “VEHICLE”
to the factory setting.
6Acknowledgment.
Press the è or ÿ button repeatedly until the
individual setting preliminary display (1) appears.
Press the j or k button until the setting menu
“SETTINGS” (2) is displayed.
Press buttonæ orç until the individual setting
menu “VEHICLE” is selected by the selection marker.Press the j or k button until the required
display (3 to 4) is displayed. Pressing the æ orç
button controls the selection marker. The settings made
are stored and applied immediately.
The individual setting preliminary display (1) will
appear again after you have run through all the setting
menus. Pressing the è or ÿ button displays the
next or previous system.
To return menu “VEHICLE” (3 and 4) to its factory
setting:
•Call up menu (3 or 4).
•Press the reset knob on the instrument cluster (see
page 96) in the instrument cluster for approximately
3 seconds. Display (5) will appear.
•Press the reset knob on the instrument cluster once
more. The individual setting menu “VEHICLE” is
reset to factory settings, acknowledged by
display (6).
The individual setting display “SETTINGS” (2) will
appear if you do not press the knob for instrument
cluster illumination within about 5 seconds. The
setting menus will not be reset.
Page 139 of 399

136 Multifunction steering wheel, multifunction display
Te ch n i c a l
data Instruments
and controlsOperationDrivingInstrument
cluster displayPractical hints Car care Index
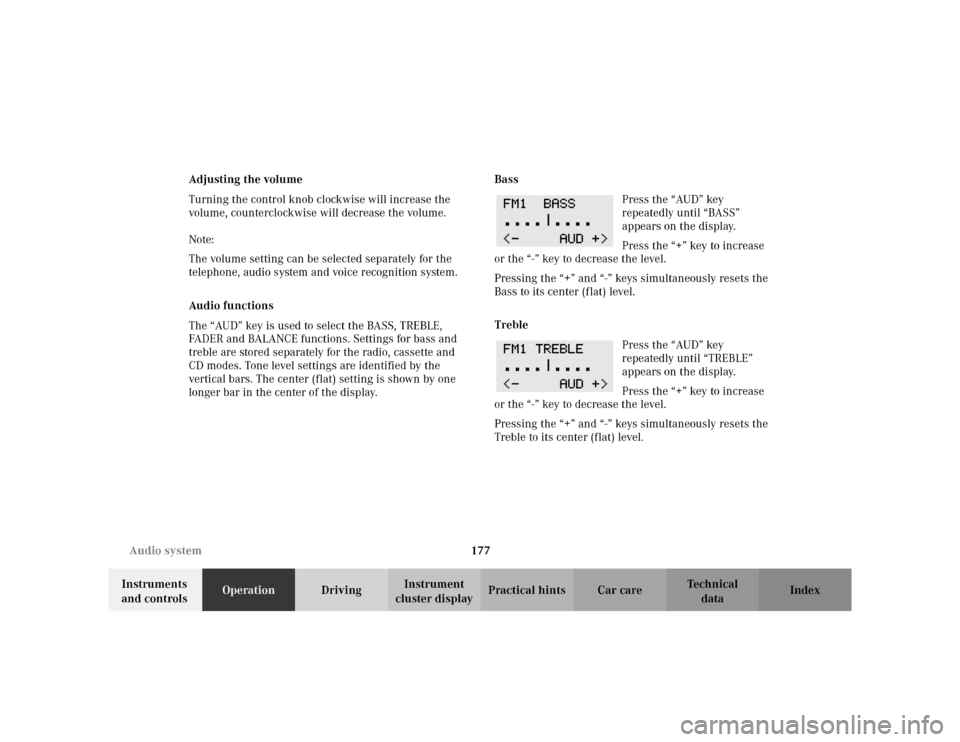
To return menu “CONVENIENCE” (3 to 5) to its
factory setting:
•Call up menu (3 to 5).
•Press the reset knob on the instrument cluster, see
page 96, in the instrument cluster for approximately
3 seconds. Display (6) will appear.
•Press the reset knob on the instrument cluster once
more. The individual setting menu
“CONVENIENCE” is reset to factory settings,
acknowledged by display (7).
The individual setting display “SETTINGS” (2) will
appear if you do not press the reset knob on the
instrument cluster within about 5 seconds. The
setting menus will not be reset.Setting the audio volume
You can only adjust the volume of the system currently
in use.
Vehicles with COMAND system:
The volume setting for each system (audio, telephone,
navigation and voice recognition system) is stored
separately.
Setting button:
æ increases the volume.
ç reduces the volume.
Page 143 of 399

140 Flexible service system
Te ch n i c a l
data Instruments
and controlsOperationDrivingInstrument
cluster displayPractical hints Car care Index
Following a completed A or B service the Mercedes-Benz
Center sets the counter mileage to 10 000 miles
(Canada: 15 000 km).
The counter can also be set by any individual. To do so:
Turn the electronic key in starter switch to position 1
or 2.
To call up the trip odometer and main odometer, press
button è or ÿ on the multifunction steering
wheel until the display appears. See page 106.
Press button j or k until the FSS indicator
appears.
Press the reset knob on the instrument cluster, see
page 96, for approximately 4 seconds.The multifunction display will show the question:
“DO YOU WANT TO RESET SERVICE INTERVAL? –
CONFIRM BY PRESSING R”
Press the reset knob on the instrument cluster again for
approximately 4 seconds to reset the service indicator.
The new service indicator is displayed with the reset
distance of 10 000 miles (Canada 15 000 km).
If the FSS counter was inadvertently reset, have a
Mercedes-Benz Center correct it.
However you choose to set your reference numbers, the
scheduled services as posted in the Service Booklet
must be followed to properly care for your vehicle.
Page 180 of 399

177 Audio system
Te ch n i c a l
data Instruments
and controlsOperationDrivingInstrument
cluster displayPractical hints Car care Index Adjusting the volume
Turning the control knob clockwise will increase the
volume, counterclockwise will decrease the volume.
Note:
The volume setting can be selected separately for the
telephone, audio system and voice recognition system.
Audio fu nctions
The “AUD” key is used to select the BASS, TREBLE,
FADER and BALANCE functions. Settings for bass and
treble are stored separately for the radio, cassette and
CD modes. Tone level settings are identified by the
vertical bars. The center (flat) setting is shown by one
longer bar in the center of the display.Bass
Press the “AUD” key
repeatedly until “BASS”
appears on the display.
Press the “+” key to increase
or the “-” key to decrease the level.
Pressing the “+” and “-” keys simultaneously resets the
Bass to its center (flat) level.
Treble
Press the “AUD” key
repeatedly until “TREBLE”
appears on the display.
Press the “+” key to increase
or the “-” key to decrease the level.
Pressing the “+” and “-” keys simultaneously resets the
Treble to its center (flat) level.
Page 181 of 399
178 Audio system
Te ch n i c a l
data Instruments
and controlsOperationDrivingInstrument
cluster displayPractical hints Car care Index
Fader
Press the “AUD” key
repeatedly until “FADER”
appears on the display. Press
the “R” key to move the sound
to the rear speakers or the “F”
key to move the sound to the front speakers.
Pressing the “F” and “R” keys simultaneously resets the
Fader to its center level.
Balance
Press the “AUD” key
repeatedly until “BALANCE”
appears on the display.
Press the “L” key to move the
sound to the left speakers or the “R” key to move the
sound to the right speakers.
Pressing the “L” and “R” keys simultaneously resets the
Balance to its center level.Centering all audio functions
Push and hold down the
“AUD” key. All audio
functions (bass, treble,
balance and fader) are set to
center or flat positions, and
the volume is adjusted to a preset level. “RESET”
appears on the display.
Page 184 of 399

181 Audio system
Te ch n i c a l
data Instruments
and controlsOperationDrivingInstrument
cluster displayPractical hints Car care Index We a t h e r B a n d
Press the “WB” key. The last weather band station is
tuned in.
Use buttons - to select a different station. If
the station cannot be received, the next available station
is selected automatically.
Press button or . The next available station is
tuned in. The message “WB NONE” appears if no station
can be received.
Station memory
Ten stations each in the AM and FM bands can be stored
via the alpha-numeric keypad. The button
corresponds to location 10. Weatherband (WB)
channels 1 to 7 are preset at the factory and can be
retrieved via the alpha-numeric keypad, but cannot be
changed.Storing stations automatically (Autostore)
Press the “AS” key until the
word “SEARCH” is displayed.
The ten strongest stations are
stored automatically, with
having the strongest
signal.
If less than 10 stations are available within receiving
range, only those will be stored.
Pressing a station selection button without a stored
station will not display a frequency for approximately
2 seconds. Thereafter the station selected last will be
displayed.
Note:
Autostore memory is in addition to the regular station
memory. Previously stored stations are not erased.
Briefly press “AS” to leave the Autostore and return to
manual presets. Press “AS” again to call up Autostore.
7PQRS
0OPR
Page 191 of 399

188 Audio system
Te ch n i c a l
data Instruments
and controlsOperationDrivingInstrument
cluster displayPractical hints Car care Index
Playing CDs
Press the button. When the changer is used for the
first time after removing/inserting a magazine, play
begins at CD 1 track 1. After that, the CD most recently
played will start at the point where it was last switched
off. CDs stored in the magazine can be selected by using
the station preset buttons 1-6.
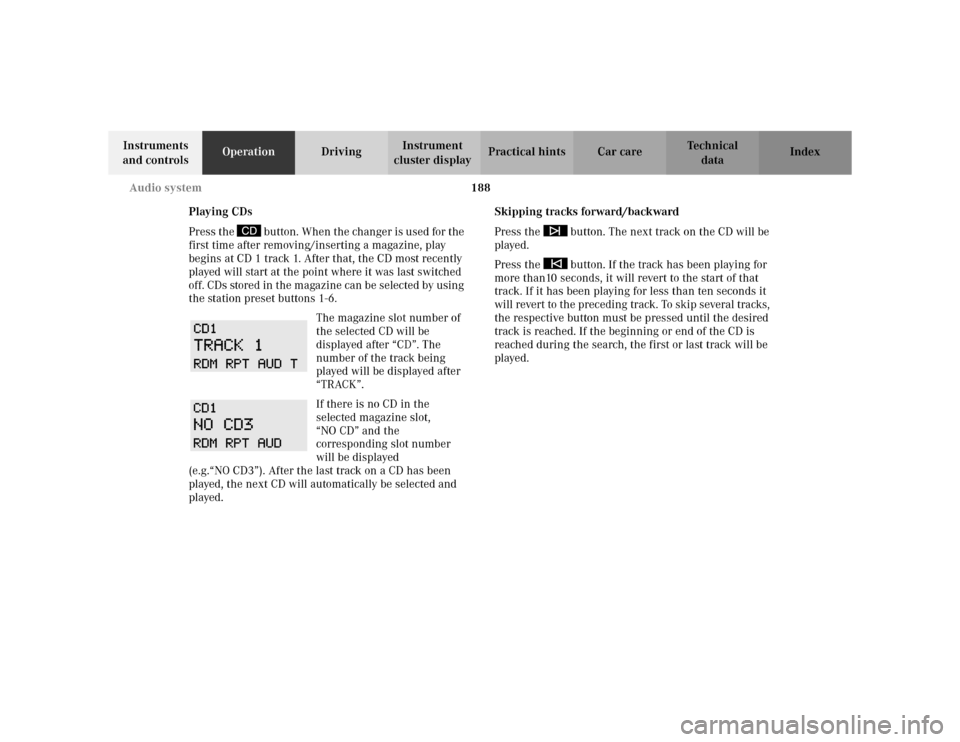
The magazine slot number of
the selected CD will be
displayed after “CD”. The
number of the track being
played will be displayed after
“TRACK”.
If there is no CD in the
selected magazine slot,
“NO CD” and the
corresponding slot number
will be displayed
(e.g.“NO CD3”). After the last track on a CD has been
played, the next CD will automatically be selected and
played.Skipping tracks forward/backward
Press the button. The next track on the CD will be
played.
Press the button. If the track has been playing for
more than10 seconds, it will revert to the start of that
track. If it has been playing for less than ten seconds it
will revert to the preceding track. To skip several tracks,
the respective button must be pressed until the desired
track is reached. If the beginning or end of the CD is
reached during the search, the first or last track will be
played.