2002 MERCEDES-BENZ C CLASS COUPE light
[x] Cancel search: lightPage 147 of 399

144
Exterior lamp switch
Te ch n i c a l
data
Instruments
and controls Operation
DrivingInstrument
cluster display Practical hints Car care Index
Headlamp mode
Manual headlamp mode
The low beam headlamps and parking lamps can be
switched on and off with the exterior lamp switch. For
exterior lamp switch, see above.
Note:
With the daytime running lamp mode activated and the
engine running, the low beam headlamps cannot be
switched off manually. Automatic headlamp mode
Turn exterior lamp switch to position
U.
• Electronic key in starter switch position 1:
The parking lamps switch on and off automatically
depending on the brightness of the ambient light.
• Electronic key in starter switch position 2 and the
engine running:
The low beam headlamps and parking lamps are
switched on and off automatically depending on the
brightness of the ambient light.
The low beam headlamps and parking lamps can
still be switched on and off manually using the
exterior lamp switch.
Note:
With the daytime running lamp mode activated, the low
beam headlamps cannot be switched off manually.
The headlamps will not be automatically switched on
under foggy conditions.
Front fog lamps and rear fog lamp cannot be switched
on manually with exterior lamp switch in position U.
To activate the fog lamps turn exterior switch to
position B.
Wa r n i n g !
The driver is responsible for the operation of the
vehicle’s lights at all times. The automatic
headlamp feature is only an aid to the driver.
Switch on the vehicle lights by hand when driving
or traffic conditions require you to do so.
Page 148 of 399

145
Exterior lamp switch
Te ch n i c a l
data
Instruments
and controls Operation
DrivingInstrument
cluster display Practical hints Car care Index
Daytime running lamp mode
Turn exterior lamp switch to position
M orU .
When the engine is running, the low beam headlamps
are automatically switched on. In low ambient light
conditions the parking lamps will also switch on. • Canada only:
When shifting from a driving position to
position “N” or “P”, the low beam switches off
(3 minutes delay).
For nighttime driving the exterior lamp switch
should be turned to position B to permit
activation of the high beam headlamps. •
USA only:
The high beam headlamps can also be activated
when driving with the daytime running lamp mode
activated and exterior lamp switch in position M.
To activate the daytime running lamp mode, see the
individual setting menu “LIGHTING” – “LIGHT
CIRCUIT HEADLAMP MODE” on page 128.
Note:
See page 143 for notes on the exterior lamp switch.
Page 149 of 399

146
Exterior lamp switch
Te ch n i c a l
data
Instruments
and controls Operation
DrivingInstrument
cluster display Practical hints Car care Index
Night security illumination
At low ambient light conditions and with the engine
having been switched off, the exterior lamps (fog lamps
and parking lamps) switch on for added illumination,
(except in daytime running mode). After the last door
has been closed the lamp-on time period commences.
See the individual setting menu “LIGHTING” –
“HEADLAMPS DELAYED SWITCH–OFF” on page 128,
for instructions on how to activate the function.
The lamp-on time period for night security illumination
can be set at several different timed levels from 0 (off) to
60 seconds, see the individual setting menu
“LIGHTING” – “HEADLAMPS DELAYED SWITCH–OFF”
on page 128. Notes:
Within 10 minutes after closing the last door the night
security illumination can be reactivated by opening a
door.
If after switching the engine off, no doors are opened or
if after opening the doors they are not closed, the night
security illumination will switch off automatically
after 60 seconds.
Deactivating night security illumination temporarily:
Turn the electronic key in starter switch to position 0
then to position 2 and back to position 0 again before
getting out of the vehicle. The night security
illumination will not be activated when the door is
opened.
Page 150 of 399

147
Exterior lamp switch
Te ch n i c a l
data
Instruments
and controls Operation
DrivingInstrument
cluster display Practical hints Car care Index
Locator lighting
After unlocking the vehicle with the electronic key
during darkness the fog lamps and parking lamps
switch on for approximately 40 seconds.
The exterior lamps will be switched off when opening
the driver’s door.
See the individual setting menu “LIGHTING” –
“LOCATOR LIGHTING” on page 128, for instructions on
how to activate the function.
Headlamp cleaning system
(optional)
Turn the electronic key in starter switch to position 2.
The headlamps will be cleaned with a high-pressure
water jet when you press the headlamp washer
button (1).
See page 320 for instructions on filling up the
windshield/headlamp washer reservoir.
P82.10-2780-26
Page 158 of 399

155
Climate control
Te ch n i c a l
data
Instruments
and controls Operation
DrivingInstrument
cluster display Practical hints Car care Index
Climate control
The system is always at operational readiness, except
when manually switched off.
The climate control only operates with the engine
running.
The temperature selector should be left at the desired
temperature setting. The temperature selected is
reached as quickly as possible.
The system will not heat or cool any quicker by setting a
higher or lower temperature.
The desired interior temperature can be selected
separately for the left and right side of the passenger
compartment. Adjust the temperature settings in small
increments.
The climate control removes considerable moisture from
the air during operation in the cooling mode. It is
normal for water to drip on the ground through ducts in
the underbody.
The air conditioning will not engage (no cooling) if the
economy mode S
is selected, see page 159. Notes:
Do not obstruct the air flow by placing objects on the air
flow-through exhaust slots below the rear window.
Also keep the air intake grill in front of the windshield
free of snow and debris.
The storage compartment between the front seats can be
ventilated. See page 171 for notes on ventilating the
storage space under the armrest in the center console.
The air conditioner switches itself off for its own
protection if refrigerant is lost. No cooling will then take
place. Economy mode
S cannot be switched off. Have
the air conditioner checked by a Mercedes-Benz Center
should this happen.
If the vehicle interior has been heated by direct sunlight
and is very hot, ventilate the interior (open door or
windows for a short period) before driving off.
Dust filter
Nearly all dust particles and pollen are filtered out
before outside air enters the passenger compartment
through the air distribution system.
Page 167 of 399

164
Automatic climate control
Te ch n i c a l
data
Instruments
and controls Operation
DrivingInstrument
cluster display Practical hints Car care Index
Notes:
Do not obstruct the air flow by placing objects on the air
flow-through exhaust slots below the rear window.
Also keep the air intake grill in front of the windshield
free of snow and debris.
The storage compartment between the front seats can be
ventilated. See page 171 for notes on ventilating the
storage space under the armrest in the center console.
The air conditioner switches itself off for its own
protection if refrigerant is lost. No cooling will then take
place. Economy mode S cannot be switched off. Have
the air conditioner checked by a Mercedes-Benz Center
should this happen.
If the vehicle interior has been heated by direct sunlight
and is very hot, ventilate the interior (open door or
windows for a short period) before driving off.
Dust filter
Nearly all dust particles and pollen are filtered out
before outside air enters the passenger compartment
through the air distribution system. Basic setting – automatic mode
In the automatic mode the automatic climate control
cools or heats the interior depending on the direction
and strength of the sunlight, outside temperature and
the selected interior temperature of the vehicle. With
the automatic mode switched off, the air volume and
distribution can still be set manually.
Briefly press left or right
U button. The h, j
and k symbols will no longer be visible.
The economy mode and air recirculation functions will
be switched off. The automatic blower will be activated
at the same time.
We recommend to set the temperature switches on the
left and right to 72
°F (22
°C). Please make changes from
this setting to suit your personal requirements.
Heating mode:
To lower headroom temperature, use thumbwheel
(4, page 160).
Air conditioning mode:
Open air outlets at dashboard top center (7, page 160)
for an even air distribution.
Page 188 of 399

185
Audio system
Te ch n i c a l
data
Instruments
and controls Operation
DrivingInstrument
cluster display Practical hints Car care Index
Scanning
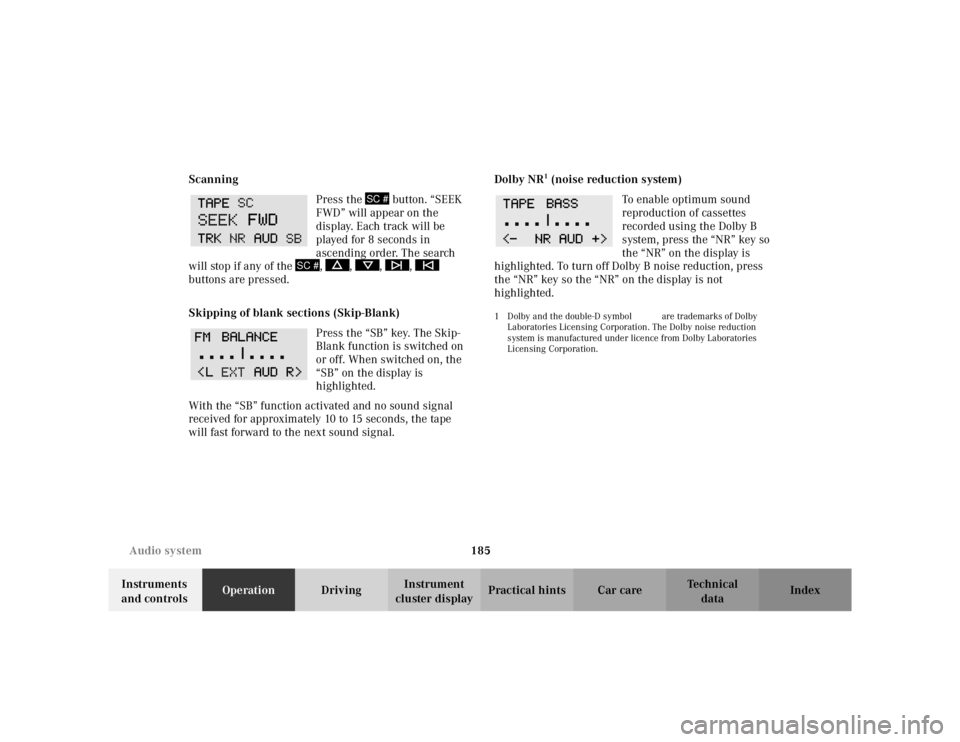
Press the button. “SEEK
FWD” will appear on the
display. Each track will be
played for 8 seconds in
ascending order. The search
will stop if any of the , , , ,
buttons are pressed.
Skipping of blank sections (Skip-Blank)
Press the “SB” key. The Skip-
Blank function is switched on
or off. When switched on, the
“SB” on the display is
highlighted.
With the “SB” function activated and no sound signal
received for approximately 10 to 15 seconds, the tape
will fast forward to the next sound signal. Dolby NR
1 (noise reduction system)
To enable optimum sound
reproduction of cassettes
recorded using the Dolby B
system, press the “NR” key so
the “NR” on the display is
highlighted. To turn off Dolby B noise reduction, press
the “NR” key so the “NR” on the display is not
highlighted.
1 Dolby and the double-D symbol
Ù
are trademarks of Dolby
Laboratories Licensing Corporation. The Dolby noise reduction
system is manufactured under licence from Dolby Laboratories
Licensing Corporation.
SC #
SC #
Page 189 of 399

186
Audio system
Te ch n i c a l
data
Instruments
and controls Operation
DrivingInstrument
cluster display Practical hints Car care Index
CD mode
General notes on CD mode
Should excessive temperatures occur while in CD mode,
“CD TEMP HIGH” will appear on the display and muting
will take place. The unit will then switch back to radio
mode until the temperature has decreased to a safe
operating level.
Should temperatures occur while in CD mode which are
too low, “CD TEMP LOW” will be displayed, but the CD
will play. It will be sensitive to skipping if you are
driving over rough roads.
Handle CDs carefully to prevent interference during
playback.
Avoid fingerprints and dust on CDs. Do not write on the
CDs or apply any label or other material or devices to
the CDs.
Clean CDs from time to time with a commercially
available cleaning cloth. No solvents, anti-static sprays,
etc. should be used.
Replace the CD in its container after use. Protect CDs
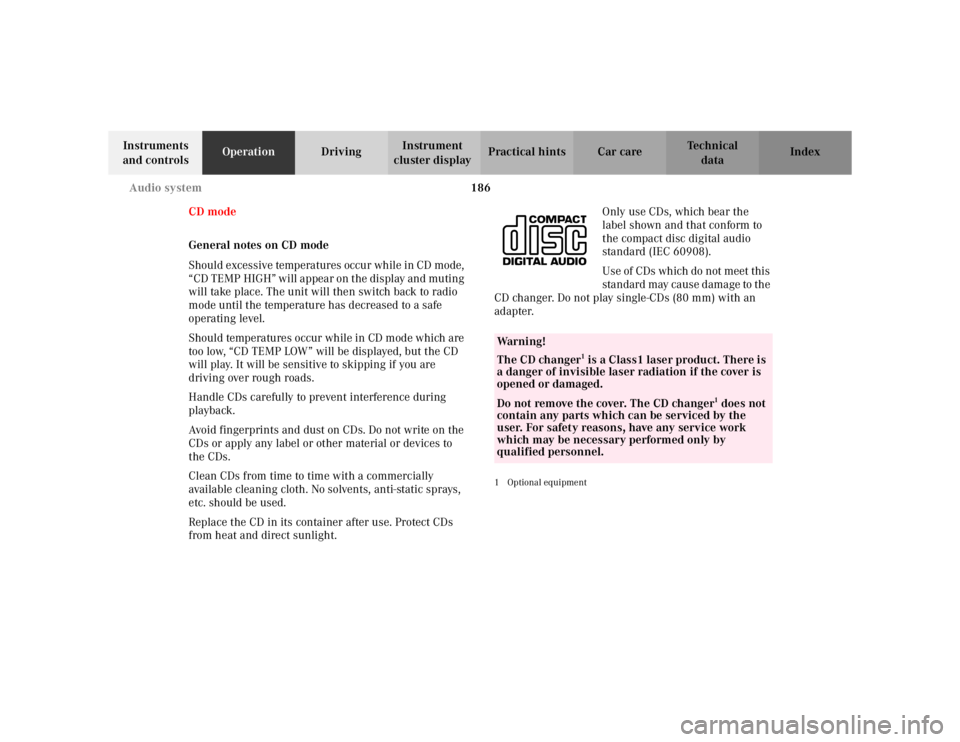
from heat and direct sunlight. Only use CDs, which bear the
label shown and that conform to
the compact disc digital audio
standard (IEC 60908).
Use of CDs which do not meet this
standard may cause damage to the
CD changer. Do not play single-CDs (80 mm) with an
adapter.
1Optional equipmentWa r n i n g !
The CD changer
1 is a Class1 laser product. There is
a danger of invisible laser radiation if the cover is
opened or damaged.
Do not remove the cover. The CD changer
1 does not
contain any parts which can be serviced by the
user. For safety reasons, have any service work
which may be necessary performed only by
qualified personnel.