Page 186 of 240

CLEANING THE ENGINE
Engines are more efficient when they are clean because grease and dirt
buildup keep the engine warmer than normal. When washing:
²The engine must be cool to the touch before spraying with water.
²Never spray a hot engine with cold water, as damage to the
engine block or engine components may occur.
²Use caution when using a self-serve power washer (1000psi maximum
pressure) to clean the engine, as the high-pressure fluid could
penetrate the sealed parts and cause damage.
²Never apply anything to any exposed belts in the engine
compartment, including the belt dressing.
For general cleaning of the engine and engine compartment, spray
Engine Shampoo and Degreaser (F4AZ-19A536±A) on all parts that
require cleaning and pressure rinse the area with cool water.
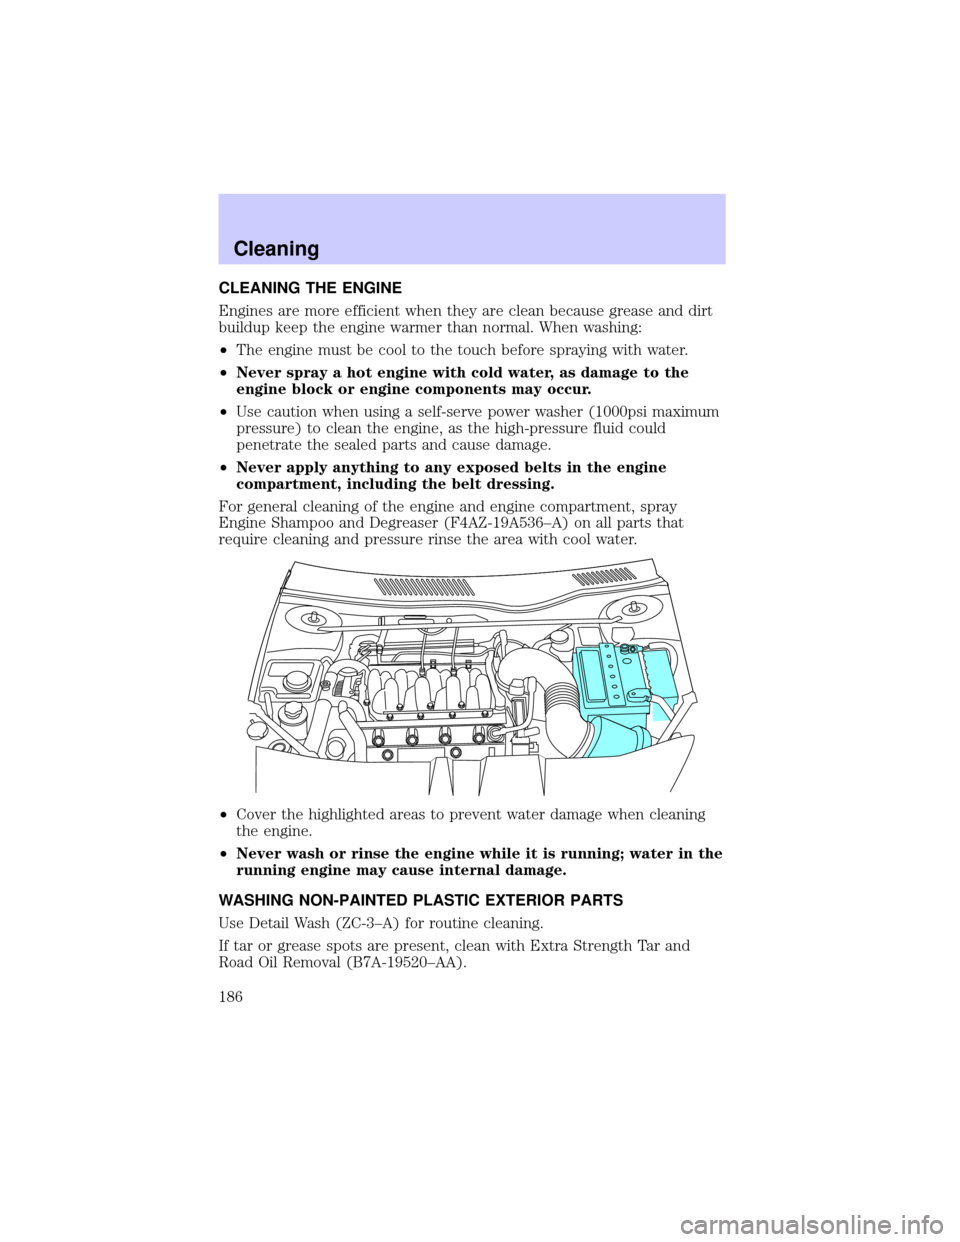
²Cover the highlighted areas to prevent water damage when cleaning
the engine.
²Never wash or rinse the engine while it is running; water in the
running engine may cause internal damage.
WASHING NON-PAINTED PLASTIC EXTERIOR PARTS
Use Detail Wash (ZC-3±A) for routine cleaning.
If tar or grease spots are present, clean with Extra Strength Tar and
Road Oil Removal (B7A-19520±AA).
Cleaning
186
Page 192 of 240
Working with the engine off
1. Set the parking brake, and ensure the gearshift is securely latched in
(P) park.
2. Turn off the engine and remove the key.
3. Block the wheels to prevent the vehicle from moving unexpectedly.
Working with the engine on
1. Set the parking brake and ensure the gearshift is securely latched in P
(Park).
2. Block the wheels to prevent the vehicle from moving unexpectedly.
Note:Do not start your engine with the air cleaner removed and do not
remove it while the engine is running.
OPENING THE HOOD
1. Inside the vehicle, pull the hood
release handle located under the
bottom of the instrument panel.
2. Go to the front of the vehicle and
release the auxiliary latch that is
located under the front center of
the hood.
3. Lift the hood until the lift
cylinders hold it open.BRAKE RELEASEHOOD
Maintenance and Specifications
192
Page 196 of 240

3. Recheck the engine oil level. Make sure the oil level is not above the
MAX mark on the engine oil level indicator (dipstick).
4. Install the indicator and ensure it is fully seated.
5. Fully install the engine oil filler cap by turning the filler cap clockwise
1/4 of a turn until three clicks are heard or until the cap is fully seated.
To avoid possible oil loss, DO NOT operate the vehicle with the
engine oil level indicator and/or the engine oil filler cap removed.
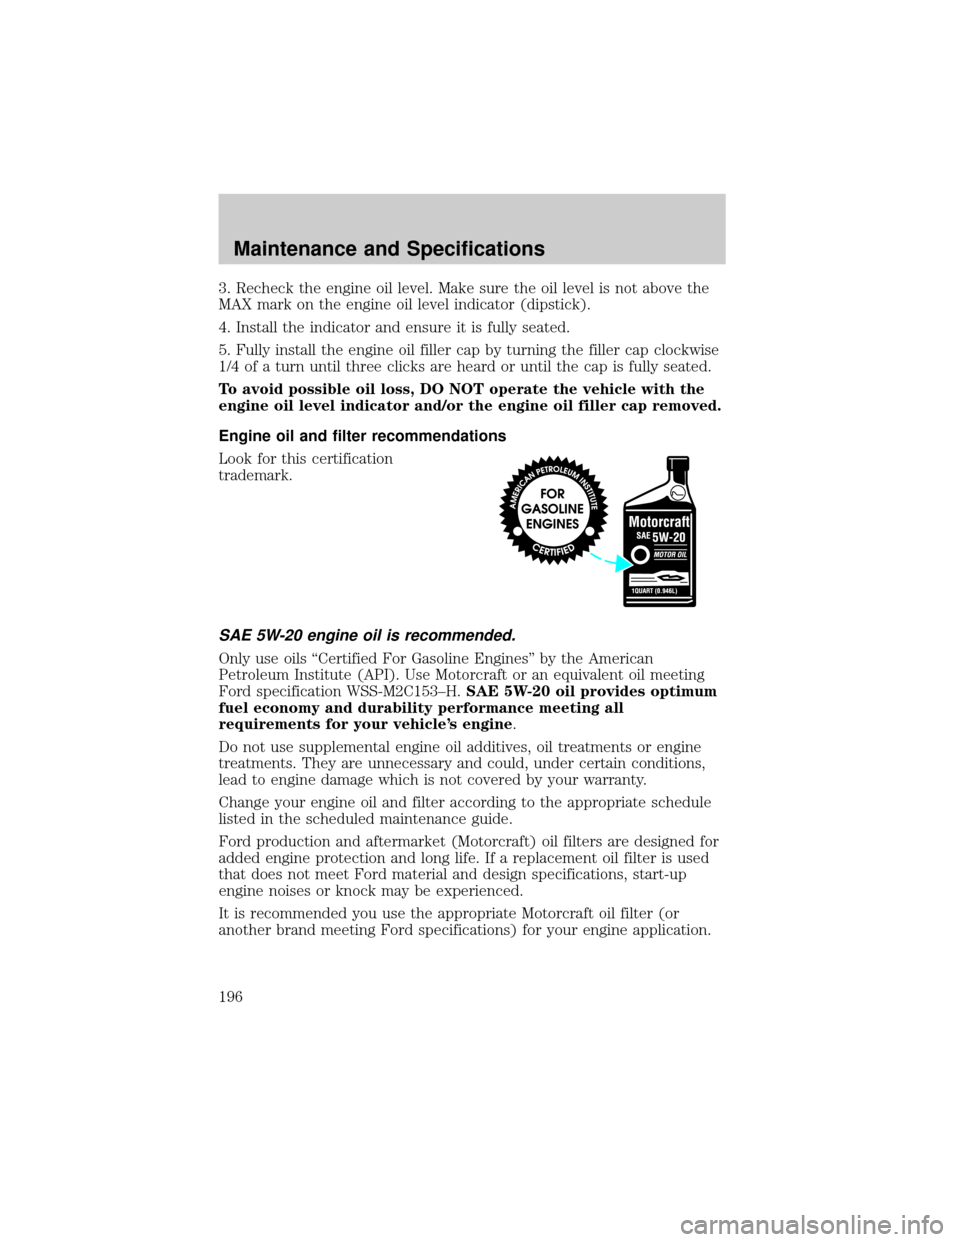
Engine oil and filter recommendations
Look for this certification
trademark.
SAE 5W-20 engine oil is recommended.
Only use oils ªCertified For Gasoline Enginesº by the American
Petroleum Institute (API). Use Motorcraft or an equivalent oil meeting
Ford specification WSS-M2C153±H.SAE 5W-20 oil provides optimum
fuel economy and durability performance meeting all
requirements for your vehicle's engine.
Do not use supplemental engine oil additives, oil treatments or engine
treatments. They are unnecessary and could, under certain conditions,
lead to engine damage which is not covered by your warranty.
Change your engine oil and filter according to the appropriate schedule
listed in the scheduled maintenance guide.
Ford production and aftermarket (Motorcraft) oil filters are designed for
added engine protection and long life. If a replacement oil filter is used
that does not meet Ford material and design specifications, start-up
engine noises or knock may be experienced.
It is recommended you use the appropriate Motorcraft oil filter (or
another brand meeting Ford specifications) for your engine application.
Maintenance and Specifications
196
Page 199 of 240

²The vehicle may need to be driven 16 km (10 miles) or more to
relearn the idle and fuel trim strategy.
²If you do not allow the engine to relearn its idle trim, the idle
quality of your vehicle may be adversely affected until the idle
trim is eventually relearned.
If the battery has been disconnected or a new battery has been installed,
the clock must be reset once the battery is reconnected.
²Always dispose of automotive
batteries in a responsible manner.
Follow your local authorized
standards for disposal. Call your
local authorized recycling center
to find out more about recycling
automotive batteries.
ENGINE COOLANT
Checking engine coolant
The concentration and level of engine coolant should be checked at the
mileage intervals listed in the scheduled maintenance guide. The coolant
concentration should be maintained at 50/50 coolant and water, which
equates to a freeze point of -36É C (-34É F). Coolant concentration
testing is possible with a hydrometer or antifreeze tester (such as the
Rotunda Battery and Antifreeze Tester, 014±R1060). The level of coolant
should be maintained at the ªcold fullº of ªcold fill rangeº level in the
coolant reservoir. If the level falls below, add coolant per the instructions
in theAdding Engine Coolantsection.
Your vehicle was factory-filled with a 50/50 engine coolant and water
concentration. If the concentration of coolant falls below 40% or above
60%, the engine parts could become damaged or not work properly.A
50±50 mixture of coolant and water provides the following:
²Freeze protection down to -36É C (-34É F).
²Boiling protection up to 129É C (265É F).
²Protection against rust and other forms of corrosion.
²Enables calibrated gauges to work properly.
LEAD
RETURN
RECYCLE
Maintenance and Specifications
199
Page 202 of 240

²Do not mix with recycled coolant unless from a Ford-approved
recycling process (seeUse of Recycled Engine Coolantsection).
For vehicles with overflow coolant systems with a non-pressurized cap
on the coolant recovery system, add coolant to the coolant recovery
reservoir when the engine is cool. Add the proper mixture of coolant and
water to the ªcold fullº level. For all other vehicles, which have a coolant
degas system with a pressurized cap, or if it is necessary to remove the
coolant pressure relief cap on the radiator of a vehicle with an overflow
system, follow these steps to add engine coolant.
To avoid personal injury, make sure the engine is cool before
unscrewing the coolant pressure relief cap. The cooling system is
under pressure; steam and hot liquid can come out forcefully when the
cap is loosened slightly.
1. Before you begin, turn the engine off and let it cool.
2. When the engine is cool, wrap a thick cloth around the coolant
pressure relief cap on the coolant reservoir (an opaque plastic bottle).
Slowly turn cap counterclockwise (left) until pressure begins to release.
3. Step back while the pressure releases.
4. When you are sure that all the pressure has been released, use the
cloth to turn it counterclockwise and remove the cap.
5. Fill the coolant reservoir slowly with the proper coolant mixture (see
above), to within the ªcold fill rangeº or the ªcold fullº level on the
reservoir. If you removed the radiator cap in an overflow system, fill the
radiator until the coolant is visible and radiator is almost full.
6. Replace the cap. Turn until tightly installed. (Cap must be tightly
installed to prevent coolant loss.)
After any coolant has been added, check the coolant concentration see
Checking Engine Coolant section). If the concentration is not 50/50
(protection to ±34É F/±36É C), drain some coolant and adjust the
concentration. It may take several drains and additions to obtain a 50/50
coolant concentration.
Whenever coolant has been added, the coolant level in the coolant
reservoir should be checked the next few times you drive the vehicle. If
necessary, add enough 50/50 concentration of engine coolant and
distilled water to bring the liquid level to the proper level.
Maintenance and Specifications
202
Page 206 of 240

When refueling always shut the engine off and never allow
sparks or open flames near the filler neck. Never smoke while
refueling. Fuel vapor is extremely hazardous under certain conditions.
Care should be taken to avoid inhaling excess fumes.
The flow of fuel through a fuel pump nozzle can produce static
electricity, which can cause a fire if fuel is pumped into an
ungrounded fuel container.
Use the following guidelines to avoid static build-up when filling an
ungrounded fuel container:
²Place approved fuel container on the ground.
²DO NOT fill a fuel container while it is in the vehicle (including the
cargo area).
²Keep the fuel pump nozzle in contact with the fuel container while
filling.
²DO NOT use a device that would hold the fuel pump handle in the fill
position.
Fuel Filler Cap
Your fuel tank filler cap has an indexed design with a 1/8 turn on/off
feature.
When fueling your vehicle:
1. Turn the engine off.
2. Carefully turn the filler cap counterclockwise 1/8 of a turn until it
stops.
3. Pull to remove the cap from the fuel filler pipe.
4. To install the cap, align the tabs on the cap with the notches on the
filler pipe.
5. Turn the filler cap clockwise 1/8 of a turn until it stops.
ªCHECK/TIGHTEN FUEL CAPº will display in the message center when
the fuel filler cap is not properly installed. Proper fuel filler cap
installation is checked automatically as the vehicle is driven, but not until
after some fuel is used (fuel guage drops below full). Once the fuel filler
cap is properly secured, ªCHECK/TIGHTEN FUEL CAPº will turn off
after a short period of driving.
Maintenance and Specifications
206
Page 226 of 240
LUBRICANT SPECIFICATIONS
ItemFord Part
Name or
equivalentFord Part
NumberFord
Specification
Brake fluid Motorcraft High
Performance
DOT 3 Motor
Vehicle Brake
Fluid
1
PM-1 ESA-M6C25-A
and DOT 3
Hinges, latches,
stricker plates,
fuel filler door
hinge and seat
tracksMulti-Purpose
GreaseXG-4or
F5AZ-19G209-AAESB-M1C93-B or
ESR-M1C159-A
Lock cylinders Penetrating and
Lock LubricantMotorcraft XL-1 none
Automatic
transaxle
(4F50N)Motorcraft
MERCONtV
AT FXT-5-QM
MERCONtV
Engine oil Motorcraft SAE
5W20 Super
Premium Motor
OilXO-5W20-QSP WSS-M2C153-H
and API
Certification
Mark
Constant
velocity jointsMotorcraft CV
Joint Grease
(High Temp.)XG-2 ESP-M1C207-A
Engine coolant Motorcraft
Premium Engine
Coolant (green
colored)VC-4±A (US) or
CXC-10
(Canada)ESE-M97B44-A
Motorcraft
Premium Gold
Engine Coolant
(yellow-colored)VC-7±A WSS-M97B5
1±A1
Maintenance and Specifications
226
Page 230 of 240
1. World manufacturer identifier
2. Brake type and gross vehicle
weight rating (GVWR)
3. Vehicle line, series, body type
4. Engine type
5. Check digit
6. Model year
7. Assembly plant
8. Production sequence number
Engine number
The engine number (the last eight numbers of the vehicle identification
number) is stamped on the engine block, transmission, frame and
transfer case (if equipped).
Maintenance and Specifications
230