Page 101 of 240

PERIMETER ALARM SYSTEM (IF EQUIPPED)
The perimeter anti-theft system will help prevent your vehicle from
unauthorized entry.
If there is any potential perimeter anti-theft problem with your vehicle,
ensureALL key fobs(remote entry transmitters) are brought to the
dealership, to aid in troubleshooting.
Arming the system
When armed, this system will help protect your vehicle from
unauthorized entry. When unauthorized entry occurs, the system will
flash the headlamps, parking lamps, interior lamps and the theft indicator
lamp and will chirp the horn.
The system is ready to arm whenever the key is removed from the
ignition. Any of the following actions will prearm the alarm system:
²Lock the doors with the remote
transmitter (doors opened or
closed). The horn will chirp to
confirm that the control was
pressed. The horn chirp feature
can be turned on/off by using the
feature menu in the message
center. Refer toElectronic
Message Centerin theDriver
controlschapter for more
information.
²Press 7/8 and 9/0 controls on the
keyless entry pad at the same
time to lock the doors (doors
opened or closed).
²Open a door and press the power
door lock control to lock the
doors.
If a door is open, the system is prearmed and is waiting for the door to
close. The anti-theft indicator on the instrument panel will be lit
continuously when the system is prearmed.
Once the doors are closed, the system will arm in 30 seconds.
123
45678
90
Locks and Security
101
Page 102 of 240
Disarming the system
You can disarm the system by any of the following actions:
²Unlock the doors by using your
remote entry transmitter.
²Unlock the doors by using your
keyless entry keypad.
²Unlock the doors with a key. Turn
the key full travel (toward the front of the vehicle) to make sure the
alarm disarms.
²Turn ignition to ON.
123
45678
90
Locks and Security
102
Page 108 of 240

The front outboard and rear safety restraints in the vehicle are
combination lap and shoulder belts. The front passenger and rear seat
safety belts have two types of locking modes described below:
Vehicle sensitive mode
The vehicle sensitive mode is the normal retractor mode, allowing free
shoulder belt length adjustment to your movements and locking in
response to vehicle movement. For example, if the driver brakes
suddenly or turns a corner sharply, or the vehicle receives an impact of
approximately 8 km/h (5 mph) or more, the combination safety belts will
lock to help reduce forward movement of the driver and passengers.
Automatic locking mode
In this mode, the shoulder belt is automatically pre-locked. The belt will
still retract to remove any slack in the shoulder belt.
The automatic locking mode is not available on the driver safety belt.
When to use the automatic locking mode
²Any timea child safety seat is installed in the vehicle. Children 12
years old and under should be properly restrained in the rear seat
whenever possible. Refer toSafety restraints for childrenorSafety
seats for childrenlater in this chapter.
How to use the automatic locking mode
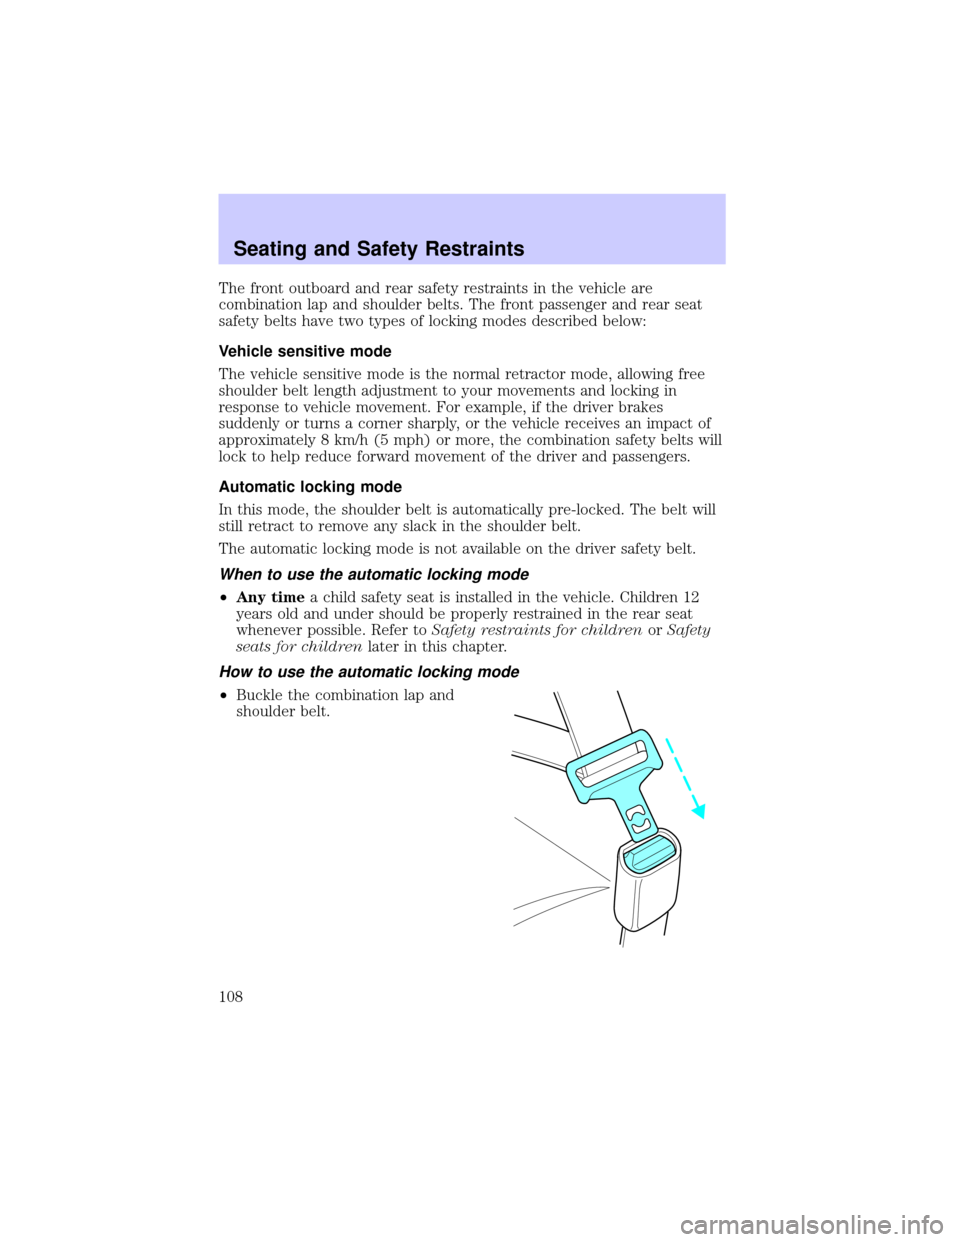
²Buckle the combination lap and
shoulder belt.
Seating and Safety Restraints
108
Page 109 of 240

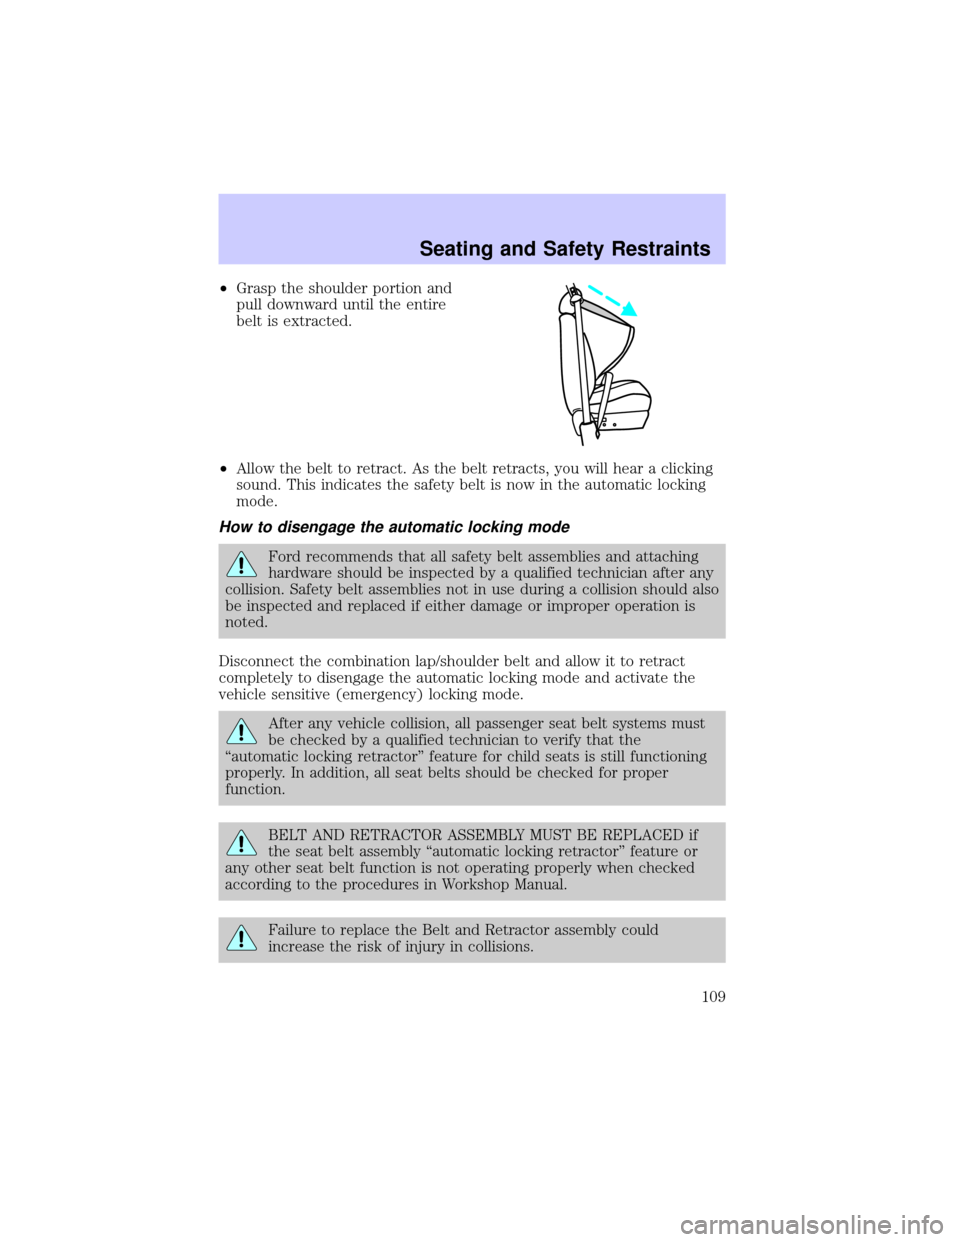
²Grasp the shoulder portion and
pull downward until the entire
belt is extracted.
²Allow the belt to retract. As the belt retracts, you will hear a clicking
sound. This indicates the safety belt is now in the automatic locking
mode.
How to disengage the automatic locking mode
Ford recommends that all safety belt assemblies and attaching
hardware should be inspected by a qualified technician after any
collision. Safety belt assemblies not in use during a collision should also
be inspected and replaced if either damage or improper operation is
noted.
Disconnect the combination lap/shoulder belt and allow it to retract
completely to disengage the automatic locking mode and activate the
vehicle sensitive (emergency) locking mode.
After any vehicle collision, all passenger seat belt systems must
be checked by a qualified technician to verify that the
ªautomatic locking retractorº feature for child seats is still functioning
properly. In addition, all seat belts should be checked for proper
function.
BELT AND RETRACTOR ASSEMBLY MUST BE REPLACED if
the seat belt assembly ªautomatic locking retractorº feature or
any other seat belt function is not operating properly when checked
according to the procedures in Workshop Manual.
Failure to replace the Belt and Retractor assembly could
increase the risk of injury in collisions.
Seating and Safety Restraints
109
Page 110 of 240
Front safety belt height adjustment
Your vehicle has safety belt height
adjustments for the driver and front
passenger. Adjust the height of the
shoulder belt so the belt rests
across the middle of your shoulder.
To lower the shoulder belt height,
push the button and slide the height
adjuster down. To raise the height
of the shoulder belt, slide the height
adjuster up. Pull down on the height
adjuster to make sure it is locked in
place.
Position the shoulder belt
height adjusters so that the
belt rests across the middle of
your shoulder. Failure to adjust
the safety belt properly could
reduce the effectiveness of the
seat belt and increase the risk of
injury in a collision.
Lap belts
Adjusting the front center seat lap belt (if equipped)
The lap belt should fit snugly and as low as possible around the
hips, not across the waist.
Seating and Safety Restraints
110
Page 127 of 240

When installing a child safety seat:
²Review and follow the information
presented in theAir Bag
Supplemental Restraint System
section in this chapter.
²Use the correct safety belt buckle
for that seating position.
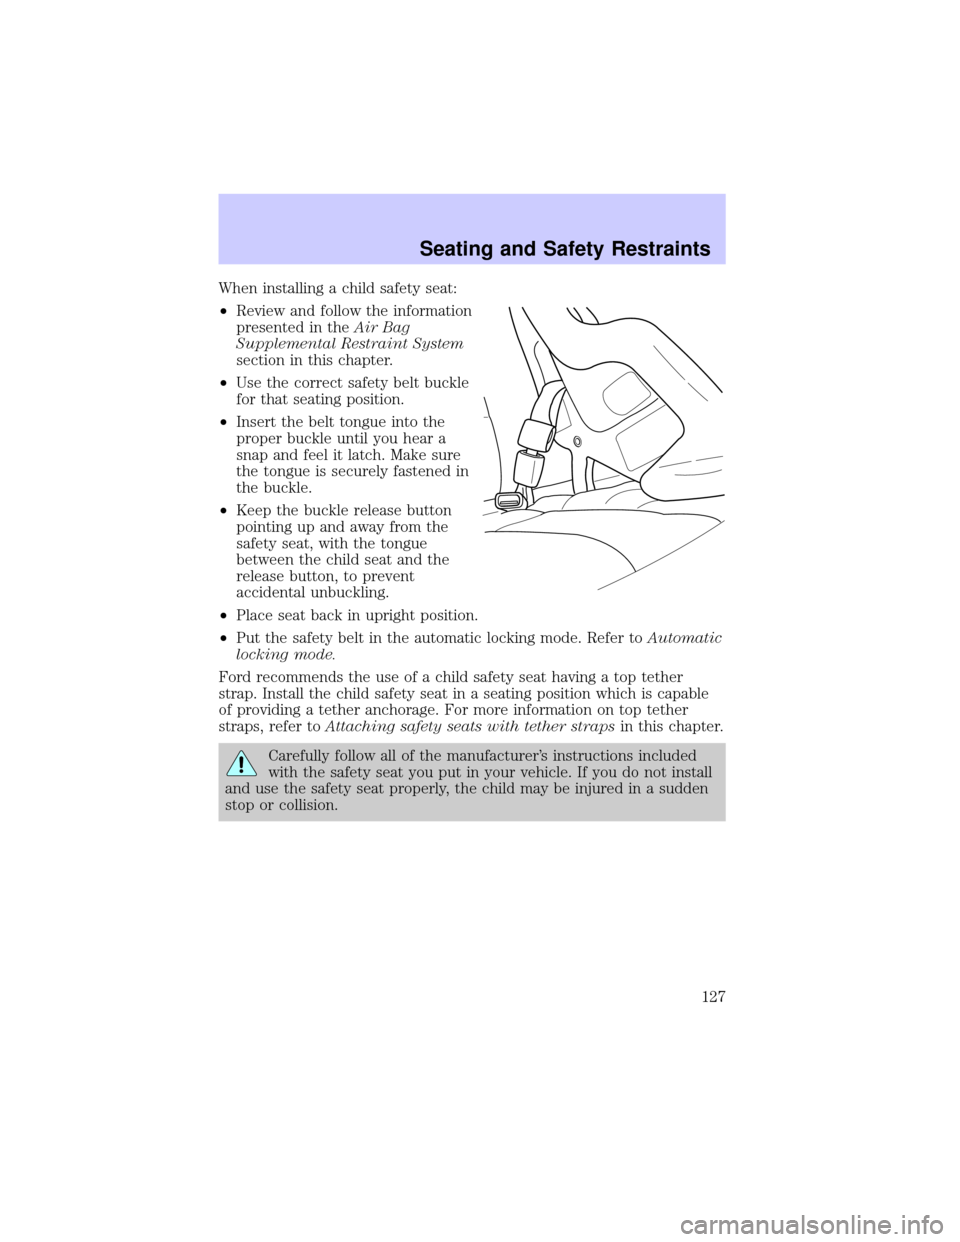
²Insert the belt tongue into the
proper buckle until you hear a
snap and feel it latch. Make sure
the tongue is securely fastened in
the buckle.
²Keep the buckle release button
pointing up and away from the
safety seat, with the tongue
between the child seat and the
release button, to prevent
accidental unbuckling.
²Place seat back in upright position.
²Put the safety belt in the automatic locking mode. Refer toAutomatic
locking mode.
Ford recommends the use of a child safety seat having a top tether
strap. Install the child safety seat in a seating position which is capable
of providing a tether anchorage. For more information on top tether
straps, refer toAttaching safety seats with tether strapsin this chapter.
Carefully follow all of the manufacturer's instructions included
with the safety seat you put in your vehicle. If you do not install
and use the safety seat properly, the child may be injured in a sudden
stop or collision.
Seating and Safety Restraints
127
Page 129 of 240
3. While holding the shoulder and
lap belt portions together, route the
tongue through the child seat
according to the child seat
manufacturer's instructions. Be sure
the belt webbing is not twisted.
4. Insert the belt tongue into the
proper buckle (the buckle closest to
the direction the tongue is coming
from) for that seating position until
you hear a snap and feel the latch
engage. Make sure the tongue is
latched securely by pulling on it.
5. To put the retractor in the
automatic locking mode, grasp the
shoulder portion of the belt and pull
downward until all of the belt is
extracted and a click is heard.
6. Allow the belt to retract. The belt will click as it retracts to indicate it
is in the automatic locking mode.
Seating and Safety Restraints
129
Page 130 of 240

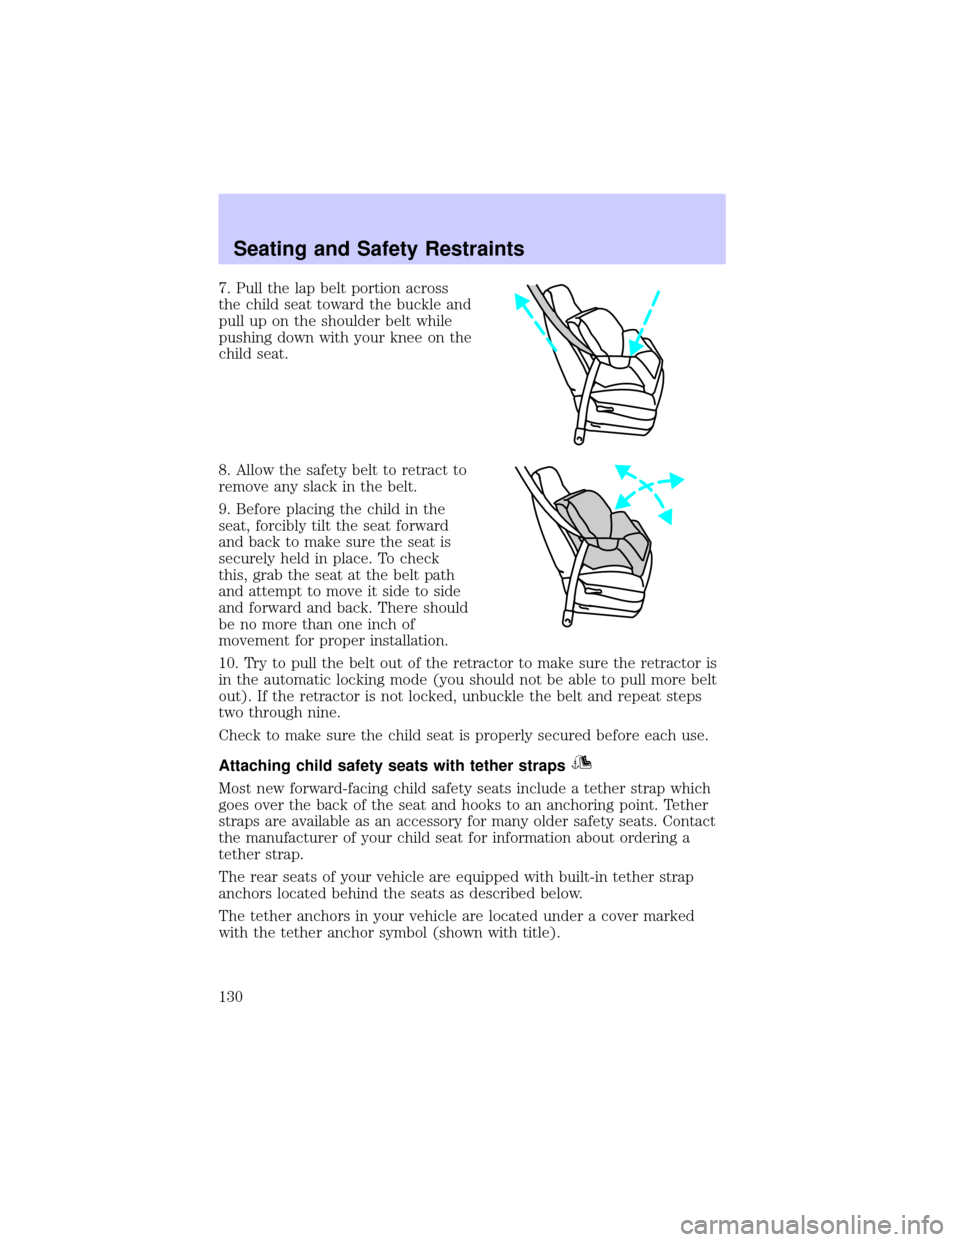
7. Pull the lap belt portion across
the child seat toward the buckle and
pull up on the shoulder belt while
pushing down with your knee on the
child seat.
8. Allow the safety belt to retract to
remove any slack in the belt.
9. Before placing the child in the
seat, forcibly tilt the seat forward
and back to make sure the seat is
securely held in place. To check
this, grab the seat at the belt path
and attempt to move it side to side
and forward and back. There should
be no more than one inch of
movement for proper installation.
10. Try to pull the belt out of the retractor to make sure the retractor is
in the automatic locking mode (you should not be able to pull more belt
out). If the retractor is not locked, unbuckle the belt and repeat steps
two through nine.
Check to make sure the child seat is properly secured before each use.
Attaching child safety seats with tether straps
Most new forward-facing child safety seats include a tether strap which
goes over the back of the seat and hooks to an anchoring point. Tether
straps are available as an accessory for many older safety seats. Contact
the manufacturer of your child seat for information about ordering a
tether strap.
The rear seats of your vehicle are equipped with built-in tether strap
anchors located behind the seats as described below.
The tether anchors in your vehicle are located under a cover marked
with the tether anchor symbol (shown with title).
Seating and Safety Restraints
130