2002 Hyundai Grandeur trunk
[x] Cancel search: trunkPage 82 of 230
FEATURES OF YOUR HYUNDAI 1- 69
B540D01L
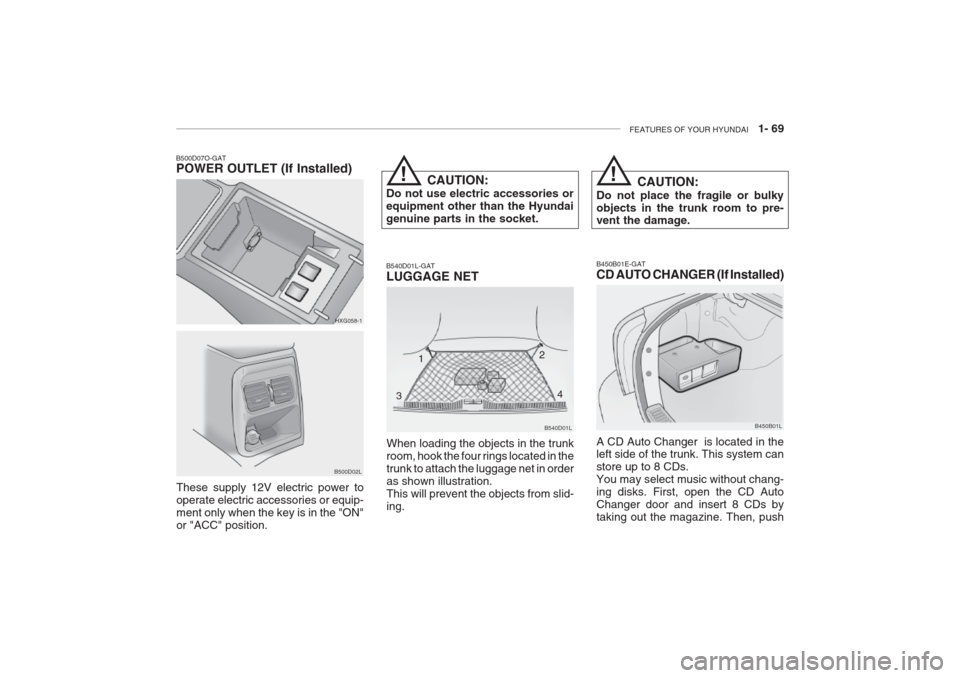
B540D01L-GAT LUGGAGE NET
When loading the objects in the trunk room, hook the four rings located in thetrunk to attach the luggage net in orderas shown illustration.This will prevent the objects from slid-ing.
HXG058-1
B500D07O-GAT
POWER OUTLET (If Installed)
These supply 12V electric power to operate electric accessories or equip-ment only when the key is in the "ON"or "ACC" position. CAUTION:
Do not use electric accessories orequipment other than the Hyundaigenuine parts in the socket.
!
1 2
3 4!
CAUTION:
Do not place the fragile or bulky objects in the trunk room to pre- vent the damage.
B500D02L
B450B01E-GAT
CD AUTO CHANGER (If Installed) A CD Auto Changer is located in the left side of the trunk. This system can store up to 8 CDs.You may select music without chang-ing disks. First, open the CD AutoChanger door and insert 8 CDs bytaking out the magazine. Then, push B450B01L
Page 85 of 230
1- 72 FEATURES OF YOUR HYUNDAI
B660A01S-GAT CRUISE CONTROL (If installed)
B660A02L
B660A01L-DAG
Left-Hand Drive Right-Hand Drive
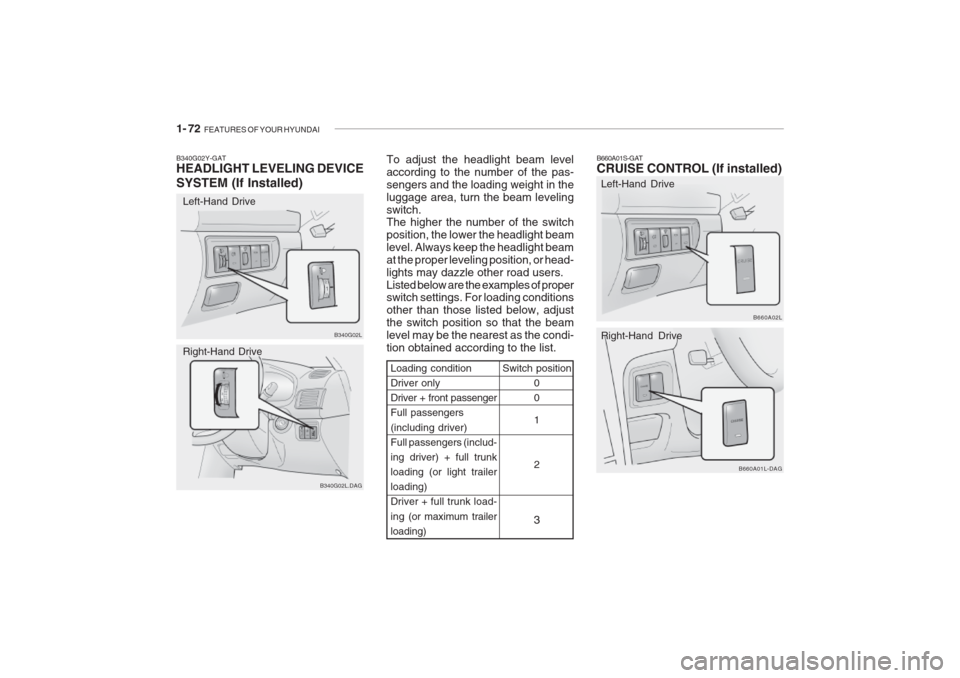
Switch position
0 0 1 2
3Loading condition Driver onlyDriver + front passengerFull passengers (including driver) Full passengers (includ-ing driver) + full trunkloading (or light trailerloading)
Driver + full trunk load- ing (or maximum trailer
loading)
B340G02L
B340G02L.DAG
B340G02Y-GAT HEADLIGHT LEVELING DEVICE
SYSTEM (If Installed)
Left-Hand Drive Right-Hand Drive
To adjust the headlight beam level according to the number of the pas-sengers and the loading weight in theluggage area, turn the beam levelingswitch. The higher the number of the switch position, the lower the headlight beamlevel. Always keep the headlight beamat the proper leveling position, or head-lights may dazzle other road users.Listed below are the examples of proper switch settings. For loading conditions other than those listed below, adjustthe switch position so that the beamlevel may be the nearest as the condi-tion obtained according to the list.
Page 112 of 230
FEATURES OF YOUR HYUNDAI 1- 99
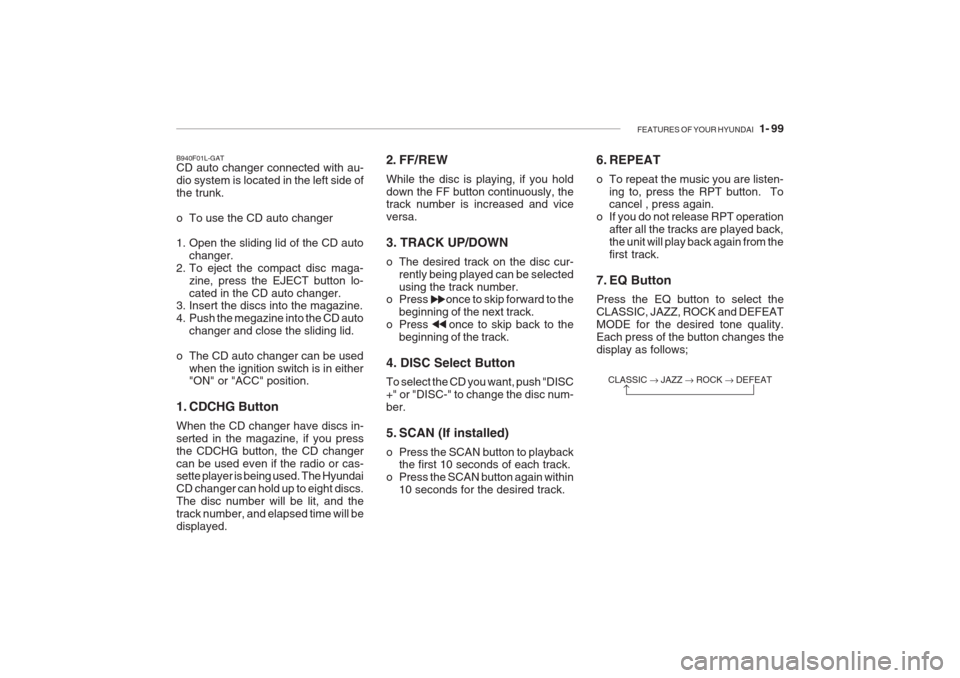
B940F01L-GAT CD auto changer connected with au- dio system is located in the left side ofthe trunk.
o To use the CD auto changer
1. Open the sliding lid of the CD auto
changer.
2. To eject the compact disc maga- zine, press the EJECT button lo- cated in the CD auto changer.
3. Insert the discs into the magazine.
4. Push the megazine into the CD auto
changer and close the sliding lid.
o The CD auto changer can be used when the ignition switch is in either "ON" or "ACC" position.
1. CDCHG Button When the CD changer have discs in- serted in the magazine, if you pressthe CDCHG button, the CD changercan be used even if the radio or cas- sette player is being used. The Hyundai CD changer can hold up to eight discs.The disc number will be lit, and thetrack number, and elapsed time will bedisplayed. 2. FF/REW While the disc is playing, if you hold down the FF button continuously, the track number is increased and vice versa. 3. TRACK UP/DOWN
o The desired track on the disc cur-
rently being played can be selected using the track number.
o Press once to skip forward to the
beginning of the next track.
o Press once to skip back to the beginning of the track.
4. DISC Select Button To select the CD you want, push "DISC +" or "DISC-" to change the disc num-ber.
5. SCAN (If installed)
o Press the SCAN button to playback the first 10 seconds of each track.
o Press the SCAN button again within
10 seconds for the desired track. 6. REPEAT
o To repeat the music you are listen-
ing to, press the RPT button. To cancel , press again.
o If you do not release RPT operation
after all the tracks are played back, the unit will play back again from thefirst track.
7. EQ Button Press the EQ button to select the CLASSIC, JAZZ, ROCK and DEFEATMODE for the desired tone quality.Each press of the button changes thedisplay as follows;
CLASSIC � JAZZ � ROCK � DEFEAT
�
Page 123 of 230
1- 110 FEATURES OF YOUR HYUNDAI
2. FF/REW While the disc is playing, if you hold down the FF button continuously, thetrack number is increased and viceversa.
3. TRACK UP/DOWN
o The desired track on the disc cur-
rently being played can be selected using the track number.
o Press once to skip forward to the beginning of the next track.
o Press once to skip back to the
beginning of the track.
4. DISC Select Button To select the CD you want, push "DISC +" or "DISC -" to change the discnumber
5. SCAN (If installed)
o Press the SCAN button to playback the first 10 seconds of each track.
o Press the SCAN button again within 10 sec. for the desired track. CLASSIC
� JAZZ � ROCK � DEFEAT
�
B940N01L-GAT CD auto changer connected with au- dio system is located in the left side oftrunk.
o To use the CD auto changer
1. Open the sliding lid of the CD auto
changer.
2. To eject the compact disc maga- zine, press the EJECT button lo- cated inside the CD auto changer.
3. Insert the discs into the magazine.
4. Push the megazine into the CD auto
changer and close the sliding lid.
o The CD auto changer can be used when the ignition switch is in either "ON" or "ACC" position.
1. CDCHG Button When the CD changer have discs in- serted in the magazine, if you pressthe CDCHG button, the CD changercan be used even if the radio or cas- sette player is being used. The Hyundai CD changer can hold up to eight discs.The disc number will be lit, and thetrack number, and elapsed time will bedisplayed. 6. REPEAT
o To repeat the music you are listen-
ing to, press the RPT button. To cancel , press again.
o If you do not release RPT operation
after all the tracks are played back, the unit will play back again from the first track.
7. EQ Button Press the EQ button to select the CLASSIC, JAZZ, ROCK and DEFEAT MODE for the desired tone quality. Each press of the button changes thedisplay as follows;
Page 131 of 230
2- 2 DRIVING YOUR HYUNDAI
C010A01A-AAT
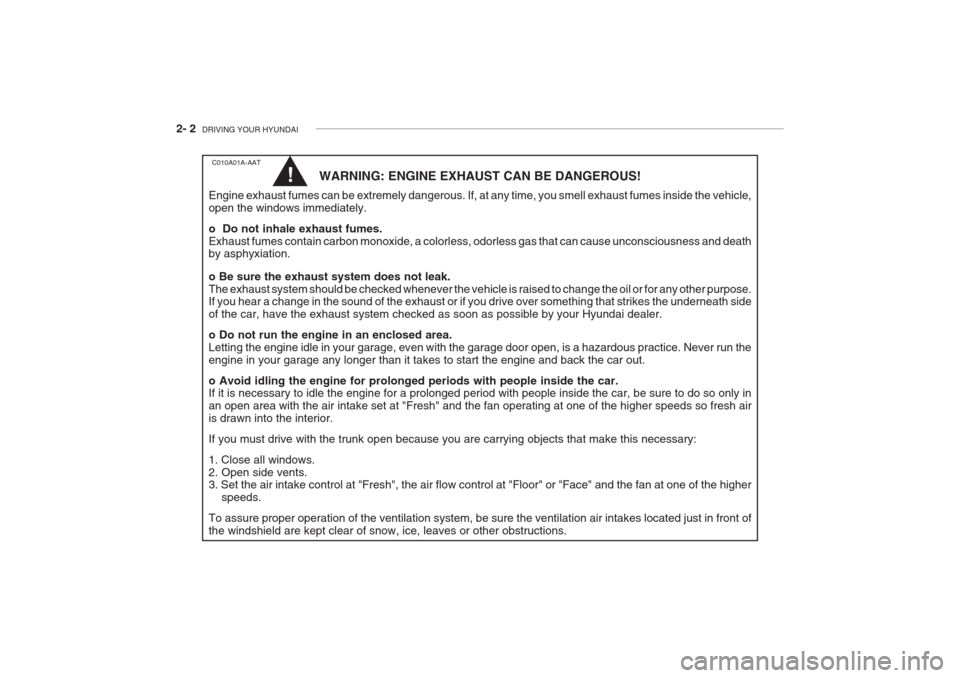
WARNING: ENGINE EXHAUST CAN BE DANGEROUS!
Engine exhaust fumes can be extremely dangerous. If, at any time, you smell exhaust fumes inside the vehicle, open the windows immediately. o Do not inhale exhaust fumes. Exhaust fumes contain carbon monoxide, a colorless, odorless gas that can cause unconsciousness and death by asphyxiation. o Be sure the exhaust system does not leak. The exhaust system should be checked whenever the vehicle is raised to change the oil or for any other purpose. If you hear a change in the sound of the exhaust or if you drive over something that strikes the underneath side of the car, have the exhaust system checked as soon as possible by your Hyundai dealer. o Do not run the engine in an enclosed area. Letting the engine idle in your garage, even with the garage door open, is a hazardous practice. Never run theengine in your garage any longer than it takes to start the engine and back the car out. o Avoid idling the engine for prolonged periods with people inside the car. If it is necessary to idle the engine for a prolonged period with people inside the car, be sure to do so only in an open area with the air intake set at "Fresh" and the fan operating at one of the higher speeds so fresh airis drawn into the interior. If you must drive with the trunk open because you are carrying objects that make this necessary:1. Close all windows. 2. Open side vents. 3. Set the air intake control at "Fresh", the air flow control at "Floor" or "Face" and the fan at one of the higher speeds.
To assure proper operation of the ventilation system, be sure the ventilation air intakes located just in front of the windshield are kept clear of snow, ice, leaves or other obstructions.!
Page 149 of 230
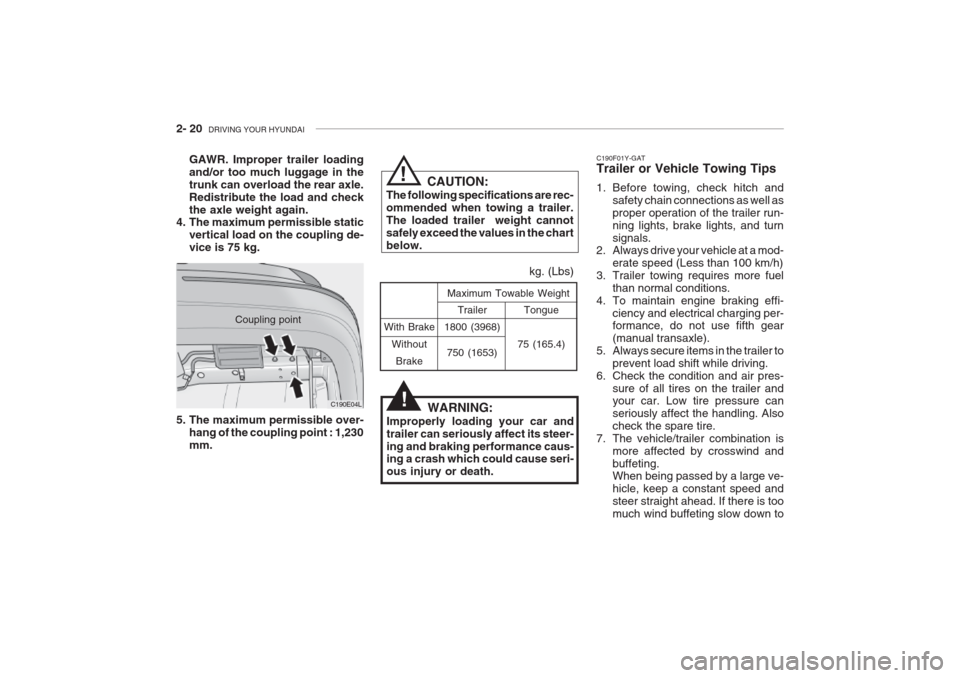
2- 20 DRIVING YOUR HYUNDAI
With Brake
WithoutBrake Tongue
75 (165.4)
Maximum Towable Weight
kg. (Lbs)
Trailer
1800 (3968)
750 (1653)
WARNING:
Improperly loading your car and trailer can seriously affect its steer-ing and braking performance caus- ing a crash which could cause seri- ous injury or death. C190F01Y-GAT Trailer or Vehicle Towing Tips
1. Before towing, check hitch and
safety chain connections as well as proper operation of the trailer run-ning lights, brake lights, and turnsignals.
2. Always drive your vehicle at a mod-
erate speed (Less than 100 km/h)
3. Trailer towing requires more fuel
than normal conditions.
4. To maintain engine braking effi-
ciency and electrical charging per- formance, do not use fifth gear (manual transaxle).
5. Always secure items in the trailer to prevent load shift while driving.
6. Check the condition and air pres-
sure of all tires on the trailer and your car. Low tire pressure can seriously affect the handling. Alsocheck the spare tire.
7. The vehicle/trailer combination is more affected by crosswind andbuffeting. When being passed by a large ve- hicle, keep a constant speed andsteer straight ahead. If there is toomuch wind buffeting slow down to
Coupling point
C190E04L
GAWR. Improper trailer loadingand/or too much luggage in thetrunk can overload the rear axle.Redistribute the load and checkthe axle weight again.
4. The maximum permissible static
vertical load on the coupling de-vice is 75 kg. CAUTION:
The following specifications are rec-ommended when towing a trailer.The loaded trailer weight cannotsafely exceed the values in the chartbelow.
!
!
5. The maximum permissible over- hang of the coupling point : 1,230 mm.
Page 157 of 230
WHAT TO DO IN AN EMERGENCY 3- 7
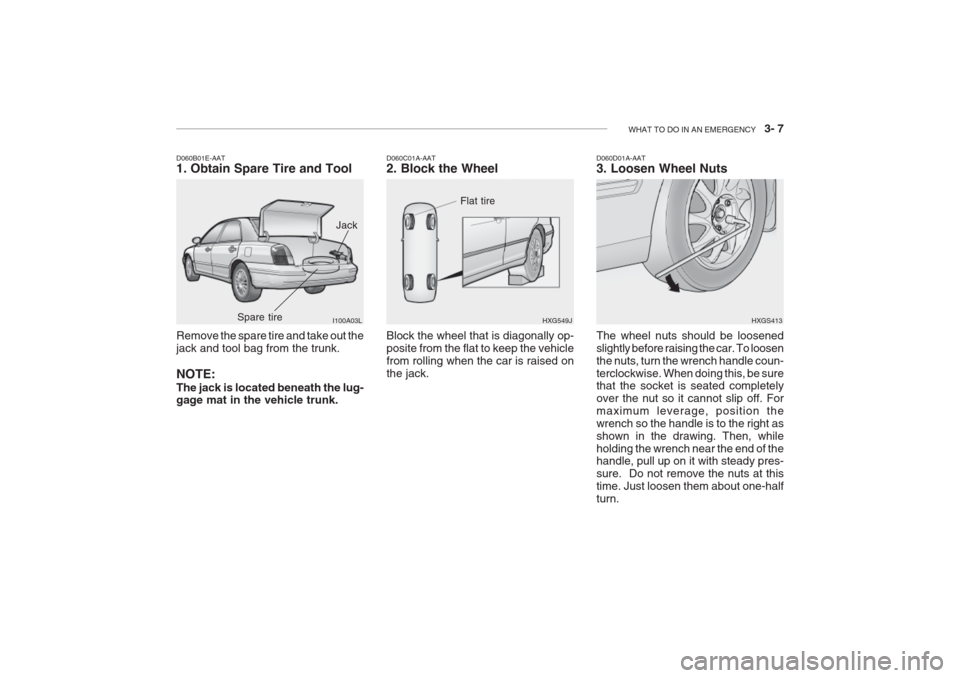
Remove the spare tire and take out the jack and tool bag from the trunk. NOTE: The jack is located beneath the lug- gage mat in the vehicle trunk.
D060B01E-AAT 1. Obtain Spare Tire and Tool
I100A03L
D060C01A-AAT 2. Block the Wheel Block the wheel that is diagonally op- posite from the flat to keep the vehiclefrom rolling when the car is raised onthe jack.HXG549JD060D01A-AAT 3. Loosen Wheel Nuts
HXGS413
The wheel nuts should be loosened slightly before raising the car. To loosenthe nuts, turn the wrench handle coun-terclockwise. When doing this, be sure that the socket is seated completely over the nut so it cannot slip off. Formaximum leverage, position thewrench so the handle is to the right asshown in the drawing. Then, whileholding the wrench near the end of the handle, pull up on it with steady pres- sure. Do not remove the nuts at thistime. Just loosen them about one-halfturn.
Jack
Spare tire
Flat tire
Page 160 of 230
3- 10 WHAT TO DO IN AN EMERGENCY
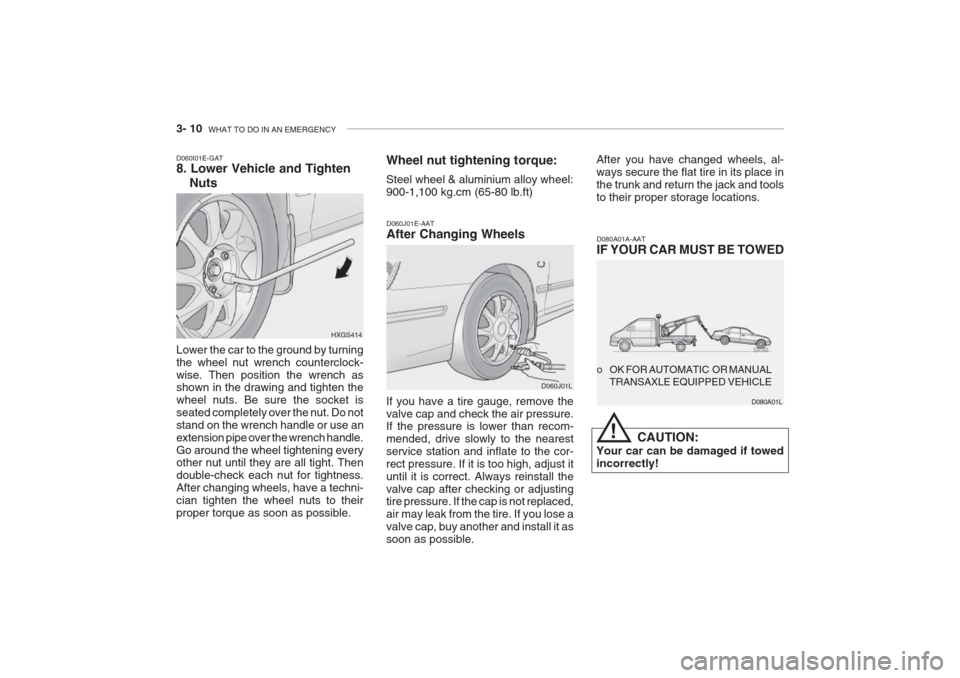
Lower the car to the ground by turning the wheel nut wrench counterclock-wise. Then position the wrench as shown in the drawing and tighten the wheel nuts. Be sure the socket isseated completely over the nut. Do notstand on the wrench handle or use anextension pipe over the wrench handle.Go around the wheel tightening every other nut until they are all tight. Then double-check each nut for tightness.After changing wheels, have a techni-cian tighten the wheel nuts to theirproper torque as soon as possible.
D060I01E-GAT 8. Lower Vehicle and Tighten
Nuts
HXGS414Wheel nut tightening torque: Steel wheel & aluminium alloy wheel: 900-1,100 kg.cm (65-80 lb.ft)
D060J01E-AAT After Changing Wheels
If you have a tire gauge, remove the valve cap and check the air pressure. If the pressure is lower than recom- mended, drive slowly to the nearestservice station and inflate to the cor-rect pressure. If it is too high, adjust ituntil it is correct. Always reinstall thevalve cap after checking or adjusting tire pressure. If the cap is not replaced, air may leak from the tire. If you lose avalve cap, buy another and install it assoon as possible. D060J01LAfter you have changed wheels, al-ways secure the flat tire in its place inthe trunk and return the jack and toolsto their proper storage locations.
D080A01A-AAT IF YOUR CAR MUST BE TOWED
CAUTION:
Your car can be damaged if towed incorrectly! o OK FOR AUTOMATIC OR MANUAL
TRANSAXLE EQUIPPED VEHICLE
D080A01L
!