2002 Hyundai Grandeur check oil
[x] Cancel search: check oilPage 176 of 230
5- 8 VEHICLE MAINTENANCE REQUIREMENTS
F060H01A-AAT
o Air Cleaner Filter A Genuine Hyundai air cleaner filter is recommended when the filter is re-placed. F060J01A-AAT
o Spark Plugs Make sure to install new spark plugs of the correct heat range. F070C02A-AAT
o Coolant The coolant should be changed at the intervals specified in the mainte-nance schedule. F070D01A-AAT
o Manual Transaxle Oil Inspect the manual transaxle oil ac- cording to the maintenance schedule. NOTE: If the oil level is low, check for possible leaks before adding oil. Do not overfill. F070E03A-AAT
o Automatic Transaxle Fluid and
Filter
The fluid level should be in the "HOT"range of the dipstick, after the engineand transaxle are at normal operatingtemperature. Check the automatic transaxle fluid level with the engine running and the transaxle in neutral,with the parking brake properly ap-
plied. Use DIAMOND ATF SP-III or
SK ATF SP-III when adding or chang-ing fluid. F070F01A-AAT
o Brake Hoses and Lines
Visually check for proper installation, chafing, cracks, deterioration and any leakage. Replace any deteriorated ordamaged parts immediately. F070G02A-AAT
o Brake Fluid
Check brake fluid level in the brake fluid reservoir. The level should bebetween "MIN" and "MAX" marks onthe side of the reservoir. Use onlyhydraulic brake fluid conforming toDOT 3 or DOT 4. F070H01A-AAT
o Rear Brake Drums/Linings,
Parking Brake
Check the rear brake drums and lin-ings for scoring, burning, leaking fluid,broken parts, and excessive wear.Inspect the parking brake system in- cluding the parking brake lever and cables. For detailed service proce-dures, refer to the Shop Manual. F070J01A-AAT
o Brake Pads, Calipers and
Rotors
Check the pads for excessive wear, discs for run out and wear, and cali- pers for fluid leakage. F070K01A-AAT
o Exhaust Pipe and Muffler
Visually inspect the exhaust pipes, muffler and hangers for cracks, dete-rioration, or damage. Start the engineand listen carefully for any exhaust gas leakage. Tighten connections or replace parts as necessary.
Page 177 of 230
VEHICLE MAINTENANCE REQUIREMENTS 5- 9
F070L01A-AAT
o Suspension Mounting Bolts Check the suspension connections for looseness or damage. Retightento the specified torque. F070M01Y-AAT
o Steering Gear Box, Linkage &
Boots / Lower Arm Ball Joint, Upper Arm Ball Joint
With the vehicle stopped and engine off, check for excessive free-play inthe steering wheel.Check the linkage for bends or dam-age. Check the dust boots and ball joints for deterioration, cracks, or dam- age. Replace any damaged parts. F070N01A-AAT
o Power Steering Pump, Belt and Hoses
Check the power steering pump and hoses for leakage and damage. Re- place any damaged or leaking parts immediately. Inspect the power steer-ing belt for evidence of cuts, cracks,excessive wear, oiliness and propertension. Replace or adjust it if neces-sary. F070P01A-AAT
o Driveshafts and Boots Check the drive shafts, boots and clamps for cracks, deterioration, ordamage. Replace any damaged partsand, if necessary, repack the grease. F070Q01A-AAT
o Air Conditioning Refrigerant Check the air conditioning lines and connections for leakage and damage. Check air conditioning performanceaccording to the relevant shop manualif necessary.
Page 178 of 230

6. Do-It-Yourself Maintenance
Engine Compartment ..................................................................... 6-2
General Checks .............................................................................. 6-5
Checking the Engine Oil ................................................................ 6-6
Changing the Oil and Filter ........................................................... 6-7
Checking and Changing the Engine Coolant ............................... 6-8
Spark Plugs ..................................................................................6-10
Changing the Air Cleaner Filter ................................................... 6-11
Checking the Transaxle Oil (Manual) .......................................... 6-13
Checking the Transaxle Fluid (Automatic) .................................. 6-14
Checking the Brakes .................................................................... 6-15
Checking the Clutch Fluid ............................................................ 6-16
Air Conditioning Care ................................................................... 6-17
Changing the Air Filter (For Evaporator and Blower Unit) ......... 6-18
Checking Drive Belts .................................................................... 6-21
Checking and Replacing Fuses ................................................... 6-21
Power Steering Fluid Level .......................................................... 6-24
Headlight Aiming Adjustment ....................................................... 6-25
Replacement of Light Bulbs ......................................................... 6-26
Bulb Wattage ................................................................................ 6-33
Junction Box Description ............................................................. 6-34
6
Page 182 of 230

DO-IT-YOURSELF MAINTENANCE 6- 5
G020A02A-AAT
GENERAL CHECKS Engine Compartment
The following should be checked regu- larly:
o Engine oil level and condition
o Transaxle fluid level and condition
o Brake fluid level
o Clutch fluid level
o Coolant level
o Windshield washer fluid level
o Accessory drive belt condition
o Coolant hose condition
o Fluid leaks (on or below compo- nents)
o Power steering fluid level and con- dition
o Battery condition
o Air filter condition G020C01A-AAT Vehicle Interior The following should be checked each time when the vehicle is driven:
o Lights operation
o Windshield wiper operation
o Horn operation
o Defroster, heater system operation
(and air conditioning, if installed)
o Steering operation and condition
o Mirror condition and operation
o Turn signal operation
o Accelerator pedal operation
o Brake operation, including parking
brake
o Manual transaxle operation, includ- ing clutch operation
o Automatic transaxle operation, in- cluding "Park" mechanism opera-tion
o Seat control condition and opera- tion
o Seat belt condition and operation
o Sunvisor operation If you notice anything that does not operate correctly or appears to befunctioning incorrectly, inspect it care- fully and seek assistance from your Hyundai dealer if service is needed.
G020B01A-AAT
Vehicle Exterior
The following should be checked
monthly:
o Overall appearance and condition
o Wheel condition and wheel nut torgue
o Exhaust system condition
o Light condition and operation
o Windshield glass condition
o Wiper blade condition
o Paint condition and body corrosion
o Fluid leaks
o Door and hood lock condition
o Tire pressure and condition (including spare tire)
Page 183 of 230
6- 6 DO-IT-YOURSELF MAINTENANCE
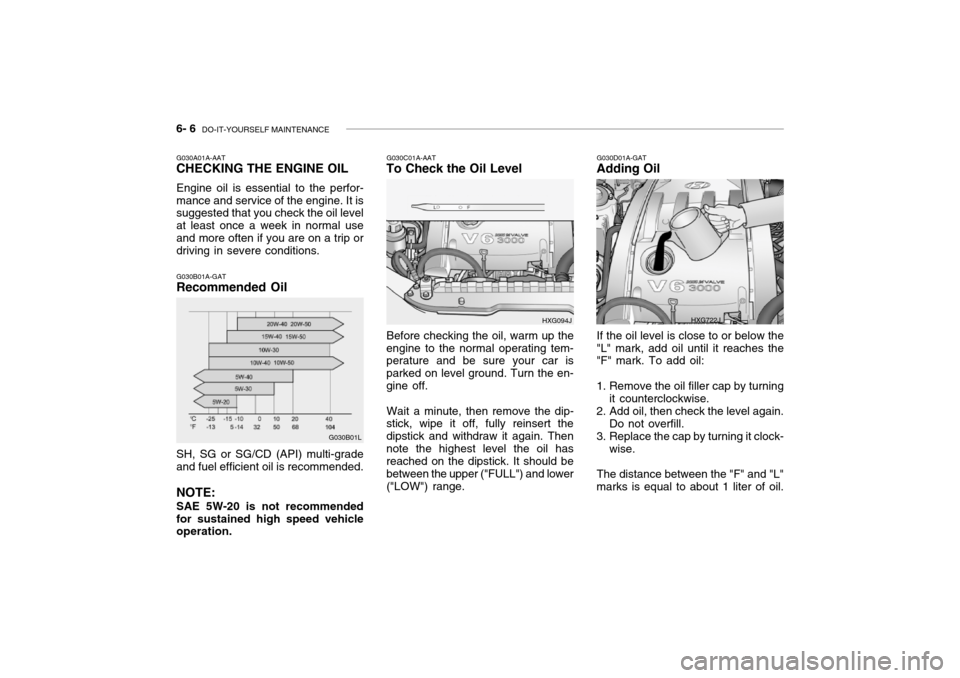
G030A01A-AAT CHECKING THE ENGINE OIL Engine oil is essential to the perfor- mance and service of the engine. It is suggested that you check the oil level at least once a week in normal useand more often if you are on a trip or driving in severe conditions. G030B01A-GAT Recommended Oil
G030B01L
SH, SG or SG/CD (API) multi-grade and fuel efficient oil is recommended. NOTE: SAE 5W-20 is not recommended for sustained high speed vehicle operation.G030C01A-AAT
To Check the Oil Level
Before checking the oil, warm up the
engine to the normal operating tem- perature and be sure your car is parked on level ground. Turn the en-gine off.
Wait a minute, then remove the dip-
stick, wipe it off, fully reinsert thedipstick and withdraw it again. Thennote the highest level the oil has reached on the dipstick. It should be between the upper ("FULL") and lower("LOW") range. HXG094J
G030D01A-GAT
Adding Oil
If the oil level is close to or below the
"L" mark, add oil until it reaches the "F" mark. To add oil:
1. Remove the oil filler cap by turning it counterclockwise.
2. Add oil, then check the level again. Do not overfill.
3. Replace the cap by turning it clock- wise.
The distance between the "F" and "L"
marks is equal to about 1 liter of oil.
HXG722J
Page 185 of 230

6- 8 DO-IT-YOURSELF MAINTENANCE
4. When the oil has stopped draining,
replace the drain plug using a new washer and retighten by turning itclockwise. Oil pan drain plug tightening torque : 3.5 ~4.0 kgf.m
5. Remove the oil filter by turning it counterclockwise with a oil filter wrench of the proper size. A cer- tain amount of oil will come out when you remove the filter. So besure to have your drain pan in place underneath it.
6. Install a new oil filter in accordance with the instructions on the carton or on the filter itself. Do not over-tighten. Oil filter tightening torque : 1.2 ~ 1.6 kgf.m Be sure that the mounting surface on the engine is clean and that theold gasket is removed completely. Lubricate the new gasket on the filter with clean engine oil beforeinstallation. 7. Refill the crankcase with the rec-
ommended engine oil. Refer to thespecification in chapter 9 for en-gine oil capacity.
8. Start the engine and check to be sure no oil is leaking from the drain plug or oil filter.
9. Shut off the engine and recheck the oil level.
NOTE: Always dispose of used engine oil
in an environmentally acceptable manner. It is suggested that it beplaced in a sealed container and taken to a service station for recla- mation. Do not pour the oil on theground or put it in with the house- hold trash.
WARNING:
Used motor oil may cause irrita-
tion or cancer of the skin if left in contact with the skin for prolongedperiods of time. Wash your hands thoroughly with soap and warm water as soon as possible afterhandling used oil. G050A01A-AAT
CHECKING AND CHANGING THE ENGINE COOLANT
WARNING:
Do not remove the radiator cap
when the engine is hot. When the engine is hot, the engine coolantis under pressure and may erupt through the opening if the cap is removed. You could be seriouslyburned if you do not observe this precaution. Do not remove the ra- diator cap until the radiator is coolto the touch.
!
!
Page 190 of 230
DO-IT-YOURSELF MAINTENANCE 6- 13
G100A03L
G100A03Y-GAT
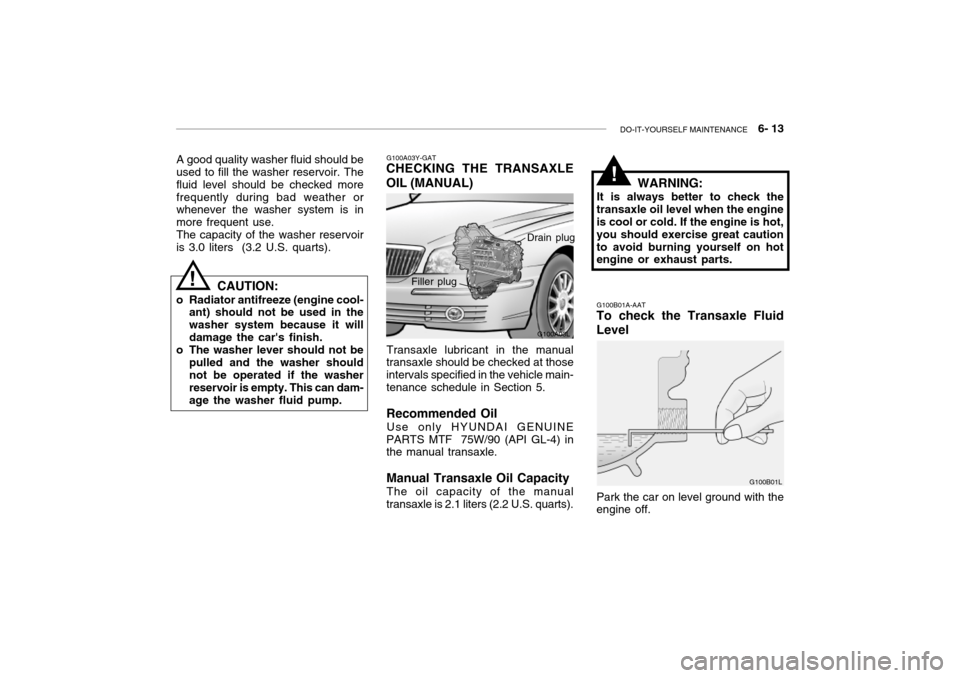
CHECKING THE TRANSAXLE OIL (MANUAL)
Transaxle lubricant in the manual
transaxle should be checked at those intervals specified in the vehicle main-
tenance schedule in Section 5. Recommended Oil
Use only HYUNDAI GENUINE
PARTS MTF 75W/90 (API GL-4) in the manual transaxle. Manual Transaxle Oil Capacity
The oil capacity of the manual
transaxle is 2.1 liters (2.2 U.S. quarts). Drain plug
Filler plug WARNING:
It is always better to check the
transaxle oil level when the engine is cool or cold. If the engine is hot, you should exercise great cautionto avoid burning yourself on hot engine or exhaust parts. G100B01A-AAT
To check the Transaxle Fluid Level
G100B01L
Park the car on level ground with the engine off.
A good quality washer fluid should be used to fill the washer reservoir. The fluid level should be checked morefrequently during bad weather or whenever the washer system is in more frequent use.The capacity of the washer reservoiris 3.0 liters (3.2 U.S. quarts).
CAUTION:
o Radiator antifreeze (engine cool- ant) should not be used in thewasher system because it willdamage the car's finish.
o The washer lever should not be
pulled and the washer should not be operated if the washer reservoir is empty. This can dam-age the washer fluid pump.
!
!
Page 191 of 230
6- 14 DO-IT-YOURSELF MAINTENANCE
G110B03A-AAT
Recommended Fluid
Your Hyundai automatic transaxle is specially designed to operate with DIAMOND ATF SP-III or SK ATF SP- III. Damage caused by a nonspecifiedfluid is not covered by your new ve- hicle limited warranty. G110C02L-GAT
Transaxle Fluid Capacity
The fluid capacity of the automatic transaxle is 7.8 liters (2.5 V6)/8.5 liters (3.0/3.5 V6).
WARNING:
The transaxle fluid level should bechecked when the engine is atnormal operating temperature. This means that the engine, radiator, exhaust system etc., are very hot.Exercise great care not to burn yourself during this procedure.
HXG065
G110D01L-AAT
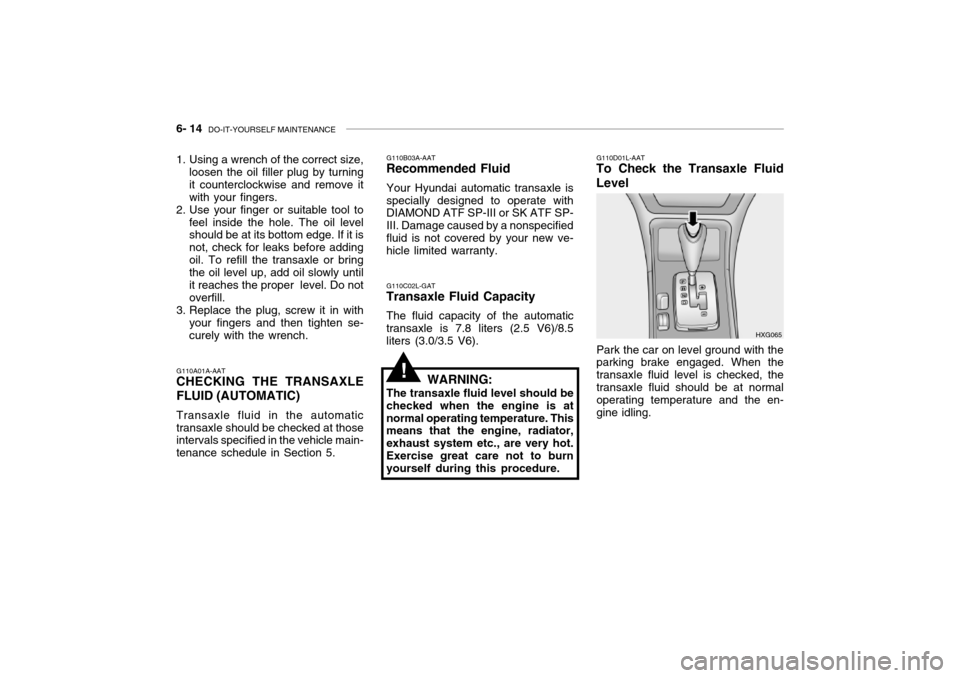
To Check the Transaxle Fluid Level
Park the car on level ground with the parking brake engaged. When the transaxle fluid level is checked, thetransaxle fluid should be at normal operating temperature and the en- gine idling.
!G110A01A-AAT CHECKING THE TRANSAXLE FLUID (AUTOMATIC) Transaxle fluid in the automatic transaxle should be checked at those intervals specified in the vehicle main- tenance schedule in Section 5.
1. Using a wrench of the correct size,
loosen the oil filler plug by turningit counterclockwise and remove itwith your fingers.
2. Use your finger or suitable tool to
feel inside the hole. The oil level should be at its bottom edge. If it is not, check for leaks before addingoil. To refill the transaxle or bring the oil level up, add oil slowly until it reaches the proper level. Do notoverfill.
3. Replace the plug, screw it in with
your fingers and then tighten se-curely with the wrench.