Page 295 of 428

FEATURES OF YOUR HYUNDAI 1- 51
SB290A02-F CIGAR LIGHTER For the cigar lighter to work, the key must be in the "ACC" or the "ON" position. To use the cigar lighter, push the lighterall the way into its socket. When theelement is heated, the lighter will popout into the "ready" position.Do not hold the cigar lighter at the depressed position which may result in damage to the vehicle wiring or anelectrical fire.
HTB097
B400A01TB-AAT DIGITAL CLOCK
HTB095
There is a digital clock control button built-in right side of the speedometer.Its functions are: o Reset : Push the button for more than
1 second.
o Min/Hour Adjustment: Turn to "H"
for 0.5 second to advance the hour indicated. Turn to "M" for 0.5 sec- ond to advance the minute indi- cated.
o Auto mode: Turn to the right or left
side for more than 1 second to ad-vance fastly. CAUTION:
Don't turn the switch excessively toprevent switch damage.
!
B360A01Y-GAT REAR FOG LIGHT SWITCH
To turn on the rear fog lights, push the switch. They will come on when theheadlight switch is in the second posi-tion and the key is in the "ON" position. HTB096
Page 297 of 428
FEATURES OF YOUR HYUNDAI 1- 53
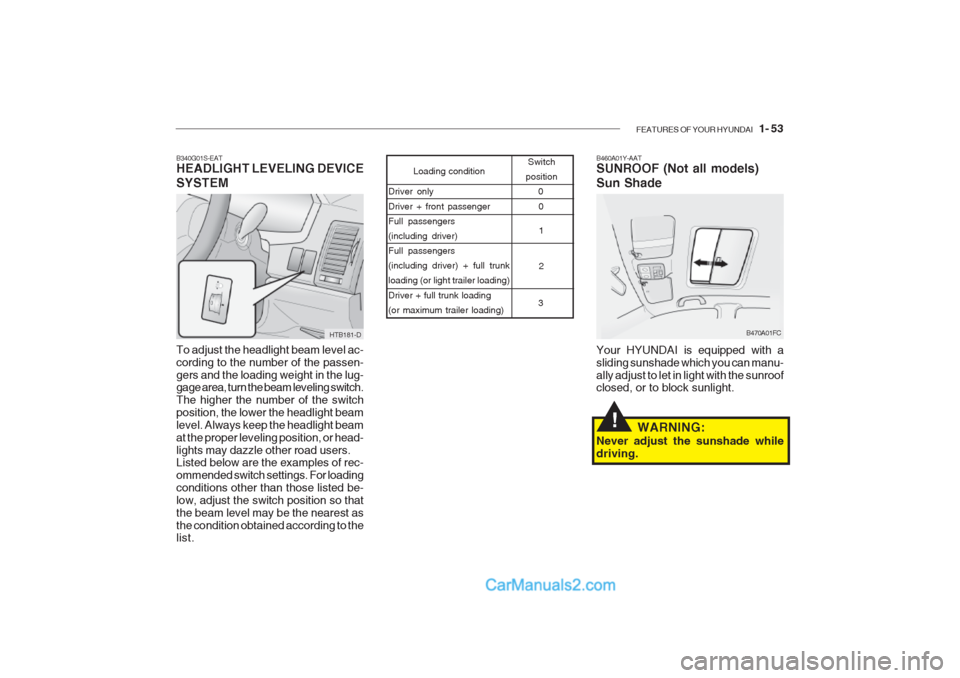
B460A01Y-AAT SUNROOF (Not all models) Sun Shade Your HYUNDAI is equipped with a sliding sunshade which you can manu-ally adjust to let in light with the sunroof closed, or to block sunlight.
Loading condition Switch
position
Driver only Driver + front passenger Full passengers(including driver)Full passengers(including driver) + full trunkloading (or light trailer loading) Driver + full trunk loading (or maximum trailer loading) 0
1 2
3 0
B470A01FC
WARNING:
Never adjust the sunshade while driving.!
B340G01S-EAT HEADLIGHT LEVELING DEVICE SYSTEM To adjust the headlight beam level ac- cording to the number of the passen-gers and the loading weight in the lug- gage area, turn the beam leveling switch. The higher the number of the switchposition, the lower the headlight beamlevel. Always keep the headlight beamat the proper leveling position, or head-lights may dazzle other road users. Listed below are the examples of rec- ommended switch settings. For loadingconditions other than those listed be-low, adjust the switch position so thatthe beam level may be the nearest asthe condition obtained according to the list. HTB181-D
Page 300 of 428
1- 56 FEATURES OF YOUR HYUNDAI
With Sunroof
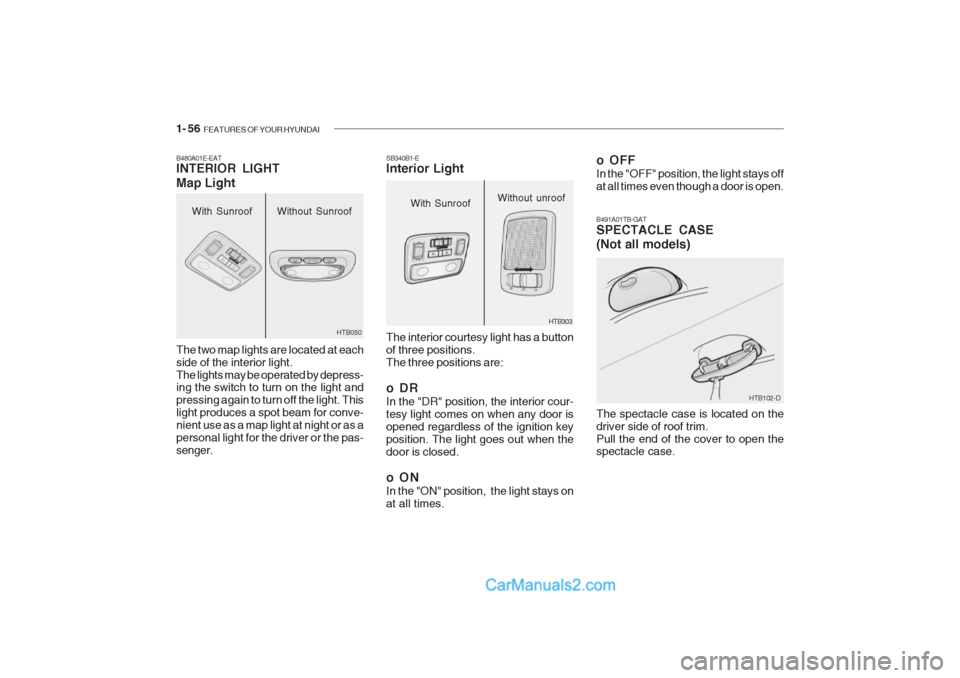
B480A01E-EAT INTERIOR LIGHT Map Light The two map lights are located at each side of the interior light.The lights may be operated by depress- ing the switch to turn on the light and pressing again to turn off the light. Thislight produces a spot beam for conve-nient use as a map light at night or as apersonal light for the driver or the pas-senger.Without Sunroof
HTB050
HTB102-D
B491A01TB-GAT SPECTACLE CASE (Not all models) The spectacle case is located on the driver side of roof trim.Pull the end of the cover to open the spectacle case.
HTB303
With Sunroof
Without unroof
SB340B1-E Interior Light The interior courtesy light has a button of three positions.The three positions are:
oDR In the "DR" position, the interior cour- tesy light comes on when any door isopened regardless of the ignition keyposition. The light goes out when thedoor is closed.
oON In the "ON" position, the light stays on at all times. o OFF In the "OFF" position, the light stays off at all times even though a door is open.
Page 303 of 428
FEATURES OF YOUR HYUNDAI 1- 59
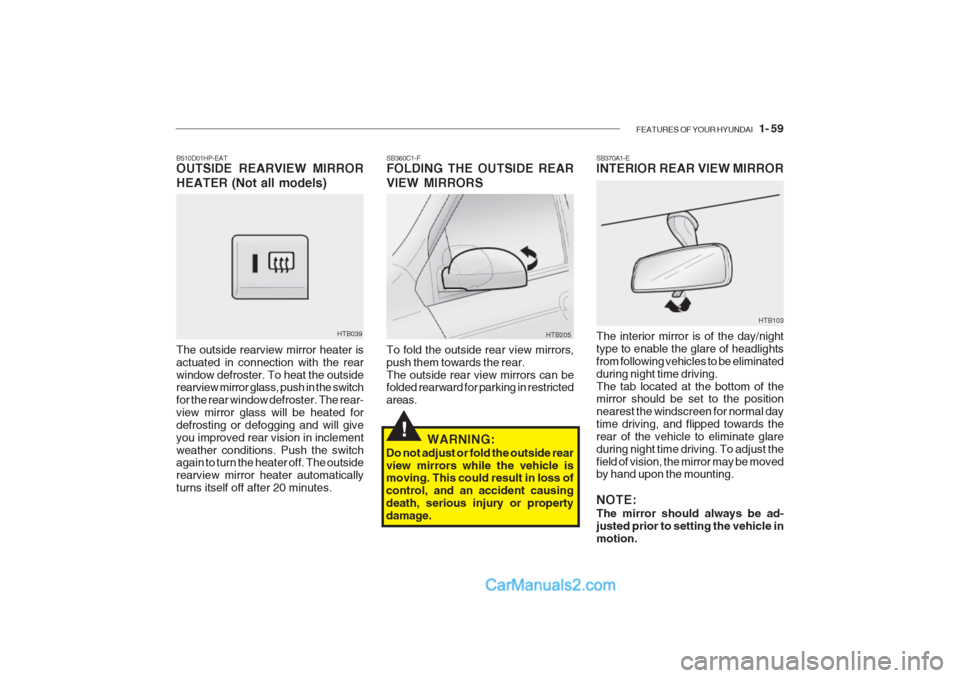
SB370A1-E INTERIOR REAR VIEW MIRROR The interior mirror is of the day/night type to enable the glare of headlightsfrom following vehicles to be eliminatedduring night time driving.The tab located at the bottom of the mirror should be set to the position nearest the windscreen for normal daytime driving, and flipped towards therear of the vehicle to eliminate glareduring night time driving. To adjust thefield of vision, the mirror may be moved by hand upon the mounting. NOTE: The mirror should always be ad- justed prior to setting the vehicle inmotion. HTB103B510D01HP-EAT OUTSIDE REARVIEW MIRROR HEATER (Not all models) The outside rearview mirror heater is actuated in connection with the rearwindow defroster. To heat the outside rearview mirror glass, push in the switch for the rear window defroster. The rear-view mirror glass will be heated fordefrosting or defogging and will giveyou improved rear vision in inclementweather conditions. Push the switch again to turn the heater off. The outside rearview mirror heater automaticallyturns itself off after 20 minutes. SB360C1-F FOLDING THE OUTSIDE REAR VIEW MIRRORS To fold the outside rear view mirrors, push them towards the rear.The outside rear view mirrors can be folded rearward for parking in restricted areas.
HTB039
HTB205
WARNING:
Do not adjust or fold the outside rearview mirrors while the vehicle is moving. This could result in loss of control, and an accident causingdeath, serious injury or propertydamage.
!
Page 304 of 428
1- 60 FEATURES OF YOUR HYUNDAI
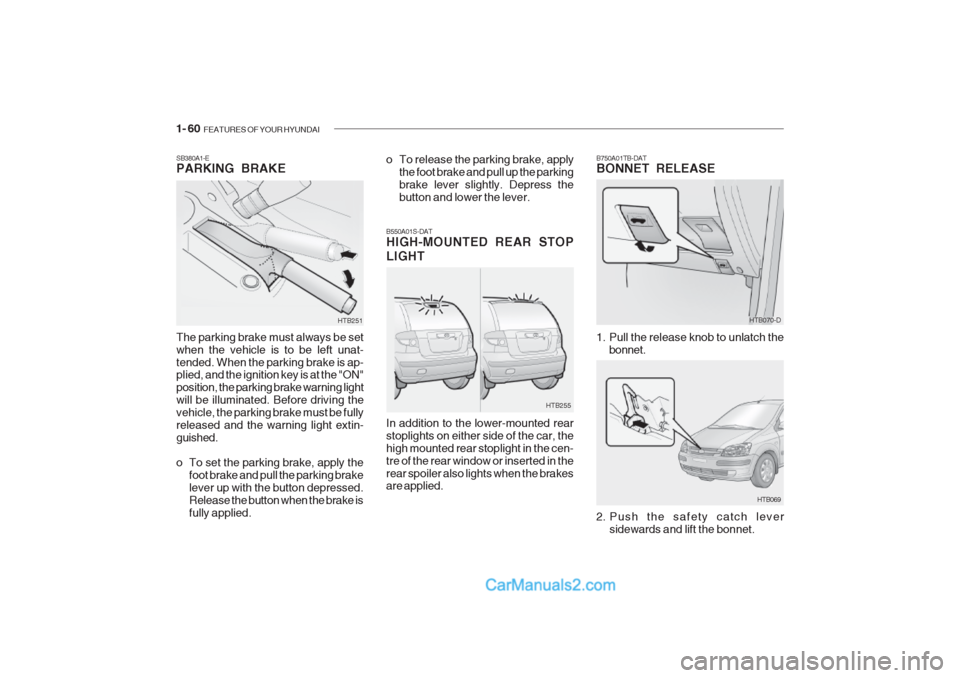
The parking brake must always be set when the vehicle is to be left unat-tended. When the parking brake is ap- plied, and the ignition key is at the "ON" position, the parking brake warning lightwill be illuminated. Before driving thevehicle, the parking brake must be fullyreleased and the warning light extin-guished.
o To set the parking brake, apply the
foot brake and pull the parking brake lever up with the button depressed.Release the button when the brake isfully applied.
SB380A1-E PARKING BRAKE
B550A01S-DAT HIGH-MOUNTED REAR STOP LIGHT In addition to the lower-mounted rear stoplights on either side of the car, thehigh mounted rear stoplight in the cen-tre of the rear window or inserted in therear spoiler also lights when the brakes are applied.
HTB251
HTB255
o To release the parking brake, apply
the foot brake and pull up the parking brake lever slightly. Depress thebutton and lower the lever.
B750A01TB-DAT BONNET RELEASE
HTB070-D
1. Pull the release knob to unlatch the bonnet.
HTB069
2. Push the safety catch lever sidewards and lift the bonnet.
Page 319 of 428
FEATURES OF YOUR HYUNDAI 1- 75
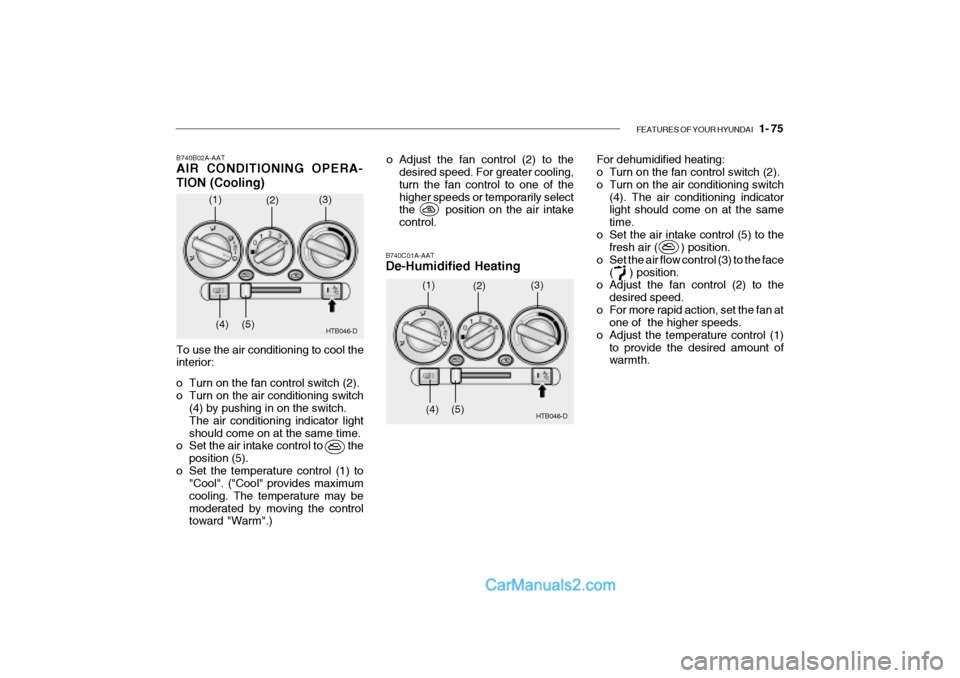
B740B02A-AAT AIR CONDITIONING OPERA- TION (Cooling)
B740C01A-AAT De-Humidified Heating
To use the air conditioning to cool the interior:
o Turn on the fan control switch (2).
o Turn on the air conditioning switch(4) by pushing in on the switch.The air conditioning indicator lightshould come on at the same time.
o Set the air intake control to the
position (5).
o Set the temperature control (1) to "Cool". ("Cool" provides maximumcooling. The temperature may bemoderated by moving the control toward "Warm".) HTB046-D
o Adjust the fan control (2) to the
desired speed. For greater cooling, turn the fan control to one of thehigher speeds or temporarily select
the position on the air intake control. For dehumidified heating:
o Turn on the fan control switch (2).
o Turn on the air conditioning switch
(4). The air conditioning indicator light should come on at the same time.
o Set the air intake control (5) to the fresh air ( ) position.
o Set the air flow control (3) to the face ( ) position.
o Adjust the fan control (2) to the
desired speed.
o For more rapid action, set the fan at one of the higher speeds.
o Adjust the temperature control (1)
to provide the desired amount of warmth.
(1)
(2)
(3)
(4) (5)
HTB046-D
(1)
(2)
(3)
(4) (5)
Page 329 of 428

DRIVING YOUR HYUNDAI 2- 3
C020A01O-EAT BEFORE STARTING THE EN- GINE Before you start the engine, you should always:
1. Look around the vehicle to be sure
there are no flat tyres, puddles of oil or water or other indications of pos-sible trouble.
2. After entering the car, check to be
sure the parking brake is engaged.
3. Check that all windows, and lights are clean.
4. Check that the interior and exterior mirrors are clean and in position.
5. Check your seat, seatback and
headrestraint to be sure they are intheir proper positions.
6. Lock all the doors.
7. Fasten your seat belt and be sure
that all other occupants have fas- tened theirs.
8. Turn off all lights and accessories that are not needed.
9. When you turn the ignition switch to
"ON" check that all appropriate warn- ing lights are operating and that you have sufficient fuel. 10.Check the operation of warning
lights and all bulbs when key is in the "ON" position.
!WARNING: (DIESEL ENGINE)
To ensure that sufficient vacuum exists within the brake system dur-ing cold weather start-up condi- tions, it is necessary to run the engine at idle for several secondsafter starting the engine. SC040A1-F COMBINATION IGNITION SWITCH AND STEERING LOCKTo Start the Engine
o If your Hyundai is equipped with a
manual transaxle, place the shift lever in neutral and depress theclutch pedal fully.
o If your Hyundai has an automatic
transaxle, place the shift lever in "P"(park).
o To start the engine, insert the igni-
tion key and turn it to the "START"position. Release it as soon as the engine starts. Do not hold the key in the "START" position for more that15 seconds.
NOTE: For safety, the engine will not start if the shift lever is not in "P" or "N"Position (automatic transaxle).
Page 332 of 428
2- 6 DRIVING YOUR HYUNDAI
C050B01HP
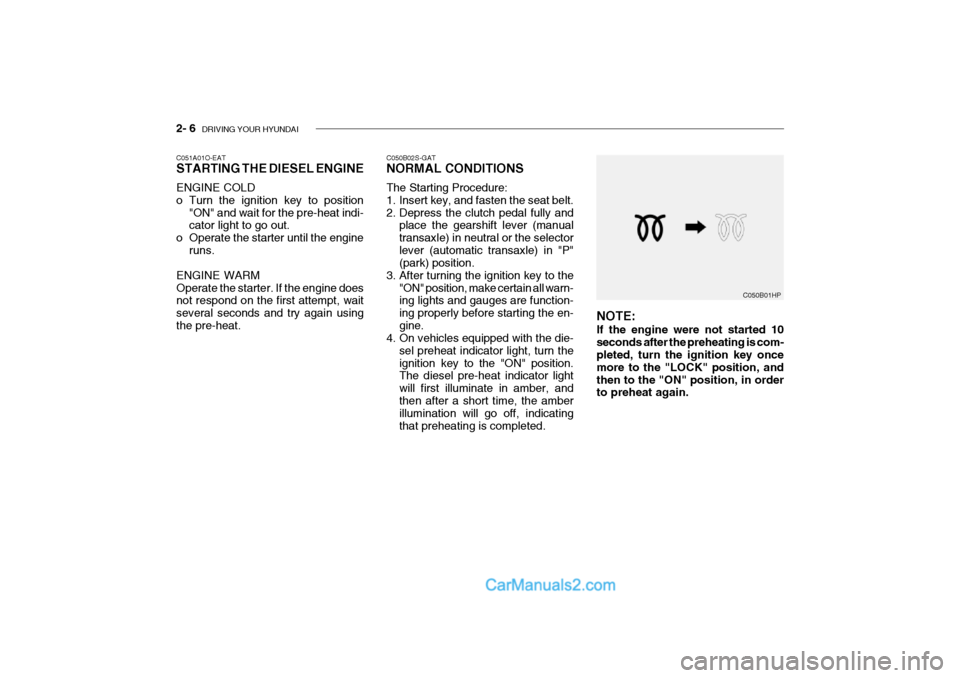
NOTE: If the engine were not started 10 seconds after the preheating is com- pleted, turn the ignition key once more to the "LOCK" position, andthen to the "ON" position, in order to preheat again.
C051A01O-EAT STARTING THE DIESEL ENGINE ENGINE COLD
o Turn the ignition key to position
"ON" and wait for the pre-heat indi- cator light to go out.
o Operate the starter until the engine
runs.
ENGINE WARM Operate the starter. If the engine does not respond on the first attempt, wait several seconds and try again usingthe pre-heat. C050B02S-GAT NORMAL CONDITIONS The Starting Procedure:
1. Insert key, and fasten the seat belt.
2. Depress the clutch pedal fully and
place the gearshift lever (manualtransaxle) in neutral or the selectorlever (automatic transaxle) in "P" (park) position.
3. After turning the ignition key to the "ON" position, make certain all warn-ing lights and gauges are function- ing properly before starting the en-gine.
4. On vehicles equipped with the die-
sel preheat indicator light, turn theignition key to the "ON" position. The diesel pre-heat indicator light will first illuminate in amber, andthen after a short time, the amber illumination will go off, indicating that preheating is completed.