2002 FORD F150 set clock
[x] Cancel search: set clockPage 23 of 320
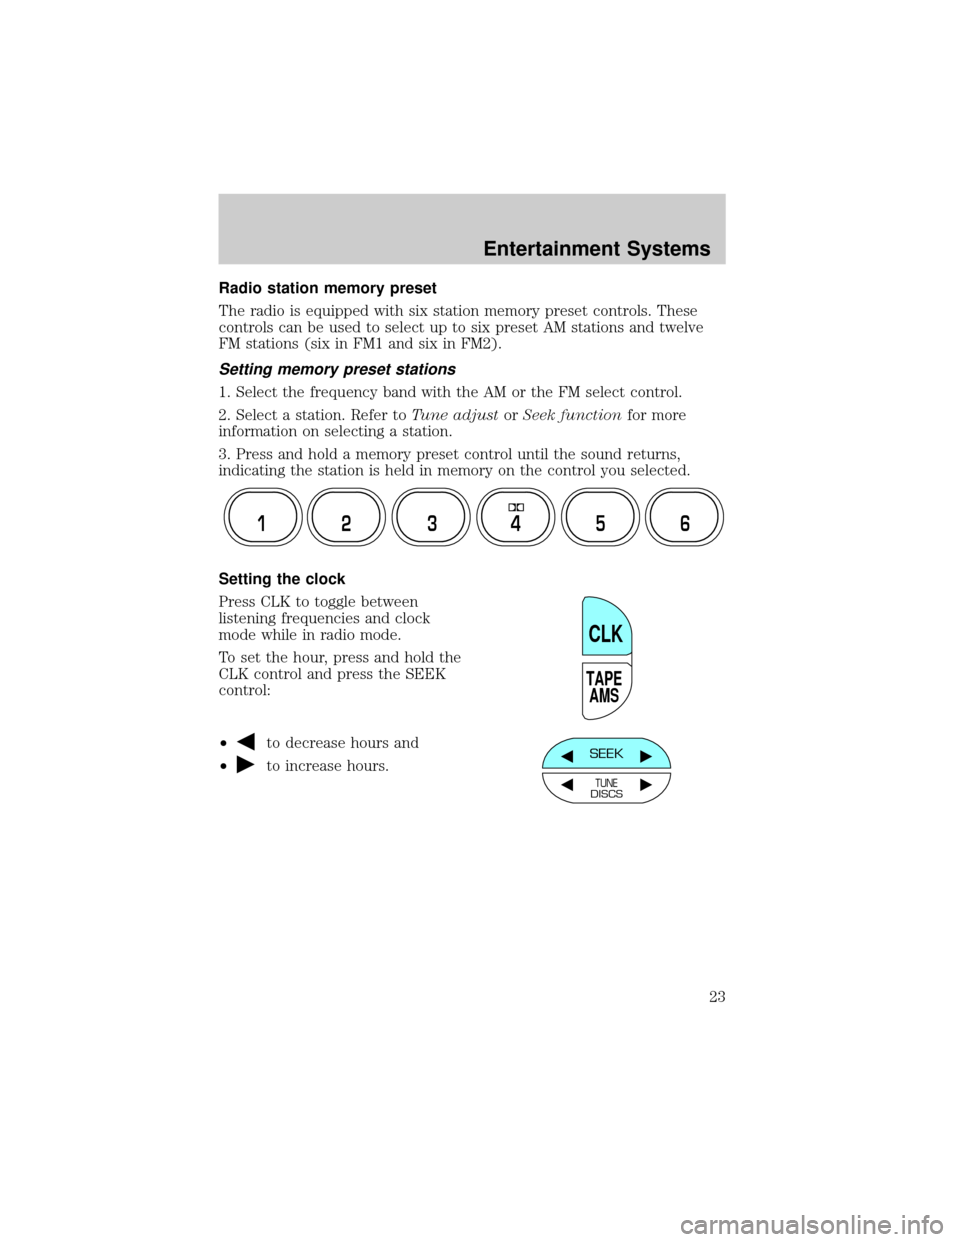
Radio station memory preset
The radio is equipped with six station memory preset controls. These
controls can be used to select up to six preset AM stations and twelve
FM stations (six in FM1 and six in FM2).
Setting memory preset stations
1. Select the frequency band with the AM or the FM select control.
2. Select a station. Refer toTune adjustorSeek functionfor more
information on selecting a station.
3. Press and hold a memory preset control until the sound returns,
indicating the station is held in memory on the control you selected.
Setting the clock
Press CLK to toggle between
listening frequencies and clock
mode while in radio mode.
To set the hour, press and hold the
CLK control and press the SEEK
control:
²
to decrease hours and
²
to increase hours.
12 3456
TAPE
AMS
CLK
SEEK
TUNEDISCS
Entertainment Systems
23
Page 24 of 320
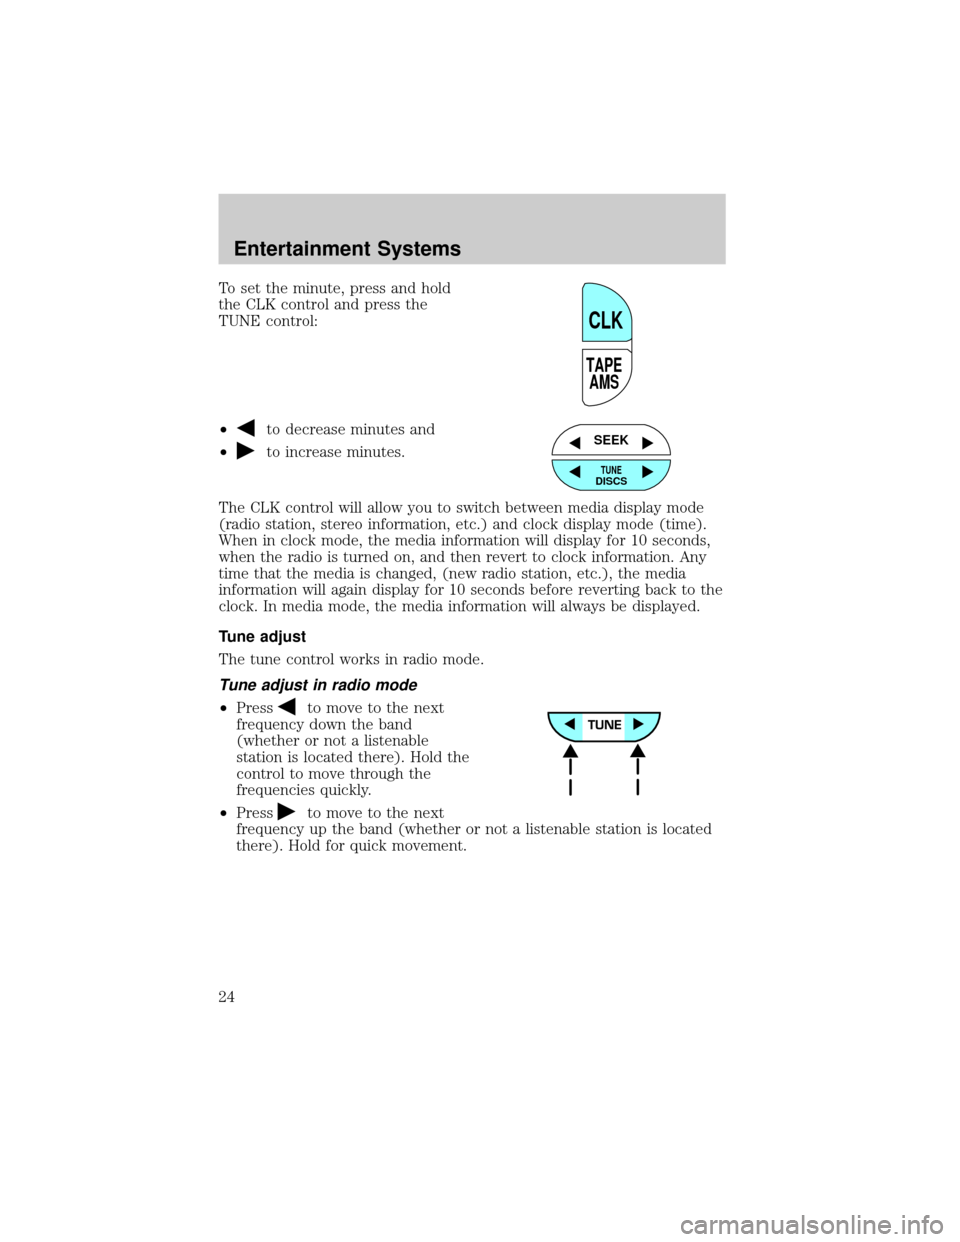
To set the minute, press and hold
the CLK control and press the
TUNE control:
²
to decrease minutes and
²
to increase minutes.
The CLK control will allow you to switch between media display mode
(radio station, stereo information, etc.) and clock display mode (time).
When in clock mode, the media information will display for 10 seconds,
when the radio is turned on, and then revert to clock information. Any
time that the media is changed, (new radio station, etc.), the media
information will again display for 10 seconds before reverting back to the
clock. In media mode, the media information will always be displayed.
Tune adjust
The tune control works in radio mode.
Tune adjust in radio mode
²Pressto move to the next
frequency down the band
(whether or not a listenable
station is located there). Hold the
control to move through the
frequencies quickly.
²Press
to move to the next
frequency up the band (whether or not a listenable station is located
there). Hold for quick movement.
TAPE
AMS
CLK
SEEK
TUNEDISCS
Entertainment Systems
24
Page 31 of 320
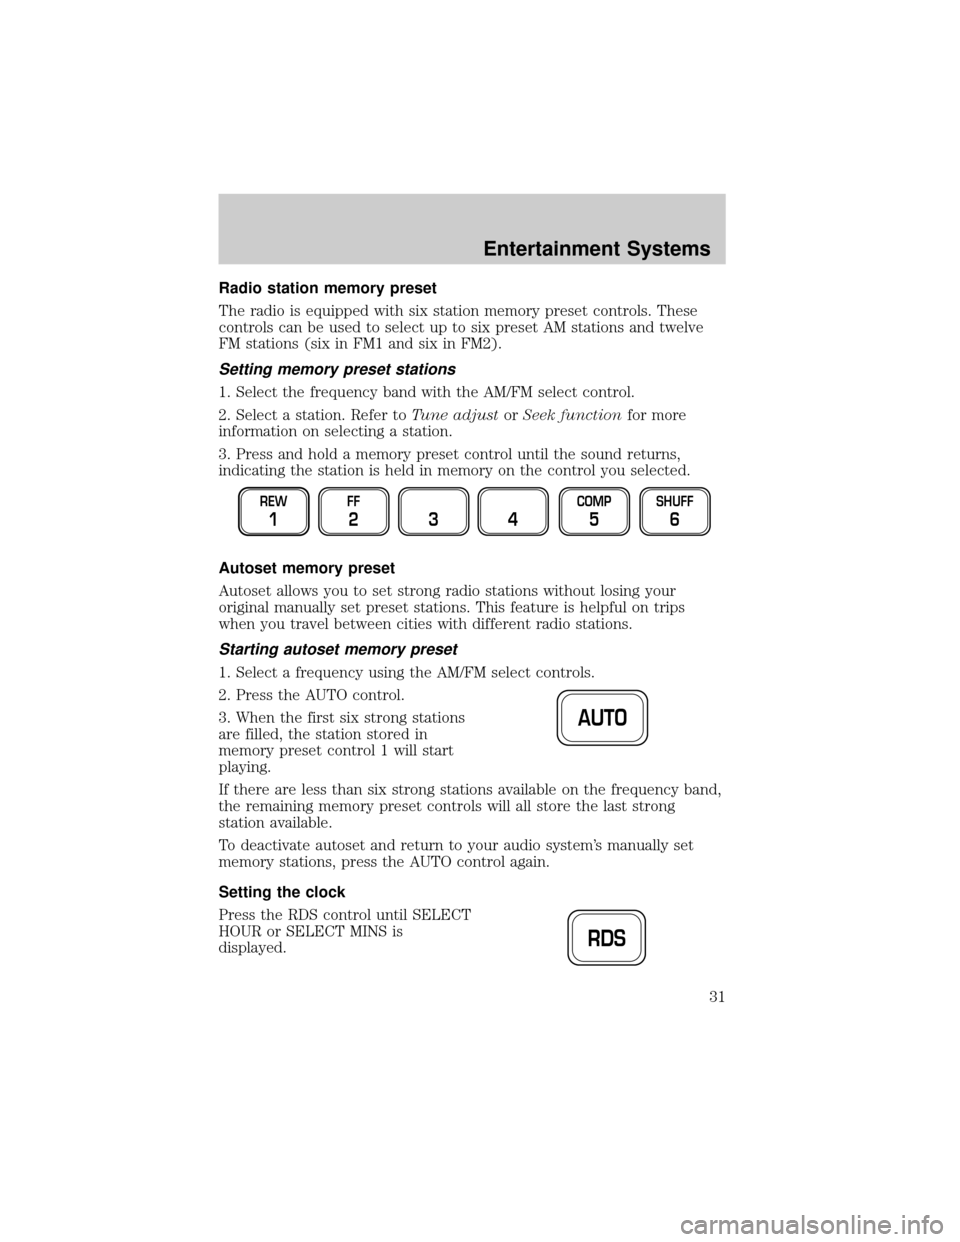
Radio station memory preset
The radio is equipped with six station memory preset controls. These
controls can be used to select up to six preset AM stations and twelve
FM stations (six in FM1 and six in FM2).
Setting memory preset stations
1. Select the frequency band with the AM/FM select control.
2. Select a station. Refer toTune adjustorSeek functionfor more
information on selecting a station.
3. Press and hold a memory preset control until the sound returns,
indicating the station is held in memory on the control you selected.
Autoset memory preset
Autoset allows you to set strong radio stations without losing your
original manually set preset stations. This feature is helpful on trips
when you travel between cities with different radio stations.
Starting autoset memory preset
1. Select a frequency using the AM/FM select controls.
2. Press the AUTO control.
3. When the first six strong stations
are filled, the station stored in
memory preset control 1 will start
playing.
If there are less than six strong stations available on the frequency band,
the remaining memory preset controls will all store the last strong
station available.
To deactivate autoset and return to your audio system's manually set
memory stations, press the AUTO control again.
Setting the clock
Press the RDS control until SELECT
HOUR or SELECT MINS is
displayed.
REW
1
FF
234
COMP
5
SHUFF
6
AUTO
RDS
Entertainment Systems
31
Page 41 of 320
Starting autoset memory preset
1. Select a frequency using the AM/FM select controls.
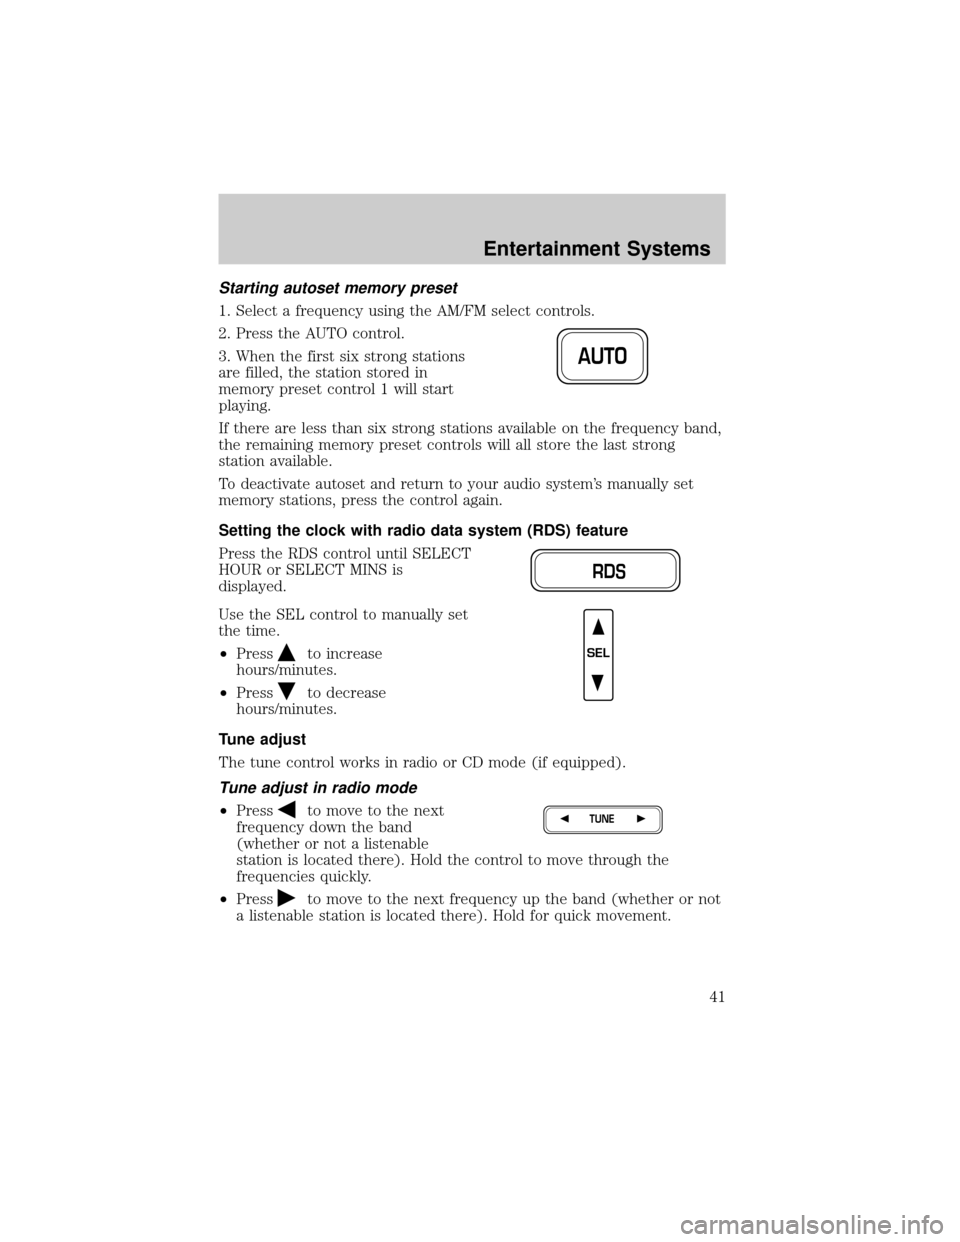
2. Press the AUTO control.
3. When the first six strong stations
are filled, the station stored in
memory preset control 1 will start
playing.
If there are less than six strong stations available on the frequency band,
the remaining memory preset controls will all store the last strong
station available.
To deactivate autoset and return to your audio system's manually set
memory stations, press the control again.
Setting the clock with radio data system (RDS) feature
Press the RDS control until SELECT
HOUR or SELECT MINS is
displayed.
Use the SEL control to manually set
the time.
²Press
to increase
hours/minutes.
²Press
to decrease
hours/minutes.
Tune adjust
The tune control works in radio or CD mode (if equipped).
Tune adjust in radio mode
²Pressto move to the next
frequency down the band
(whether or not a listenable
station is located there). Hold the control to move through the
frequencies quickly.
²Press
to move to the next frequency up the band (whether or not
a listenable station is located there). Hold for quick movement.
AUTO
RDS
SEL
TUNE
Entertainment Systems
41
Page 222 of 320
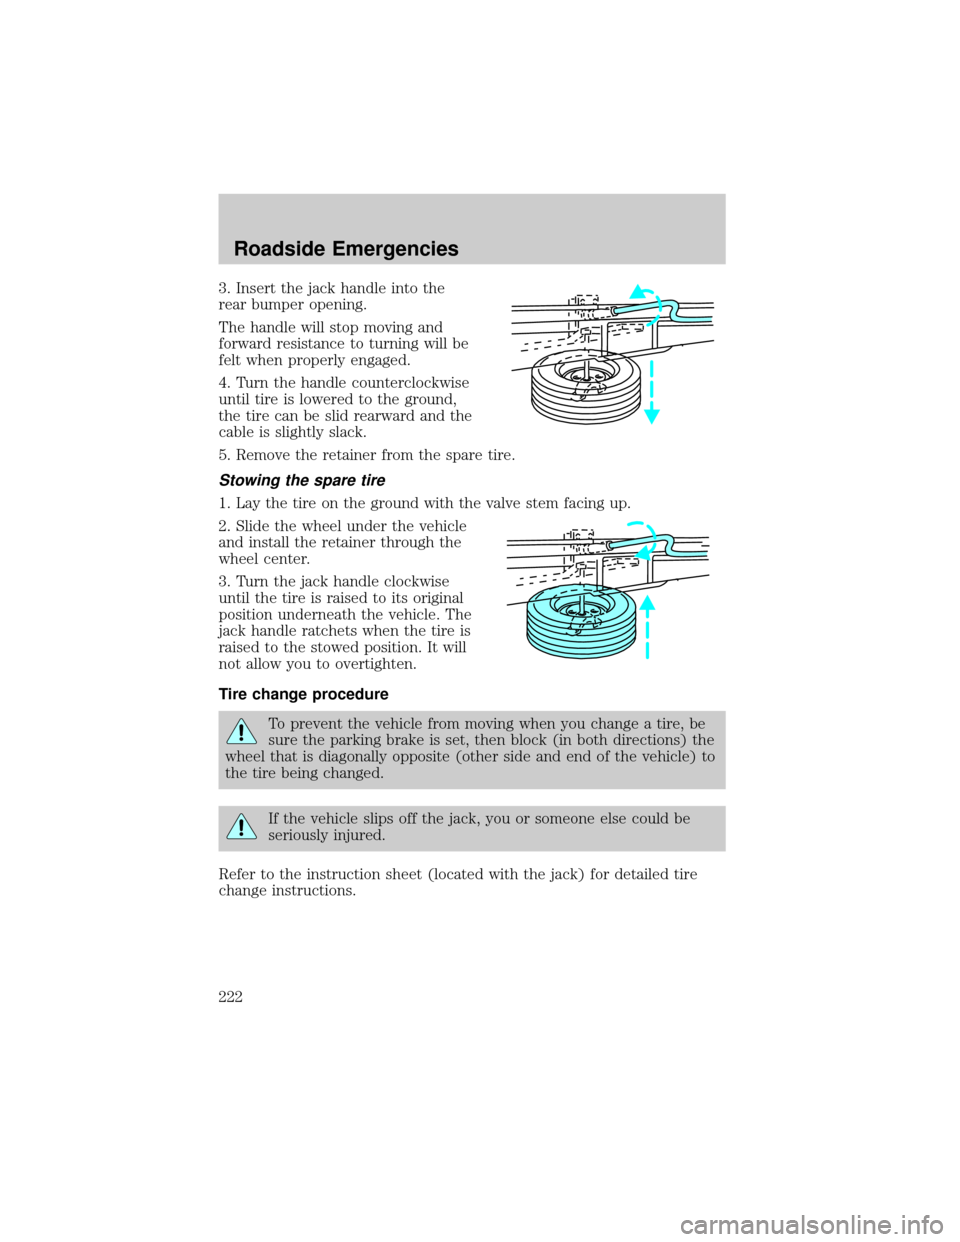
3. Insert the jack handle into the
rear bumper opening.
The handle will stop moving and
forward resistance to turning will be
felt when properly engaged.
4. Turn the handle counterclockwise
until tire is lowered to the ground,
the tire can be slid rearward and the
cable is slightly slack.
5. Remove the retainer from the spare tire.
Stowing the spare tire
1. Lay the tire on the ground with the valve stem facing up.
2. Slide the wheel under the vehicle
and install the retainer through the
wheel center.
3. Turn the jack handle clockwise
until the tire is raised to its original
position underneath the vehicle. The
jack handle ratchets when the tire is
raised to the stowed position. It will
not allow you to overtighten.
Tire change procedure
To prevent the vehicle from moving when you change a tire, be
sure the parking brake is set, then block (in both directions) the
wheel that is diagonally opposite (other side and end of the vehicle) to
the tire being changed.
If the vehicle slips off the jack, you or someone else could be
seriously injured.
Refer to the instruction sheet (located with the jack) for detailed tire
change instructions.
Roadside Emergencies
222
Page 223 of 320
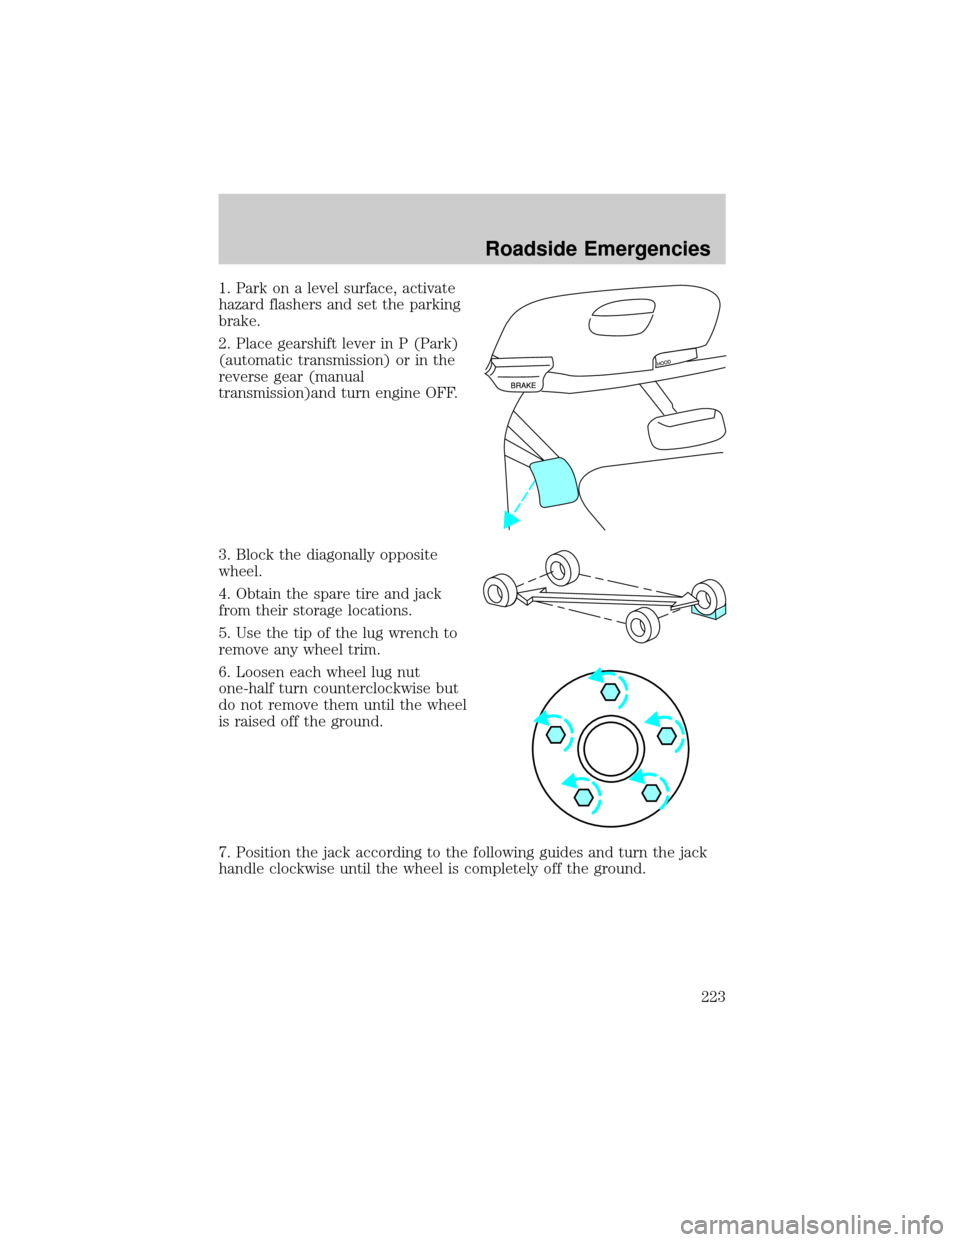
1. Park on a level surface, activate
hazard flashers and set the parking
brake.
2. Place gearshift lever in P (Park)
(automatic transmission) or in the
reverse gear (manual
transmission)and turn engine OFF.
3. Block the diagonally opposite
wheel.
4. Obtain the spare tire and jack
from their storage locations.
5. Use the tip of the lug wrench to
remove any wheel trim.
6. Loosen each wheel lug nut
one-half turn counterclockwise but
do not remove them until the wheel
is raised off the ground.
7. Position the jack according to the following guides and turn the jack
handle clockwise until the wheel is completely off the ground.
Roadside Emergencies
223
Page 265 of 320
If the battery has been disconnected or a new battery has been installed,
the clock and the preset radio stations must be reset once the battery is
reconnected.
²Always dispose of automotive
batteries in a responsible manner.
Follow your local authorized
standards for disposal. Call your
local authorized recycling center
to find out more about recycling
automotive batteries.
ENGINE COOLANT
Checking engine coolant
The concentration and level of engine coolant should be checked at the
mileage intervals listed in the scheduled maintenance guide. The coolant
concentration should be maintained at 50/50 coolant and water, which
equates to a freeze point of -36É C (-34É F). Coolant concentration
testing is possible with a hydrometer or antifreeze tester (such as the
Rotunda Battery and Antifreeze Tester, 014±R1060). The level of coolant
should be maintained at the ªcold fullº of ªcold fill rangeº level in the
coolant reservoir. If the level falls below, add coolant per the instructions
in theAdding Engine Coolantsection.
Your vehicle was factory-filled with a 50/50 engine coolant and water
concentration. If the concentration of coolant falls below 40% or above
60%, the engine parts could become damaged or not work properly.A
50±50 mixture of coolant and water provides the following:
²Freeze protection down to -36É C (-34É F).
²Boiling protection up to 129É C (265É F).
²Protection against rust and other forms of corrosion.
²Enables calibrated gauges to work properly.
LEAD
RETURN
RECYCLE
Maintenance and Specifications
265
Page 314 of 320

Child safety restraints ..............154
child safety belts ....................154
Child safety seats ......................155
attaching with tether
straps .......................................160
in front seat ............................157
in rear seat ..............157, 159±160
Cleaning your vehicle
engine compartment ..............244
exterior ....................................251
instrument cluster lens ..........248
instrument panel ....................248
interior .....................................248
plastic parts ....................246±247
safety belts ..............................251
washing ....................................243
waxing .....................................243
wheels ......................................244
windows ..................................250
wiper blades ............................247
woodtone trim ........................248
Clock ................................23, 31, 41
Clutch
fluid ..........................................283
operation while driving ..........178
recommended shift speeds ....180
Compass, electronic ..............80, 86
calibration .................................82
set zone adjustment .................81
Console ........................................84
overhead ....................................78
Controls
power seat ...............................123
Coolant
checking and adding ..............265
refill capacities ................269, 295
specifications ..................299, 301Cruise control
(see Speed control) ....................88
Customer Assistance ................210
Ford accessories for
your vehicle ............................251
Ford Extended
Service Plan ............................235
Getting assistance outside
the U.S. and Canada ..............239
Getting roadside
assistance ................................210
Getting the service
you need .................................233
Ordering additional
owner's literature ...................240
The Dispute Settlement
Board .......................................236
Utilizing the
Mediation/Arbitration
Program ...................................239
D
Daytime running lamps
(see Lamps) ................................66
Dipstick
automatic transmission
fluid ..........................................284
engine oil .................................258
Doors
door ajar warning .....................14
lubricant specifications ..........299
Driveline universal joint
and slip yoke .............................288
Driving under special
conditions ..........................190, 193
sand .........................................191
snow and ice ...........................194
through water .................192, 197
Index
314