2002 FORD F150 light
[x] Cancel search: lightPage 193 of 320
ªTread Lightlyº is an educational
program designed to increase public
awareness of land-use regulations
and responsibilities in our nations
wilderness areas. Ford joins the U.S.
Forest Service and the Bureau of Land Management in encouraging you
to help preserve our national forest and other public and private lands by
ªtreading lightly.º
Driving on hilly or sloping terrain
Although natural obstacles may make it necessary to travel diagonally up
or down a hill or steep incline, you should always try to drive straight up
or straight down.Avoid driving crosswise or turning on steep
slopes or hills. A danger lies in losing traction, slipping sideways and
possibly rolling over. Whenever driving on a hill, determine beforehand
the route you will use. Do not drive over the crest of a hill without
seeing what conditions are on the other side. Do not drive in reverse
over a hill without the aid of an observer.
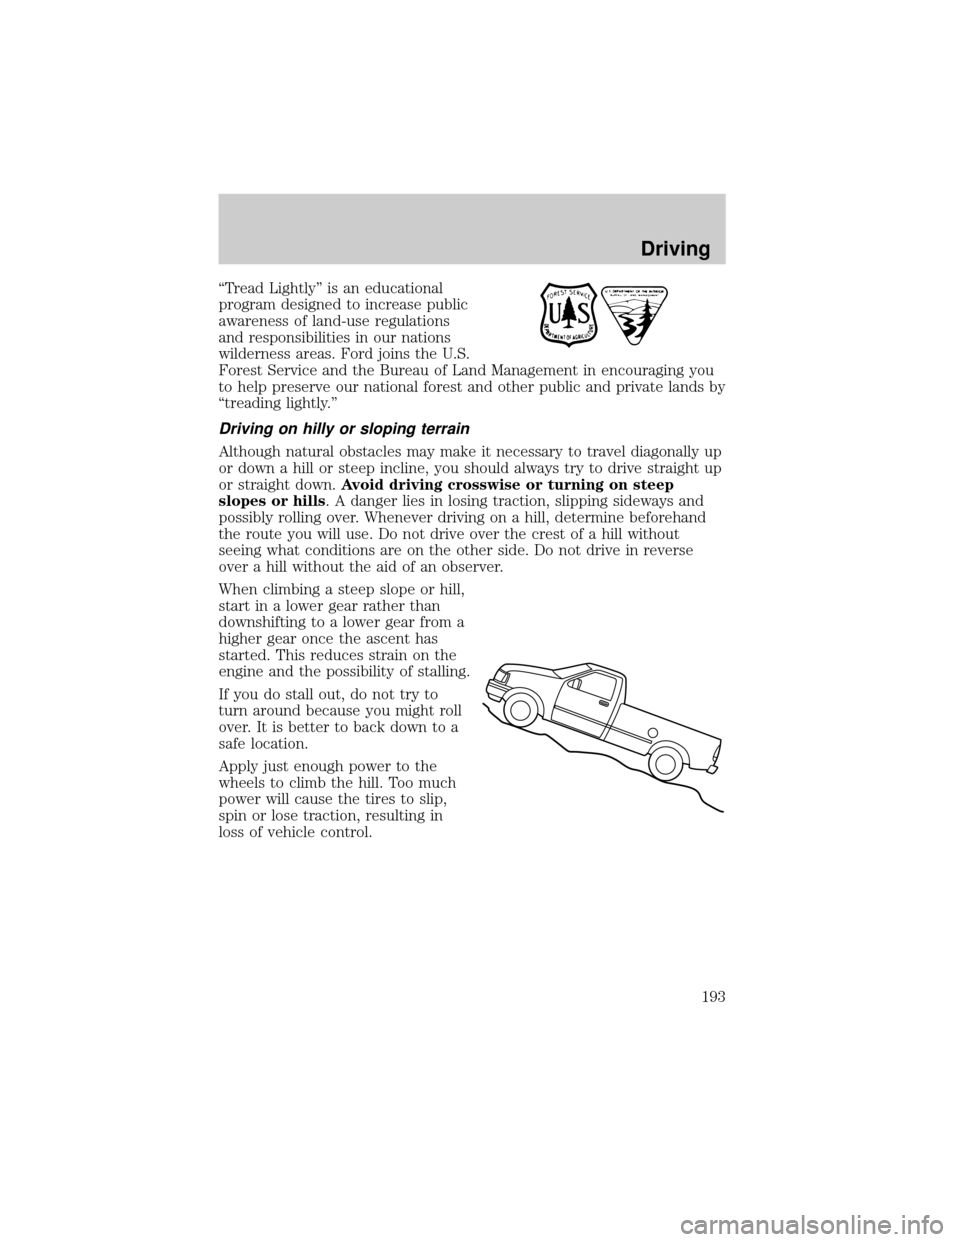
When climbing a steep slope or hill,
start in a lower gear rather than
downshifting to a lower gear from a
higher gear once the ascent has
started. This reduces strain on the
engine and the possibility of stalling.
If you do stall out, do not try to
turn around because you might roll
over. It is better to back down to a
safe location.
Apply just enough power to the
wheels to climb the hill. Too much
power will cause the tires to slip,
spin or lose traction, resulting in
loss of vehicle control.
Driving
193
Page 197 of 320

DRIVING THROUGH WATER
Do not drive quickly through standing water, especially if the depth is
unknown. Traction or brake capability may be limited and if the ignition
system gets wet, your engine may stall. Water may also enter your
engine's air intake and severely damage your engine.
If driving through deep or standing water is unavoidable, proceed very
slowly. Never drive through water that is higher than the bottom of the
hubs (for trucks) or the bottom of the wheel rims (for cars).
Once through the water, always try the brakes. Wet brakes do not stop the
vehicle as effectively as dry brakes. Drying can be improved by moving your
vehicle slowly while applying light pressure on the brake pedal.
Driving through deep water where the transmission vent tube is
submerged may allow water into the transmission and cause
internal transmission damage.
VEHICLE LOADING
Before loading a vehicle, familiarize yourself with the following terms:
²Base Curb Weight:Weight of the vehicle including any standard
equipment, fluids, lubricants, etc. It does not include occupants or
aftermarket equipment.
²Payload:Combined maximum allowable weight of cargo, occupants
and optional equipment. The payload equals the gross vehicle weight
rating minus base curb weight.
²GVW (Gross Vehicle Weight):Base curb weight plus payload
weight. The GVW is not a limit or a specification.
²GVWR (Gross Vehicle Weight Rating):Maximum permissable total
weight of the base vehicle, occupants, optional equipment and cargo.
The GVWR is specific to each vehicle and is listed on the Safety
Certification Label on the driver's door pillar.
²GAWR (Gross Axle Weight Rating):Carrying capacity for each axle
system. The GAWR is specific to each vehicle and is listed on the
Safety Certification Label on the driver's door pillar.
²GCW (Gross Combined Weight):The combined weight of the
towing vehicle (including occupants and cargo) and the loaded trailer.
²GCWR (Gross Combined Weight Rating):Maximum permissable
combined weight of towing vehicle (including occupants and cargo)
and the loaded trailer
Driving
197
Page 206 of 320

RECREATIONAL TOWING (ALL WHEELS ON THE GROUND)
An example of recreational towing would be towing your vehicle behind a
motorhome. Follow these guidelines if you have the need for recreational
towing your vehicle with all four wheels on the ground. These guidelines are
designed to ensure that your transmission is not damaged.
2WD vehicles (with automatic transmissions)
²Place the transmission in N (Neutral)
²Maximum speed is 56 km (35 mph)
²Maximum distance is 80 km (50 miles)
If a distance of 80 km (50 miles) or a speed of 56 km (35 mph) must be
exceeded, the drive shaft will have to be removed before the vehicle is towed.
Ford recommends the driveshaft be removed/installed only by a qualified
technician. See your local dealer for driveshaft removal/installation.
Improper removal/installation of the driveshaft can cause
transmission fluid loss, damage to the driveshaft and internal
transmission components.
4WD vehicles electronic shift transfer case (with automatic
transmissions)
4x4 vehicles with electronic shift on the fly cannot be towed with any
wheels on the ground.
SNOWPLOWING
Ford recommends the following specifications for low speed, personal
use snow removal:
²
F-150 4x4 (except F-150 Supercrew, ªLightningº and ªHarley-Davidsonº)
²5.4L engine
²Heavy duty service package
²Super engine cooling
²Heavy duty front suspension package
²Automatic transmission with auxiliary automatic transmission fluid
cooling
²All-terrain tires
²Limited slip and optional axle ratio.
Do not install a snowplow and plow with your vehicle until it has been
driven at least 800 km (500 miles).
Driving
206
Page 207 of 320

Installing the snowplow
Removing the blocker beam without installing snowplow
attachment hardware may affect air bag deployment in a crash.
Do not operate the truck unless either the blocker beam or snowplow
attachment hardware is installed on the vehicle.
Read the following instructions before installing a snowplow:
²Front GAWR must not exceed 63% of the GVW. Add ballast weight to
the back of the vehicle, if necessary. Refer to the Safety Compliance
Certification Label to find Front GAWR.
²The Front Axle Accessory Reserve Capacity and the Total Accessory
Reserve Capacity listed on the bottom right of the Safety Compliance
Certification Label will determine whether or not the addition of a
snowplow will overload your vehicle.
²The weight of the snowplow and supporting components distributed to
the front axle must not exceed the front accessory reserve capacity.
²The total weight of the snowplow and aftermarket equipment must
not exceed the Total Accessory Reserve Capacity.
²The weight of the installed snowplow and aftermarket equipment must
not load the vehicle beyond the GAWR (front/rear) and GVWR listed
on the Safety Compliance Certification Label.
²The total weight of the snowplow and aftermarket equipment must be
considered part of the payload and must not exceed the Gross
Combined Weight Rating (GCWR) for towing.
²Federal and most local regulations require additional exterior lamps
for snowplow-equipped vehicles. Consult your dealer for additional
information.
²After installing a snowplow to the vehicle, ensure the vehicle's front
toe alignment and front ride height are within specification (reset if
required). These specifications are located in the vehicle's Workshop
Manual. Adherence to the toe, tire pressures and ride height
specification is important for proper tire wear, ride, handling and
headlight aim. Also, maintain the engine oil and transmission fluid
change intervals following the severe duty schedule.
Do not exceed the GVWR or the GAWR specified on the
certification label.
Driving
207
Page 208 of 320
Removing snowplow
Read the following instructions before removing a snowplow:
²After removing a snowplow from the vehicle, ensure the vehicle's front
toe alignment and front ride height are within specification (reset if
required). These specifications are located in the vehicle's Workshop
Manual. Adherence to the toe and ride height specification is
important for proper tire wear, ride, handling and headlight aim.
Snowplowing with your air bag equipped vehicle
Your vehicle is equipped with driver
and passenger air bags. The air bags
are designed to deploy in a collision
with a solid barrier at a range of
13 to 23 km/h (8 to 14 mph) or a
parked car at a range of 25 to
45 km/h (16 to 28 mph).
Careless or high speed driving while plowing snow which results in
vehicle decelerations equivalent to or greater than the air bag
deployment impact speeds listed above can deploy the air bag. Such
driving also increases the risk of accidents.
All occupants of the vehicle, including the driver, should always
properly wear their safety belts, even when an air bag (SRS) is
provided.
Never remove or defeat the ªtripping mechanismsº designed into the
snow removal equipment by its manufacturer. Doing so may cause
damage to the vehicle and the snow removal equipment as well as
possible air bag deployment.
Do not attempt to service, repair, or modify the Air Bag
Supplemental Restraint System or its fuses. See your Ford or
Lincoln Mercury dealer.
Driving
208
Page 209 of 320
Engine temperature while plowing
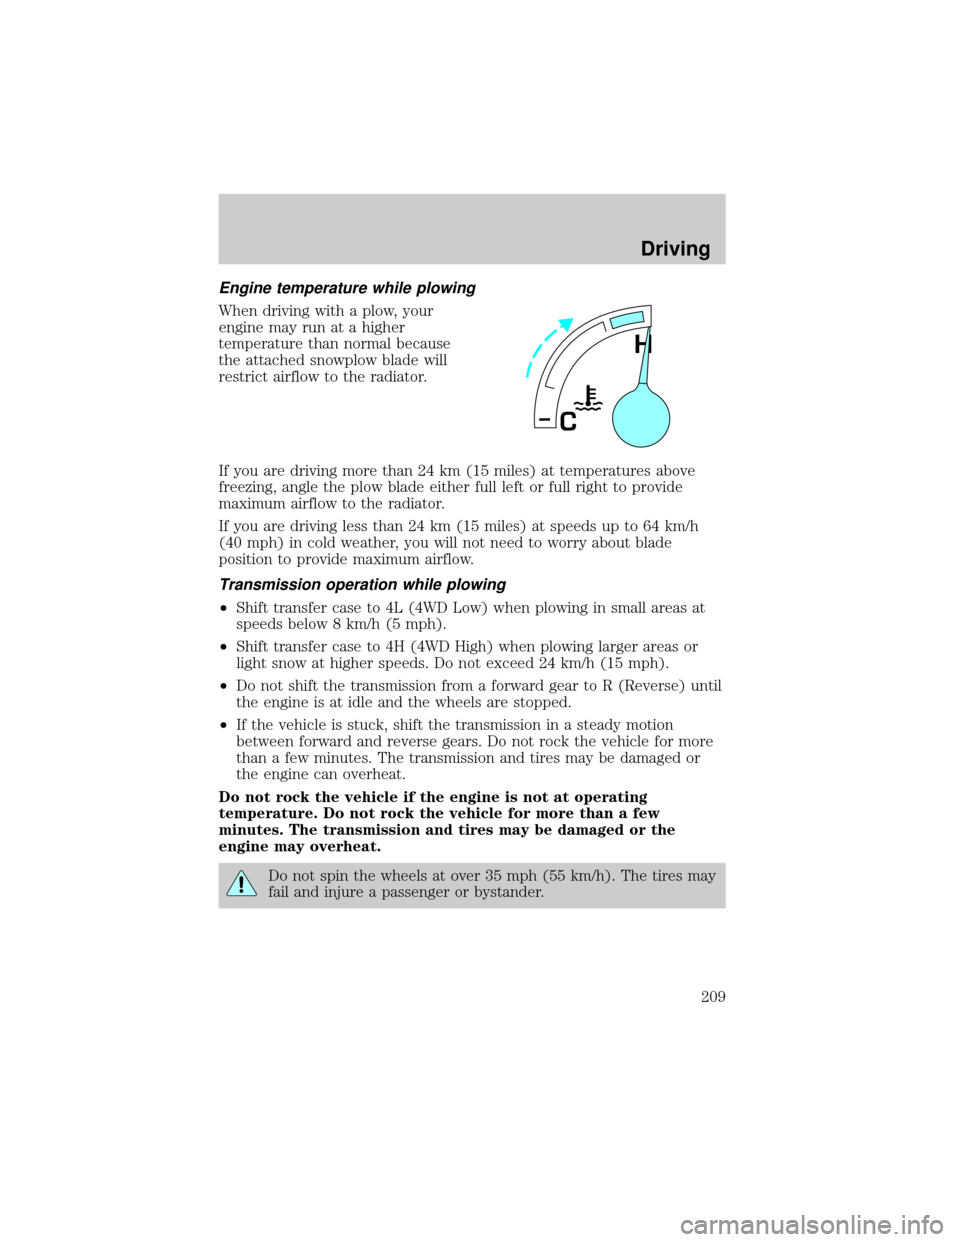
When driving with a plow, your
engine may run at a higher
temperature than normal because
the attached snowplow blade will
restrict airflow to the radiator.
If you are driving more than 24 km (15 miles) at temperatures above
freezing, angle the plow blade either full left or full right to provide
maximum airflow to the radiator.
If you are driving less than 24 km (15 miles) at speeds up to 64 km/h
(40 mph) in cold weather, you will not need to worry about blade
position to provide maximum airflow.
Transmission operation while plowing
²Shift transfer case to 4L (4WD Low) when plowing in small areas at
speeds below 8 km/h (5 mph).
²Shift transfer case to 4H (4WD High) when plowing larger areas or
light snow at higher speeds. Do not exceed 24 km/h (15 mph).
²Do not shift the transmission from a forward gear to R (Reverse) until
the engine is at idle and the wheels are stopped.
²If the vehicle is stuck, shift the transmission in a steady motion
between forward and reverse gears. Do not rock the vehicle for more
than a few minutes. The transmission and tires may be damaged or
the engine can overheat.
Do not rock the vehicle if the engine is not at operating
temperature. Do not rock the vehicle for more than a few
minutes. The transmission and tires may be damaged or the
engine may overheat.
Do not spin the wheels at over 35 mph (55 km/h). The tires may
fail and injure a passenger or bystander.
H
C
Driving
209
Page 211 of 320
Canadian customers who need to obtain reimbursement information, call
1±800±665±2006.
ROADSIDE COVERAGE BEYOND BASIC WARRANTY
In the United States, you may purchase additional roadside assistance
coverage beyond this period through the Ford Auto Club by contacting
your Ford or Lincoln Mercury dealer.
Similarly in Canada, for uninterrupted Roadside Assistance coverage, you
may purchase extended coverage prior to your Basic Warranty's Roadside
Assistance expiring. For more information and enrollment, contact
1±877±294±2582 or visit our website at www.ford.ca.
HAZARD FLASHER
Use only in an emergency to warn traffic of vehicle breakdown,
approaching danger, etc. The hazard flashers can be operated when the
ignition is off.
²The hazard lights control is
located on top of the steering
column.
²Depress hazard lights control to
activate all hazard flashers
simultaneously.
²Depress control again to turn the
flashers off.
FUEL PUMP SHUT-OFF SWITCH
FUEL
RESET
The fuel pump shut-off switch is a device intended to stop the electric
fuel pump when your vehicle has been involved in a substantial jolt.
After a collision, if the engine cranks but does not start, the fuel pump
shut-off switch may have been activated.
Roadside Emergencies
211
Page 214 of 320
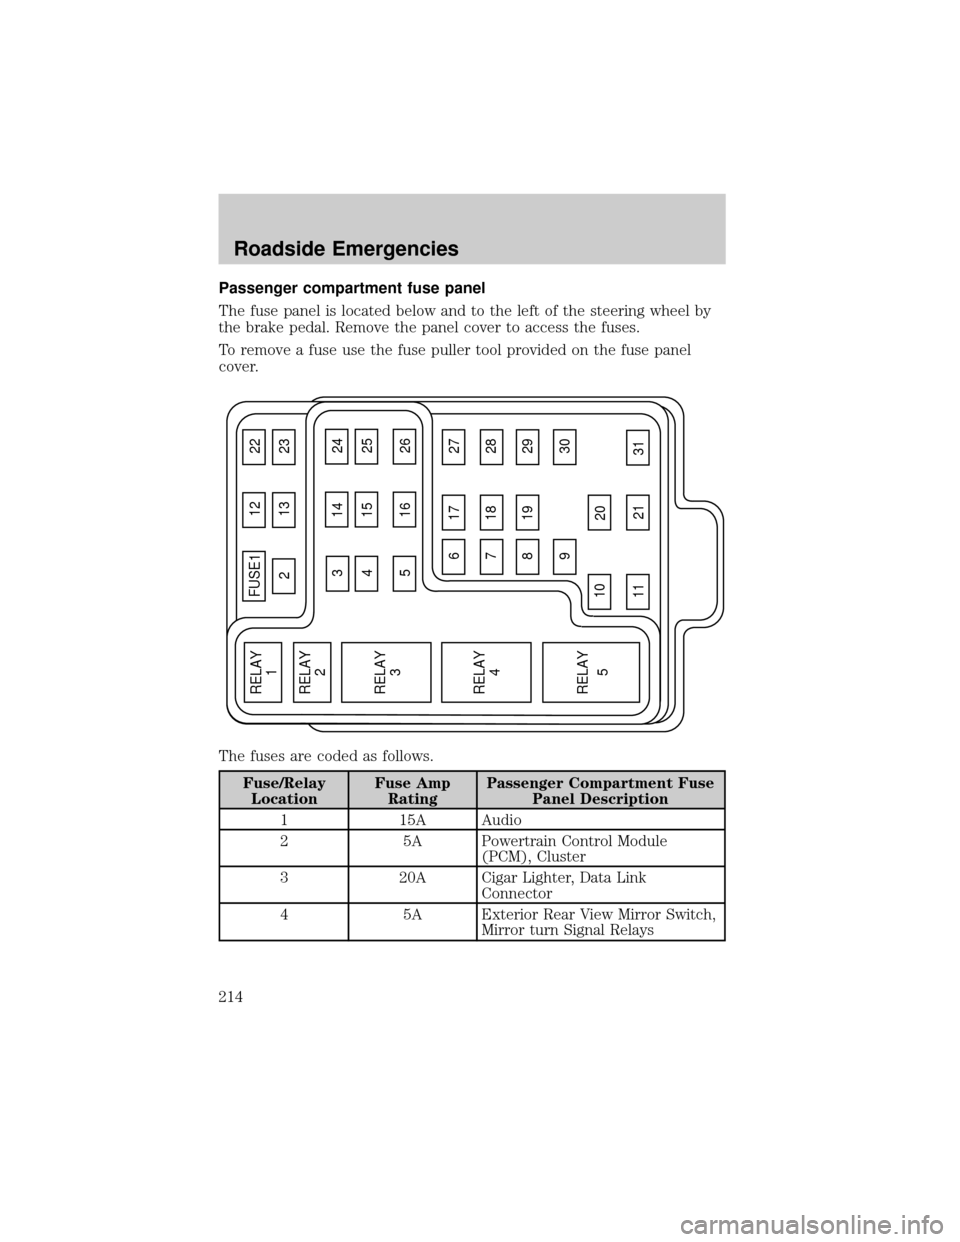
Passenger compartment fuse panel
The fuse panel is located below and to the left of the steering wheel by
the brake pedal. Remove the panel cover to access the fuses.
To remove a fuse use the fuse puller tool provided on the fuse panel
cover.
The fuses are coded as follows.
Fuse/Relay
LocationFuse Amp
RatingPassenger Compartment Fuse
Panel Description
1 15A Audio
2 5A Powertrain Control Module
(PCM), Cluster
3 20A Cigar Lighter, Data Link
Connector
4 5A Exterior Rear View Mirror Switch,
Mirror turn Signal Relays
FUSE1 12 22
21323
617 27
718 28
819 29
930
20
31 21 11 10
RELAY
5 RELAY
4 RELAY
3 RELAY
2 RELAY
1
31424
41525
51626
Roadside Emergencies
214