Page 209 of 320

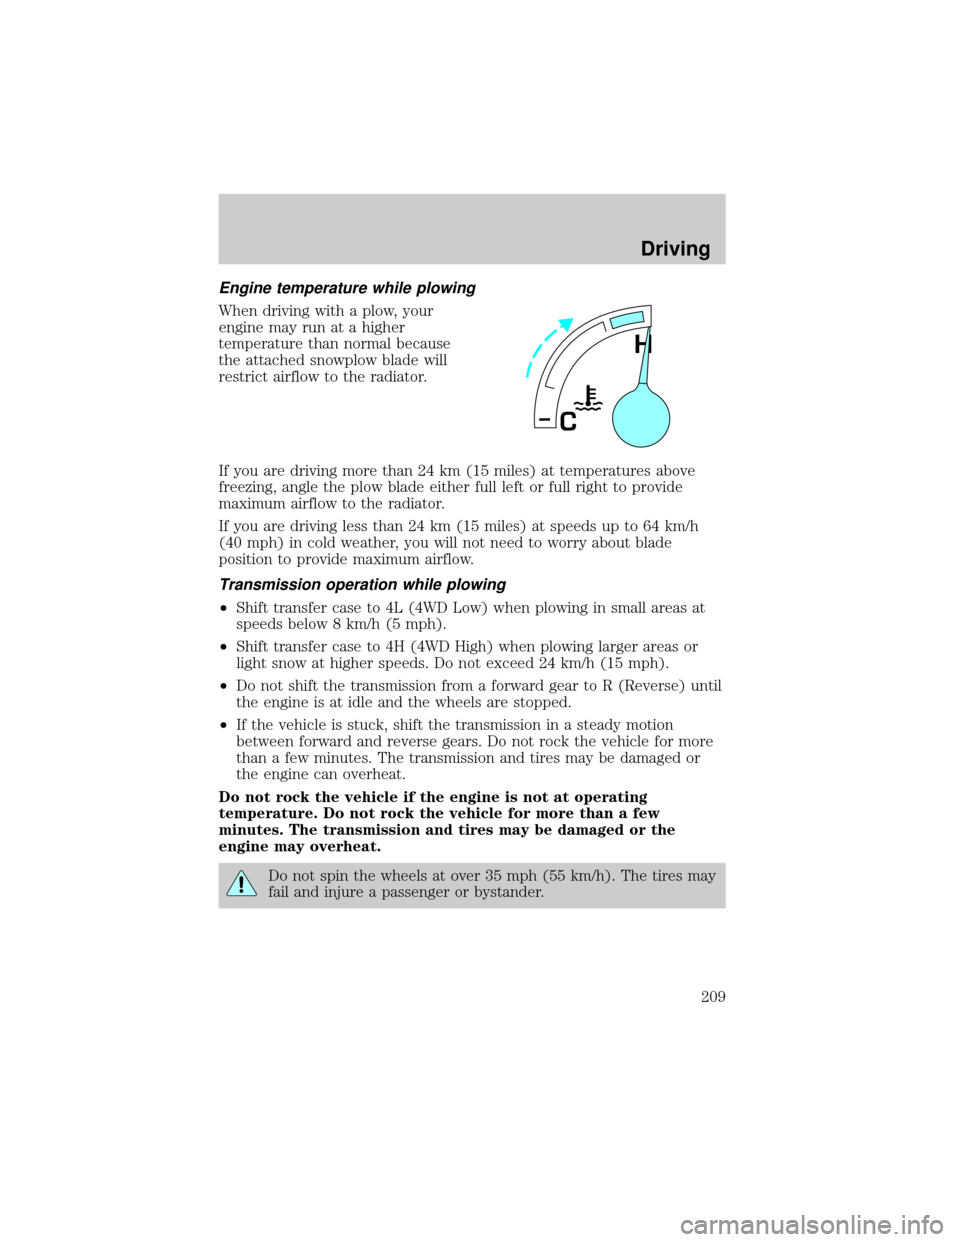
Engine temperature while plowing
When driving with a plow, your
engine may run at a higher
temperature than normal because
the attached snowplow blade will
restrict airflow to the radiator.
If you are driving more than 24 km (15 miles) at temperatures above
freezing, angle the plow blade either full left or full right to provide
maximum airflow to the radiator.
If you are driving less than 24 km (15 miles) at speeds up to 64 km/h
(40 mph) in cold weather, you will not need to worry about blade
position to provide maximum airflow.
Transmission operation while plowing
²Shift transfer case to 4L (4WD Low) when plowing in small areas at
speeds below 8 km/h (5 mph).
²Shift transfer case to 4H (4WD High) when plowing larger areas or
light snow at higher speeds. Do not exceed 24 km/h (15 mph).
²Do not shift the transmission from a forward gear to R (Reverse) until
the engine is at idle and the wheels are stopped.
²If the vehicle is stuck, shift the transmission in a steady motion
between forward and reverse gears. Do not rock the vehicle for more
than a few minutes. The transmission and tires may be damaged or
the engine can overheat.
Do not rock the vehicle if the engine is not at operating
temperature. Do not rock the vehicle for more than a few
minutes. The transmission and tires may be damaged or the
engine may overheat.
Do not spin the wheels at over 35 mph (55 km/h). The tires may
fail and injure a passenger or bystander.
H
C
Driving
209
Page 215 of 320
Fuse/Relay
LocationFuse Amp
RatingPassenger Compartment Fuse
Panel Description
5 15A Speed Control Module, Reverse
Lamp, Climate Mode Switch,
Daytime Running Lamp Relay,
Digital Transmission Range (DTR)
Sensor
6 5A Cluster, Brake Shift Interlock
Solenoid, GEM Module
7 Ð Not Used
8 5A Radio, Remote Entry Module,
GEM Module, In-vehicle
entertainment system (SuperCrew
only)
9 Ð Not Used
10 Ð Not Used
11 30A Front Washer Pump Relay, Wiper
Run/Park Relay, Wiper Hi/LO
Relay, Windshield Wiper Motor
12 Ð Not Used
13 20A Stop Lamp Switch (Lamps),
Turn/Hazard Flasher
14 15A Battery Saver Relay, Interior
Lamp Relay
15 5A Stop Lamp Switch, (Speed
Control, Brake Shift Interlock),
GEM Module, RABS Module
16 20A Headlamps (Hi Beams), Cluster
(Hi Beam Indicator)
17 Ð Not Used
18 5A Instrument Illumination (Dimmer
Switch Power)
19 Ð Not Used
20 5A Audio, GEM Module, Powertrain
Control Module (PCM),
Transmission Range Sensor
Roadside Emergencies
215
Page 216 of 320

Fuse/Relay
LocationFuse Amp
RatingPassenger Compartment Fuse
Panel Description
21 15A Digital Transmission Range (DTR)
Sensor, Clutch Switch, Starter
Relay, I/P fuse 20
22 10A Air Bag Module, Passenger Airbag
Deactivation Module
23 10A Trailer Tow Battery Charge Relay,
Turn/Hazard Flasher, 4x4
Solenoids, 4x4 Relays, Overhead
Console, 4 Wheel Anti-Lock Brake
System (4WABS) Module, EC
Mirror, Heated Seats
24 10A Function Selector Switch
Assembly
25 Ð Not Used
26 10A Right Side Low Beam Headlamp
27 5A Foglamp Relay and Foglamp
Indicator, Main Light Switch
(upstream)
28 10A Left Side Low Beam Headlamp
29 5A Autolamp Module, Transmission
Overdrive Control Switch, Central
Security Module,Belt Minder
30 30A Passive Anti Theft Transceiver,
Cluster, Ignition Coils, Powertrain
Control Module Relay, Coil on
Plugs, Radio Noise Capacitor, ECC
Diode
31 Ð Not Used
Relay 1 Ð Interior Lamp Relay
Relay 2 Ð Battery Saver Relay
Relay 3 Ð Not Used
Relay 4 Ð One Touch Down Window Relay
Relay 5 Ð ACC Delay Relay
Roadside Emergencies
216
Page 218 of 320
Fuse/Relay
LocationFuse Amp
RatingPower Distribution Box
Description
3 30A* Main Light Switch, Headlamp
Relay, Multifunction Switch
4 Ð Not Used
5 20A* Trailer Tow Backup/Park Lamps
6 15A* Main Light Switch, Park Lamp
Relay
7 20A* Horn
8 15A* Power Door Locks, CSM, Lock
Relays
9 15A* Daytime Running Lamps (DRL),
Fog Lamps
10 20A* Fuel Pump
11 20A* Alternator Field
12 20A* Rear Auxiliary Power Point
13 15A* A/C Clutch
14 Ð Not Used
15 10A Running Board Lamps
16 Ð Not Used
17 Ð Not Used
18 15A* Powertrain Control Module, Fuel
Injectors, Fuel Pump Relay, Mass
Air Flow Sensor
19 10A* Trailer/Camper Adapter (Right
Stop and Right Turn Lamp)
20 10A* Trailer/Camper Adapter (Left Stop
and Left Turn Lamp)
21 Ð Not Used
22 Ð Not Used
23 15A* HEGO Sensor, Automatic
Transmission
24 Ð Not Used
101 30A** Trailer Tow Battery Charge
Roadside Emergencies
218
Page 223 of 320
1. Park on a level surface, activate
hazard flashers and set the parking
brake.
2. Place gearshift lever in P (Park)
(automatic transmission) or in the
reverse gear (manual
transmission)and turn engine OFF.
3. Block the diagonally opposite
wheel.
4. Obtain the spare tire and jack
from their storage locations.
5. Use the tip of the lug wrench to
remove any wheel trim.
6. Loosen each wheel lug nut
one-half turn counterclockwise but
do not remove them until the wheel
is raised off the ground.
7. Position the jack according to the following guides and turn the jack
handle clockwise until the wheel is completely off the ground.
Roadside Emergencies
223
Page 224 of 320
When one of the rear wheels is off the ground, the transmission
alone will not prevent the vehicle from moving or slipping off the
jack, even if the transmission is in P (Park) or in the reverse gear
(manual transmission). To prevent the vehicle from moving when you
change the tire, be sure that the parking brake is set and the
diagonally opposite wheel is blocked. If the vehicle slips off the jack,
someone could be seriously injured.
²Front (4x2)
²Front (4x4)
Roadside Emergencies
224
Page 226 of 320

JUMP STARTING YOUR VEHICLE
The gases around the battery can explode if exposed to flames,
sparks, or lit cigarettes. An explosion could result in injury or
vehicle damage.
Batteries contain sulfuric acid which can burn skin, eyes, and
clothing, if contacted.
Do not attempt to push-start your vehicle. Automatic
transmissions do not have push-start capability; also, the
catalytic conveter may become damaged.
Preparing your vehicle
When the battery is disconnected or a new battery is installed, the
transmission must relearn its adaptive strategy. As a result of this, the
transmission may shift firmly. This operation is considered normal and
will not affect function or durability of the transmission. Over time, the
adaptive learning process will fully update transmission operation to its
optimum shift feel.
1.Use only a 12±volt supply to start your vehicle.
2. Do not disconnect the battery of the disabled vehicle as this could
damage the vehicle's electrical system.
3. Park the booster vehicle close to the hood of the disabled vehicle
making sure the two vehiclesdo nottouch. Set the parking brake on
both vehicles and stay clear of the engine cooling fan and other moving
parts.
4. Check all battery terminals and remove any excessive corrosion before
you attach the battery cables. Ensure that vent caps are tight and level.
5. Turn the heater fan on in both vehicles to protect any electrical
surges. Turn all other accessories off.
Roadside Emergencies
226
Page 253 of 320

SERVICE RECOMMENDATIONS
To help you service your vehicle:
²We highlight do-it-yourself items in the engine compartment for easy
location.
²We provide a scheduled maintenance guide which makes tracking
routine service easy.
If your vehicle requires professional service, your dealership can provide
the necessary parts and service. Check yourWarranty Guideto find out
which parts and services are covered.
Use only recommended fuels, lubricants, fluids and service parts
conforming to specifications. Motorcraft parts are designed and built to
provide the best performance in your vehicle.
PRECAUTIONS WHEN SERVICING YOUR VEHICLE
Be especially careful when inspecting or servicing your vehicle.
²Do not work on a hot engine.
²When the engine is running, keep loose clothing, jewelry or long hair
away from moving parts.
²Do not work on a vehicle with the engine running in an enclosed
space, unless you are sure you have enough ventilation.
²Keep all lit cigarettes, open flames and other lit material away from
the battery and all fuel related parts.
If you disconnect the battery, the engine must ªrelearnº its idle
conditions before your vehicle will drive properly, as explained in the
Batterysection in this chapter.
Working with the engine off
²Automatic transmission:
1. Set the parking brake and ensure the gearshift is securely latched in P
(Park).
2. Turn off the engine and remove the key.
3. Block the wheels to prevent the vehicle from moving unexpectedly.
²Manual transmission:
1. Set the parking brake.
2. Depress the clutch and place the gearshift in 1 (First).
Maintenance and Specifications
253