2002 FORD F150 transmission
[x] Cancel search: transmissionPage 184 of 320
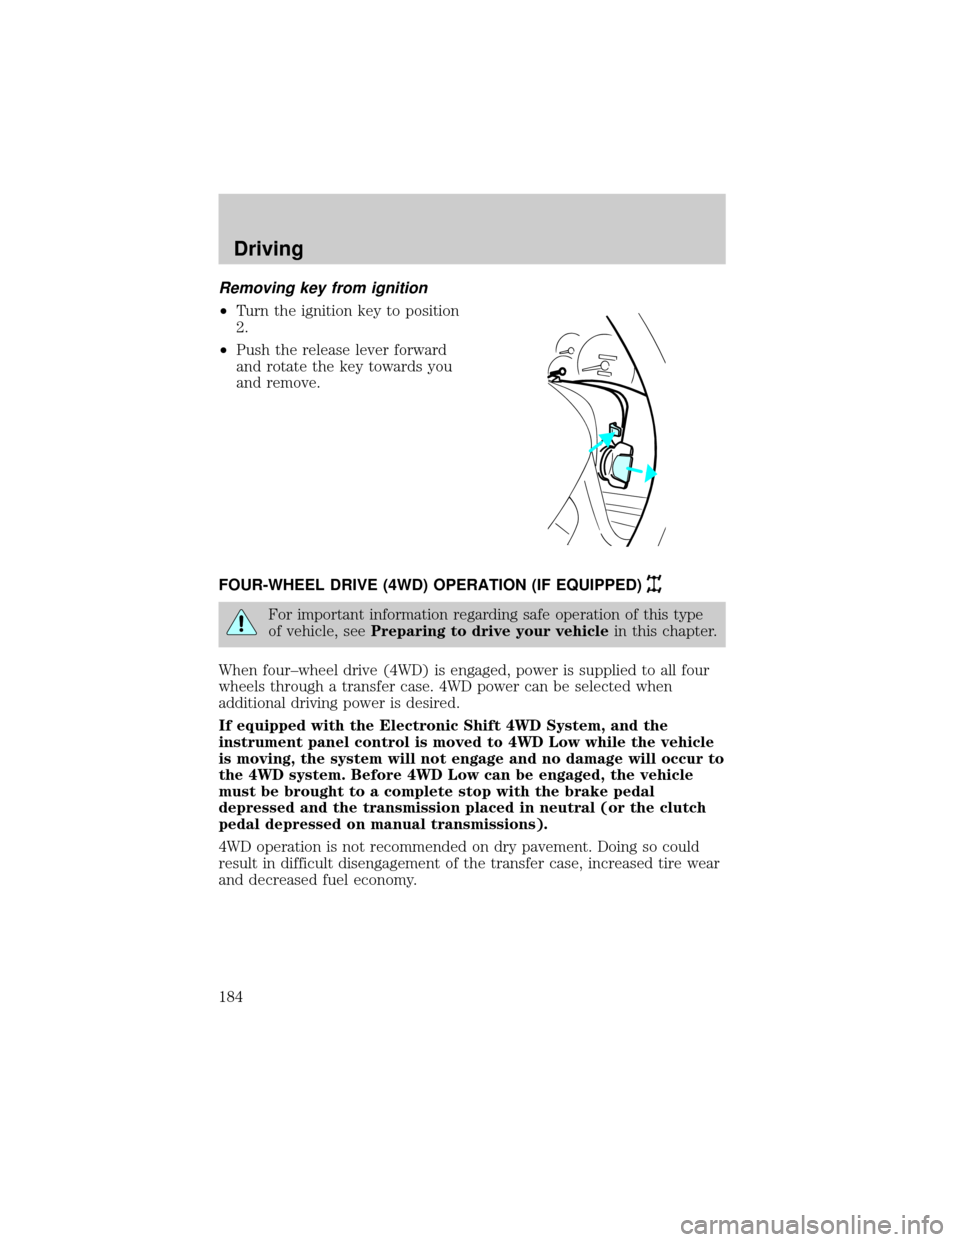
Removing key from ignition
²Turn the ignition key to position
2.
²Push the release lever forward
and rotate the key towards you
and remove.
FOUR-WHEEL DRIVE (4WD) OPERATION (IF EQUIPPED)
For important information regarding safe operation of this type
of vehicle, seePreparing to drive your vehiclein this chapter.
When four±wheel drive (4WD) is engaged, power is supplied to all four
wheels through a transfer case. 4WD power can be selected when
additional driving power is desired.
If equipped with the Electronic Shift 4WD System, and the
instrument panel control is moved to 4WD Low while the vehicle
is moving, the system will not engage and no damage will occur to
the 4WD system. Before 4WD Low can be engaged, the vehicle
must be brought to a complete stop with the brake pedal
depressed and the transmission placed in neutral (or the clutch
pedal depressed on manual transmissions).
4WD operation is not recommended on dry pavement. Doing so could
result in difficult disengagement of the transfer case, increased tire wear
and decreased fuel economy.
Driving
184
Page 186 of 320
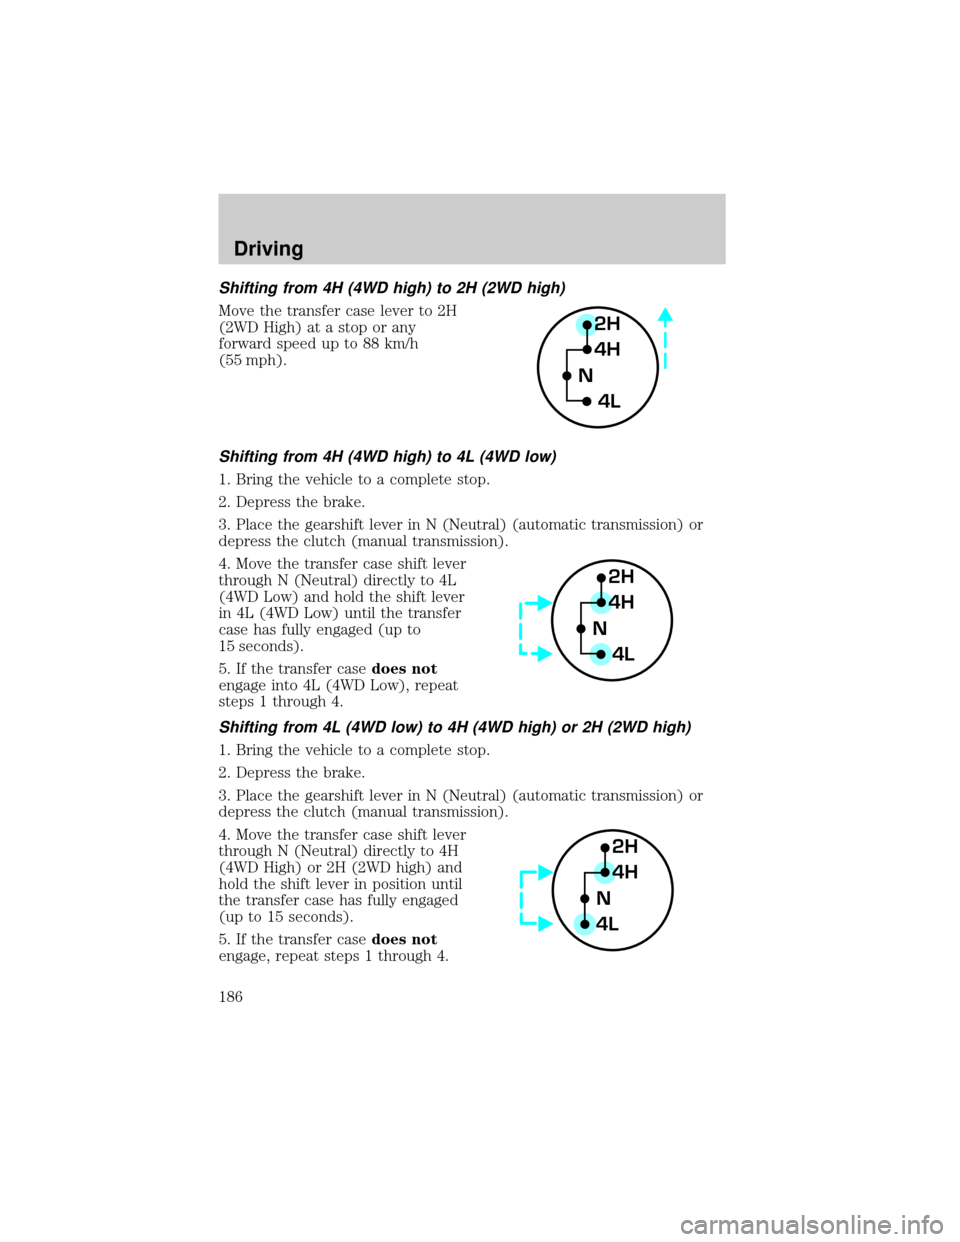
Shifting from 4H (4WD high) to 2H (2WD high)
Move the transfer case lever to 2H
(2WD High) at a stop or any
forward speed up to 88 km/h
(55 mph).
Shifting from 4H (4WD high) to 4L (4WD low)
1. Bring the vehicle to a complete stop.
2. Depress the brake.
3. Place the gearshift lever in N (Neutral) (automatic transmission) or
depress the clutch (manual transmission).
4. Move the transfer case shift lever
through N (Neutral) directly to 4L
(4WD Low) and hold the shift lever
in 4L (4WD Low) until the transfer
case has fully engaged (up to
15 seconds).
5. If the transfer casedoes not
engage into 4L (4WD Low), repeat
steps 1 through 4.
Shifting from 4L (4WD low) to 4H (4WD high) or 2H (2WD high)
1. Bring the vehicle to a complete stop.
2. Depress the brake.
3. Place the gearshift lever in N (Neutral) (automatic transmission) or
depress the clutch (manual transmission).
4. Move the transfer case shift lever
through N (Neutral) directly to 4H
(4WD High) or 2H (2WD high) and
hold the shift lever in position until
the transfer case has fully engaged
(up to 15 seconds).
5. If the transfer casedoes not
engage, repeat steps 1 through 4.
2H
4H
4L N
2H
4H
4L N
2H
4H
4LN
Driving
186
Page 187 of 320
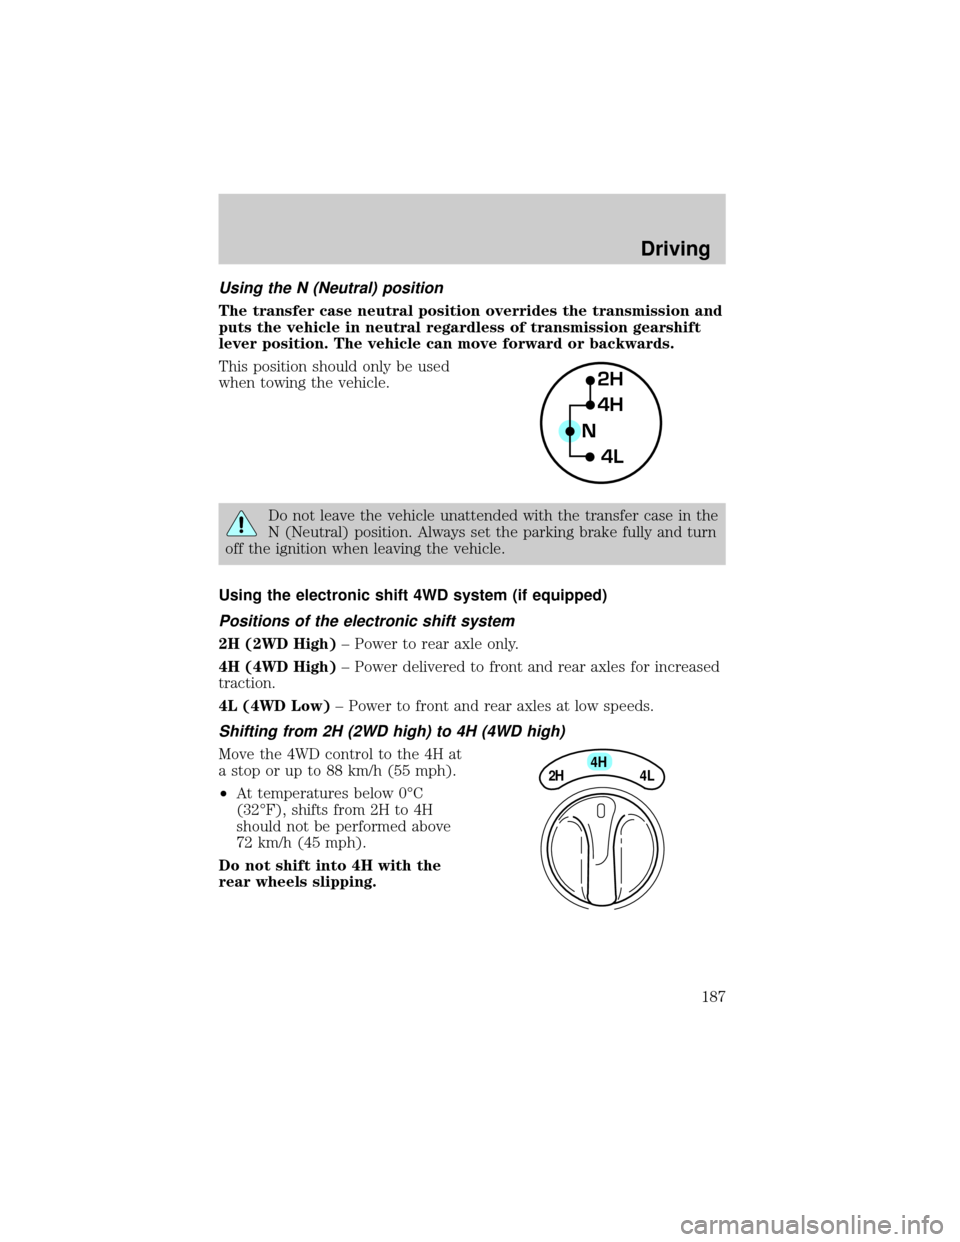
Using the N (Neutral) position
The transfer case neutral position overrides the transmission and
puts the vehicle in neutral regardless of transmission gearshift
lever position. The vehicle can move forward or backwards.
This position should only be used
when towing the vehicle.
Do not leave the vehicle unattended with the transfer case in the
N (Neutral) position. Always set the parking brake fully and turn
off the ignition when leaving the vehicle.
Using the electronic shift 4WD system (if equipped)
Positions of the electronic shift system
2H (2WD High)± Power to rear axle only.
4H (4WD High)± Power delivered to front and rear axles for increased
traction.
4L (4WD Low)± Power to front and rear axles at low speeds.
Shifting from 2H (2WD high) to 4H (4WD high)
Move the 4WD control to the 4H at
a stop or up to 88 km/h (55 mph).
²At temperatures below 0ÉC
(32ÉF), shifts from 2H to 4H
should not be performed above
72 km/h (45 mph).
Do not shift into 4H with the
rear wheels slipping.
2H
4H
4L N
4H
2H
4L
Driving
187
Page 188 of 320
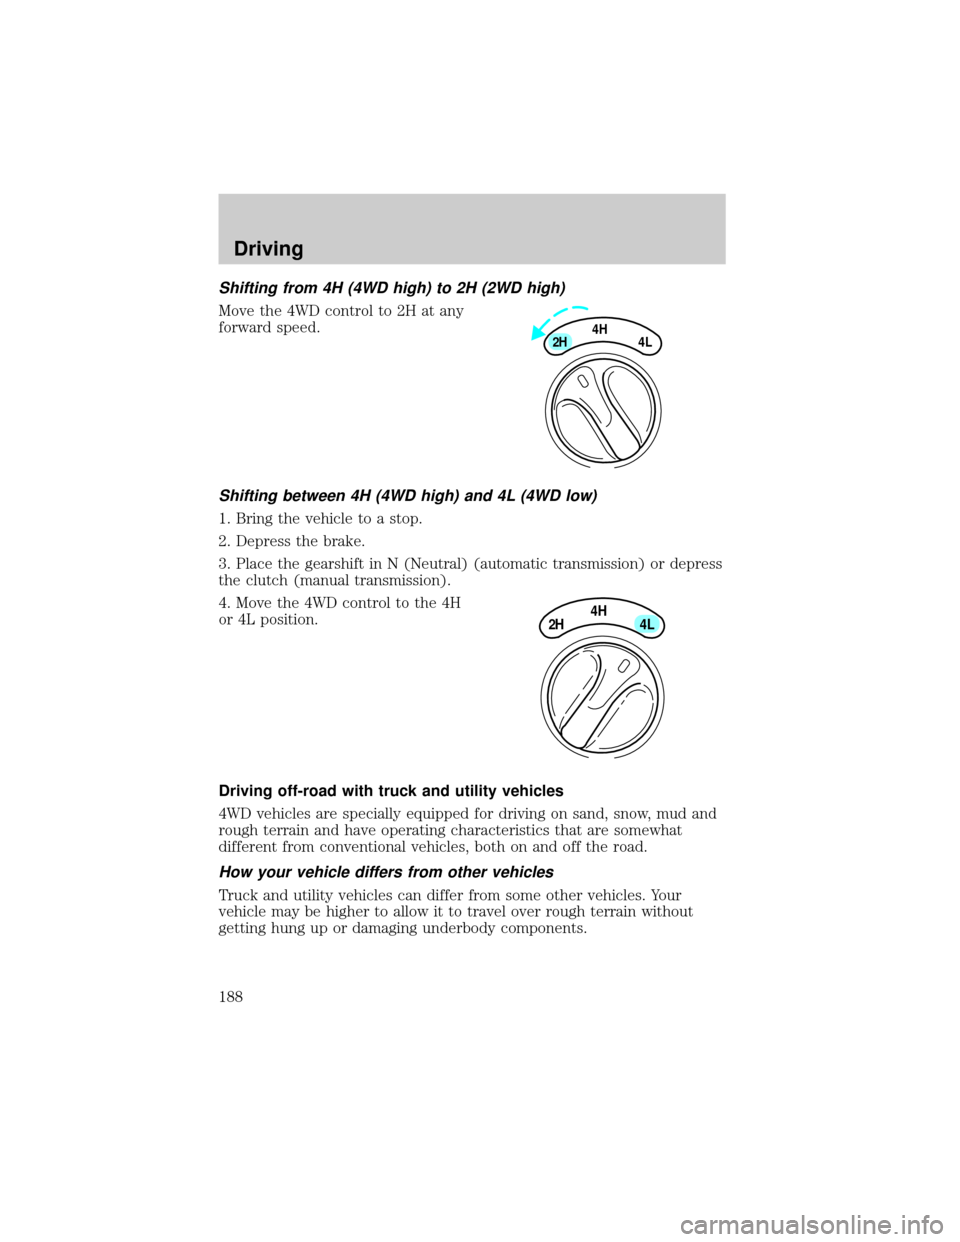
Shifting from 4H (4WD high) to 2H (2WD high)
Move the 4WD control to 2H at any
forward speed.
Shifting between 4H (4WD high) and 4L (4WD low)
1. Bring the vehicle to a stop.
2. Depress the brake.
3. Place the gearshift in N (Neutral) (automatic transmission) or depress
the clutch (manual transmission).
4. Move the 4WD control to the 4H
or 4L position.
Driving off-road with truck and utility vehicles
4WD vehicles are specially equipped for driving on sand, snow, mud and
rough terrain and have operating characteristics that are somewhat
different from conventional vehicles, both on and off the road.
How your vehicle differs from other vehicles
Truck and utility vehicles can differ from some other vehicles. Your
vehicle may be higher to allow it to travel over rough terrain without
getting hung up or damaging underbody components.
4H
2H
4L
4H
2H
4L
Driving
188
Page 190 of 320
If your vehicle gets stuck
If the vehicle is stuck it may be rocked out by shifting from forward and
reverse gears, stopping between shifts, in a steady pattern. Press lightly
on the accelerator in each gear.
Do not rock the vehicle for more than a few minutes or damage
to the transmission and tires may occur or the engine may
overheat.
Do not spin the wheels at over 56 km/h (35 mph). The tires may
fail and injure a passenger or bystander.
Emergency maneuvers
²In an unavoidable emergency situation where a sudden sharp turn
must be made, remember to avoid ªover-drivingº your vehicle, i.e.,
turn the steering wheel only as rapidly and as far as required to avoid
the emergency. Excessive steering will result in less vehicle control,
not more. Additionally, smooth variations of the accelerator and/or
brake pedal pressure should be utilized if changes in vehicle speed are
called for. Avoid abrupt steering, acceleration or braking. Use all
available road surface to return the vehicle to a safe direction of
travel.
²In the event of an emergency stop, avoid skidding the tires and do not
attempt any sharp steering wheel movements.
²If the vehicle goes from one type of surface to another (i.e., from
concrete to gravel) there will be a change in the way the vehicle
responds to a maneuver (steering, acceleration or barking). Again,
avoid these abrupt inputs.
Parking
On some 4WD vehicles, when the transfer case is in the N (Neutral)
position, the engine and transmission are disconnected from the rest of
the driveline. Therefore, the vehicle is free to roll even if the automatic
transmission is in P (Park) or the manual transmission is in gear. Do not
leave the vehicle unattended with the transfer case in N (Neutral)
position. Always set the parking brake fully and turn off the ignition
when leaving the vehicle.
Driving
190
Page 192 of 320
Mud and water
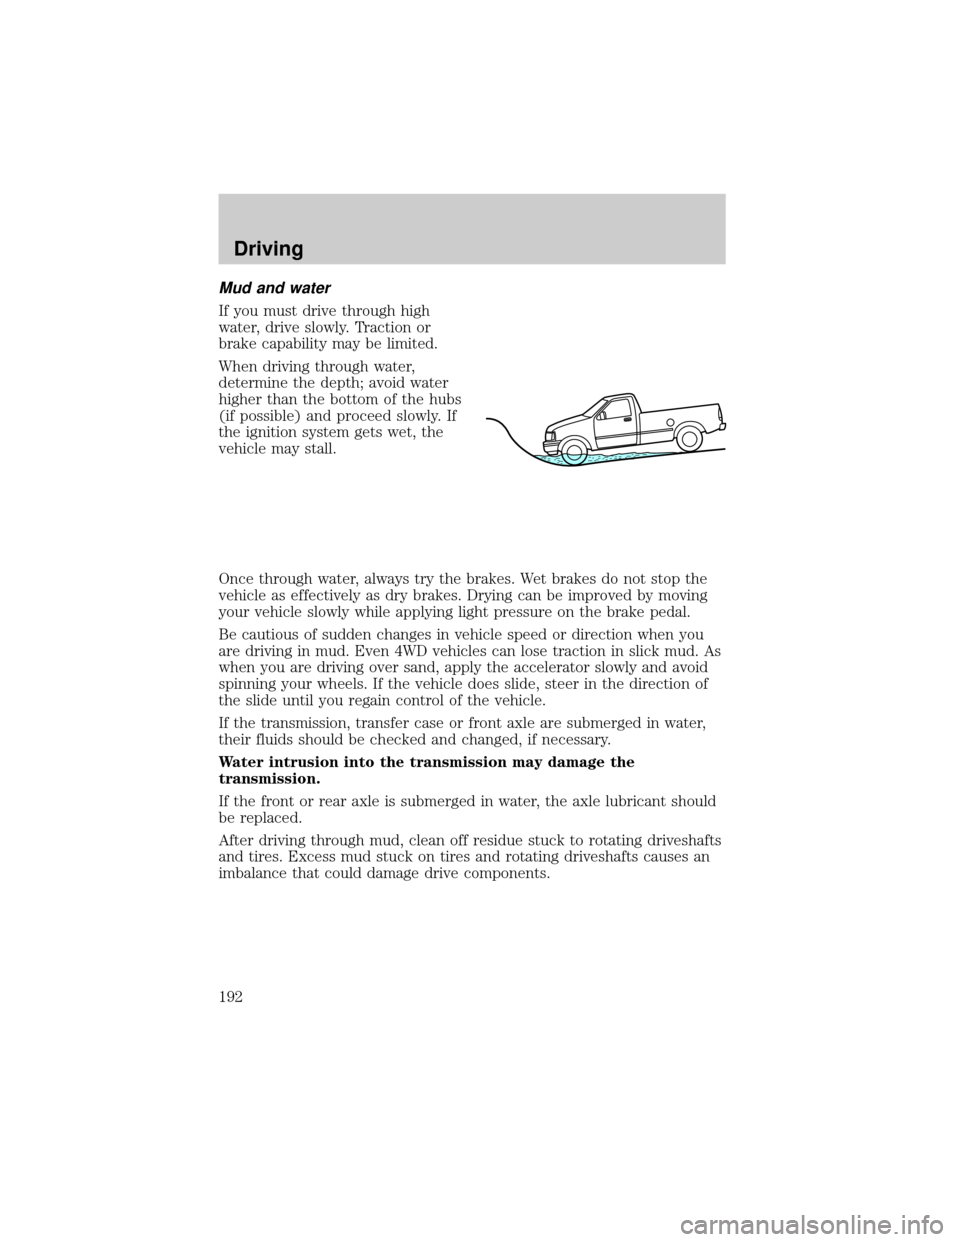
If you must drive through high
water, drive slowly. Traction or
brake capability may be limited.
When driving through water,
determine the depth; avoid water
higher than the bottom of the hubs
(if possible) and proceed slowly. If
the ignition system gets wet, the
vehicle may stall.
Once through water, always try the brakes. Wet brakes do not stop the
vehicle as effectively as dry brakes. Drying can be improved by moving
your vehicle slowly while applying light pressure on the brake pedal.
Be cautious of sudden changes in vehicle speed or direction when you
are driving in mud. Even 4WD vehicles can lose traction in slick mud. As
when you are driving over sand, apply the accelerator slowly and avoid
spinning your wheels. If the vehicle does slide, steer in the direction of
the slide until you regain control of the vehicle.
If the transmission, transfer case or front axle are submerged in water,
their fluids should be checked and changed, if necessary.
Water intrusion into the transmission may damage the
transmission.
If the front or rear axle is submerged in water, the axle lubricant should
be replaced.
After driving through mud, clean off residue stuck to rotating driveshafts
and tires. Excess mud stuck on tires and rotating driveshafts causes an
imbalance that could damage drive components.
Driving
192
Page 197 of 320

DRIVING THROUGH WATER
Do not drive quickly through standing water, especially if the depth is
unknown. Traction or brake capability may be limited and if the ignition
system gets wet, your engine may stall. Water may also enter your
engine's air intake and severely damage your engine.
If driving through deep or standing water is unavoidable, proceed very
slowly. Never drive through water that is higher than the bottom of the
hubs (for trucks) or the bottom of the wheel rims (for cars).
Once through the water, always try the brakes. Wet brakes do not stop the
vehicle as effectively as dry brakes. Drying can be improved by moving your
vehicle slowly while applying light pressure on the brake pedal.
Driving through deep water where the transmission vent tube is
submerged may allow water into the transmission and cause
internal transmission damage.
VEHICLE LOADING
Before loading a vehicle, familiarize yourself with the following terms:
²Base Curb Weight:Weight of the vehicle including any standard
equipment, fluids, lubricants, etc. It does not include occupants or
aftermarket equipment.
²Payload:Combined maximum allowable weight of cargo, occupants
and optional equipment. The payload equals the gross vehicle weight
rating minus base curb weight.
²GVW (Gross Vehicle Weight):Base curb weight plus payload
weight. The GVW is not a limit or a specification.
²GVWR (Gross Vehicle Weight Rating):Maximum permissable total
weight of the base vehicle, occupants, optional equipment and cargo.
The GVWR is specific to each vehicle and is listed on the Safety
Certification Label on the driver's door pillar.
²GAWR (Gross Axle Weight Rating):Carrying capacity for each axle
system. The GAWR is specific to each vehicle and is listed on the
Safety Certification Label on the driver's door pillar.
²GCW (Gross Combined Weight):The combined weight of the
towing vehicle (including occupants and cargo) and the loaded trailer.
²GCWR (Gross Combined Weight Rating):Maximum permissable
combined weight of towing vehicle (including occupants and cargo)
and the loaded trailer
Driving
197
Page 198 of 320

²Maximum Trailer Weight Rating:Maximum weight of a trailer the
vehicle is permitted to tow. The maximum trailer weight rating is
determined by subtracting the vehicle curb weight for each
engine/transmission combination, any required option weight for trailer
towing and the weight of the driver from the GCWR for the towing
vehicle.
²Maximum Trailer Weight:Maximum weight of a trailer the loaded
vehicle (including occupants and cargo) is permitted to tow. It is
determined by subtracting the weight of the loaded trailer towing
vehicle from the GCWR for the towing vehicle.
²Trailer Weight Range:Specified weight range that the trailer must
fall within that ranges from zero to the maximum trailer weight rating.
Remember to figure in the tongue load of your loaded trailer when
figuring the total weight.
Do not exceed the GVWR or the GAWR specified on the
certification label.
Do not use replacement tires with lower load carrying capacities than the
originals because they may lower the vehicle's GVWR and GAWR
limitations. Replacement tires with a higher limit than the originals do
not increase the GVWR and GAWR limitations.
The Safety Certification Label, found on the driver's door pillar, lists
several important vehicle weight rating limitations. Before adding any
additional equipment, refer to these limitations. If you are adding weight
to the front of your vehicle, (potentially including weight added to the
cab), the weight added should not exceed the front axle reserve capacity
(FARC). Additional frontal weight may be added to the front axle reserve
capacity provided you limit your payload in other ways (i.e. restrict the
number of occupants or amount of cargo carried).
Always ensure that the weight of occupants, cargo and equipment being
carried is within the weight limitations that have been established for
your vehicle including both gross vehicle weight and front and rear gross
axle weight rating limits. Under no circumstance should these limitations
be exceeded.
Exceeding any vehicle weight rating limitation could result in
serious damage to the vehicle and/or personal injury.
Driving
198