Page 175 of 320

Your vehicle has the capability to haul more cargo and people than most
passenger cars. Depending upon the type and placement of the load,
hauling people and cargo may raise the center of gravity of the vehicle.
Use extra caution while becoming familiar with your vehicle. Know the
capabilities and limitations of both you as a driver and your vehicle.
AUTOMATIC TRANSMISSION OPERATION (IF EQUIPPED)
Brake-shift interlock
This vehicle is equipped with a brake-shift interlock feature that prevents
the gearshift lever from being moved from P (Park) when the ignition is
in the ON position unless the brake pedal is depressed.
If you cannot move the gearshift lever out of P (Park) with ignition in
the ON position and the brake pedal depressed:
1. Apply the parking brake, turn ignition key to LOCK, then remove the
key.
2. Insert the key and turn it to OFF.Apply the brake pedal and shift
to N (Neutral).
3. Start the vehicle.
If it is necessary to use the above procedure to move the gearshift lever,
it is possible that a fuse has blown or the vehicle's brakelamps are not
operating properly. Refer toFuses and relaysin theRoadside
emergencieschapter.
Do not drive your vehicle until you verify that the brakelamps
are working.
If your vehicle gets stuck in mud or snow it may be rocked out by
shifting from forward and reverse gears, stopping between shifts, in a
steady pattern. Press lightly on the accelerator in each gear.
Do not rock the vehicle if the engine is not at normal operating
temperature or damage to the transmission may occur.
Do not rock the vehicle for more than a few minutes or damage
to the transmission and tires may occur or the engine may
overheat.
Driving
175
Page 183 of 320
4. Turn the ignition key to position
3 (OFF).
Do not park your vehicle in Neutral, it may move unexpectedly
and injure someone. Use 1 (First) gear and set the parking brake
fully.
Reverse
Make sure that your vehicle is at a complete stop before you shift into R
(Reverse). Failure to do so may damage the transmission.
Put the gearshift in N (Neutral) and
wait at least three seconds before
shifting into R (Reverse).
You can shift into R (Reverse) only
by moving the gearshift lever from
left of 3 (Third) and 4 (Fourth)
gears before you shift into R
(Reverse). This is a special lockout
feature that protects you from
accidentally shifting into R
(Reverse) when you downshift
from
D(Overdrive).
3
2
1
5
4
13
24RD
Driving
183
Page 184 of 320

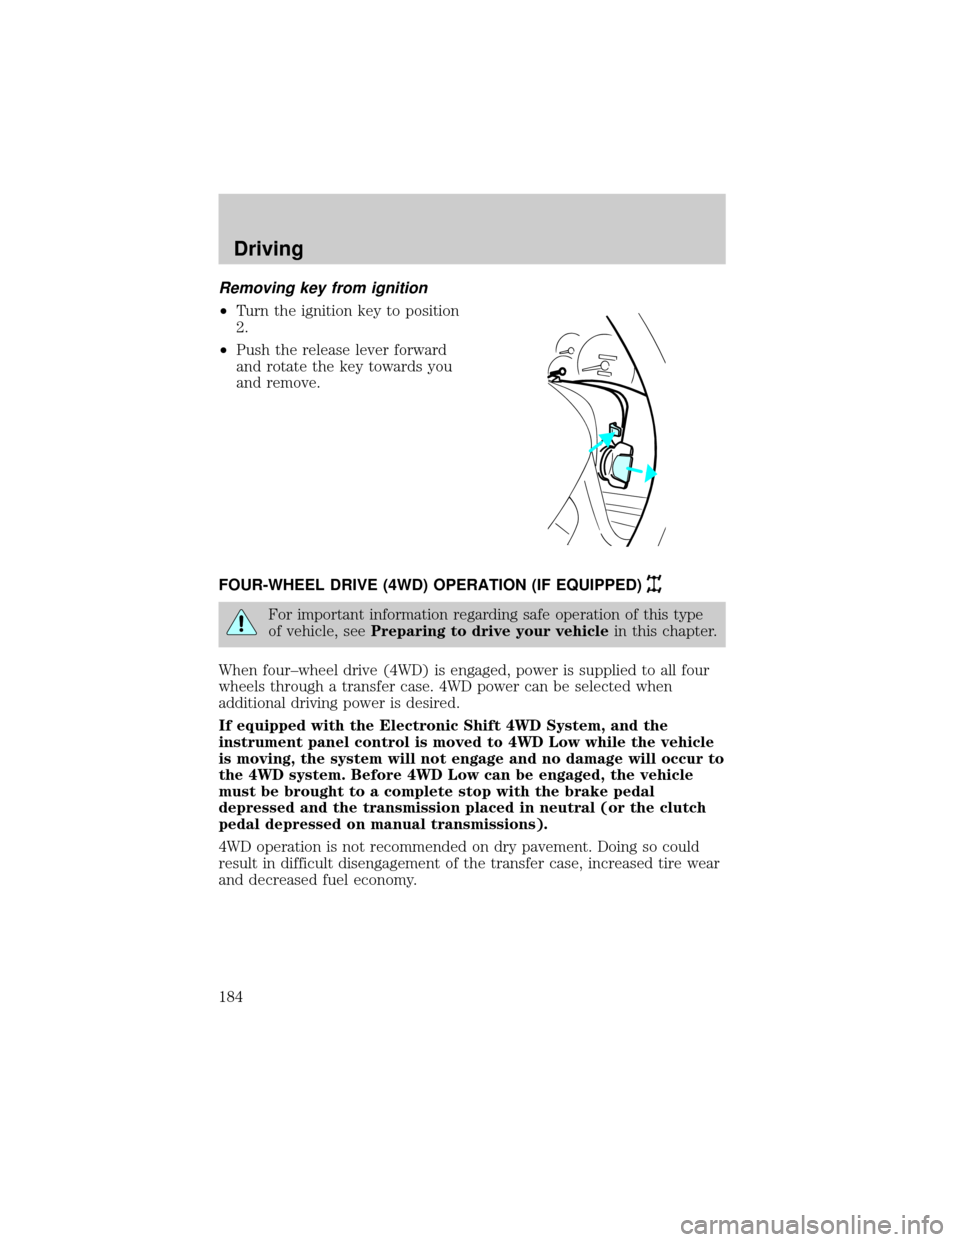
Removing key from ignition
²Turn the ignition key to position
2.
²Push the release lever forward
and rotate the key towards you
and remove.
FOUR-WHEEL DRIVE (4WD) OPERATION (IF EQUIPPED)
For important information regarding safe operation of this type
of vehicle, seePreparing to drive your vehiclein this chapter.
When four±wheel drive (4WD) is engaged, power is supplied to all four
wheels through a transfer case. 4WD power can be selected when
additional driving power is desired.
If equipped with the Electronic Shift 4WD System, and the
instrument panel control is moved to 4WD Low while the vehicle
is moving, the system will not engage and no damage will occur to
the 4WD system. Before 4WD Low can be engaged, the vehicle
must be brought to a complete stop with the brake pedal
depressed and the transmission placed in neutral (or the clutch
pedal depressed on manual transmissions).
4WD operation is not recommended on dry pavement. Doing so could
result in difficult disengagement of the transfer case, increased tire wear
and decreased fuel economy.
Driving
184
Page 185 of 320

4WD system indicator lights
The 4WD system indicator lights illuminate only under the following
conditions. If these lights illuminate when driving in 2WD, contact your
Ford dealer as soon as possible.
²4X4Ðmomentarily illuminates
after the engine is started.
Illuminates when 4H (4WD High)
is engaged.
²LOW RANGEÐmomentarily
illuminates with the key in the
ON position and after the engine
is started. Illuminates when 4L
(4WD Low) is engaged.
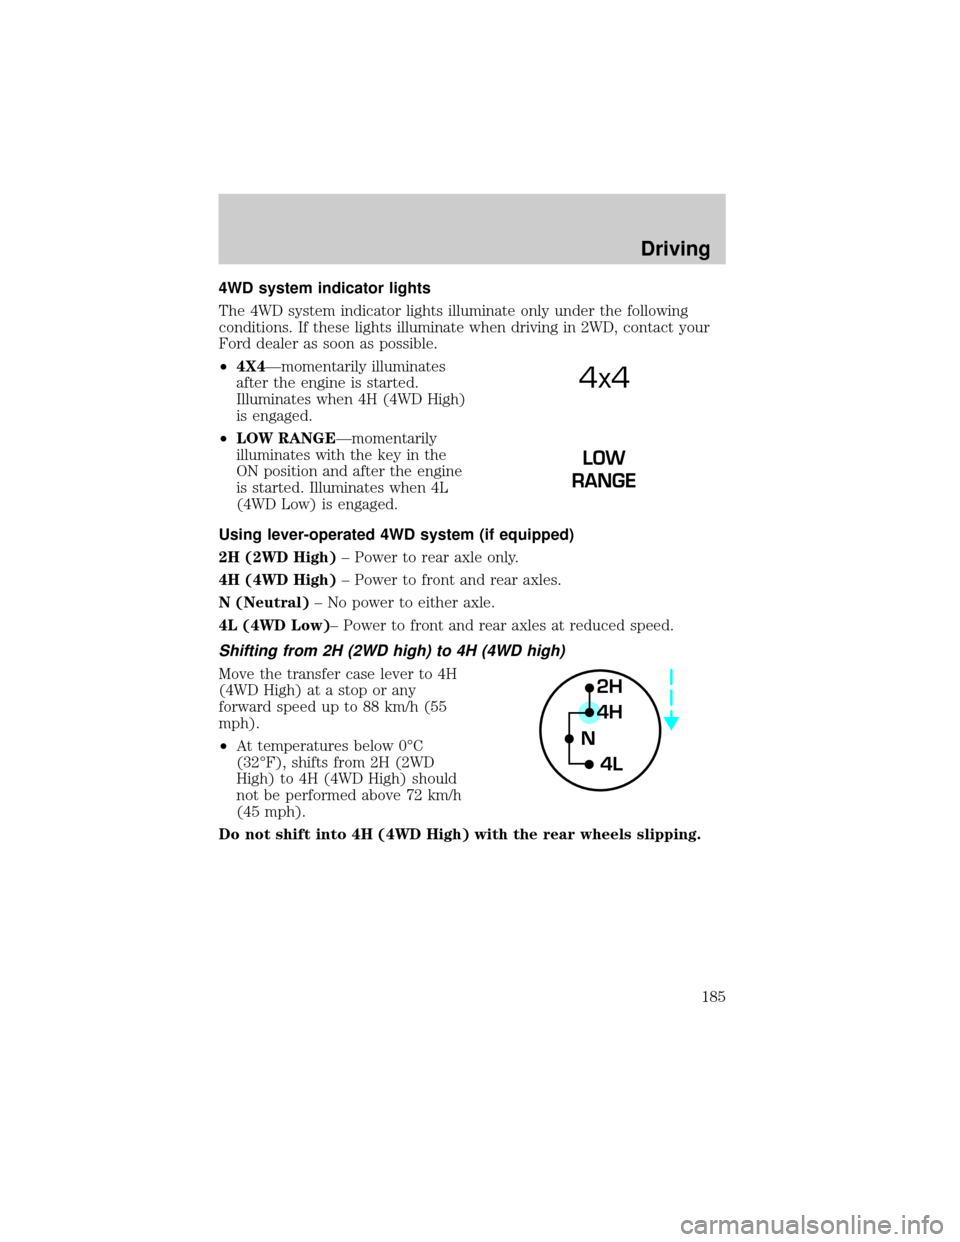
Using lever-operated 4WD system (if equipped)
2H (2WD High)± Power to rear axle only.
4H (4WD High)± Power to front and rear axles.
N (Neutral)± No power to either axle.
4L (4WD Low)± Power to front and rear axles at reduced speed.
Shifting from 2H (2WD high) to 4H (4WD high)
Move the transfer case lever to 4H
(4WD High) at a stop or any
forward speed up to 88 km/h (55
mph).
²At temperatures below 0ÉC
(32ÉF), shifts from 2H (2WD
High) to 4H (4WD High) should
not be performed above 72 km/h
(45 mph).
Do not shift into 4H (4WD High) with the rear wheels slipping.
4x4
2H
4H
4L N
Driving
185
Page 212 of 320
The fuel pump shut-off switch is
located in the passenger's foot well,
by the kick panel.
Use the following procedure to reset the fuel pump shut-off switch.
1. Turn the ignition to the OFF position.
2. Check the fuel system for leaks.
3. If no fuel leak is apparent, reset the fuel pump shut-off switch by
pushing in on the reset button.
4. Turn the ignition to the ON position. Pause for a few seconds and
return the key to the OFF position.
5. Make a further check for leaks in the fuel system.
Roadside Emergencies
212
Page 221 of 320
Location of the spare tire and tools
The spare tire and tools for your vehicle are stowed in the following
locations:
Tool Location
Spare tire Under the vehicle, just forward of
the rear bumper
Jack, lug nut wrench Regular cab: Under the seat on the
passenger side
Super Cab: Under the front or rear
seat on the passenger side
Super Crew cab: In the passenger
side rear storage compartment
Jack handle On top of the radiator support at
the front of the engine
compartment
Key, spare tire lock In the glove box
Removing the spare tire
1. If equipped with a two piece lug wrench, assemble the lug wrench as
shown in the illustration.
²To assemble, screw the parts
together. To disassemble,
unscrew.
2. Attach the spare tire lock key (A)
to the jack handle (B).
Roadside Emergencies
221
Page 253 of 320

SERVICE RECOMMENDATIONS
To help you service your vehicle:
²We highlight do-it-yourself items in the engine compartment for easy
location.
²We provide a scheduled maintenance guide which makes tracking
routine service easy.
If your vehicle requires professional service, your dealership can provide
the necessary parts and service. Check yourWarranty Guideto find out
which parts and services are covered.
Use only recommended fuels, lubricants, fluids and service parts
conforming to specifications. Motorcraft parts are designed and built to
provide the best performance in your vehicle.
PRECAUTIONS WHEN SERVICING YOUR VEHICLE
Be especially careful when inspecting or servicing your vehicle.
²Do not work on a hot engine.
²When the engine is running, keep loose clothing, jewelry or long hair
away from moving parts.
²Do not work on a vehicle with the engine running in an enclosed
space, unless you are sure you have enough ventilation.
²Keep all lit cigarettes, open flames and other lit material away from
the battery and all fuel related parts.
If you disconnect the battery, the engine must ªrelearnº its idle
conditions before your vehicle will drive properly, as explained in the
Batterysection in this chapter.
Working with the engine off
²Automatic transmission:
1. Set the parking brake and ensure the gearshift is securely latched in P
(Park).
2. Turn off the engine and remove the key.
3. Block the wheels to prevent the vehicle from moving unexpectedly.
²Manual transmission:
1. Set the parking brake.
2. Depress the clutch and place the gearshift in 1 (First).
Maintenance and Specifications
253
Page 254 of 320

3. Turn off the engine and remove the key.
4. Block the wheels to prevent the vehicle from moving unexpectedly.
Working with the engine on
²Automatic transmission:
1. Set the parking brake and ensure the gearshift is securely latched in P
(Park).
2. Block the wheels to prevent the vehicle from moving unexpectedly.
Note:Do not start your engine with the air cleaner removed and do not
remove it while the engine is running.
²Manual transmission:
1. Set the parking brake, depress the clutch and place the gearshift in
neutral.
2. Block the wheels to prevent the vehicle from moving unexpectedly.
Note:Do not start your engine with the air cleaner removed and do not
remove it while the engine is running.
The cooling fan is automatic and may come on at any time.
Always disconnect the negative terminal of the battery before
working near the fan.
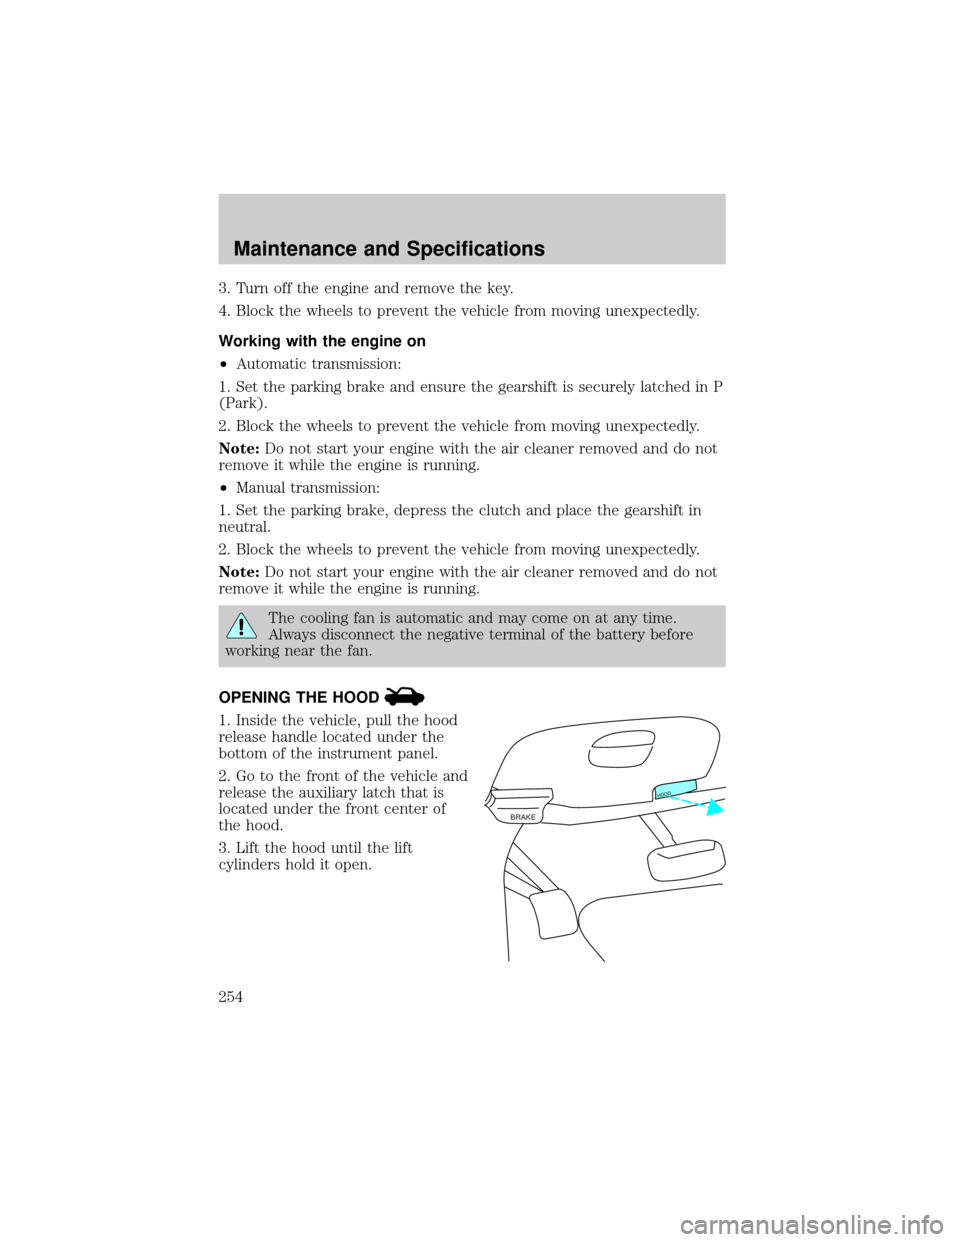
OPENING THE HOOD
1. Inside the vehicle, pull the hood
release handle located under the
bottom of the instrument panel.
2. Go to the front of the vehicle and
release the auxiliary latch that is
located under the front center of
the hood.
3. Lift the hood until the lift
cylinders hold it open.
BRAKE
HOOD
Maintenance and Specifications
254