2002 FORD F150 child lock
[x] Cancel search: child lockPage 147 of 320

Additional equipment such as snowplow equipment may effect
the performance of the air bag sensors increasing the risk of
injury. Please refer to the Body Builders Layout Book for instructions
about the appropriate installation of additional equipment.
Removing the blocker beam without installing snow plow
attachment hardware may effect air bag deployment in a crash.
Do not operate the truck unless either the blocker beam or snow plow
attachment hardware is installed on the vehicle.
Children and air bags
For additional important safety information, read all information on
safety restraints in this guide.
Children must always be properly restrained. Failure to follow these
instructions may increase the risk of injury in a collision.
An infant in a rear-facing seat faces a high risk of serious or fatal
injuries from a deploying passenger air bag. Rear facing infant
seats should NEVER be placed in the front seats, unless the passenger
air bag is turned off. SeePassenger air bag ON/OFF switch.
How does the air bag supplemental restraint system work?
The air bag SRS is designed to
activate when the vehicle sustains
sufficient longitudinal deceleration.
The fact that the air bags did not
inflate in a collision does not mean
that something is wrong with the
system. Rather, it means the forces
were not of the type sufficient to
cause activation. Air bags are
designed to inflate in frontal and
near-frontal collisions, not rollover,
side-impact, or rear-impacts.
Seating and Safety Restraints
147
Page 156 of 320
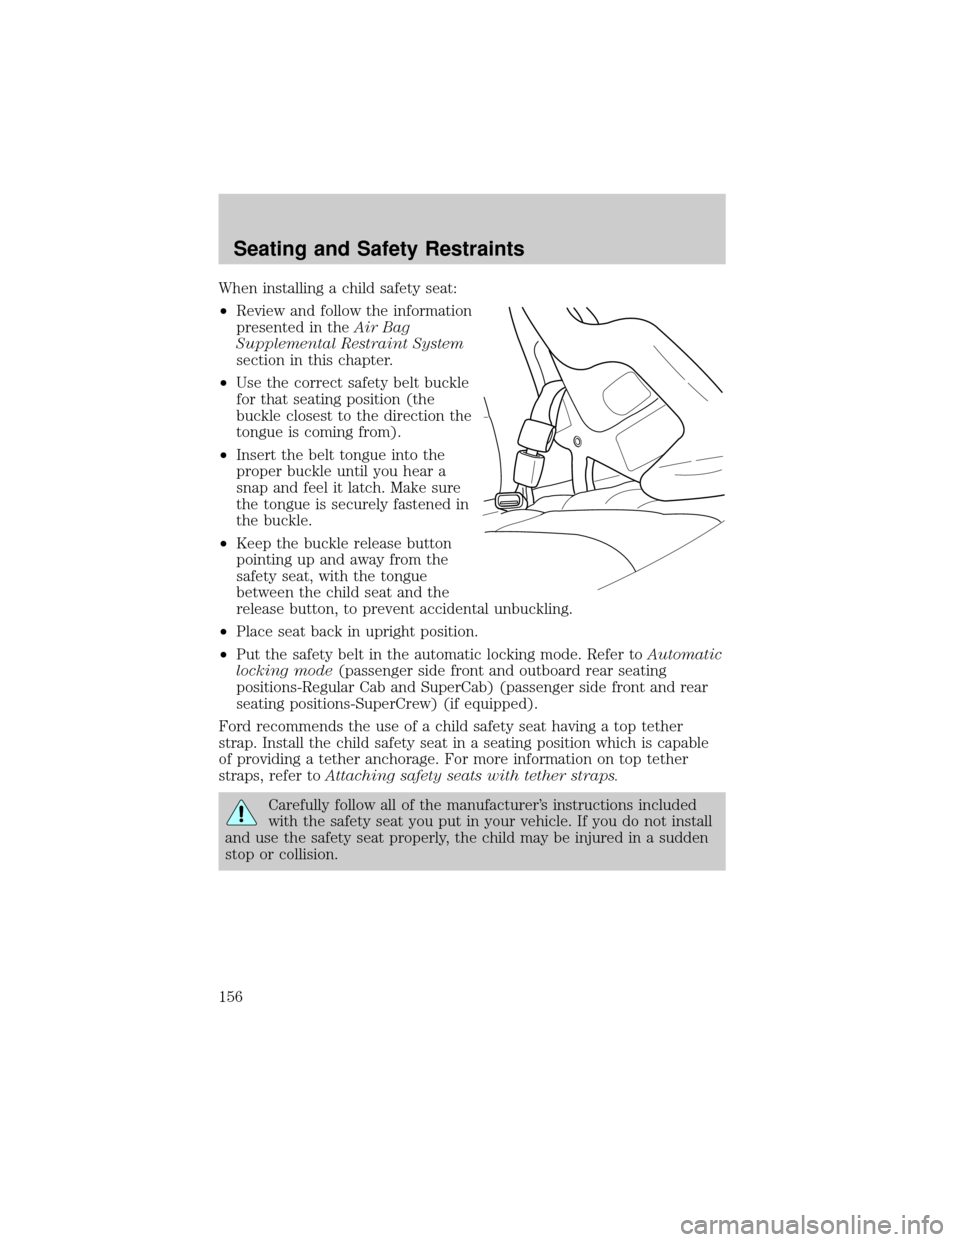
When installing a child safety seat:
²Review and follow the information
presented in theAir Bag
Supplemental Restraint System
section in this chapter.
²Use the correct safety belt buckle
for that seating position (the
buckle closest to the direction the
tongue is coming from).
²Insert the belt tongue into the
proper buckle until you hear a
snap and feel it latch. Make sure
the tongue is securely fastened in
the buckle.
²Keep the buckle release button
pointing up and away from the
safety seat, with the tongue
between the child seat and the
release button, to prevent accidental unbuckling.
²Place seat back in upright position.
²Put the safety belt in the automatic locking mode. Refer toAutomatic
locking mode(passenger side front and outboard rear seating
positions-Regular Cab and SuperCab) (passenger side front and rear
seating positions-SuperCrew) (if equipped).
Ford recommends the use of a child safety seat having a top tether
strap. Install the child safety seat in a seating position which is capable
of providing a tether anchorage. For more information on top tether
straps, refer toAttaching safety seats with tether straps.
Carefully follow all of the manufacturer's instructions included
with the safety seat you put in your vehicle. If you do not install
and use the safety seat properly, the child may be injured in a sudden
stop or collision.
Seating and Safety Restraints
156
Page 158 of 320
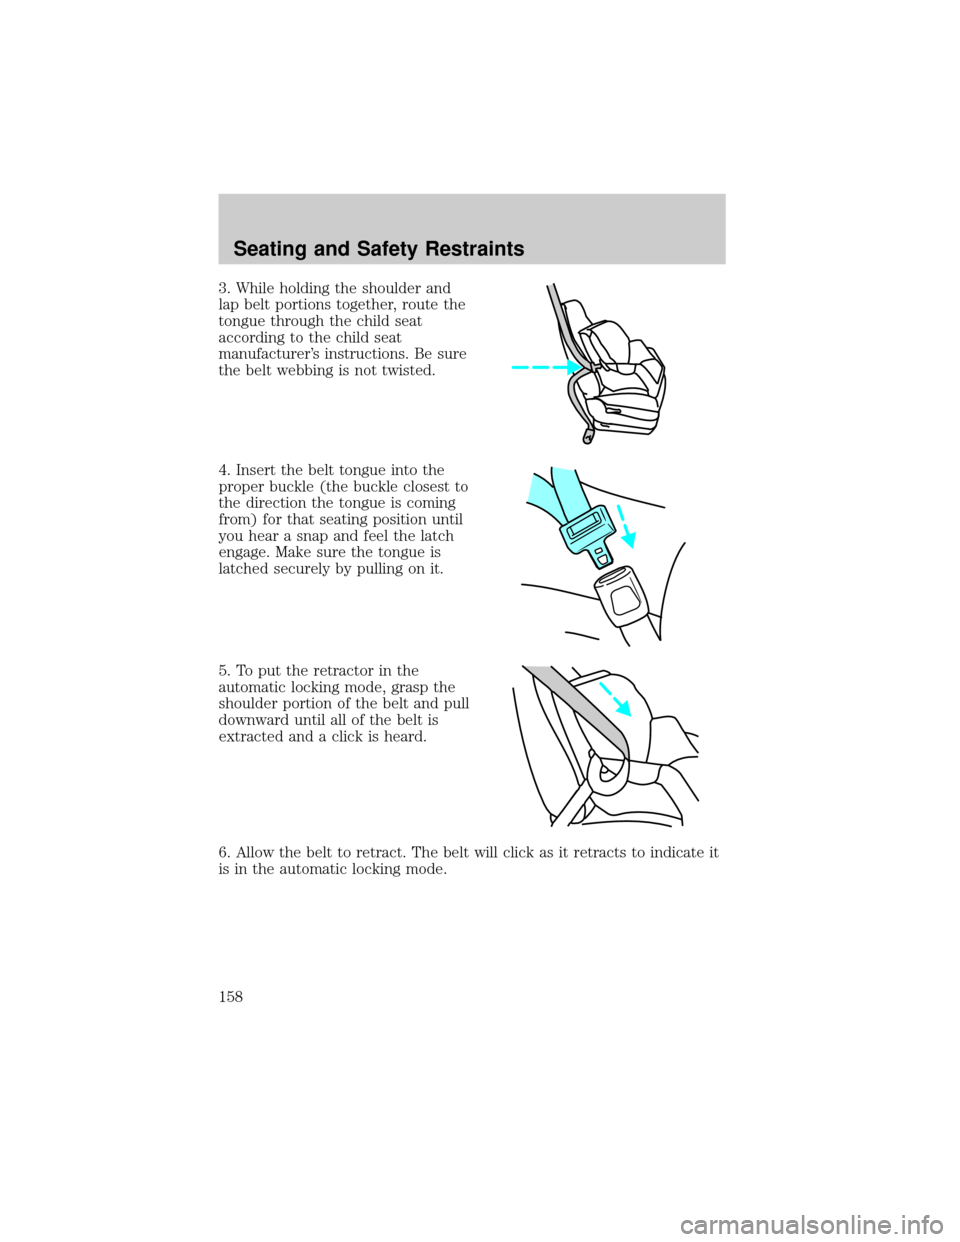
3. While holding the shoulder and
lap belt portions together, route the
tongue through the child seat
according to the child seat
manufacturer's instructions. Be sure
the belt webbing is not twisted.
4. Insert the belt tongue into the
proper buckle (the buckle closest to
the direction the tongue is coming
from) for that seating position until
you hear a snap and feel the latch
engage. Make sure the tongue is
latched securely by pulling on it.
5. To put the retractor in the
automatic locking mode, grasp the
shoulder portion of the belt and pull
downward until all of the belt is
extracted and a click is heard.
6. Allow the belt to retract. The belt will click as it retracts to indicate it
is in the automatic locking mode.
Seating and Safety Restraints
158
Page 159 of 320
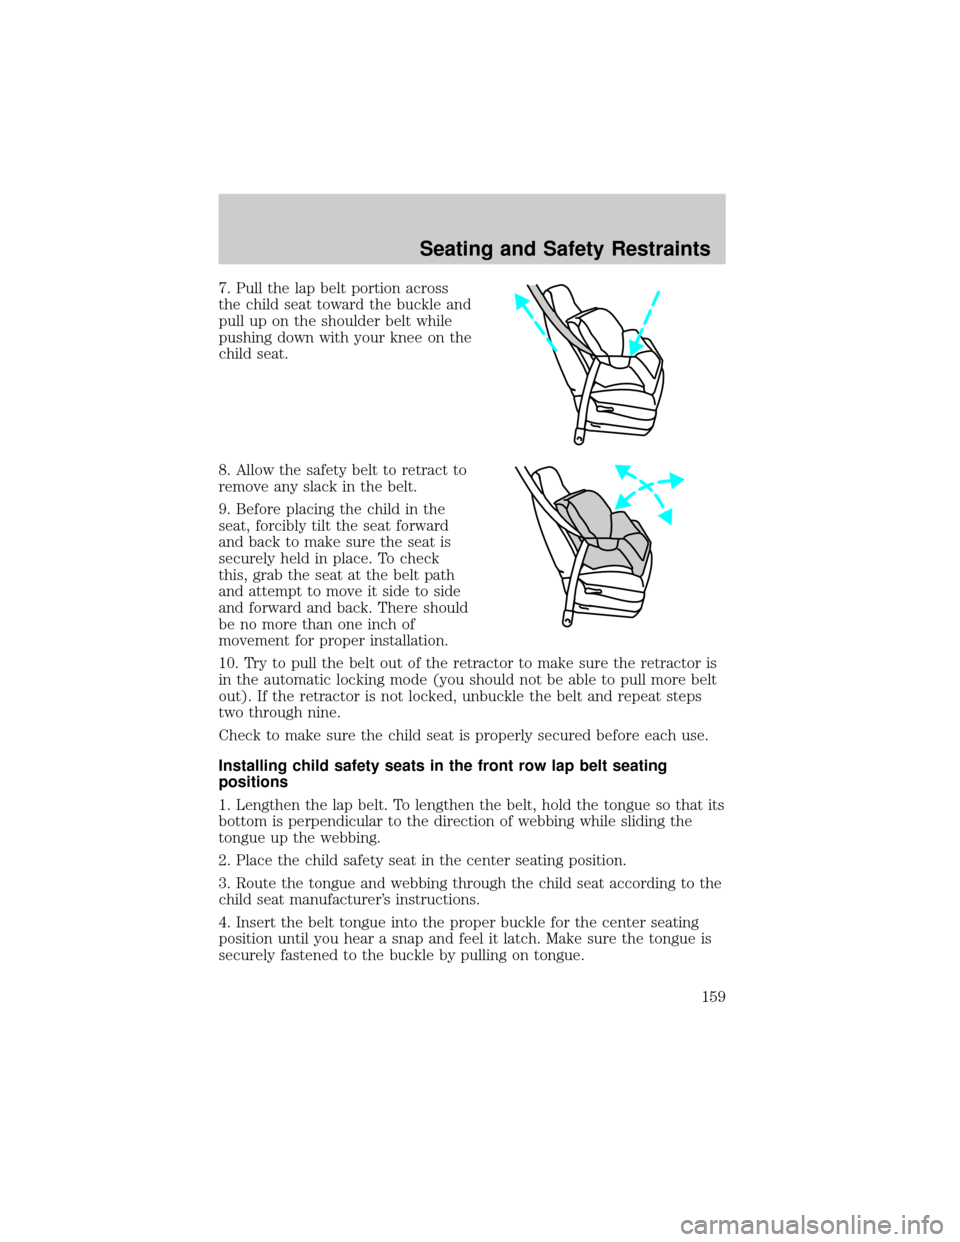
7. Pull the lap belt portion across
the child seat toward the buckle and
pull up on the shoulder belt while
pushing down with your knee on the
child seat.
8. Allow the safety belt to retract to
remove any slack in the belt.
9. Before placing the child in the
seat, forcibly tilt the seat forward
and back to make sure the seat is
securely held in place. To check
this, grab the seat at the belt path
and attempt to move it side to side
and forward and back. There should
be no more than one inch of
movement for proper installation.
10. Try to pull the belt out of the retractor to make sure the retractor is
in the automatic locking mode (you should not be able to pull more belt
out). If the retractor is not locked, unbuckle the belt and repeat steps
two through nine.
Check to make sure the child seat is properly secured before each use.
Installing child safety seats in the front row lap belt seating
positions
1. Lengthen the lap belt. To lengthen the belt, hold the tongue so that its
bottom is perpendicular to the direction of webbing while sliding the
tongue up the webbing.
2. Place the child safety seat in the center seating position.
3. Route the tongue and webbing through the child seat according to the
child seat manufacturer's instructions.
4. Insert the belt tongue into the proper buckle for the center seating
position until you hear a snap and feel it latch. Make sure the tongue is
securely fastened to the buckle by pulling on tongue.
Seating and Safety Restraints
159
Page 160 of 320
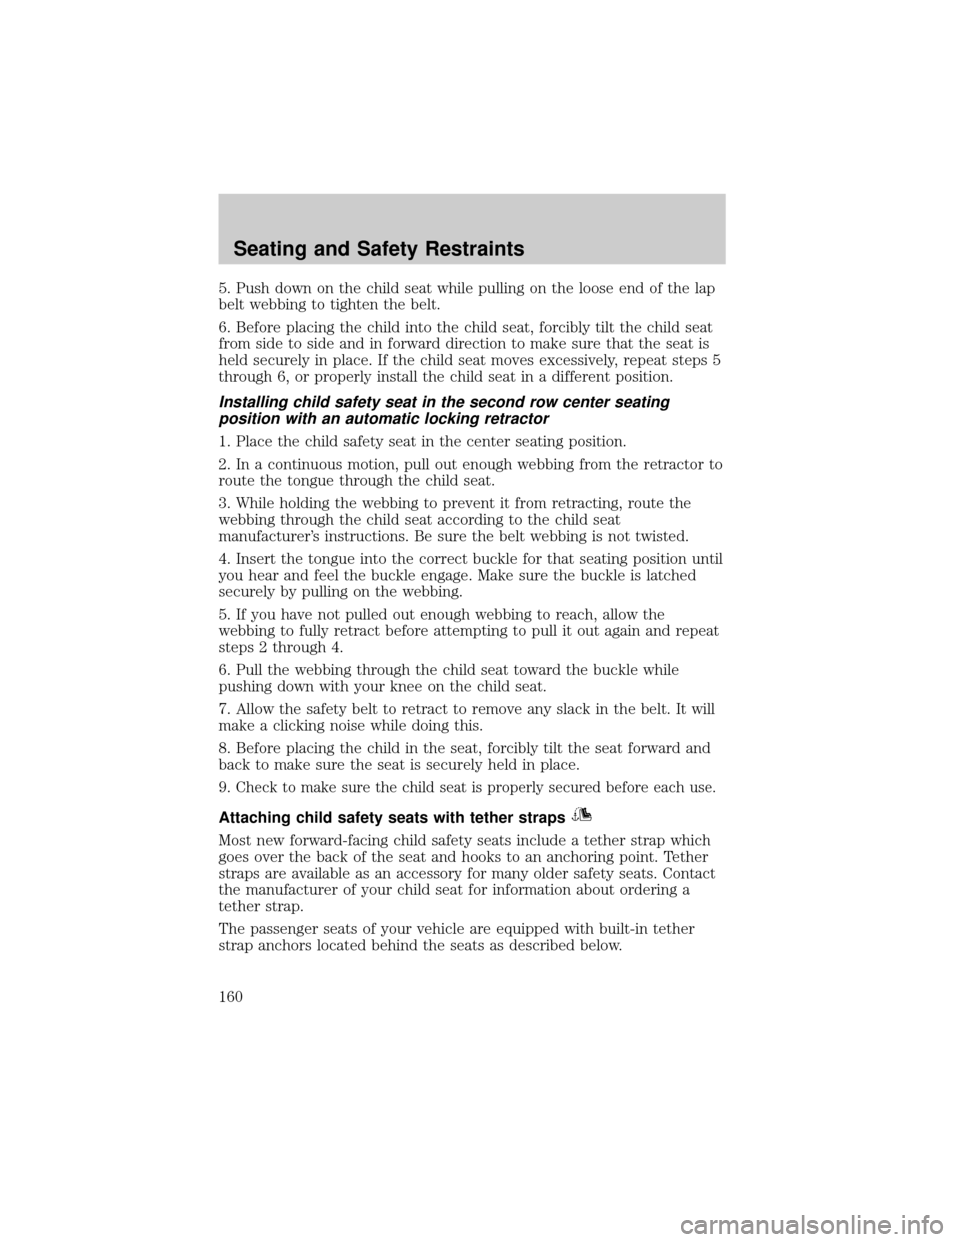
5. Push down on the child seat while pulling on the loose end of the lap
belt webbing to tighten the belt.
6. Before placing the child into the child seat, forcibly tilt the child seat
from side to side and in forward direction to make sure that the seat is
held securely in place. If the child seat moves excessively, repeat steps 5
through 6, or properly install the child seat in a different position.
Installing child safety seat in the second row center seating
position with an automatic locking retractor
1. Place the child safety seat in the center seating position.
2. In a continuous motion, pull out enough webbing from the retractor to
route the tongue through the child seat.
3. While holding the webbing to prevent it from retracting, route the
webbing through the child seat according to the child seat
manufacturer's instructions. Be sure the belt webbing is not twisted.
4. Insert the tongue into the correct buckle for that seating position until
you hear and feel the buckle engage. Make sure the buckle is latched
securely by pulling on the webbing.
5. If you have not pulled out enough webbing to reach, allow the
webbing to fully retract before attempting to pull it out again and repeat
steps 2 through 4.
6. Pull the webbing through the child seat toward the buckle while
pushing down with your knee on the child seat.
7. Allow the safety belt to retract to remove any slack in the belt. It will
make a clicking noise while doing this.
8. Before placing the child in the seat, forcibly tilt the seat forward and
back to make sure the seat is securely held in place.
9.
Check to make sure the child seat is properly secured before each use.
Attaching child safety seats with tether straps
Most new forward-facing child safety seats include a tether strap which
goes over the back of the seat and hooks to an anchoring point. Tether
straps are available as an accessory for many older safety seats. Contact
the manufacturer of your child seat for information about ordering a
tether strap.
The passenger seats of your vehicle are equipped with built-in tether
strap anchors located behind the seats as described below.
Seating and Safety Restraints
160
Page 162 of 320
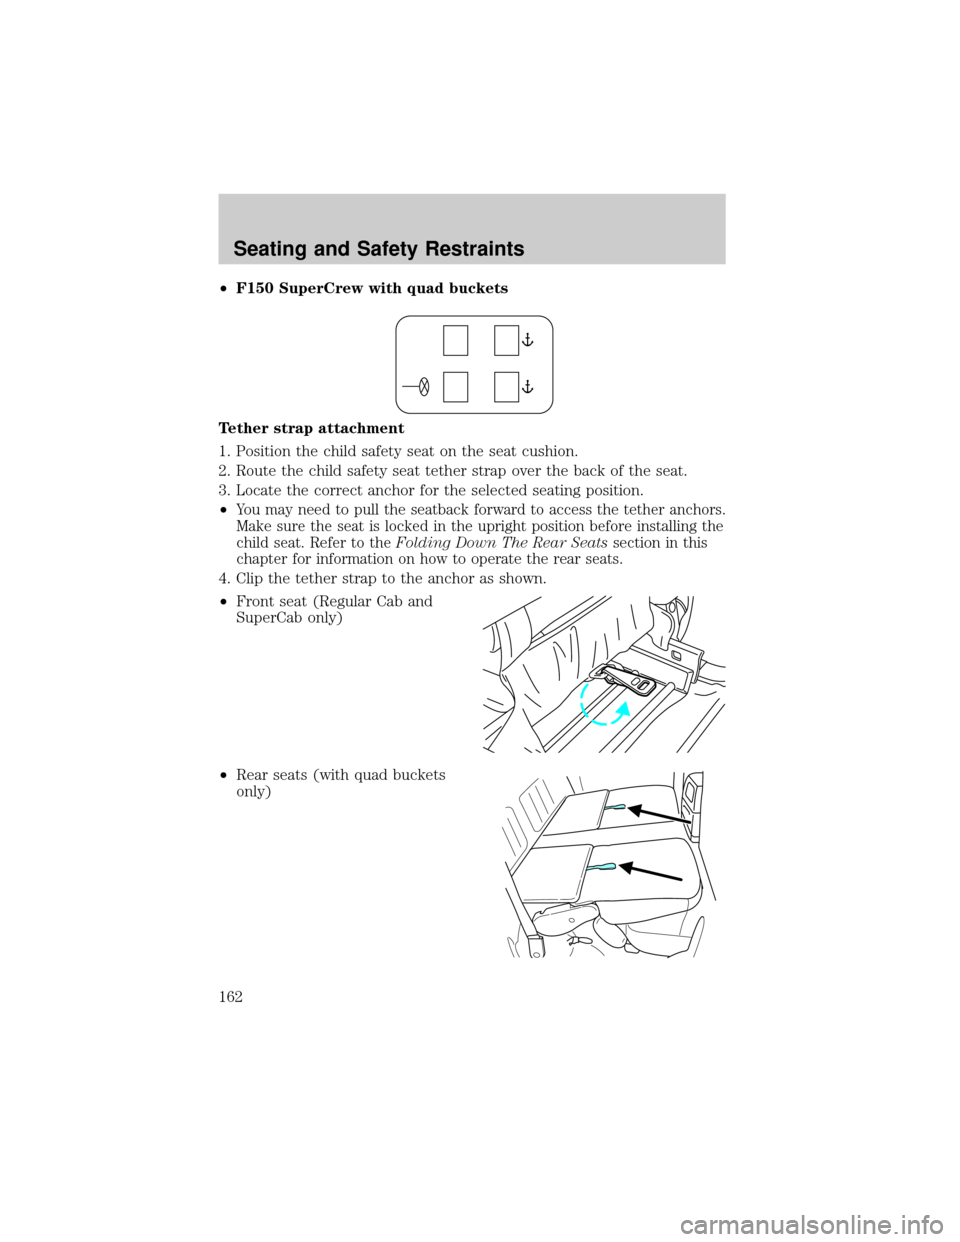
²F150 SuperCrew with quad buckets
Tether strap attachment
1. Position the child safety seat on the seat cushion.
2. Route the child safety seat tether strap over the back of the seat.
3. Locate the correct anchor for the selected seating position.
²
You may need to pull the seatback forward to access the tether anchors.
Make sure the seat is locked in the upright position before installing the
child seat. Refer to theFolding Down The Rear Seatssection in this
chapter for information on how to operate the rear seats.
4. Clip the tether strap to the anchor as shown.
²Front seat (Regular Cab and
SuperCab only)
²Rear seats (with quad buckets
only)
Seating and Safety Restraints
162
Page 313 of 320

A
Accessory delay ..........................86
Air bag supplemental
restraint system ........................145
and child safety seats ............147
description ..............................145
disposal ....................................149
driver air bag ..........................147
indicator light ...................13, 149
operation .................................147
passenger air bag ...................147
passenger deactivation
switch ......................................150
Air cleaner filter ...............289, 294
Air conditioning ..........................59
manual heating and air
conditioning system .................55
Ambulance packages ....................7
Antifreeze
(see Engine coolant) ................265
Anti-lock brake system
(see Brakes) ......................170±171
Anti-theft system
warning light .............................15
Armrests ....................................130
Automatic transmission ............175
driving an automatic
overdrive .................................176
fluid, adding ............................284
fluid, checking ........................284
fluid, refill capacities ..............295
fluid, specification ..................301
Auxiliary power point ...........82, 84
Axle
lubricant
specifications ..................299, 301refill capacities ........................295
traction lok ..............................174
B
Battery .......................................263
acid, treating emergencies .....263
charging system
warning light .............................13
jumping a disabled battery ....226
maintenance-free ....................263
replacement,
specifications ..........................294
servicing ..................................263
voltage gauge ............................18
Bed extender ..............................99
Belt minder ...............................140
Brakes ........................................170
anti-lock ...........................170±171
anti-lock brake system
(ABS) warning light .........12, 171
brake warning light ..................12
fluid, checking and adding ....283
fluid, refill capacities ..............295
fluid, specifications .........299, 301
lubricant
specifications ..................299, 301
parking ....................................172
pedals (see Power
adjustable foot pedals) ............88
shift interlock ..........................175
Break-in period .............................5
C
Capacities for refilling fluids ....295
Cassette tape player ...................36
CD changer .................................49
Certification Label ....................307
Index
313
Page 314 of 320

Child safety restraints ..............154
child safety belts ....................154
Child safety seats ......................155
attaching with tether
straps .......................................160
in front seat ............................157
in rear seat ..............157, 159±160
Cleaning your vehicle
engine compartment ..............244
exterior ....................................251
instrument cluster lens ..........248
instrument panel ....................248
interior .....................................248
plastic parts ....................246±247
safety belts ..............................251
washing ....................................243
waxing .....................................243
wheels ......................................244
windows ..................................250
wiper blades ............................247
woodtone trim ........................248
Clock ................................23, 31, 41
Clutch
fluid ..........................................283
operation while driving ..........178
recommended shift speeds ....180
Compass, electronic ..............80, 86
calibration .................................82
set zone adjustment .................81
Console ........................................84
overhead ....................................78
Controls
power seat ...............................123
Coolant
checking and adding ..............265
refill capacities ................269, 295
specifications ..................299, 301Cruise control
(see Speed control) ....................88
Customer Assistance ................210
Ford accessories for
your vehicle ............................251
Ford Extended
Service Plan ............................235
Getting assistance outside
the U.S. and Canada ..............239
Getting roadside
assistance ................................210
Getting the service
you need .................................233
Ordering additional
owner's literature ...................240
The Dispute Settlement
Board .......................................236
Utilizing the
Mediation/Arbitration
Program ...................................239
D
Daytime running lamps
(see Lamps) ................................66
Dipstick
automatic transmission
fluid ..........................................284
engine oil .................................258
Doors
door ajar warning .....................14
lubricant specifications ..........299
Driveline universal joint
and slip yoke .............................288
Driving under special
conditions ..........................190, 193
sand .........................................191
snow and ice ...........................194
through water .................192, 197
Index
314