2002 FORD F150 CD changer
[x] Cancel search: CD changerPage 44 of 320
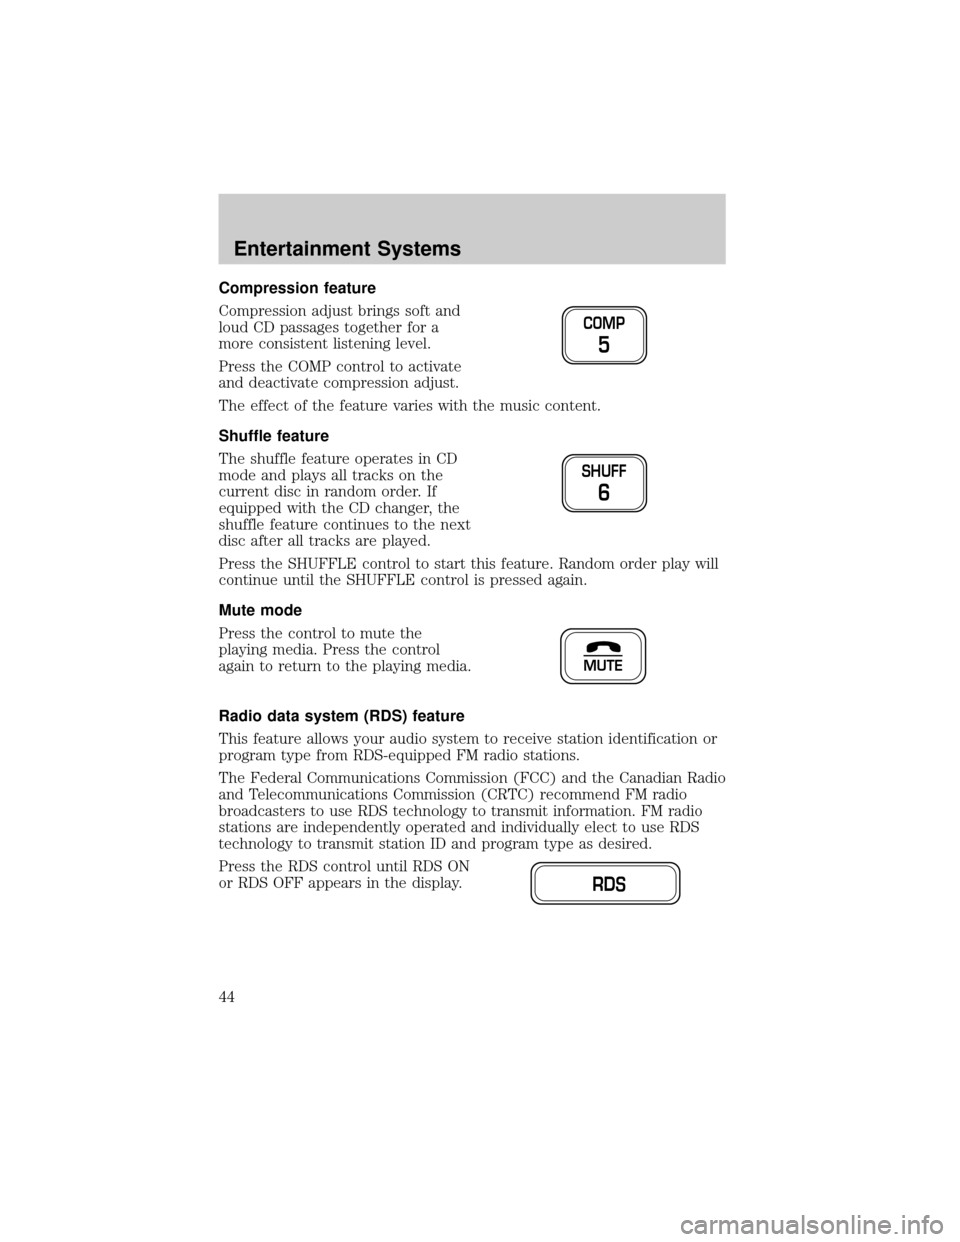
Compression feature
Compression adjust brings soft and
loud CD passages together for a
more consistent listening level.
Press the COMP control to activate
and deactivate compression adjust.
The effect of the feature varies with the music content.
Shuffle feature
The shuffle feature operates in CD
mode and plays all tracks on the
current disc in random order. If
equipped with the CD changer, the
shuffle feature continues to the next
disc after all tracks are played.
Press the SHUFFLE control to start this feature. Random order play will
continue until the SHUFFLE control is pressed again.
Mute mode
Press the control to mute the
playing media. Press the control
again to return to the playing media.
Radio data system (RDS) feature
This feature allows your audio system to receive station identification or
program type from RDS-equipped FM radio stations.
The Federal Communications Commission (FCC) and the Canadian Radio
and Telecommunications Commission (CRTC) recommend FM radio
broadcasters to use RDS technology to transmit information. FM radio
stations are independently operated and individually elect to use RDS
technology to transmit station ID and program type as desired.
Press the RDS control until RDS ON
or RDS OFF appears in the display.
COMP
5
SHUFF
6
MUTE
RDS
Entertainment Systems
44
Page 46 of 320
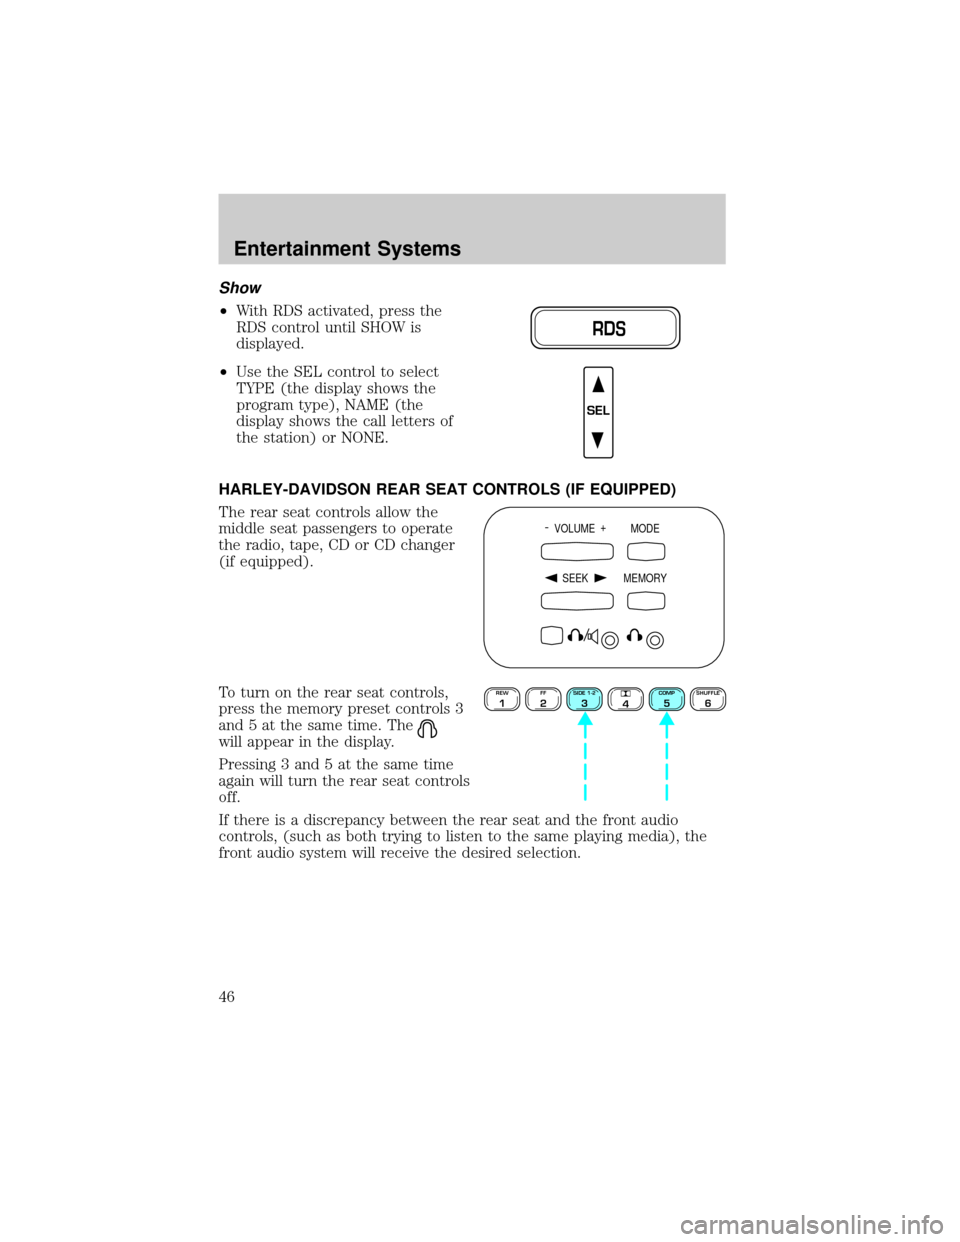
Show
²With RDS activated, press the
RDS control until SHOW is
displayed.
²Use the SEL control to select
TYPE (the display shows the
program type), NAME (the
display shows the call letters of
the station) or NONE.
HARLEY-DAVIDSON REAR SEAT CONTROLS (IF EQUIPPED)
The rear seat controls allow the
middle seat passengers to operate
the radio, tape, CD or CD changer
(if equipped).
To turn on the rear seat controls,
press the memory preset controls 3
and 5 at the same time. The
will appear in the display.
Pressing 3 and 5 at the same time
again will turn the rear seat controls
off.
If there is a discrepancy between the rear seat and the front audio
controls, (such as both trying to listen to the same playing media), the
front audio system will receive the desired selection.
RDS
SEL
- VOLUME +
MODE
SEEK MEMORY
REW1FF2SIDE 1-23
4COMP5SHUFFLE6
Entertainment Systems
46
Page 48 of 320
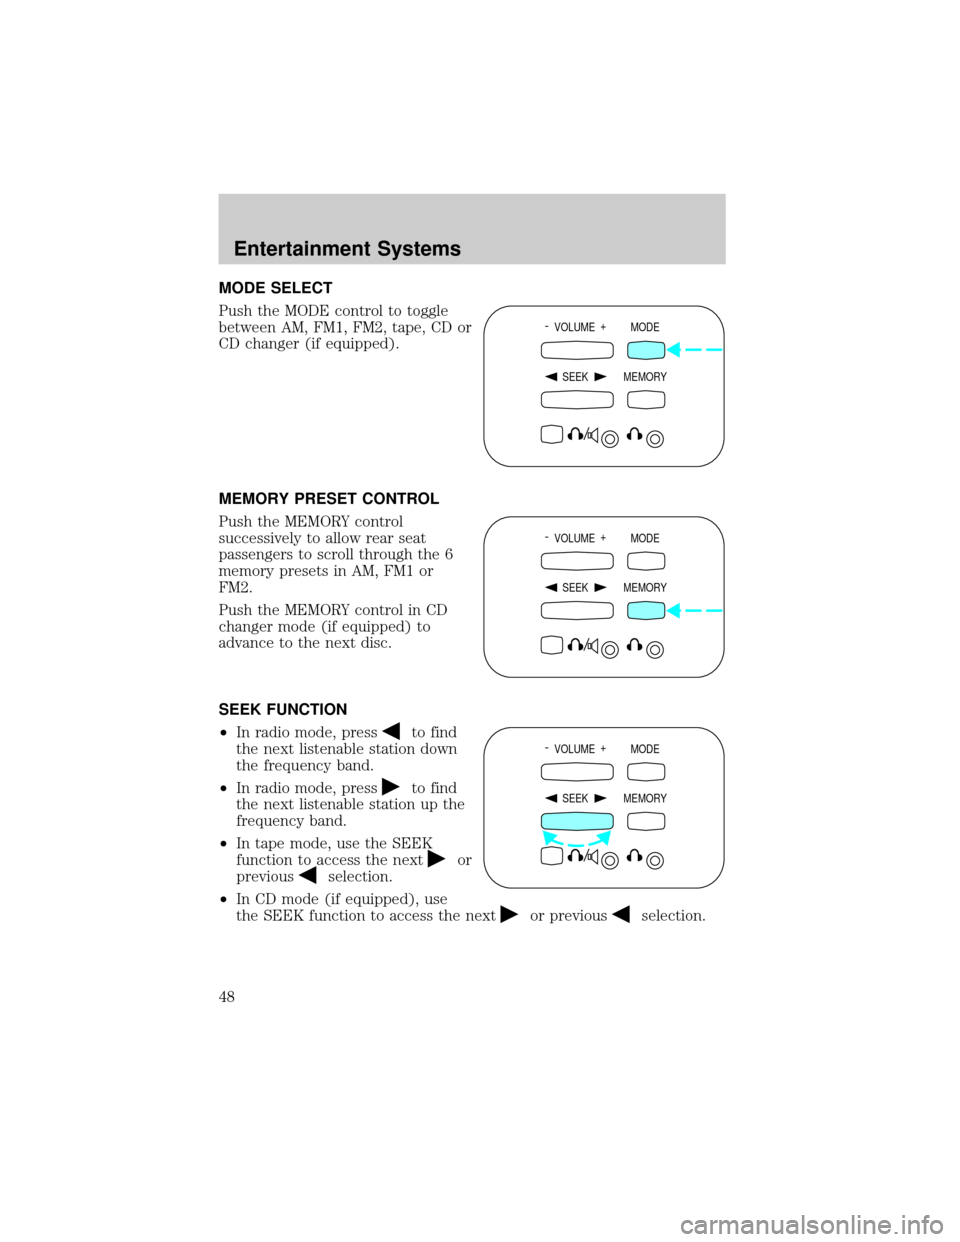
MODE SELECT
Push the MODE control to toggle
between AM, FM1, FM2, tape, CD or
CD changer (if equipped).
MEMORY PRESET CONTROL
Push the MEMORY control
successively to allow rear seat
passengers to scroll through the 6
memory presets in AM, FM1 or
FM2.
Push the MEMORY control in CD
changer mode (if equipped) to
advance to the next disc.
SEEK FUNCTION
²In radio mode, press
to find
the next listenable station down
the frequency band.
²In radio mode, press
to find
the next listenable station up the
frequency band.
²In tape mode, use the SEEK
function to access the next
or
previous
selection.
²In CD mode (if equipped), use
the SEEK function to access the next
or previousselection.
- VOLUME +
MODE
SEEK MEMORY
- VOLUME +
MODE
SEEK MEMORY
- VOLUME +
MODE
SEEK MEMORY
Entertainment Systems
48
Page 49 of 320
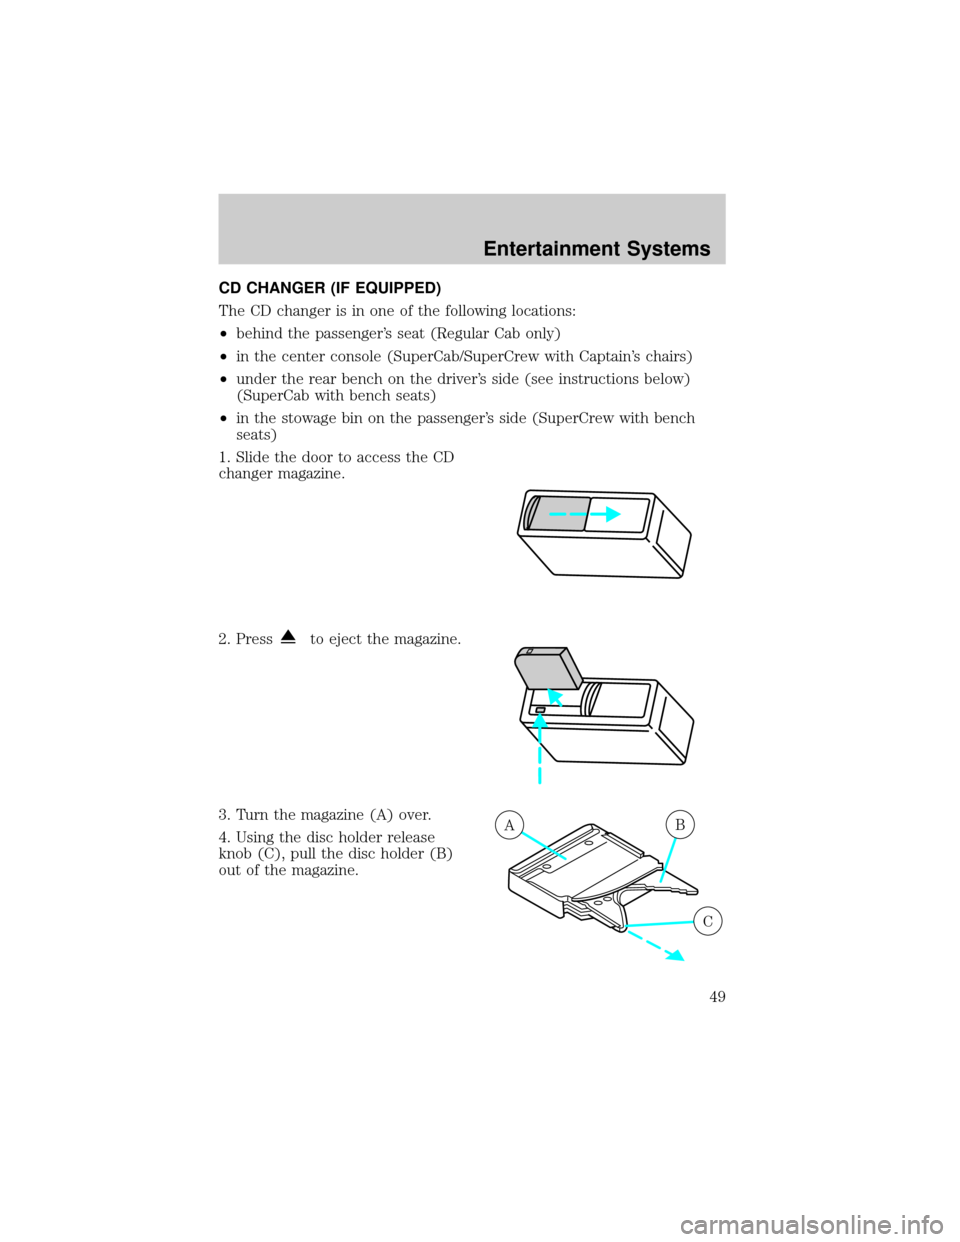
CD CHANGER (IF EQUIPPED)
The CD changer is in one of the following locations:
²behind the passenger's seat (Regular Cab only)
²in the center console (SuperCab/SuperCrew with Captain's chairs)
²under the rear bench on the driver's side (see instructions below)
(SuperCab with bench seats)
²in the stowage bin on the passenger's side (SuperCrew with bench
seats)
1. Slide the door to access the CD
changer magazine.
2. Press
to eject the magazine.
3. Turn the magazine (A) over.
4. Using the disc holder release
knob (C), pull the disc holder (B)
out of the magazine.
AB
C
Entertainment Systems
49
Page 51 of 320

If your CD changer is located under the rear bench, the following
instructions apply for loading discs:
1. The holders DO NOT pull out.
Load the discs into the magazine
slots (numbered 1 through 6 on the
window) one at a time with labeled
surfaces upward.
2. Start with the bottom slot
number 1.
3. Insert the loaded magazine into
the CD changer with the arrow on
the top of the magazine pointing
toward the changer.
To remove discs:
1. Slide the corresponding lever on
the opposite side of the magazine
window. The disc will partially eject.
2. Remove the disc.
Radio power must be turned on to
play the CDs in the changer. The
magazine may be stored in the glove
box when not being used.
The CD magazine may be inserted or ejected with the radio power off.
ONLY use the magazine supplied with the CD changer, other types will
damage the unit.
Keep the CD changer door closed. Coins and foreign objects will damage
the CD player and void your audio system warranty.
Do not insert any promotional (odd shaped or sized) discs, or discs
with removable labels into the CD player as jamming may occur.
TROUBLESHOOTING THE CD CHANGER (IF EQUIPPED)
The laser beam used in the compact disc player is harmful to the
eyes. Do not attempt to disassemble the case.
If sound skips:
²
You may be traveling on a rough road, playing badly scratched discs or the
disc may be dirty. Skipping will not scratch the discs or damage the player.
6 COMPACT DISC MAGAZINE1 2 3 4 5
6
INSERT IN THIS DIRECTION
INSERT EACH COMPACT DISC
WITH THE LABEL SURFACE
FACING UP
Entertainment Systems
51
Page 52 of 320

If your changer does not work, it may be that:
²A disc is already loaded where you want to insert a disc.
²The disc is inserted with the label surface downward.
²The disc is dusty or defective.
²The player's internal temperature is above 60ÉC (140ÉF). Allow the
player to cool down before operating.
²A disc with format and dimensions not within industry standards is
inserted.
CLEANING COMPACT DISCS
Inspect all discs for contamination before playing. If necessary, clean
discs only with an approved CD cleaner and wipe from the center out to
the edge. Do not use circular motion.
CD AND CD CHANGER CARE
²Handle discs by their edges only. Never touch the playing surface.
²Do not expose discs to direct sunlight or heat sources for extended
periods of time.
²Do not insert more than one disc into each slot of the CD changer
magazine.
Do not insert any promotional (odd shaped or sized) discs, or
discs with removable labels into the CD player as jamming may
occur.
CLEANING CASSETTE PLAYER (IF EQUIPPED)
Clean the tape player head with a cassette cleaning cartridge after 10 to
12 hours of play in order to maintain the best sound and operation.
CASSETTE AND CASSETTE PLAYER CARE
²Use only cassettes that are 90 minutes long or less.
²Do not expose tapes to direct sunlight, high humidity, extreme heat or
extreme cold. Allow tapes that may have been exposed to extreme
temperatures to reach a moderate temperature before playing.
²Tighten very loose tapes by inserting a finger or pencil into the hole
and turning the hub.
²Remove loose labels before inserting tapes.
Entertainment Systems
52
Page 84 of 320
CENTER CONSOLE (IF EQUIPPED)
Your vehicle may be equipped with a variety of console features. These
include:
²Utility compartment
²Cupholders
²Coin holder slots
²Compact disc changer (if equipped)
²Rear audio controls
²Power point
Use only soft cups in the cupholder. Hard objects can injure you
in a collision.
OVERDRIVE CONTROL
Activating overdrive
(Overdrive) is the normal drive position for the best fuel economy.
The overdrive function allows automatic upshifts and downshifts through
all available gears.
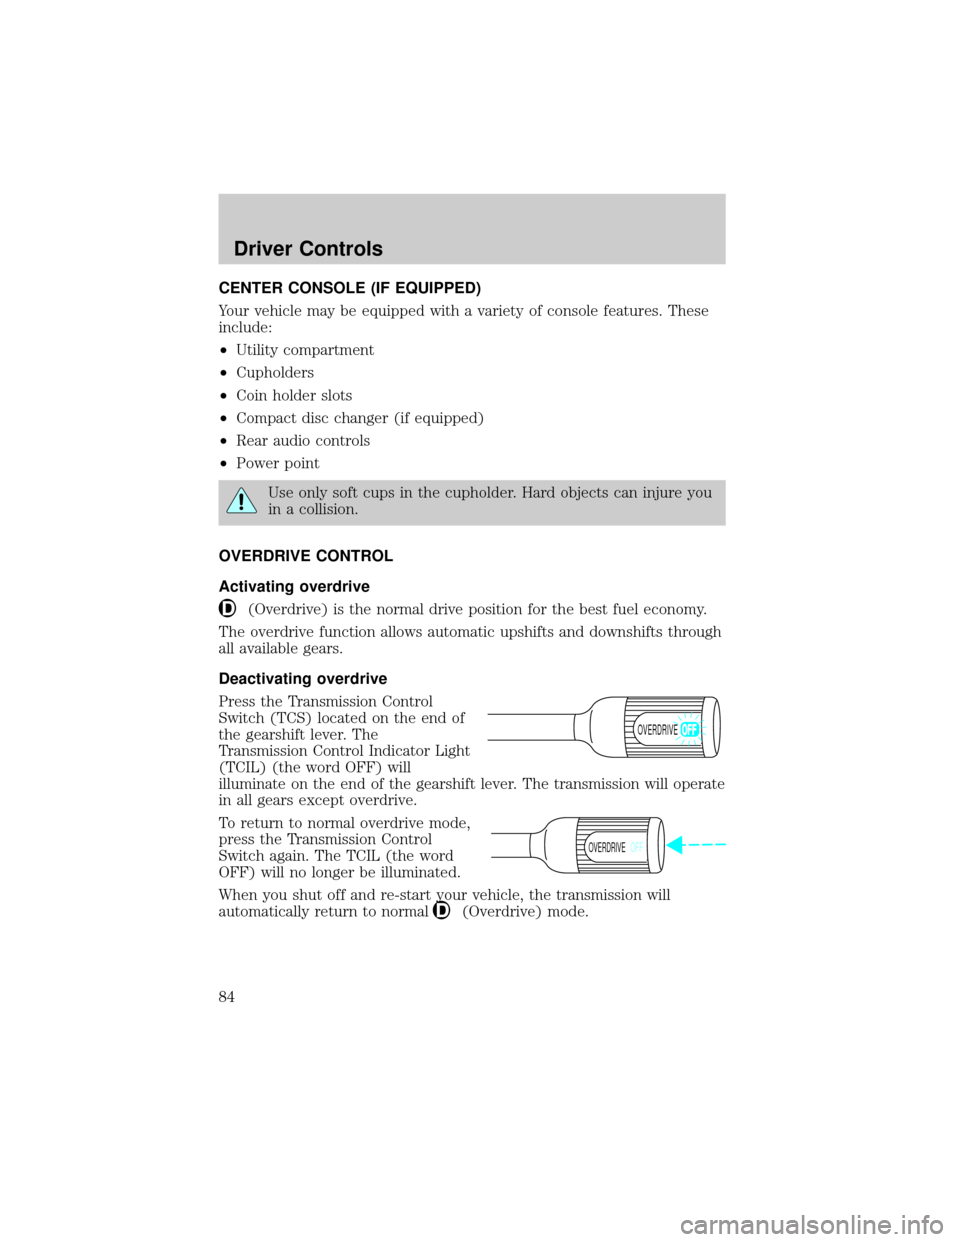
Deactivating overdrive
Press the Transmission Control
Switch (TCS) located on the end of
the gearshift lever. The
Transmission Control Indicator Light
(TCIL) (the word OFF) will
illuminate on the end of the gearshift lever. The transmission will operate
in all gears except overdrive.
To return to normal overdrive mode,
press the Transmission Control
Switch again. The TCIL (the word
OFF) will no longer be illuminated.
When you shut off and re-start your vehicle, the transmission will
automatically return to normal
(Overdrive) mode.
OVERDRIVE
OVERDRIVEOFF
Driver Controls
84
Page 313 of 320

A
Accessory delay ..........................86
Air bag supplemental
restraint system ........................145
and child safety seats ............147
description ..............................145
disposal ....................................149
driver air bag ..........................147
indicator light ...................13, 149
operation .................................147
passenger air bag ...................147
passenger deactivation
switch ......................................150
Air cleaner filter ...............289, 294
Air conditioning ..........................59
manual heating and air
conditioning system .................55
Ambulance packages ....................7
Antifreeze
(see Engine coolant) ................265
Anti-lock brake system
(see Brakes) ......................170±171
Anti-theft system
warning light .............................15
Armrests ....................................130
Automatic transmission ............175
driving an automatic
overdrive .................................176
fluid, adding ............................284
fluid, checking ........................284
fluid, refill capacities ..............295
fluid, specification ..................301
Auxiliary power point ...........82, 84
Axle
lubricant
specifications ..................299, 301refill capacities ........................295
traction lok ..............................174
B
Battery .......................................263
acid, treating emergencies .....263
charging system
warning light .............................13
jumping a disabled battery ....226
maintenance-free ....................263
replacement,
specifications ..........................294
servicing ..................................263
voltage gauge ............................18
Bed extender ..............................99
Belt minder ...............................140
Brakes ........................................170
anti-lock ...........................170±171
anti-lock brake system
(ABS) warning light .........12, 171
brake warning light ..................12
fluid, checking and adding ....283
fluid, refill capacities ..............295
fluid, specifications .........299, 301
lubricant
specifications ..................299, 301
parking ....................................172
pedals (see Power
adjustable foot pedals) ............88
shift interlock ..........................175
Break-in period .............................5
C
Capacities for refilling fluids ....295
Cassette tape player ...................36
CD changer .................................49
Certification Label ....................307
Index
313