Page 18 of 320
Battery voltage gauge
Indicates battery voltage. If the
pointer moves and stays outside the
normal operating range (as
indicated by the arrows), have the
vehicle's electrical system checked
as soon as possible.
Fuel gauge
Displays approximately how much
fuel is in the fuel tank. The fuel
gauge may vary slightly when the
vehicle is in motion or on a grade.
When refueling the vehicle from
empty indication, the amount of fuel
that can be added will be less than
the advertised capacity due to the
reserve fuel.
A minimum of 22.2 L (six gallons) must be added or removed from the
fuel tank in order for the gauge to instantaneously update. If less than
six gallons is the change, the gauge will take between five to twenty
minutes to update.
Speedometer
Indicates the current vehicle speed.
E
F
0MPHkm/h
20406080
00
20
40
60
Instrument Cluster
18
Page 19 of 320
Odometer
Registers the total kilometers
(miles) of the vehicle.
Trip odometer
Registers the kilometers (miles) of
individual journeys. Press and
release the reset button until a ªTº
appears in the display (this
represents the trip mode). Press
and hold the button for three seconds to reset.
Tachometer
Indicates the engine speed in
revolutions per minute.
Driving with your tachometer
pointer continuously at the top of
the scale may damage the engine.
DPRND2
RPMX1000
Instrument Cluster
19
Page 24 of 320
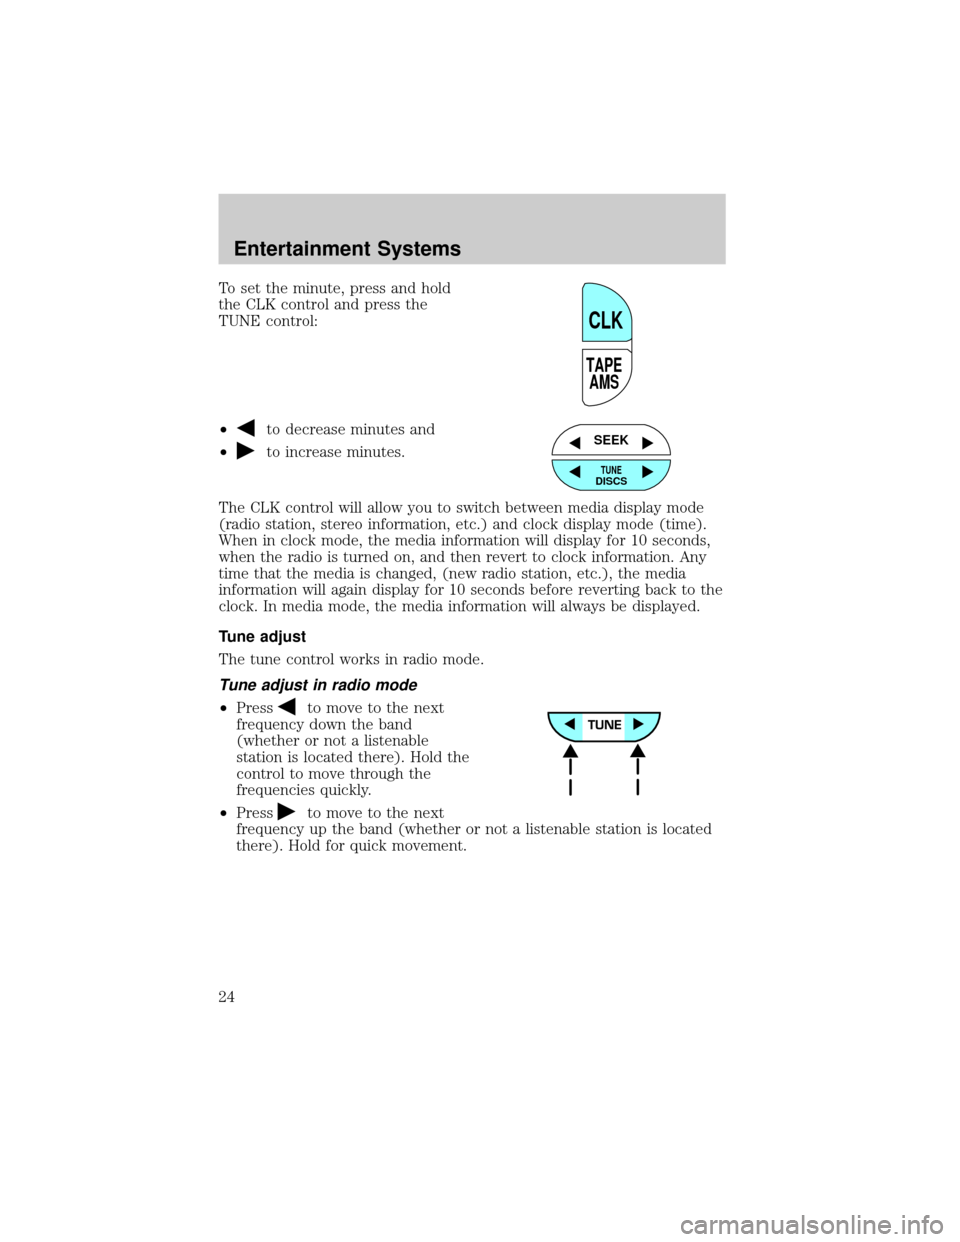
To set the minute, press and hold
the CLK control and press the
TUNE control:
²
to decrease minutes and
²
to increase minutes.
The CLK control will allow you to switch between media display mode
(radio station, stereo information, etc.) and clock display mode (time).
When in clock mode, the media information will display for 10 seconds,
when the radio is turned on, and then revert to clock information. Any
time that the media is changed, (new radio station, etc.), the media
information will again display for 10 seconds before reverting back to the
clock. In media mode, the media information will always be displayed.
Tune adjust
The tune control works in radio mode.
Tune adjust in radio mode
²Pressto move to the next
frequency down the band
(whether or not a listenable
station is located there). Hold the
control to move through the
frequencies quickly.
²Press
to move to the next
frequency up the band (whether or not a listenable station is located
there). Hold for quick movement.
TAPE
AMS
CLK
SEEK
TUNEDISCS
Entertainment Systems
24
Page 31 of 320
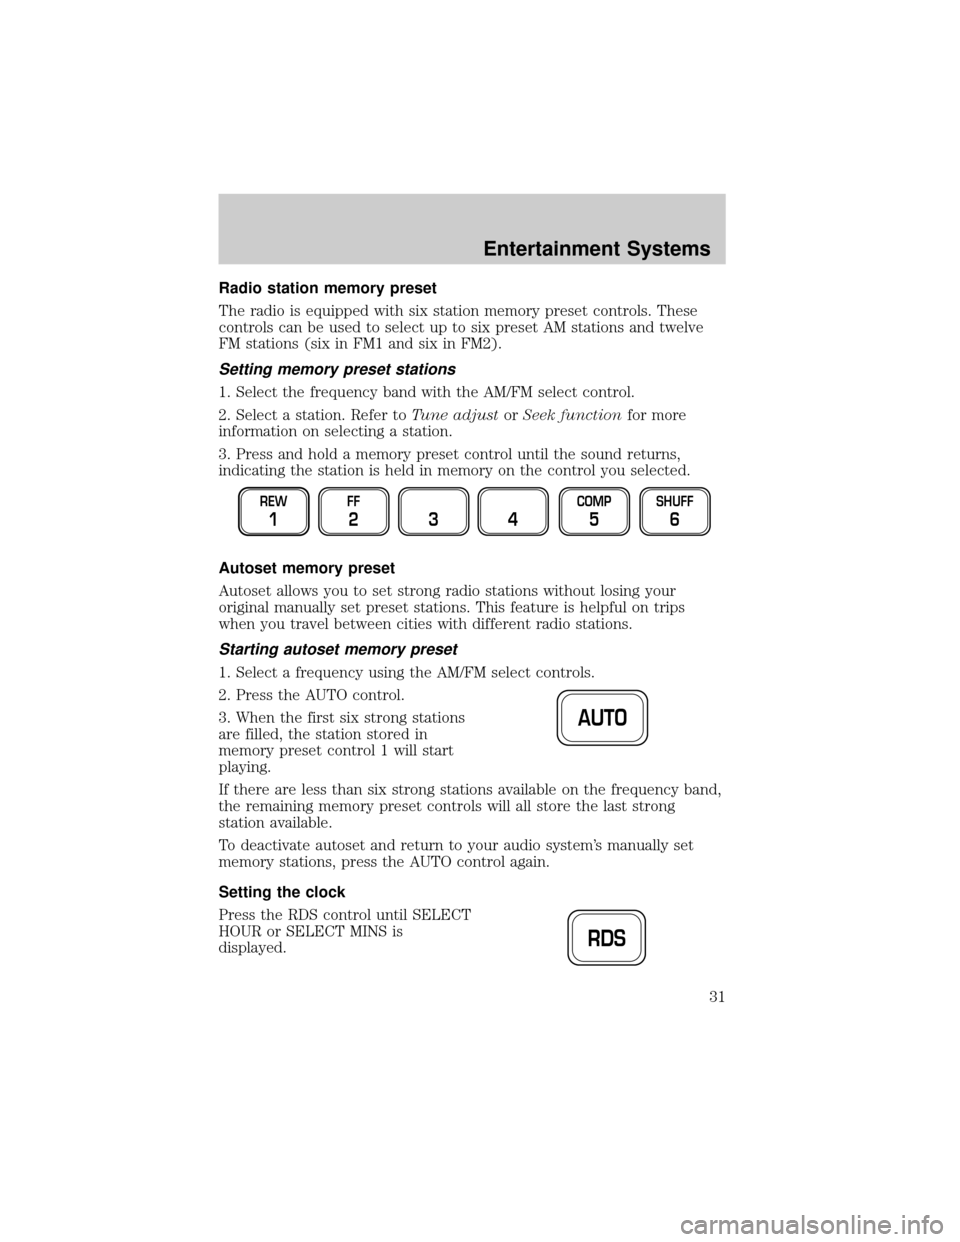
Radio station memory preset
The radio is equipped with six station memory preset controls. These
controls can be used to select up to six preset AM stations and twelve
FM stations (six in FM1 and six in FM2).
Setting memory preset stations
1. Select the frequency band with the AM/FM select control.
2. Select a station. Refer toTune adjustorSeek functionfor more
information on selecting a station.
3. Press and hold a memory preset control until the sound returns,
indicating the station is held in memory on the control you selected.
Autoset memory preset
Autoset allows you to set strong radio stations without losing your
original manually set preset stations. This feature is helpful on trips
when you travel between cities with different radio stations.
Starting autoset memory preset
1. Select a frequency using the AM/FM select controls.
2. Press the AUTO control.
3. When the first six strong stations
are filled, the station stored in
memory preset control 1 will start
playing.
If there are less than six strong stations available on the frequency band,
the remaining memory preset controls will all store the last strong
station available.
To deactivate autoset and return to your audio system's manually set
memory stations, press the AUTO control again.
Setting the clock
Press the RDS control until SELECT
HOUR or SELECT MINS is
displayed.
REW
1
FF
234
COMP
5
SHUFF
6
AUTO
RDS
Entertainment Systems
31
Page 34 of 320
Mute mode
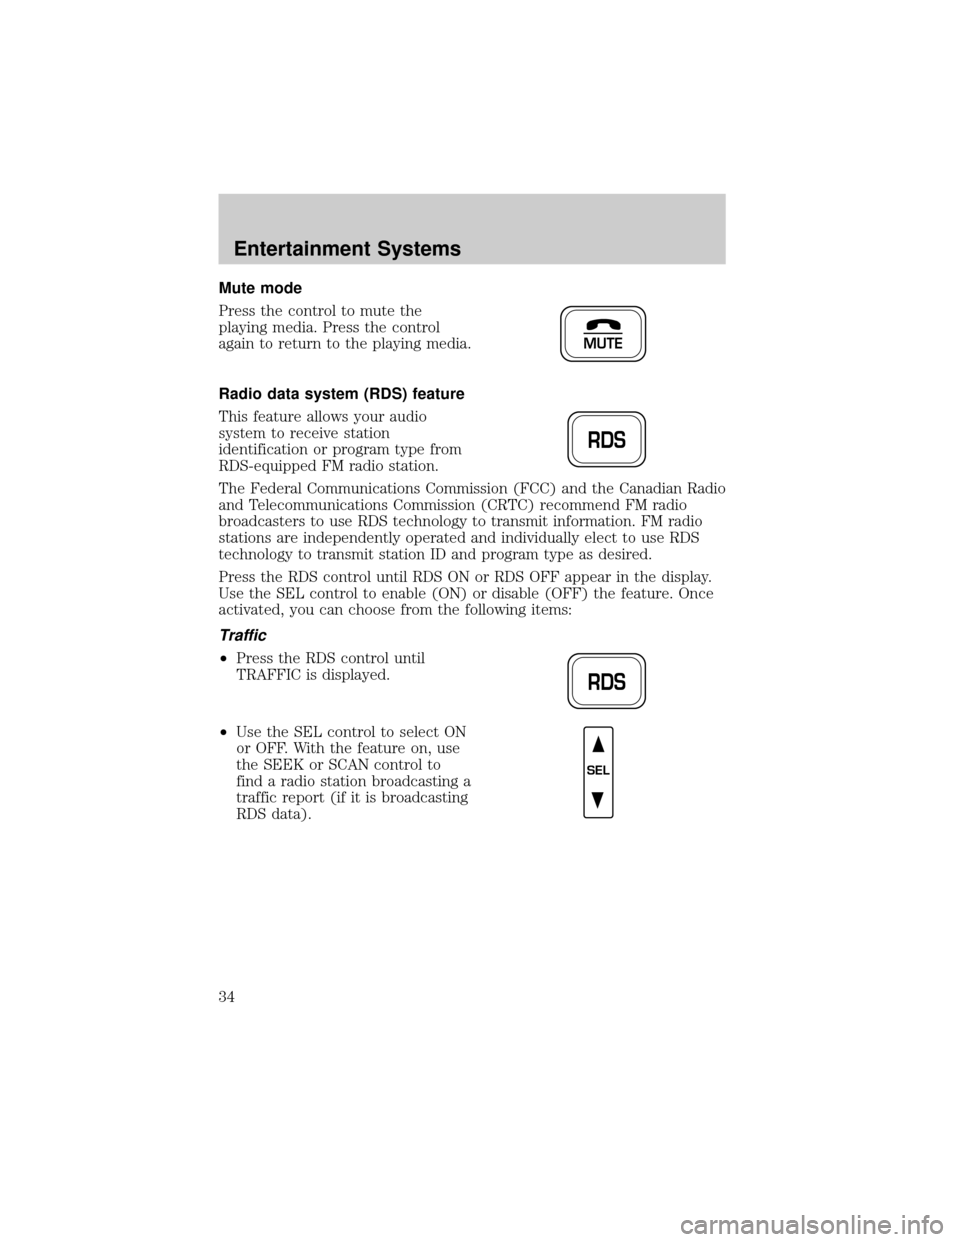
Press the control to mute the
playing media. Press the control
again to return to the playing media.
Radio data system (RDS) feature
This feature allows your audio
system to receive station
identification or program type from
RDS-equipped FM radio station.
The Federal Communications Commission (FCC) and the Canadian Radio
and Telecommunications Commission (CRTC) recommend FM radio
broadcasters to use RDS technology to transmit information. FM radio
stations are independently operated and individually elect to use RDS
technology to transmit station ID and program type as desired.
Press the RDS control until RDS ON or RDS OFF appear in the display.
Use the SEL control to enable (ON) or disable (OFF) the feature. Once
activated, you can choose from the following items:
Traffic
²Press the RDS control until
TRAFFIC is displayed.
²Use the SEL control to select ON
or OFF. With the feature on, use
the SEEK or SCAN control to
find a radio station broadcasting a
traffic report (if it is broadcasting
RDS data).
MUTE
RDS
RDS
SEL
Entertainment Systems
34
Page 35 of 320
Program type
²Press the RDS control until FIND
program type is displayed.
²Use the SEL control to select the
program type. With the feature
on, use the SEEK or SCAN
control to find the desired
program type from the following
selections:
²Classic
²Country
²Info
²Jazz
²Oldies
²R&B
²Religious
²Rock
²Soft
²To p 4 0
Show
²With RDS activated, press the
RDS control until SHOW is
displayed.
²Use the SEL control to select
TYPE, NAME or NONE.
RDS
SEL
RDS
SEL
Entertainment Systems
35
Page 37 of 320
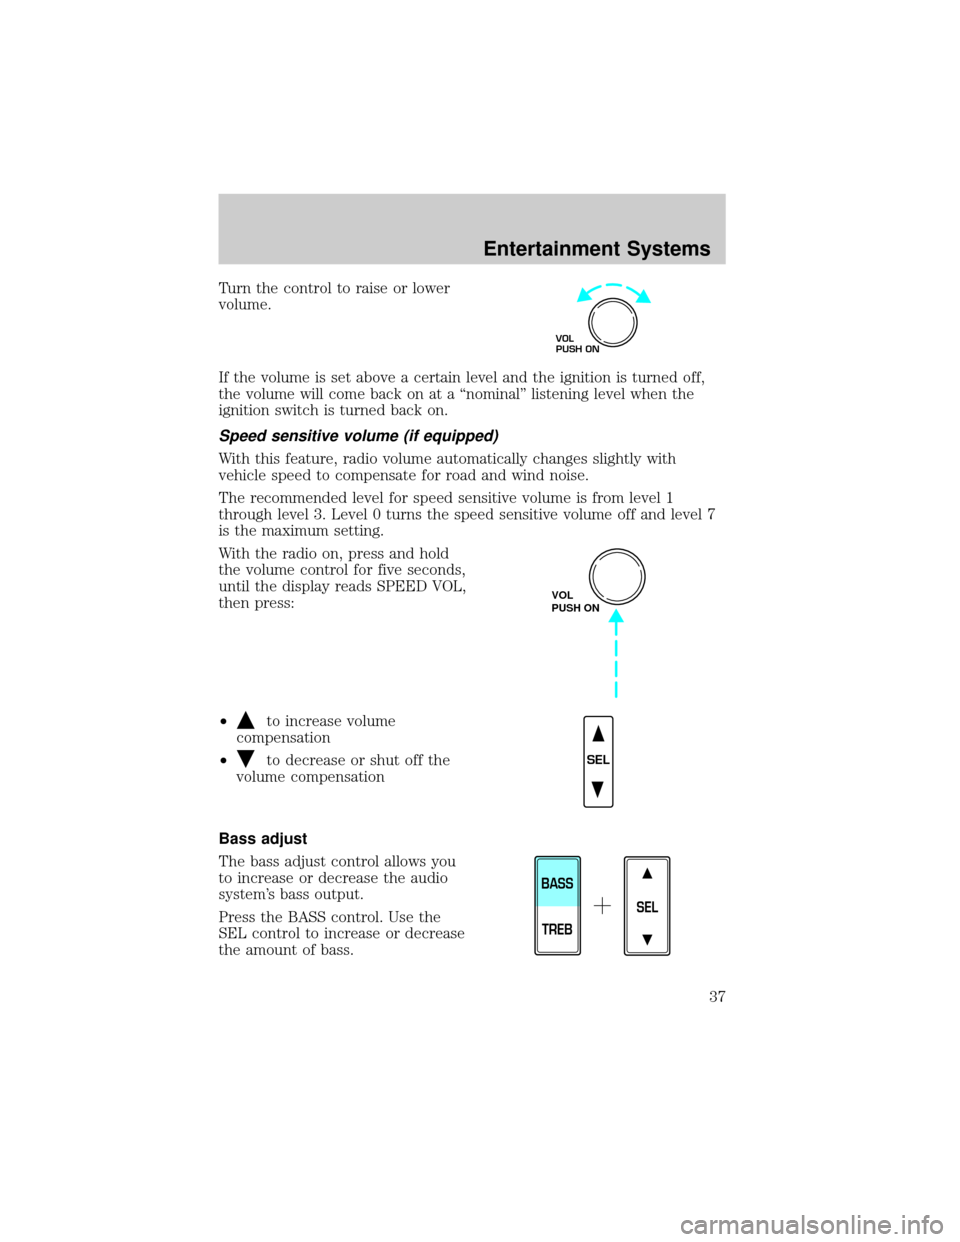
Turn the control to raise or lower
volume.
If the volume is set above a certain level and the ignition is turned off,
the volume will come back on at a ªnominalº listening level when the
ignition switch is turned back on.
Speed sensitive volume (if equipped)
With this feature, radio volume automatically changes slightly with
vehicle speed to compensate for road and wind noise.
The recommended level for speed sensitive volume is from level 1
through level 3. Level 0 turns the speed sensitive volume off and level 7
is the maximum setting.
With the radio on, press and hold
the volume control for five seconds,
until the display reads SPEED VOL,
then press:
²
to increase volume
compensation
²
to decrease or shut off the
volume compensation
Bass adjust
The bass adjust control allows you
to increase or decrease the audio
system's bass output.
Press the BASS control. Use the
SEL control to increase or decrease
the amount of bass.
VOL
PUSH ON
VOL
PUSH ON
SEL
SEL
BASS
TREB
Entertainment Systems
37
Page 41 of 320
Starting autoset memory preset
1. Select a frequency using the AM/FM select controls.
2. Press the AUTO control.
3. When the first six strong stations
are filled, the station stored in
memory preset control 1 will start
playing.
If there are less than six strong stations available on the frequency band,
the remaining memory preset controls will all store the last strong
station available.
To deactivate autoset and return to your audio system's manually set
memory stations, press the control again.
Setting the clock with radio data system (RDS) feature
Press the RDS control until SELECT
HOUR or SELECT MINS is
displayed.
Use the SEL control to manually set
the time.
²Press
to increase
hours/minutes.
²Press
to decrease
hours/minutes.
Tune adjust
The tune control works in radio or CD mode (if equipped).
Tune adjust in radio mode
²Pressto move to the next
frequency down the band
(whether or not a listenable
station is located there). Hold the control to move through the
frequencies quickly.
²Press
to move to the next frequency up the band (whether or not
a listenable station is located there). Hold for quick movement.
AUTO
RDS
SEL
TUNE
Entertainment Systems
41