Page 138 of 200

How to change a flat tire
When one of the front wheels is off the ground, the transmission
alone will not prevent the vehicle from moving or slipping off the
jack, even if the vehicle is in P (Park) (automatic transmission) or R
(Reverse) (manual transmission).
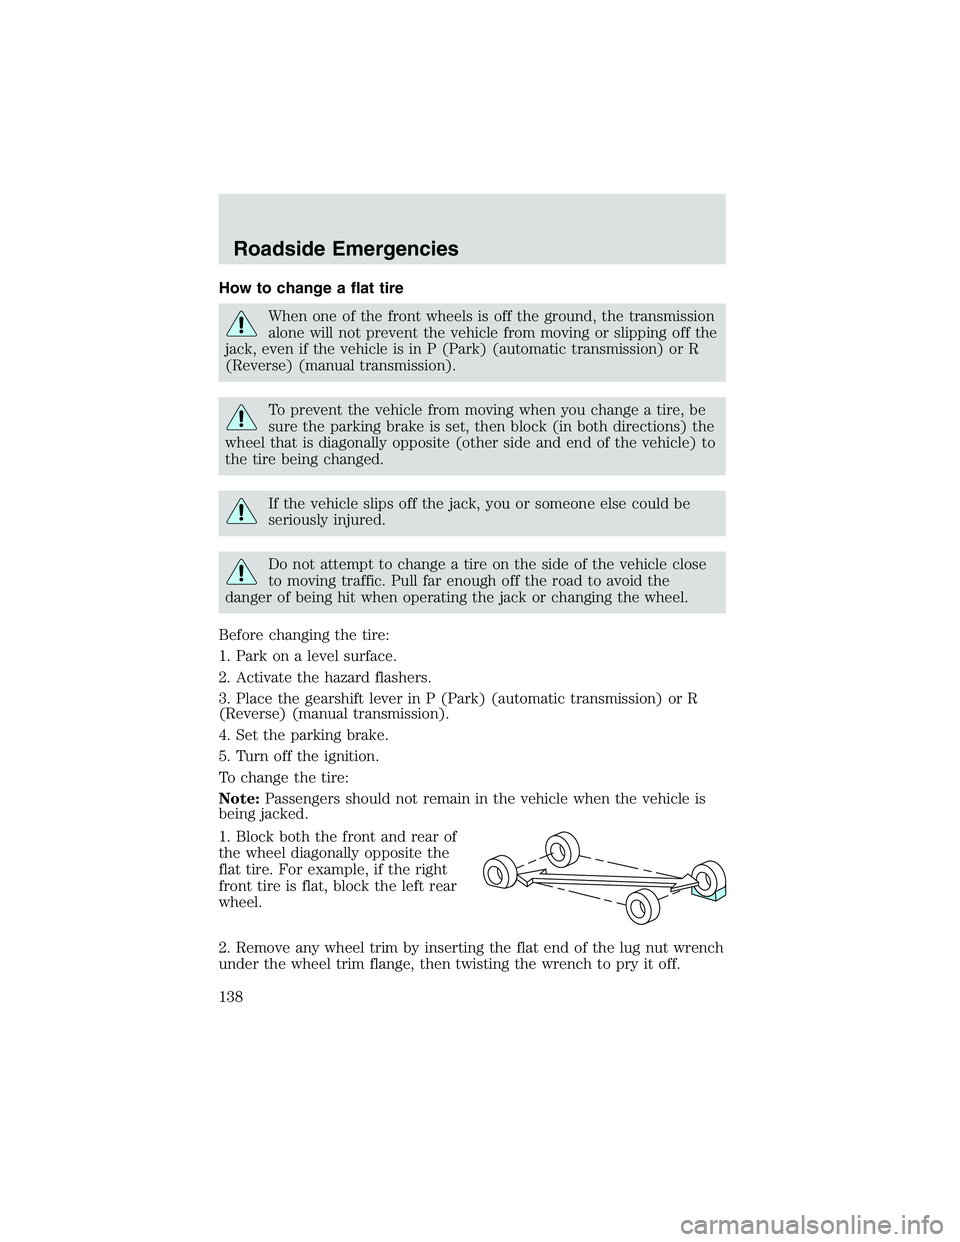
To prevent the vehicle from moving when you change a tire, be
sure the parking brake is set, then block (in both directions) the
wheel that is diagonally opposite (other side and end of the vehicle) to
the tire being changed.
If the vehicle slips off the jack, you or someone else could be
seriously injured.
Do not attempt to change a tire on the side of the vehicle close
to moving traffic. Pull far enough off the road to avoid the
danger of being hit when operating the jack or changing the wheel.
Before changing the tire:
1. Park on a level surface.
2. Activate the hazard flashers.
3. Place the gearshift lever in P (Park) (automatic transmission) or R
(Reverse) (manual transmission).
4. Set the parking brake.
5. Turn off the ignition.
To change the tire:
Note:Passengers should not remain in the vehicle when the vehicle is
being jacked.
1. Block both the front and rear of
the wheel diagonally opposite the
flat tire. For example, if the right
front tire is flat, block the left rear
wheel.
2. Remove any wheel trim by inserting the flat end of the lug nut wrench
under the wheel trim flange, then twisting the wrench to pry it off.
Roadside Emergencies
138
Page 160 of 200
OPENING THE HOOD
1. Inside the vehicle, pull the hood
release handle.
2. Go to the front of the vehicle and
release the latch located in the
center between the hood and the
grille.
3. Lift the hood.
4.0L SOHC V6 ENGINE
1. Windshield washer fluid reservoir
2. Automatic transmission fluid
dipstick (if equipped)
3. Engine oil filler cap
4. Engine oil dipstick
5. Brake fluid reservoir6. Power distribution box
7. Clutch fluid reservoir
8. Battery
9. Power steering fluid reservoir
10. Air filter assembly
11. Engine coolant reservoir
12345
981110
6
7
Maintenance and Specifications
160
Page 175 of 200

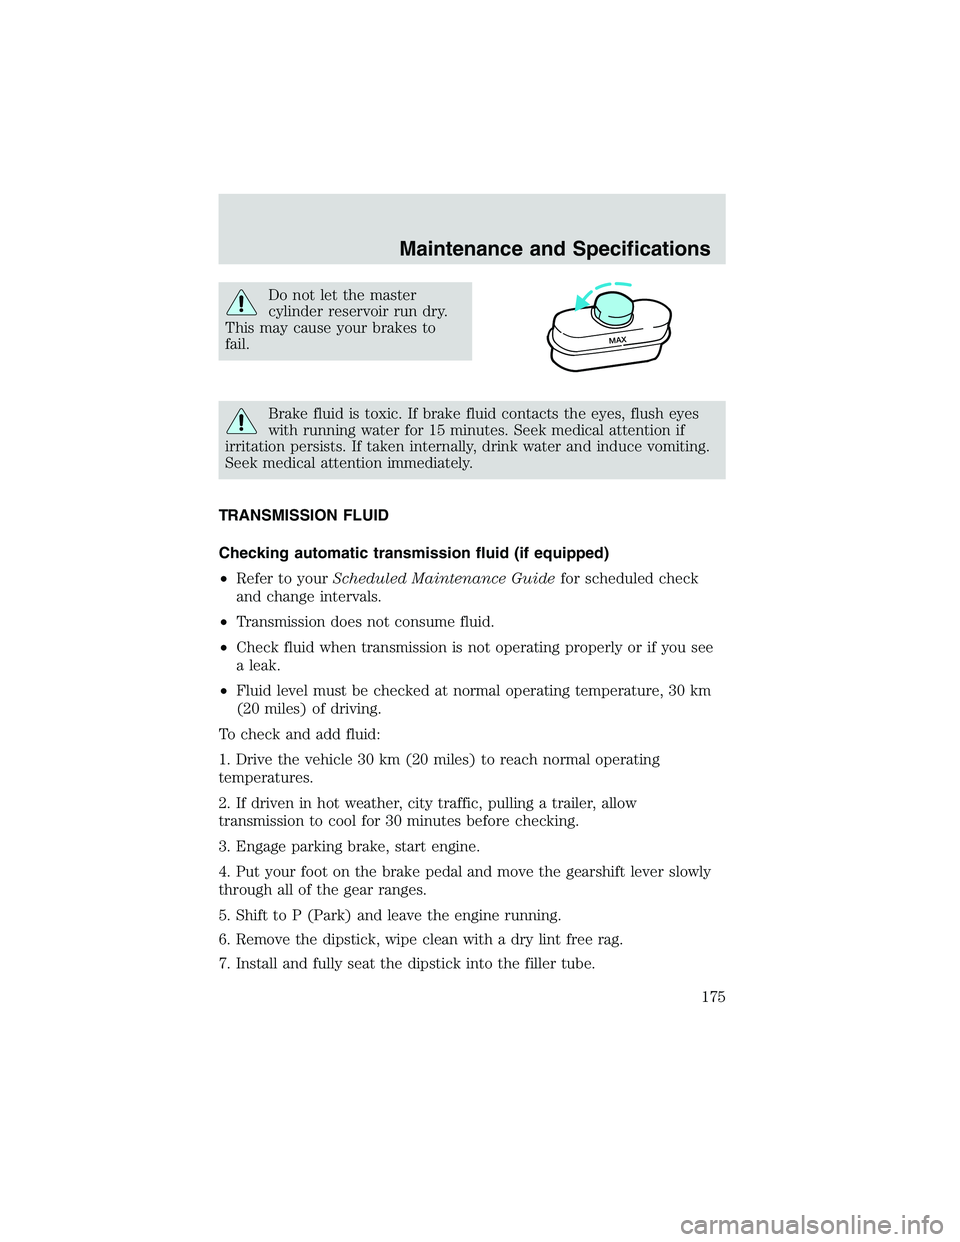
Do not let the master
cylinder reservoir run dry.
This may cause your brakes to
fail.
Brake fluid is toxic. If brake fluid contacts the eyes, flush eyes
with running water for 15 minutes. Seek medical attention if
irritation persists. If taken internally, drink water and induce vomiting.
Seek medical attention immediately.
TRANSMISSION FLUID
Checking automatic transmission fluid (if equipped)
•Refer to yourScheduled Maintenance Guidefor scheduled check
and change intervals.
•Transmission does not consume fluid.
•Check fluid when transmission is not operating properly or if you see
a leak.
•Fluid level must be checked at normal operating temperature, 30 km
(20 miles) of driving.
To check and add fluid:
1. Drive the vehicle 30 km (20 miles) to reach normal operating
temperatures.
2. If driven in hot weather, city traffic, pulling a trailer, allow
transmission to cool for 30 minutes before checking.
3. Engage parking brake, start engine.
4. Put your foot on the brake pedal and move the gearshift lever slowly
through all of the gear ranges.
5. Shift to P (Park) and leave the engine running.
6. Remove the dipstick, wipe clean with a dry lint free rag.
7. Install and fully seat the dipstick into the filler tube.
MAX
Maintenance and Specifications
175
Page 176 of 200
8. Remove the dipstick and inspect
the fluid level. Level should be in
the cross-hatched area.
9. If necessary, add fluid in 250ml (1/2 pint) increments through the filler
tube until the level is correct at normal operating temperatures. Refer to
theLubricant Specificationssection in this chapter for the correct fluid
type. The use of any other non-approved fluid may cause internal
transmission damage.
10. Fluid can be checked at ambient
temperatures between 10–30°C
(50–95°F). DO NOT ADD fluid until
the transmission is at normal
operating temperatures or the transmission will be overfilled.
Low fluid level
Do not drive the vehicle if the fluid
level is at or below the bottom of
the dipstick.
High fluid level
Fluid levels above the safe range
may cause overheating, shift and/or
engagement concerns and internal
transmission damage. If an overfill
condition occurs, excess fluid should
be removed by a qualified technician.
Maintenance and Specifications
176
Page 177 of 200
Checking and adding manual transmission fluid (if equipped)
1. Clean the filler plug.
2. Remove the filler plug and
inspect the fluid level.
3. Fluid level should be at the
bottom of the opening.
4. Add enough fluid through the
filler opening so that the fluid level
is at the bottom of the opening.
5. Install and tighten the fill plug
securely.
Use only fluid that meets Ford specifications. Refer toLubricant
Specificationsin this chapter.
Maintenance and Specifications
177
Page 183 of 200
MOTORCRAFT PART NUMBERS
Component 4.0L SOHC V6 engine
Air filter element FA-1658
Fuel filter FG-1036
Battery BXT-65-650
Oil filter FL-820S
PCV valve EV-243
Spark plugs* AGSF-22PP
* Refer to Vehicle Emissions Control Information (VECI) decal for spark
plug gap information.
REFILL CAPACITIES
Fluid Ford Part
NameApplication
Capacity
Brake and
clutch fluidMotorcraft High
Performance
DOT 3 Motor
Vehicle Brake
FluidAll Fill to line on
reservoir
Engine oil
(including filter
change)Motorcraft SAE
5W-30 Super
Premium Motor
OilAll 4.7L (5.0
quarts)
Fuel tank N/A All 85.2L (22.5
gallons)
Power steering
fluidMotorcraft
MERCON�AT FAll Fill to line on
reservoir
Transmission
fluid
1Motorcraft
MERCON�AT F4-speed manual 2.6L (5.6 pints)8
Motorcraft
MERCON�V
AT F5R55E
Automatic (4x2)9.5L (10.0
quarts)2
5R55E
Automatic (4x4)9.8L (10.3
quarts)2
Maintenance and Specifications
183
Page 184 of 200

Fluid Ford Part
NameApplication
Capacity
Transfer case Motorcraft
MERCON�AT F4WD 1.2L (1.3
quarts)
3
Engine coolant4Motorcraft
Premium Engine
Coolant
(green-colored)
orMotorcraft
Premium Gold
Engine Coolant
(yellow-colored)4.0L SOHC V6
engine13.2L (14.0
quarts)
Front axle
lubricantMotorcraft SAE
80W-90
Premium Rear
Axle Lubricant4x4 vehicles 1.7L (1.8
quarts)
Rear axle
lubricant
5Motorcraft SAE
80W-90
Premium Rear
Axle LubricantRefer to
Footnote 62.9-3.1L (5.5-5.8
pints)
Motorcraft SAE
75W-140 High
Performance
Synthetic Rear
Axle LubricantRefer to
Footnote 7
Windshield
washer fluidMotorcraft
Ultra-Clear
Windshield
Washer
ConcentrateAll 2.6L (2.7
quarts)
1Ensure the correct automatic transmission fluid is used. Transmission
fluid requirements are indicated on the dipstick or on the dipstick
handle. MERCON�and MERCON�V are not interchangeable. DO NOT
MIX MERCON�and MERCON�V. Refer to the scheduled maintenance
guide to determine the correct service interval.
Maintenance and Specifications
184
Page 185 of 200

2Indicates only approximate dry-fill capacity. Some applications may vary
based on cooler size and if equipped with an in-tank cooler. The amount
of transmission fluid and fluid level should be set by the indication on
the dipstick’s normal operating range.
3Fill to bottom of filler plug hole.
4Add the coolant type originally equipped in your vehicle.
5Fill to 6 mm to 14 mm (1/4 inch to 9/16 inch) below bottom of filler
plug hole.
6For vehicles equipped with a conventional rear axle, refer to your
scheduled maintenance guide for axle fluid change intervals.
7Vehicles equipped with Traction-Lok axle require synthetic rear axle
lubricant. Rear axles containing synthetic lubricant are lubricated for life.
These lubricants are not to be checked or changed unless a leak is
suspected or service is required. The axle lubricant should be changed
any time the axle has been submerged in water.
Add 118 ml (4 oz.) of Additive Friction Modifier XL-3 or equivalent
meeting Ford specification EST-M2C118–A for complete refill of
Traction-Lok axles.
8Service refill capacity for the manual transmission is determined by
filling the transmission to the bottom of the filler hole with the vehicle
on a level surface.
Maintenance and Specifications
185