Page 4 of 312
These are some of the symbols you may see on your vehicle.
Vehicle Symbol Glossary
Safety Alert
See Owner's Guide
Fasten Safety BeltAir Bag-Front
Air Bag-SideChild Seat
Child Seat Installation
WarningChild Seat Tether
Anchorage
Brake SystemAnti-Lock Brake System
Brake Fluid -
Non-Petroleum BasedTraction Control
Master Lighting SwitchHazard Warning Flasher
Fog Lamps-FrontFuse Compartment
Fuel Pump ResetWindshield Wash/Wipe
Windshield
Defrost/DemistRear Window
Defrost/Demist
Power Windows
Front/RearPower Window Lockout
Introduction
4
Page 22 of 312

AVERAGE FUEL ECONOMY (AFE)
Select this function from the INFO
menu to display your average fuel
economy in liters/100 km or
miles/gallon.
If you calculate your average fuel
economy by dividing liters of fuel used by 100 kilometers traveled (miles
traveled by gallons used), your figure may be different than displayed for
the following reasons:
²your vehicle was not perfectly level during fill-up
²differences in the automatic shut-off points on the fuel pumps at
service stations
²variations in top-off procedure from one fill-up to another
²rounding of the displayed values to the nearest 0.1 liter (gallon)
1. Drive the vehicle at least 8 km (5 miles) with the speed control
system engaged to display a stabilized average.
2. Record the highway fuel economy for future reference.
It is important to press the RESET control after setting the speed
control to get accurate highway fuel economy readings.
DISTANCE TO EMPTY (DTE)
Selecting this function from the
INFO menu will give you an
estimate of how far you can drive
with the fuel remaining in your tank
under normal driving conditions.
Remember to turn the ignition OFF when refueling your vehicle.
Otherwise, the display will not show the addition of fuel for a few
kilometers (miles).
The DTE function will display LOW FUEL LEVEL and sound a tone for 1
second when you have low fuel level indicated on the fuel gauge.
.
Instrumentation
22
Page 178 of 312

The BRAKE warning lamp in the
instrument cluster illuminates and
remains illuminated (when the
ignition is turned ON) until the
parking brake is released.
Always set the parking brake fully and make sure that the
gearshift is securely latched in P (Park) (automatic
transmission) or in 1 (First) (manual transmission).
The parking brake is not recommended to stop a moving vehicle.
However, if the normal brakes fail, the parking brake can be used to stop
your vehicle in an emergency. Since the parking brake applies only the
rear brakes, the vehicle's stopping distance will increase greatly and the
handling of your vehicle will be adversely affected.
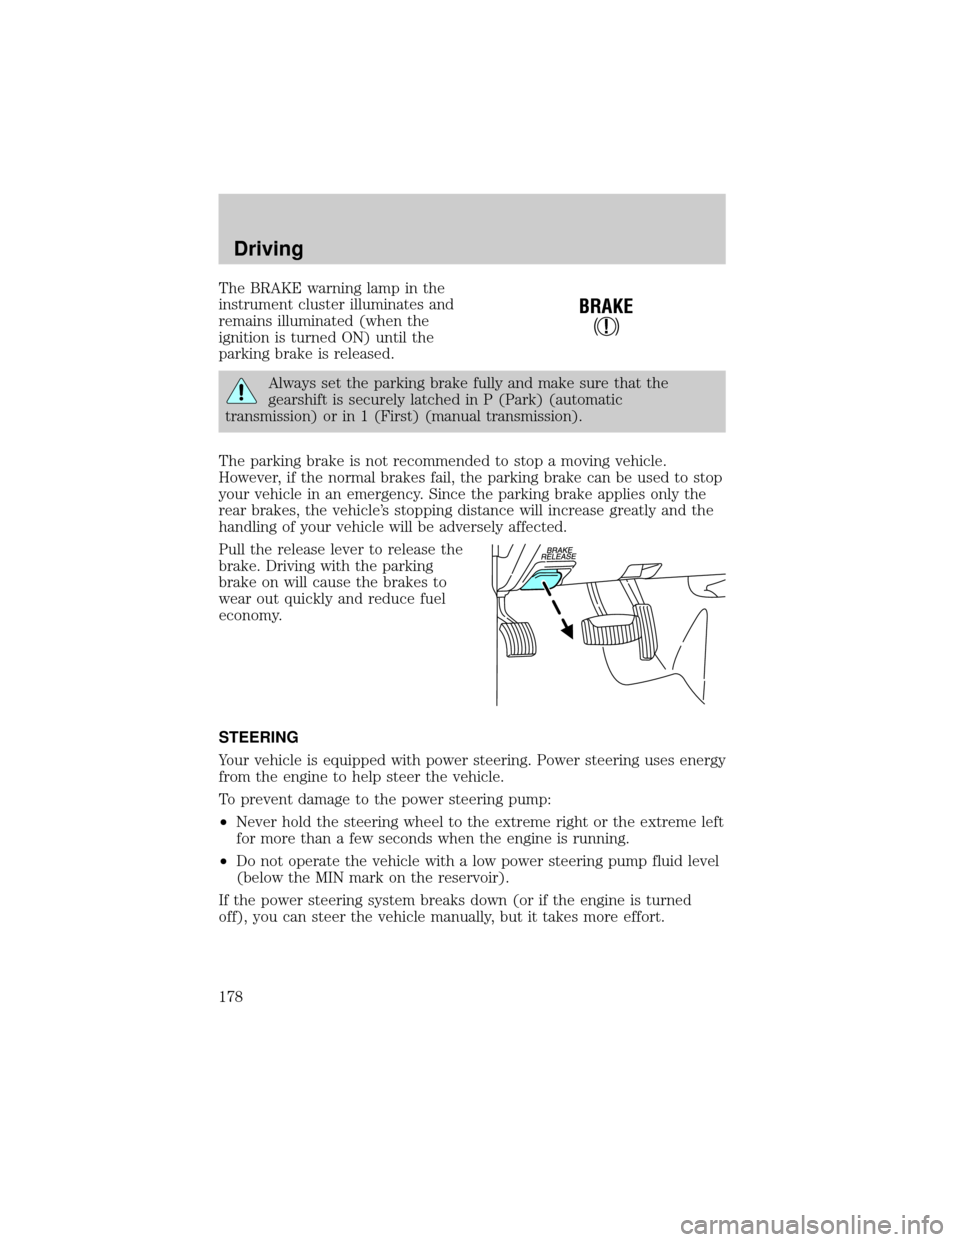
Pull the release lever to release the
brake. Driving with the parking
brake on will cause the brakes to
wear out quickly and reduce fuel
economy.
STEERING
Your vehicle is equipped with power steering. Power steering uses energy
from the engine to help steer the vehicle.
To prevent damage to the power steering pump:
²Never hold the steering wheel to the extreme right or the extreme left
for more than a few seconds when the engine is running.
²Do not operate the vehicle with a low power steering pump fluid level
(below the MIN mark on the reservoir).
If the power steering system breaks down (or if the engine is turned
off), you can steer the vehicle manually, but it takes more effort.
!
BRAKE
Driving
178
Page 206 of 312

Roadside coverage beyond basic warranty
In the United States, you may purchase additional roadside assistance
coverage beyond this period through the Ford Auto Club by contacting
your Ford or Lincoln Mercury dealer.
Similarly in Canada, you may purchase additional coverage beyond the
basic coverage period by consulting the Ford Roadside Assistance Club
brochure or by calling 1±877±294±CLUB (1±877±294±2582).
HAZARD FLASHER
Use only in an emergency to warn traffic of vehicle breakdown,
approaching danger, etc. The hazard flashers can be operated when the
ignition is off.
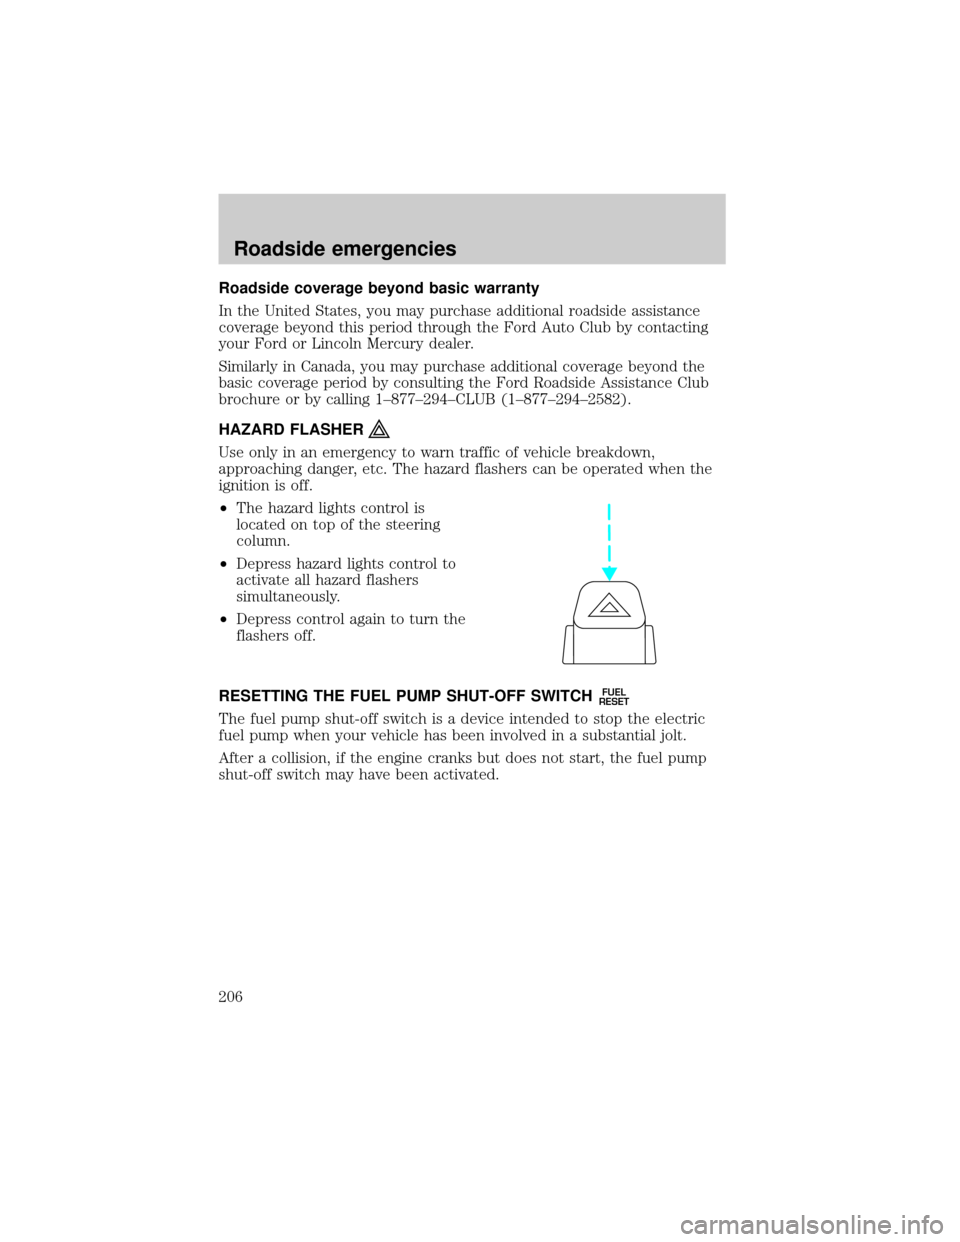
²The hazard lights control is
located on top of the steering
column.
²Depress hazard lights control to
activate all hazard flashers
simultaneously.
²Depress control again to turn the
flashers off.
RESETTING THE FUEL PUMP SHUT-OFF SWITCH
FUEL
RESET
The fuel pump shut-off switch is a device intended to stop the electric
fuel pump when your vehicle has been involved in a substantial jolt.
After a collision, if the engine cranks but does not start, the fuel pump
shut-off switch may have been activated.
Roadside emergencies
206
Page 207 of 312
The fuel pump shut-off switch is
located in the passenger's foot well,
by the kick panel.
Use the following procedure to reset the fuel pump shut-off switch.
1. Turn the ignition to the OFF position.
2. Check the fuel system for leaks.
3. If no fuel leak is apparent, reset the fuel pump shut-off switch by
pushing in on the reset button.
4. Turn the ignition to the ON position. Pause for a few seconds and
return the key to the OFF position.
5. Make a further check for leaks in the fuel system.
FUSES AND RELAYS
Fuses
If electrical components in the
vehicle are not working, a fuse may
have blown. Blown fuses are
identified by a broken wire within
the fuse. Check the appropriate
fuses before replacing any electrical
components.
15
Roadside emergencies
207
Page 210 of 312

The fuses are coded as follows:
Fuse/Relay
LocationFuse Amp
RatingPassenger Compartment Fuse
Panel Description
1 30A Radio Sense, 4x4, ABS Control
Module
2 20A Folding Mirror, Moon Roof,
Heated Seats, Moon roof
3 20A Radio, Amplifier, Power Antenna
4 5A Digital Transmission Range Sensor
5 15A Flasher Relay (Turn, Hazards)
6 10A Right Horn
7 15A Heated Mirrors
8 30A Washer Pump Relays (Front and
Rear), Front Wiper Control
9 15A Rear Wiper Coil and Contact
10 10A Heated Backlight Relay Coil,
Heated Seat Module, Temp Blend
Actuator, A/C Clutch Contact
11 Ð Not Used
12 5A Foglamp Switch,4x4module
13 5A Over Drive Cancel Switch, GEM
Start, Flex Fuel Sender
14 5A PATS Module
15 5A 4 x 4, Memory Seat Disable
16 5A Power Mirror, Security Module
(turn), Manual Climate Control
17 15A Delayed Acc. Coil, Battery Saver,
Interior Lamps
18 10A Left Horn
19 Ð Not Used
20 5A Memory Module, GEM Module
21 5A Instrument Cluster, Compass,
Flasher Coil
22 Ð Not Used
23 15A Brake Pedal Position Switch
24 15A Cigar Lighter, OBD II
Roadside emergencies
210
Page 214 of 312
The high-current fuses are coded as follows:
Fuse/Relay
LocationFuse Amp
RatingPower Distribution Box
Description
1 60A** PJB
2 20A** Door Locks
3 20A** GCC Pusher Fan (export only)
4 30A** Heated Backlight
5 40A** ABS
6 60A** Circuit Breaker
7 20A** Power Point #2
8 Ð Not Used
9 20A** Power Point #1
10 20A** ABS Module
11 40A** PTEC
12 50A** Ignition Relay
13 30A** Trailer Tow Battery
14 10A* Fog Lamps
15 5A* Memory
16 15A* Headlamp Switch
17 20A*4 x 4 (v-batt 2)
18 20A*4 x 4 (v-batt 1)
19 20A** High Beam Relay
20 30A** Electric Brake
21 Ð Not Used
22 20A** Autolmap; Low Beam
23 30A** Ignition Switch
24 10A* Rear Fog Lamps
25 20A* Security Module (horns)
26 15A* Fuel Pump
27 20A* Trailer Tow Lamps
28 10A* Daytime Running Lamps (DRL)
29 60A** PJB
30 Ð Not Used
31 Ð Not Used
32 Ð Not Used
33 30A** Auxiliary Blower Motor
Roadside emergencies
214
Page 215 of 312
Fuse/Relay
LocationFuse Amp
RatingPower Distribution Box
Description
34 30A** Power Seats
35 Ð Not Used
36 40A** Blower Motor
37 15A* A/C Clutch
38 15A* Coil On Plug
39 15A* High Beam
40 15A* PTEC Power
41 15A* HEGO, UMV, CMS, PTEC
42 10A* Right Low Beam
43 10A* Left Low Beam
44 10A* High Beam Relay
45 7.5A* Right High Beam (export only)
46 15A* Injectors
47 Ð Daytime Running Lamps Relay,
GCC Pusher Fan (export)
48 Ð Fuel Pump Relay
49 Ð High Beam Relay
50 Ð Fog Lamp Relay
51 Ð Autolamp Relay
52 Ð A/C Clutch Relay
53 Ð Park Lamp Relay (export)
54 Ð Wiper Run / Park Relay
55 Ð Blower Motor Relay
56 Ð Starter Relay
57 Ð PTEC Relay
58 Ð Ignition Relay
59 Ð Wiper High/Low Relay
60 Ð PCM Diode
61 Ð A/C Clutch Diode
67 30A CB Delayed accessory
* Mini Fuses ** Maxi Cartridge Fuses
Roadside emergencies
215