Page 46 of 312

²Do not place objects over the defroster outlets. These objects can
block airflow and reduce your ability to see through your windshield.
Avoid placing small objects on top of the instrument panel. These
objects may fall down into the defroster outlets and block airflow, in
addition to damaging the climate control system.
To aide in side window defogging/demisting in cold weather conditions:
1. Select
2. Set the temperature control to full heat
3. Set the fan speed to High
4. Direct the outer panel vents towards the side windows
In order to increase the airflow to the outer panel vents, close the
central panel vents.
Do not place objects on top of the instrument panel, as these
objects may become projectiles in a collision or sudden stop.
Auxiliary climate controls (if equipped)
Depending on the equipment package of your vehicle, your vehicle may
be equipped with auxiliary climate controls. The auxiliary climate control
feature provides increased capacity to quickly heat or cool the vehicle.
Your auxiliary climate controls are located in the overhead console of the
first and second row seating. The auxiliary climate controls are
independent of the main climate control system. If the main climate
control system is in the OFF position, the auxiliary climate controls will
still work. However, the A/C function will not operate unless the A/C
control has been selected on the main climate control system.
Front auxiliary control
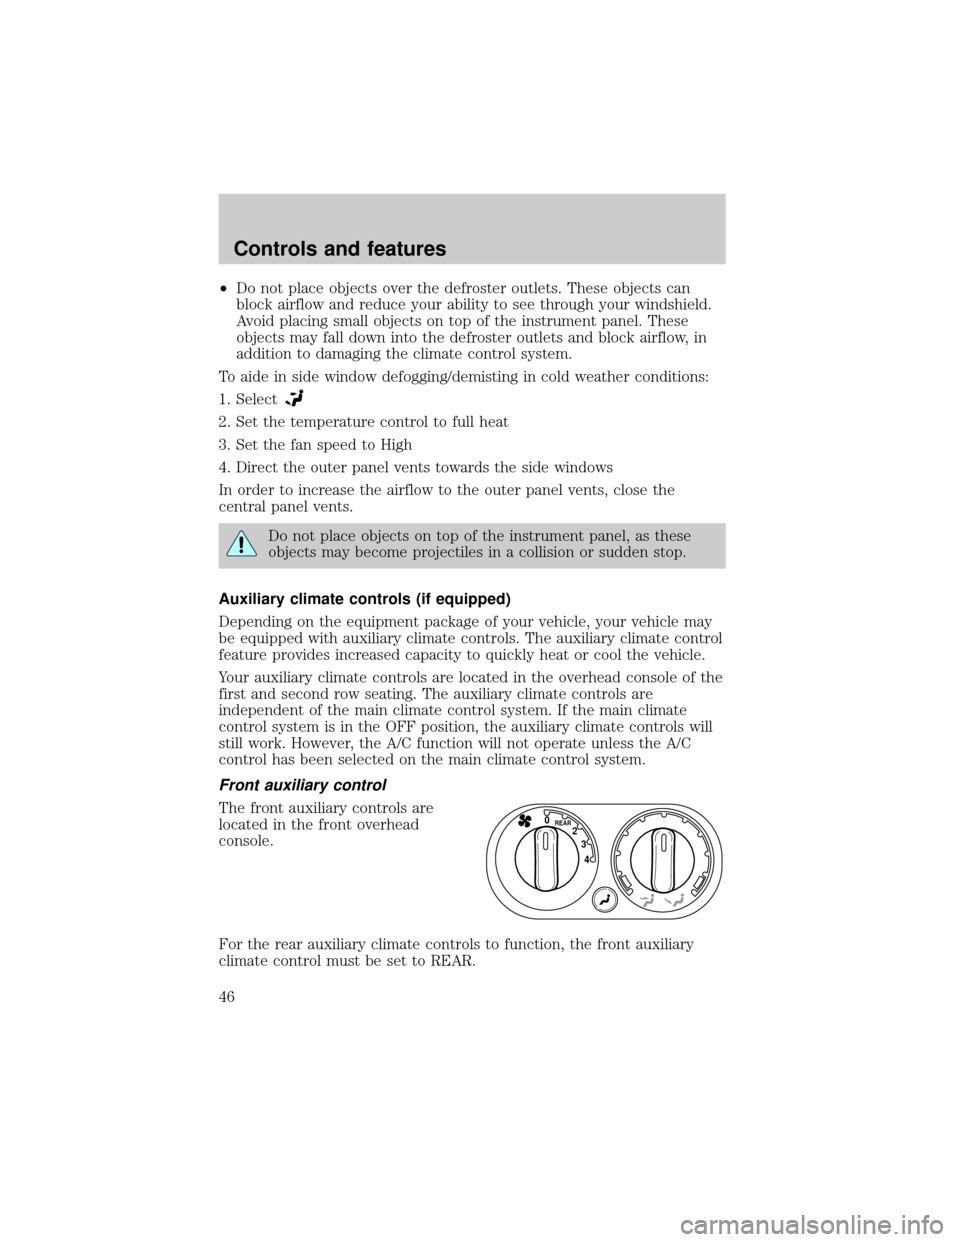
The front auxiliary controls are
located in the front overhead
console.
For the rear auxiliary climate controls to function, the front auxiliary
climate control must be set to REAR.
4 3 2
REAR0
Controls and features
46
Page 47 of 312
Turn the fan speed control knob to
the desired speed.
Turn the temperature control to
regulate the air temperature.
Press the mode selector once to
select air distribution through the
overhead vents. The
icon will
illuminate on the temperature
selector.
Press the mode selector again to select air distribution through the floor
vents. The
icon will illuminate on the temperature selector. Only the
auxiliary control head (front or rear) that is active will have the indicator
lights functioning.
Rear auxiliary climate controls (if equipped)
The rear auxiliary climate controls
are located in the headliner of the
second row seating.
Ensure that the front auxiliary
control is turned to REAR to enable
the rear climate controls.
4 3 2
REAR0
4 3 2 1 0
4 3 2
REAR0
Controls and features
47
Page 48 of 312
Turn the fan speed control to the
desired fan speed.
Turn the temperature control to
regulate the air temperature.
Press the mode selector once to
select air distribution through the
overhead vents. The
icon will
illuminate on the temperature
selector.
Press the mode selector again to select air distribution through the floor
vents. The
icon will illuminate on the temperature selector. Only the
auxiliary control head (front or rear) that is active will have the indicator
lights functioning.
4 3 2 1 0
Controls and features
48
Page 103 of 312

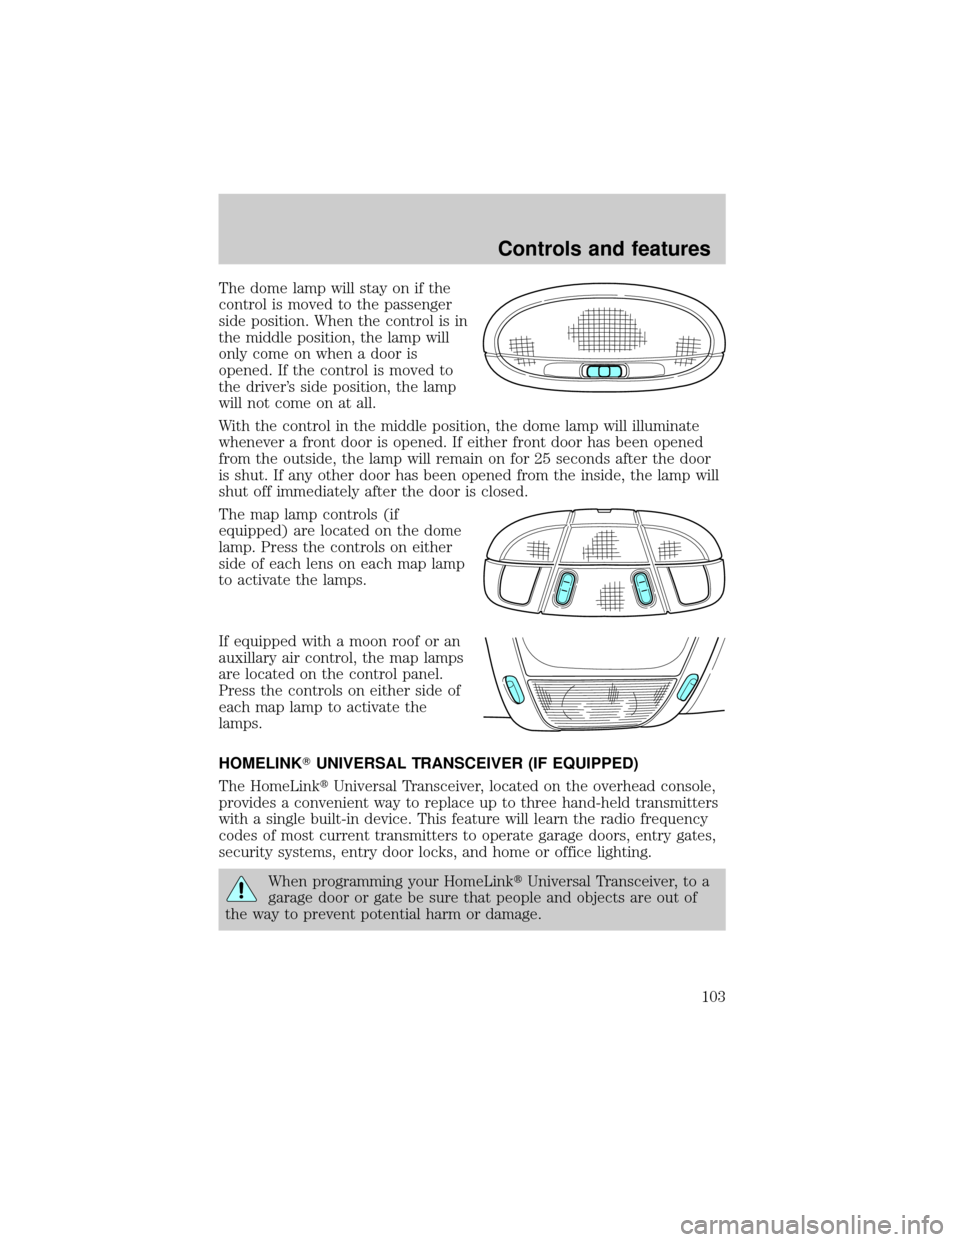
The dome lamp will stay on if the
control is moved to the passenger
side position. When the control is in
the middle position, the lamp will
only come on when a door is
opened. If the control is moved to
the driver's side position, the lamp
will not come on at all.
With the control in the middle position, the dome lamp will illuminate
whenever a front door is opened. If either front door has been opened
from the outside, the lamp will remain on for 25 seconds after the door
is shut. If any other door has been opened from the inside, the lamp will
shut off immediately after the door is closed.
The map lamp controls (if
equipped) are located on the dome
lamp. Press the controls on either
side of each lens on each map lamp
to activate the lamps.
If equipped with a moon roof or an
auxillary air control, the map lamps
are located on the control panel.
Press the controls on either side of
each map lamp to activate the
lamps.
HOMELINKTUNIVERSAL TRANSCEIVER (IF EQUIPPED)
The HomeLinktUniversal Transceiver, located on the overhead console,
provides a convenient way to replace up to three hand-held transmitters
with a single built-in device. This feature will learn the radio frequency
codes of most current transmitters to operate garage doors, entry gates,
security systems, entry door locks, and home or office lighting.
When programming your HomeLinktUniversal Transceiver, to a
garage door or gate be sure that people and objects are out of
the way to prevent potential harm or damage.
Controls and features
103
Page 112 of 312
CENTER CONSOLE
Your vehicle may be equipped with a
variety of console features. These
include:
²Utility compartment with
cassette/compact disc storage
²Auxiliary power point
²Cupholders
²Tissue box holder
Use only soft cups in the
cupholder. Hard objects can
injure you in a collision.
Auxiliary power point
Power outlets are designed
for accessory plugs only. Do
not hang any type of accessory or
accessory bracket from the plug.
Improper use of the power outlet
can cause damage not covered by
your warranty.
The power point is an additional
power source for electrical
accessories.
Controls and features
112
Page 113 of 312
Rear auxiliary power point (if equipped)
A second auxiliary power point is
located on the rear side of the
console. It is accessible from the
rear seats.
Rear console features
The rear console may incorporate
the following features:
²air vents
²cupholders
²rear power point
Controls and features
113
Page 211 of 312
Fuse/Relay
LocationFuse Amp
RatingPassenger Compartment Fuse
Panel Description
25 5A Mode, Temperature Actuator,
Auxiliary Climate Control, Trailer
Tow Battery Charge, Moon Roof
26 7.5A Park Aid, Brake Shift Interlock,
Approach Lamp Relay Coil
27 7.5A Electronic Compass Mirror,
Security Module, Digital
Transmission Range Sensor -
Backup Lamps
28 10A Air Bag Diagnostics
29 5A 4 x 4, GEM Module signal, ABS
Control Module, Moon Roof
30 5A Daytime Running Lamps (DRL),
Remote Solenoid, DEATC Climate
Controller
Roadside emergencies
211
Page 214 of 312
The high-current fuses are coded as follows:
Fuse/Relay
LocationFuse Amp
RatingPower Distribution Box
Description
1 60A** PJB
2 20A** Door Locks
3 20A** GCC Pusher Fan (export only)
4 30A** Heated Backlight
5 40A** ABS
6 60A** Circuit Breaker
7 20A** Power Point #2
8 Ð Not Used
9 20A** Power Point #1
10 20A** ABS Module
11 40A** PTEC
12 50A** Ignition Relay
13 30A** Trailer Tow Battery
14 10A* Fog Lamps
15 5A* Memory
16 15A* Headlamp Switch
17 20A*4 x 4 (v-batt 2)
18 20A*4 x 4 (v-batt 1)
19 20A** High Beam Relay
20 30A** Electric Brake
21 Ð Not Used
22 20A** Autolmap; Low Beam
23 30A** Ignition Switch
24 10A* Rear Fog Lamps
25 20A* Security Module (horns)
26 15A* Fuel Pump
27 20A* Trailer Tow Lamps
28 10A* Daytime Running Lamps (DRL)
29 60A** PJB
30 Ð Not Used
31 Ð Not Used
32 Ð Not Used
33 30A** Auxiliary Blower Motor
Roadside emergencies
214