2002 FORD EXPLORER ignition
[x] Cancel search: ignitionPage 127 of 312

²Unlock the doors by using your
keyless entry pad.
²Unlock the doors or liftgate with a key. Turn the key full travel
(toward the front of the vehicle) to make sure the alarm disarms.
²Turn ignition to ON.
²Press the PANIC control on the
remote entry transmitter. This
will only shut the horn OFF when
the alarm is sounding. The alarm
system will still be armed.
Triggering the anti-theft system
The armed system will be triggered if:
²Any door, liftgate or hood is opened without using the door key or the
remote entry transmitter.
SECURILOCKYPASSIVE ANTI-THEFT SYSTEM
SecuriLockypassive anti-theft system is an engine immobilization
system. This system prevents the engine from being started unless a
coded keyis used.
The SecuriLockypassive anti-theft system is not compatible with
non-Ford aftermarket remote start systems. Use of these systems may
result in vehicle starting problems and a loss of security protection.
Controls and features
127
Page 128 of 312

Automatic arming
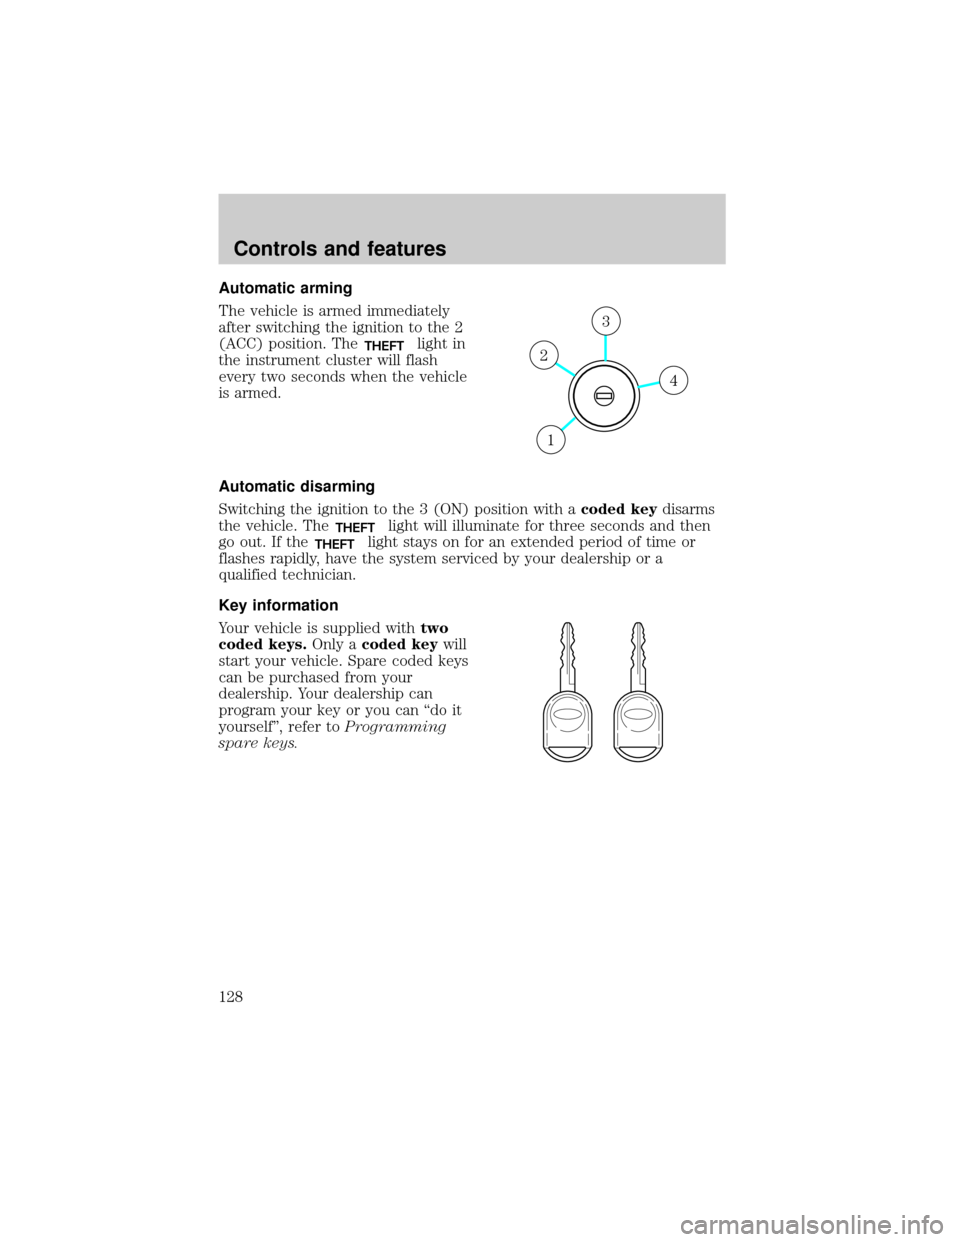
The vehicle is armed immediately
after switching the ignition to the 2
(ACC) position. The
THEFTlight in
the instrument cluster will flash
every two seconds when the vehicle
is armed.
Automatic disarming
Switching the ignition to the 3 (ON) position with acoded keydisarms
the vehicle. The
THEFTlight will illuminate for three seconds and then
go out. If the
THEFTlight stays on for an extended period of time or
flashes rapidly, have the system serviced by your dealership or a
qualified technician.
Key information
Your vehicle is supplied withtwo
coded keys.Only acoded keywill
start your vehicle. Spare coded keys
can be purchased from your
dealership. Your dealership can
program your key or you can ªdo it
yourselfº, refer toProgramming
spare keys.
4
3
2
1
Controls and features
128
Page 129 of 312

The SecuriLockypassive anti-theft
system is not compatible with non-
Ford (aftermarket) remote start
systems. Use of these systems may
result in vehicle starting problems and
a loss of security protection. Large
metallic objects, electronic devices on
the key chain that can be used to
purchase gasoline or similar items, or
a second key on the same key ring as
the PATS ignition key may cause
vehicle starting issues. If present, you
need to keep these objects from
touching the PATS ignition key while
starting the engine. These objects and
devices cannot damage the PATS ignition key, but can cause a momentary
issue if they are too close to the key during engine start. If a problem
occurs, turn ignition OFF and restart the engine with all other objects on the
key ring held away from the ignition key. Check to make sure the encoded
ignition key is an approved Ford encoded ignition key.
If your keys are lost or stolen you
will need to do the following:
²Use your spare key to start the
vehicle. or
²Have your vehicle towed to a
dealership or locksmith. The key
codes will need to be erased from
your vehicle and new key codes will need to be re-coded.
Replacing coded keys can be very costly and you may want to store an
extra programmed key away from the vehicle in a safe place to prevent
an unforeseen inconvenience.
The correct PATS key must be used for your vehicle. The use of the
wrong type of PATS key may lead to a ªNO-STARTº condition. Refer to
the Rotunda Key Application Matrix for the correct PATS key type for
your particular vehicle make and model year. If a key Application Matrix
is not available, call 1±800±ROTUNDA (1±800±768±8632) (press 2) to
order a Key Application Matrix.
If an unprogrammed key is used in the ignition it will cause a
ªNO STARTºcondition.
Controls and features
129
Page 130 of 312

Programming spare keys
A maximum of eight keys can be coded to your vehicle. Only
SecuriLockykeys can be used. To program acoded keyyourself, you
will need two previously programmedcoded keys(keys that already
operate your vehicle's engine) and the new unprogrammed key(s) readily
accessible for timely implementation of each step in the procedure.
If two previously programmed coded keys are not available (one or both
of your original keys were lost or stolen), you must bring your vehicle to
your dealership to have the spare coded key(s) programmed.
Please read and understand the entire procedure before you begin.
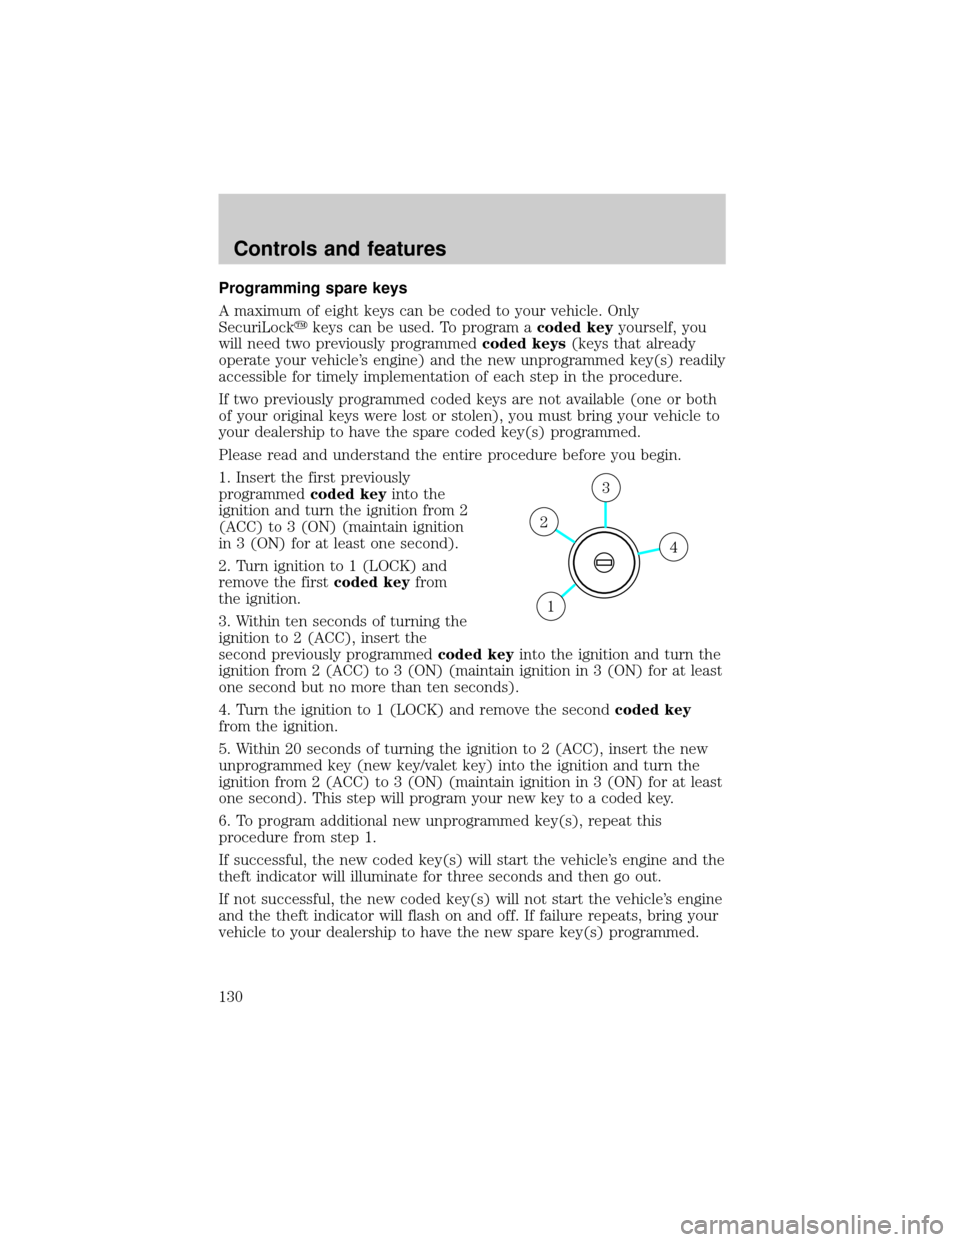
1. Insert the first previously
programmedcoded keyinto the
ignition and turn the ignition from 2
(ACC) to 3 (ON) (maintain ignition
in 3 (ON) for at least one second).
2. Turn ignition to 1 (LOCK) and
remove the firstcoded keyfrom
the ignition.
3. Within ten seconds of turning the
ignition to 2 (ACC), insert the
second previously programmedcoded keyinto the ignition and turn the
ignition from 2 (ACC) to 3 (ON) (maintain ignition in 3 (ON) for at least
one second but no more than ten seconds).
4. Turn the ignition to 1 (LOCK) and remove the secondcoded key
from the ignition.
5. Within 20 seconds of turning the ignition to 2 (ACC), insert the new
unprogrammed key (new key/valet key) into the ignition and turn the
ignition from 2 (ACC) to 3 (ON) (maintain ignition in 3 (ON) for at least
one second). This step will program your new key to a coded key.
6. To program additional new unprogrammed key(s), repeat this
procedure from step 1.
If successful, the new coded key(s) will start the vehicle's engine and the
theft indicator will illuminate for three seconds and then go out.
If not successful, the new coded key(s) will not start the vehicle's engine
and the theft indicator will flash on and off. If failure repeats, bring your
vehicle to your dealership to have the new spare key(s) programmed.
4
3
2
1
Controls and features
130
Page 150 of 312

Position the shoulder belt height adjusters so that the belt rests
across the middle of your shoulder. Failure to adjust the safety
belt properly could reduce the effectiveness of the seat belt and
increase the risk of injury in a collision.
Safety belt extension assembly
If the safety belt assembly is too short for you, even when fully
extended, 20 cm (8 inches) can be added to the safety belt assembly by
adding a safety belt extension assembly (part number 611C22). Safety
belt extension assemblies can be obtained from your dealer at no cost.
Use only extensions manufactured by the same supplier as the safety
belt. Manufacturer identification is located at the end of the webbing on
the label. Also, use the safety belt extension only if the safety belt is too
short for you when fully extended. Do not use extensions to change the
fit of the shoulder belt across the torso.
Safety belt warning light and indicator chime
The seat belt warning light illuminates in the instrument cluster and a
chime sounds to remind the occupants to fasten their safety belts.
Conditions of operation
If... Then...
The driver's safety belt is not
buckled before the ignition
switch is turned to the ON
position...The safety belt warning light
illuminates 1-2 minutes and the
warning chime sounds 4-8 seconds.
The driver's safety belt is
buckled while the indicator
light is illuminated and the
warning chime is sounding...The safety belt warning light and
warning chime turn off.
The driver's safety belt is
buckled before the ignition
switch is turned to the ON
position...The safety belt warning light and
indicator chime remain off.
Seating and safety restraints
150
Page 151 of 312

Belt minder
The Belt Minder feature is a supplemental warning to the safety belt
warning function. This feature provides additional reminders to the
driver that the driver's safety belt is unbuckled by intermittently
sounding a chime and illuminating the safety belt warning lamp in the
instrument cluster.
If... Then...
The driver's safety belt is not
buckled before the vehicle has
reached at least 5 km/h (3
mph) and 1-2 minutes have
elapsed since the ignition
switch has been turned to
ON...The Belt Minder feature is activated -
the safety belt warning light
illuminates and the warning chime
sounds for 6 seconds every 30
seconds, repeating for approximately
5 minutes or until safety belt is
buckled.
The driver's safety belt is
buckled while the safety belt
indicator light is illuminated
and the safety belt warning
chime is sounding...The Belt Minder feature will not
activate.
The driver's safety belt is
buckled before the ignition
switch is turned to the ON
position...The Belt Minder feature will not
activate.
The purpose of the Belt Minder is to remind occasional wearers to wear
safety belts all of the time.
Seating and safety restraints
151
Page 153 of 312

One time disable
Anytime the safety belt is buckled and then unbuckled during an ignition
ON cycle, Belt Minder will be disabled for that ignition cycle only.
Deactivating/activating the belt minder feature
Read steps1-9thoroughly before proceeding with the
deactivation/activation programming procedure.
The Belt Minder feature can be deactivated/activated by performing the
following procedure:
Before following the procedure, make sure that:
²the parking brake is set
²the gearshift is in P (Park) (automatic transmission) or the neutral
position (manual transmission).
²the ignition switch is in the OFF position
²all vehicle doors are closed
²the driver's safety belt is unbuckled
²the parklamps/headlamps are in OFF position (If vehicle is equipped
with Autolamps, the Autolamps featureMUSTbe turned off.)
To reduce the risk of injury, do not deactivate/activate the Belt
Minder feature while driving the vehicle.
1. Turn the ignition switch to the RUN (or ON) position. (DO NOT
START THE ENGINE)
2. Wait until the safety belt warning light turns off. (Approximately 1±2
minutes)
²Steps 3±5 must be completed within 60 seconds or the procedure will
have to be repeated.
3. Buckle then unbuckle the safety belt three times, ending with the
safety belt unbuckled. This can be done before or during Belt Minder
warning activation.
4. Turn on the parklamps/headlamps, turn off the parklamps/headlamps.
5. Buckle then unbuckle the safety belt three times, ending with the
safety belt unbuckled.
²After step 5 the safety belt warning light will be turned on for three
seconds.
Seating and safety restraints
153
Page 159 of 312

The SRS consists of:
²driver and passenger air bag modules (which include the inflators and
air bags).
²side air curtains (if equipped). Refer toSide air bag systemlater in
this chapter.
²one or more impact and safing sensors.
²a readiness light and tone.
²diagnostic module.
²and the electrical wiring which connects the components.
The diagnostic module monitors its own internal circuits and the
supplemental air bag electrical system warning (including the impact
sensors), the system wiring, the air bag system readiness light, the air
bag back up power and the air bag ignitors.
Determining if the system is operational
The SRS uses a readiness light in the instrument cluster or a tone to
indicate the condition of the system. Refer to theAir bag readiness
section in theInstrumentationchapter. Routine maintenance of the air
bag is not required.
A difficulty with the system is indicated by one or more of the following:
²The readiness light will either
flash or stay lit.
²The readiness light will not
illuminate immediately after
ignition is turned on.
²A series of five beeps will be heard. The tone pattern will repeat
periodically until the problem and/or light are repaired.
If any of these things happen, even intermittently, have the SRS serviced at
your dealership or by a qualified technician immediately. Unless serviced,
the system may not function properly in the event of a collision.
Side air curtain system (if equipped)
Do not attempt to service, repair, or modify the air bag
Supplemental Restraint System, its fuses or the seat cover on a
seat containing an air bag. See your Ford or Lincoln Mercury dealer.
Seating and safety restraints
159