Page 37 of 216
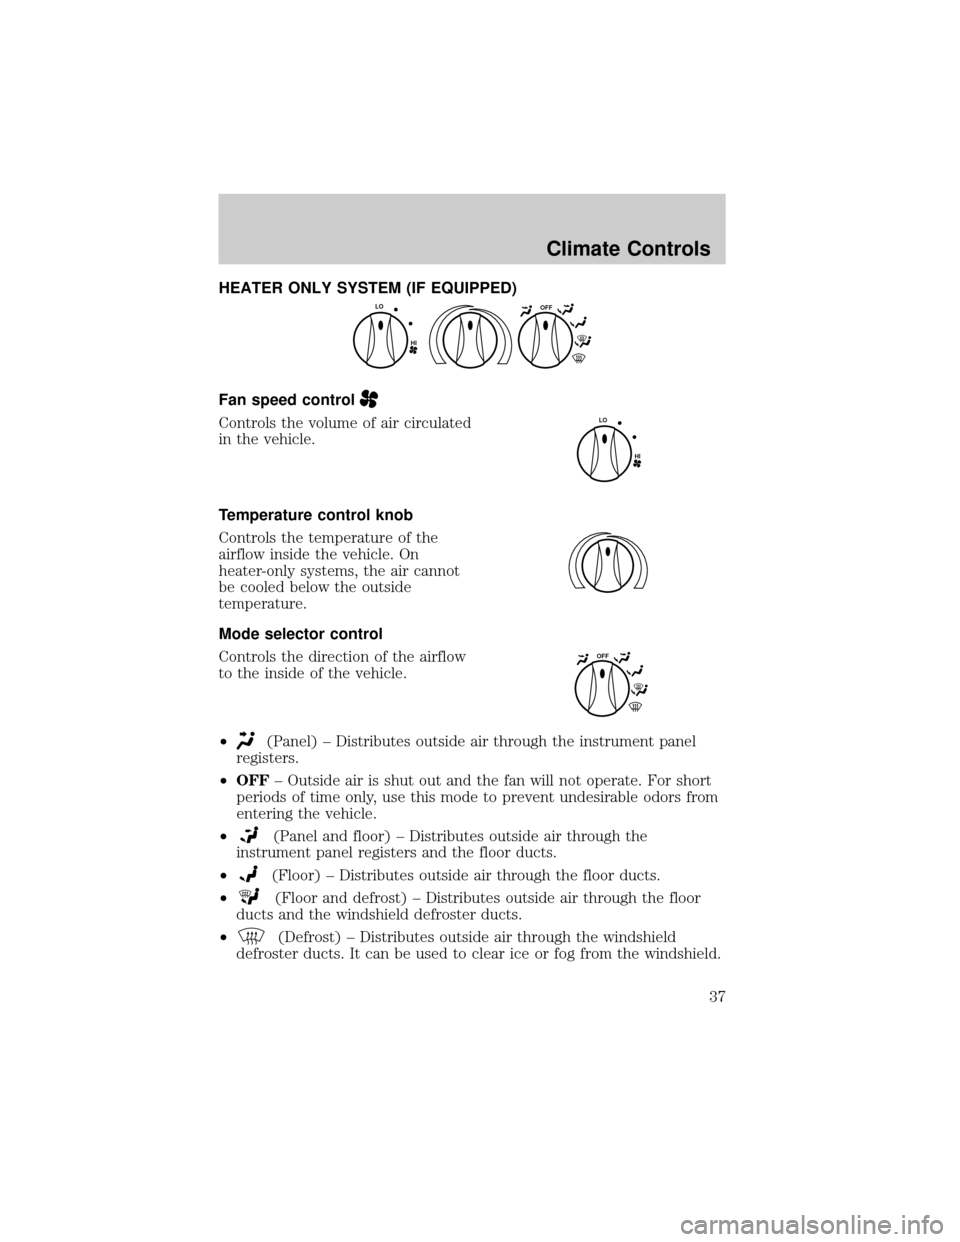
HEATER ONLY SYSTEM (IF EQUIPPED)
Fan speed control
Controls the volume of air circulated
in the vehicle.
Temperature control knob
Controls the temperature of the
airflow inside the vehicle. On
heater-only systems, the air cannot
be cooled below the outside
temperature.
Mode selector control
Controls the direction of the airflow
to the inside of the vehicle.
²
(Panel) ± Distributes outside air through the instrument panel
registers.
²OFF± Outside air is shut out and the fan will not operate. For short
periods of time only, use this mode to prevent undesirable odors from
entering the vehicle.
²
(Panel and floor) ± Distributes outside air through the
instrument panel registers and the floor ducts.
²
(Floor) ± Distributes outside air through the floor ducts.
²
(Floor and defrost) ± Distributes outside air through the floor
ducts and the windshield defroster ducts.
²
(Defrost) ± Distributes outside air through the windshield
defroster ducts. It can be used to clear ice or fog from the windshield.
OFF
HI
LO
HI
LO
OFF
Climate Controls
37
Page 38 of 216
Operating tips
²In humid weather, place the climate control system in DEF before
driving. This will reduce fogging on your windshield. Once the
windshield has been cleared, select any desired position.
²To reduce humidity buildup inside the vehicle, do not drive with the
climate control system in the OFF position.
²Under normal weather conditions, your vehicle's climate control
system should be left in any position other than OFF position when
the vehicle is parked. This allows the vehicle to ªbreatheº through the
outside air inlet duct.
²Under snowy or dirty weather conditions, your vehicle's climate
control system should be left in the OFF position when the vehicle is
parked. This allows the climate control system to be free from
contamination of outside pollutants.
²Do not place objects under the front seat which may interfere with
the airflow to the rear seats.
²Remove any snow, ice, or leaves from the air intake area (at the base
of the windshield and underneath the hood).
²Do not place objects over the defroster outlets. These objects may
block airflow and reduce your visibility through the windshield. Avoid
placing small objects on top of the instrument panel. These objects
can fall into the defroster outlets and block airflow, in addition to,
damaging your climate control system.
Do not place objects on top of the instrument panel, as these
objects may become projectiles in instances of sudden impact or
a sudden stop.
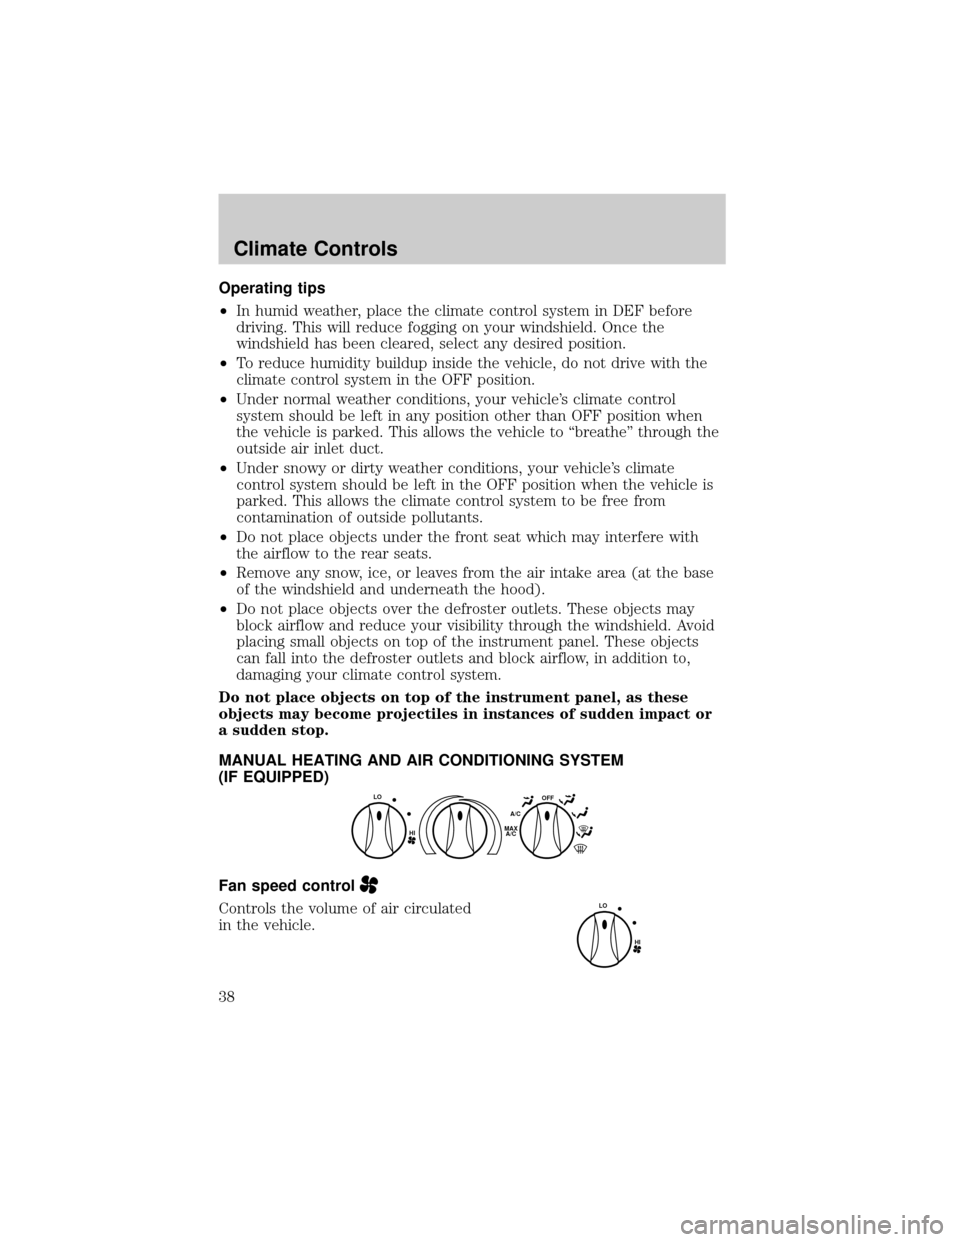
MANUAL HEATING AND AIR CONDITIONING SYSTEM
(IF EQUIPPED)
Fan speed control
Controls the volume of air circulated
in the vehicle.
HI
LOOFFA/C
MAX
A/C
HI
LO
Climate Controls
38
Page 39 of 216
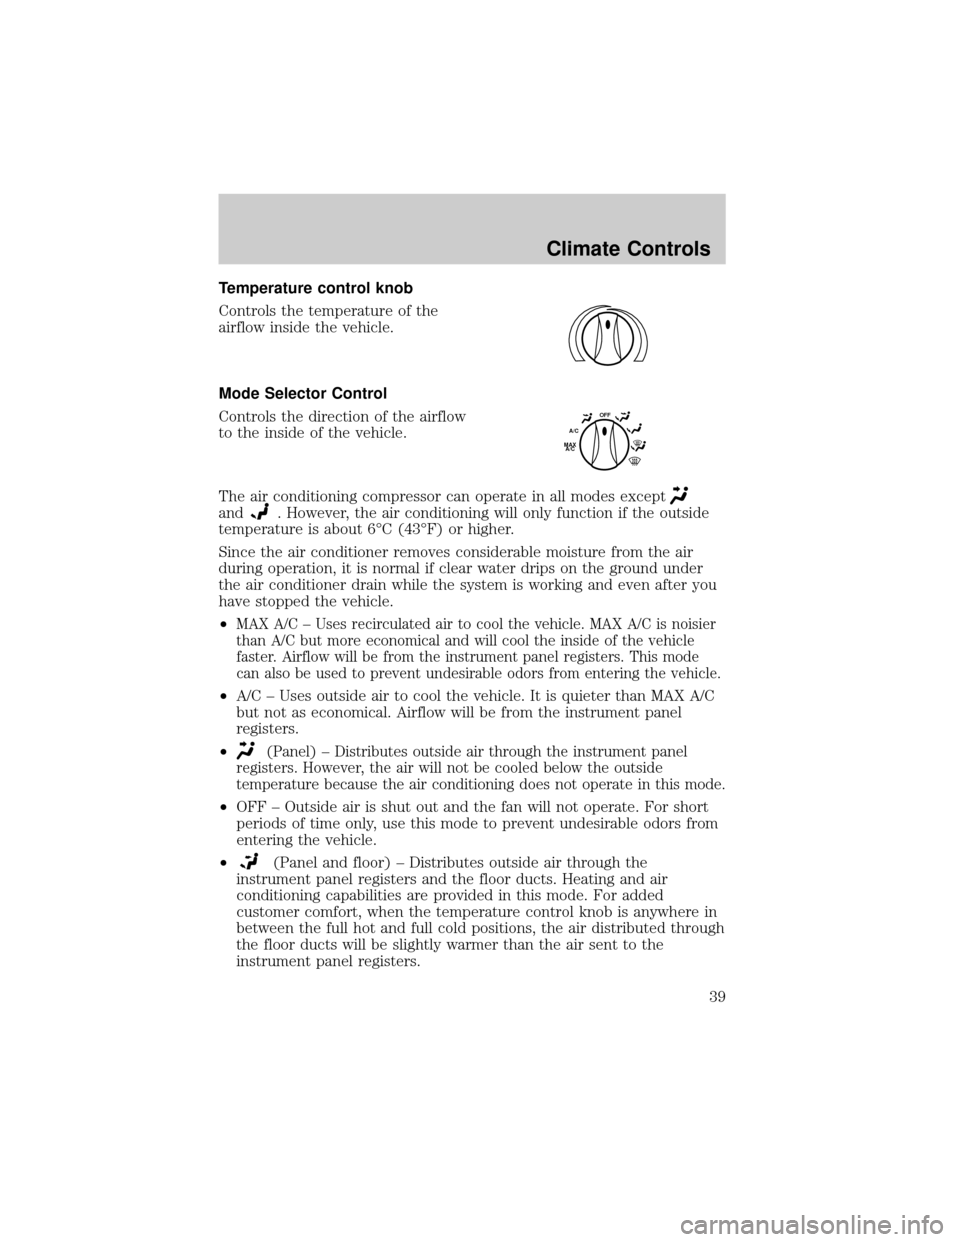
Temperature control knob
Controls the temperature of the
airflow inside the vehicle.
Mode Selector Control
Controls the direction of the airflow
to the inside of the vehicle.
The air conditioning compressor can operate in all modes except
and. However, the air conditioning will only function if the outside
temperature is about 6ÉC (43ÉF) or higher.
Since the air conditioner removes considerable moisture from the air
during operation, it is normal if clear water drips on the ground under
the air conditioner drain while the system is working and even after you
have stopped the vehicle.
²
MAX A/C ± Uses recirculated air to cool the vehicle. MAX A/C is noisier
than A/C but more economical and will cool the inside of the vehicle
faster. Airflow will be from the instrument panel registers. This mode
can also be used to prevent undesirable odors from entering the vehicle.
²A/C ± Uses outside air to cool the vehicle. It is quieter than MAX A/C
but not as economical. Airflow will be from the instrument panel
registers.
²
(Panel) ± Distributes outside air through the instrument panel
registers. However, the air will not be cooled below the outside
temperature because the air conditioning does not operate in this mode.
²OFF ± Outside air is shut out and the fan will not operate. For short
periods of time only, use this mode to prevent undesirable odors from
entering the vehicle.
²
(Panel and floor) ± Distributes outside air through the
instrument panel registers and the floor ducts. Heating and air
conditioning capabilities are provided in this mode. For added
customer comfort, when the temperature control knob is anywhere in
between the full hot and full cold positions, the air distributed through
the floor ducts will be slightly warmer than the air sent to the
instrument panel registers.
OFF
A/C
MAX
A/C
Climate Controls
39
Page 41 of 216
windows open. This will force most of the hot, stale air out of the
vehicle. Once the vehicle has been ªaired outº, operate the climate
control system as desired.
²Do not put objects under the front seat which may interfere with the
airflow to the rear seats (if equipped).
²Remove any snow, ice or leaves from the air intake area (at the
bottom of the windshield and underneath the hood).
²Do not place objects over the defroster outlets. These objects can
block airflow and reduce visibility through your windshield. Avoid
placing small objects on top of the instrument panel. These objects
may fall down into the defroster outlets and block airflow, in addition
to, damaging the climate control system.
To aid in side window defogging/demisting in cold weather conditions:
1. Select the position that distributes air through the Panel and Floor.
2. Set the temperature control to full heat.
3. Set the fan speed to full fan.
4. Direct the outer panel vents towards the side windows.
5. To increase airflow to the outer panel vents, close the central panel
vents.
Do not place objects on top of the instrument panel as these
objects may become projectiles in a collision or sudden stop.
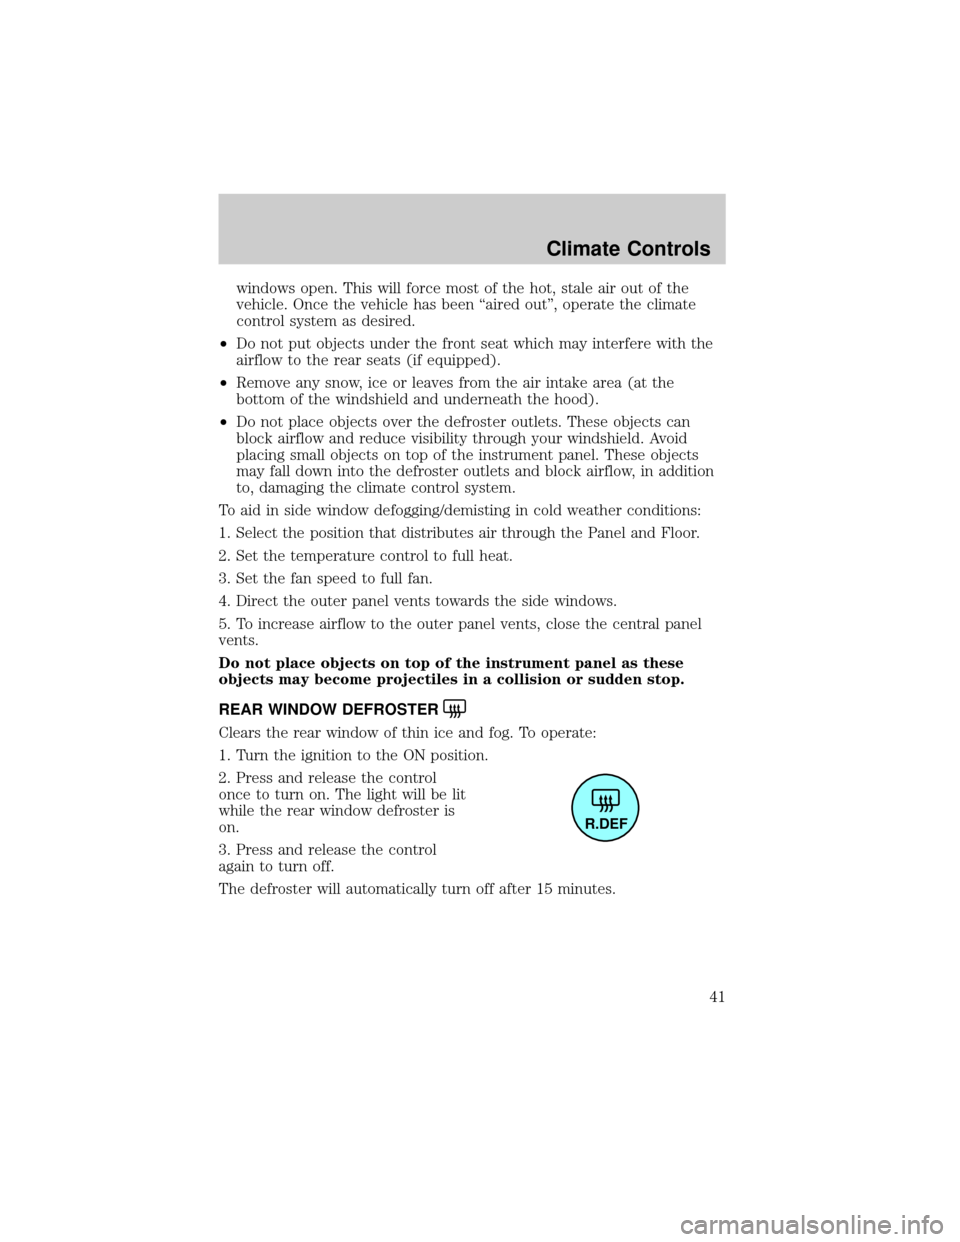
REAR WINDOW DEFROSTER
Clears the rear window of thin ice and fog. To operate:
1. Turn the ignition to the ON position.
2. Press and release the control
once to turn on. The light will be lit
while the rear window defroster is
on.
3. Press and release the control
again to turn off.
The defroster will automatically turn off after 15 minutes.
R.DEF
Climate Controls
41
Page 43 of 216
High beams
²Push forward to activate.
²Pull toward you to deactivate.
Flash to pass
Pull toward you to activate and
release to deactivate.
PANEL DIMMER CONTROL
Use to adjust the brightness of the instrument panel during headlamp
and parklamp operation.
Coupe
²Rotate up to brighten.
²Rotate down to dim.
OFF
OFF
Lights
43
Page 48 of 216
Using the right bulbs
Replacement bulbs are specified in the chart below. Headlamp bulbs
must be marked with an authorized ªD.O.T.º for North America and an
ªEº for Europe to assure lamp performance, light brightness and pattern
and safe visibility. The correct bulbs will not damage the lamp assembly
or void the lamp assembly warranty and will provide quality bulb burn
time.
Function Trade Number
Front park/turn lamps 3457 AK (amber)
Foglamps (if equipped) 881
Headlamps-aero high and low beam 9007
Rear license plate lamps 168
High-mount brake lamp 921
Backup lamps 3156K
Brake lamps 3157K
Interior overhead lamp 12V/10W
All replacement bulbs are clear in color except where noted.
To replace all instrument panel lights - see your dealer
INTERIOR BULBS
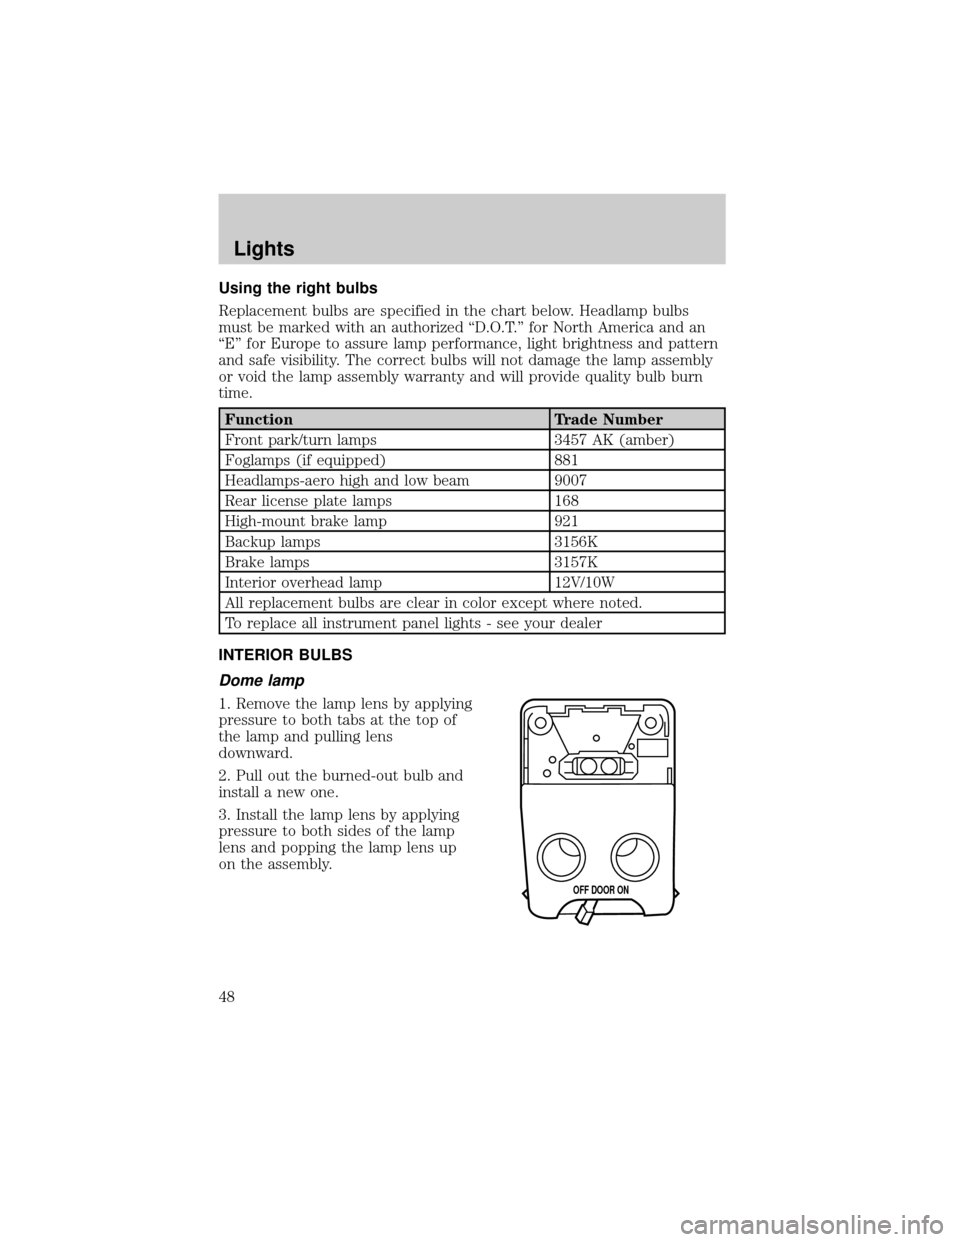
Dome lamp
1. Remove the lamp lens by applying
pressure to both tabs at the top of
the lamp and pulling lens
downward.
2. Pull out the burned-out bulb and
install a new one.
3. Install the lamp lens by applying
pressure to both sides of the lamp
lens and popping the lamp lens up
on the assembly.
OFF DOOR ON
Lights
48
Page 62 of 216
TRUNK REMOTE CONTROL
Press the remote trunk release
control on the instrument panel to
open the trunk.
POSITIVE RETENTION FLOOR MAT
Position the floor mat so that the
eyelet is over the pointed end of the
retention post and rotate forward to
lock in. Make sure that the mat does
not interfere with the operation of
the accelerator or the brake pedal.
To remove the floor mat, reverse the
installation procedure.
TRUNKRELEASETRUNKRELEASE
Driver Controls
62
Page 122 of 216
Passenger compartment fuse panel
Coupe
The fuses are coded as follows:
Fuse/Relay
LocationFuse Amp
RatingPassenger Compartment Fuse
Panel Description
DRL 10A Daytime Running Lamps
HAZARD 15A Hazard Flasher
ROOM 10A Engine Controls, RAP System,
Radio, Shift Lock, Courtesy
Lamps, Starting System, Warning
Chime, Instrument Cluster
ENGINE 15A Electronic Automatic Transaxle,
Ignition System, Constant Control
Relay Module (PCM Relay)
RADIO 5A Power Mirrors, Radio, RAP
System
DOOR LOCK 30A Power Door Locks
HORN 15A Horn, Shift Lock
AIR COND 15A A/C-Heater, ABS
(DRL) (DOOR LK)
STOP
HAZARD HORN
TAIL
ROOM(AIR COND) (SUN ROOF)
ENGINE METER(ASC)
RADIO
WIPER
–P. Window (C.B.)
(FOG) CIGAR
(AUDIO)
AIR BAGFUEL INJ
HEATER
–
Roadside Emergencies
122