Page 1 of 240
Introduction 4
Instrument Cluster 10
Warning and control lights 10
Gauges 17
Entertainment Systems 22
AM/FM stereo 22
AM/FM stereo cassette 26
AM/FM stereo with CD 33
AM/FM stereo cassette (CD changer compatible) 39
CD changer 49
Climate Controls 54
Manual heating and air conditioning 54
Electronic automatic temperature control 56
Lights 63
Headlamps 63
Turn signal control 65
Bulb replacement 65
Driver Controls 72
Windshield wiper/washer control 72
Steering wheel adjustment 73
Power windows 74
Mirrors 75
Speed control 79
Message center 83
Locks and Security 91
Keys 91
Locks 91
Anti-theft system 93
Table of Contents
1
Page 62 of 240

²Remove any snow, ice or leaves from the air intake area at the area at
the base of the windshield.
²Do not place objects over the defroster outlets. These objects can
block airflow and reduce your ability to see through your windshield.
Avoid placing small objects on top of the instrument panel. These
objects may fall down into the defroster outlets and block airflow, in
addition to damaging the climate control system.
To aid in side window defogging/demisting in cold weather conditions:
1. Select VENT
2. Set the temperature control to full heat
3. Set the fan speed to HI
4. Direct the outer panel vents towards to side windows
To increase airflow to the outer panel vents, close the central panel
vents.
Do not place objects on top of the instrument panel, as these
objects may become projectiles in a collision or sudden stop.
REAR WINDOW DEFROSTER
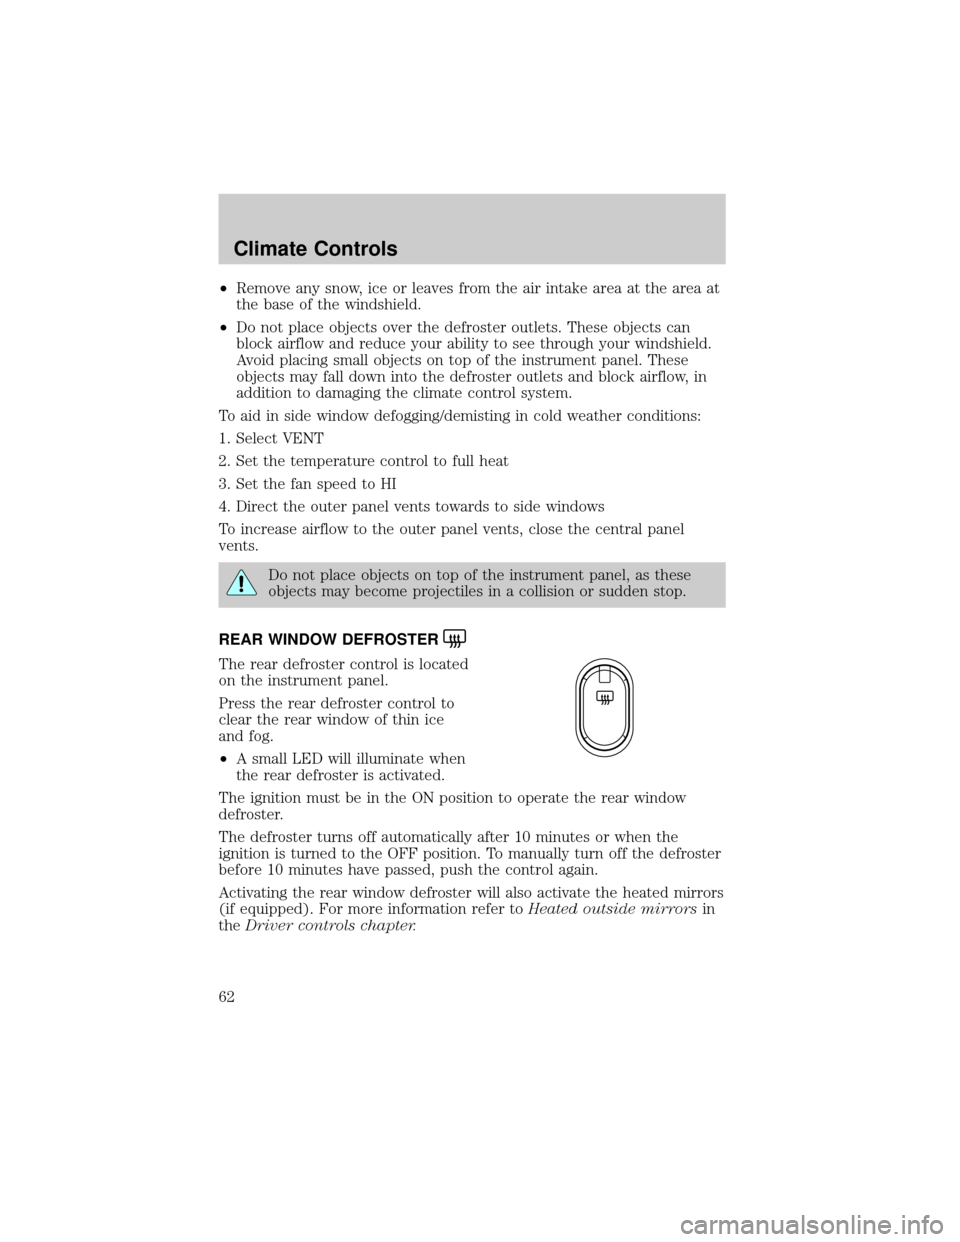
The rear defroster control is located
on the instrument panel.
Press the rear defroster control to
clear the rear window of thin ice
and fog.
²A small LED will illuminate when
the rear defroster is activated.
The ignition must be in the ON position to operate the rear window
defroster.
The defroster turns off automatically after 10 minutes or when the
ignition is turned to the OFF position. To manually turn off the defroster
before 10 minutes have passed, push the control again.
Activating the rear window defroster will also activate the heated mirrors
(if equipped). For more information refer toHeated outside mirrorsin
theDriver controls chapter.
Climate Controls
62
Page 66 of 240

²Turn signal lamps
²Backup lamps
²License plate lamp
Do not remove lamp bulbs unless they will be replaced immediately. If a
bulb is removed for an extended period of time, contaminants may enter
the lamp housings and affect performance.
Using the right bulbs
Replacement bulbs are specified in the chart below. Headlamp bulbs
must be marked with an authorized ªD.O.T.º for North America and an
ªEº for Europe to assure lamp performance, light brightness and pattern
and safe visibility. The correct bulbs will not damage the lamp assembly
or void the lamp assembly warranty and will provide quality bulb burn
time.
Function Trade Number
Headlamp 9007
Park lamp and turn lamp (front) 3457 AK (amber)
Side marker (front) 194 AK (amber)
Cornering lamp (front) 3156K
Tail, stop, turn (rear) 3157 K
Side marker (rear) 194
Backup lamp 3156K
License plate lamp 168
High-mount brakelamp 912
Luggage compartment lamp 212-2
Dome lamp 906
Rear reading lamp 211-2
Map lamp 168
Illuminated visor mirror 168
Dual floorwell lamp 906
Glove compartment 168
All replacement bulbs are clear in color except where noted.
To replace all instrument panel lights - see your dealer.
Lights
66
Page 75 of 240
Express down
²Press AUTO and release quickly.
The window will open fully.
Depress again to stop window
operation.
Window lock
The window lock feature allows only
the driver to operate the power
windows.
To lock out all the window controls
except for the driver's press the left
side of the control. Press the right
side to restore the window controls.
POWER SIDE VIEW MIRRORS
To adjust your mirrors:
1. Select
to adjust the left
mirror or
to adjust the right
mirror.
2. Move the control in the direction
you wish to tilt the mirror.
3. Return to the center position to
lock mirrors in place.
AUTO
Driver Controls
75
Page 76 of 240

Heated outside mirrorsR(if equipped)
Both mirrors are heated
automatically to remove ice, mist
and fog when the rear window
defrost is activated.
Do not remove ice from the
mirrors with a scraper or
attempt to readjust the mirror
glass if it is frozen in place.
These actions could cause
damage to the glass and mirrors.
Fold-away mirrors
Pull the side mirrors in carefully
when driving through a narrow
space, like an automatic car wash.
Automatic dimming inside rear view mirror (if equipped)
Your vehicle is equipped with an
inside rear view mirror which has an
auto-dimming function. The
electronic day/night mirror will
change from the normal state to the
non-glare state when bright lights
(glare) reach the mirror. When the mirror detects bright light from front
or behind, it will automatically adjust (darken) to minimize glare.
Do not block the sensor on the backside of the mirror since this may
impair proper mirror performance.
Press the control to turn the mirror OFF or AUTO.
The mirror will automatically return to the normal state whenever the
vehicle is placed in R (Reverse)(when the mirror is on) to ensure a
bright clear view when backing up.
OFF AUTO
Driver Controls
76
Page 77 of 240

Electronic compass (if equipped)
The compass reading will remain accurate during most driving
conditions. Unknown to the driver, the compass is continuously
recalibrating due to magnetic fields and subtle, slow changes in vehicle
magnetics which can occur over the life of the vehicle.
The compass reading will remain fixed when significant levels are
experienced (such as steel bridges). The compass will return to normal
operation upon leaving the magnetized area.
If highly magnetized items (such as magnetic mount antennas) are
placed very near the compass the display will change to ªCº for 15
seconds, then display all segments until the magnetized item is removed.
If a ªCº is displayed, refer toCompass calibration adjustment.
Most geographic areas (zones) have a magnetic north compass point that
varies slightly from the northerly direction on maps. This variation is four
degrees between adjacent zones and will become noticeable as the
vehicle crosses multiple zones. A correct zone setting will eliminate this
error. Refer toCompass zone adjustment.
Compass zone adjustment
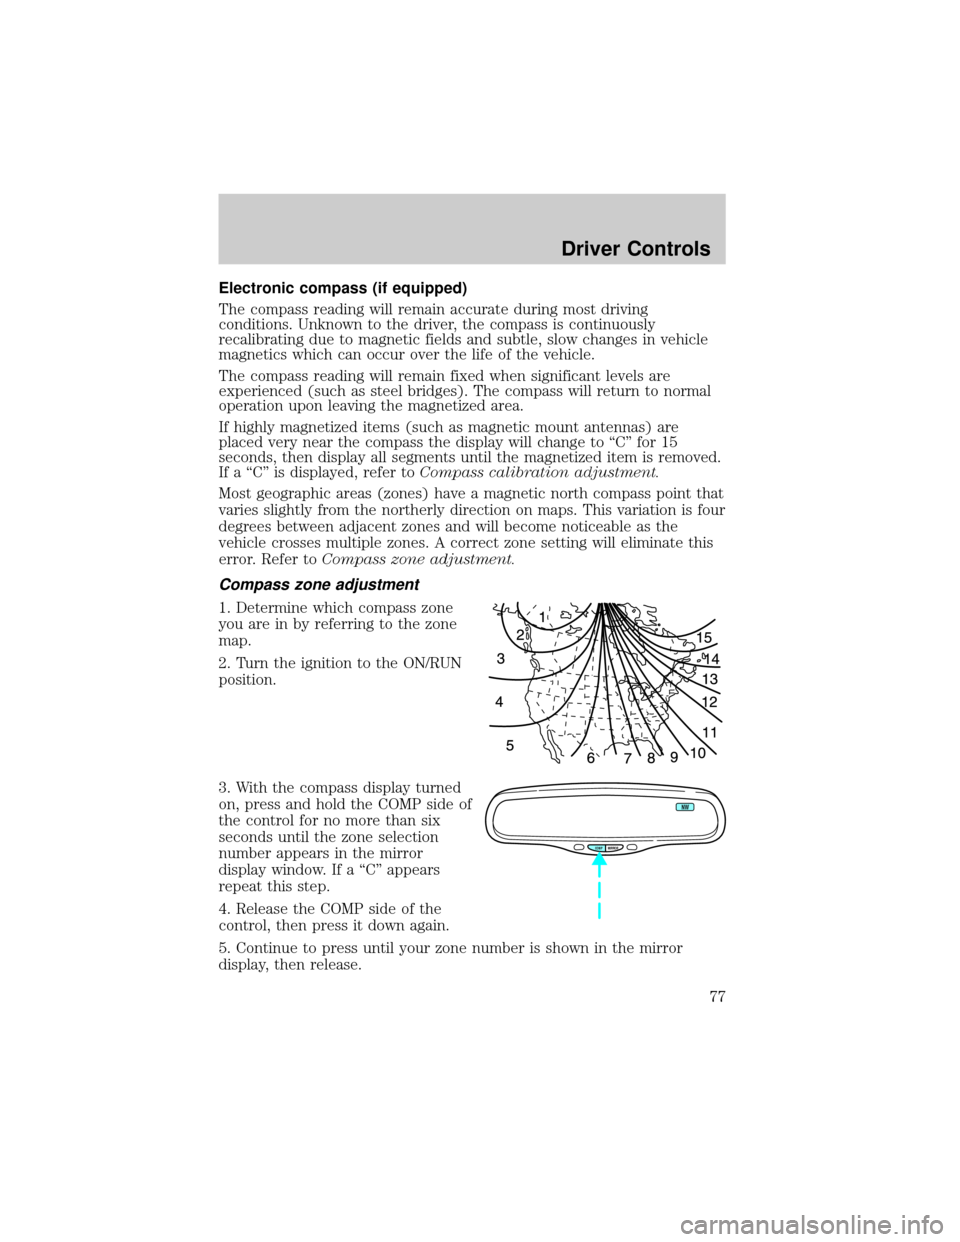
1. Determine which compass zone
you are in by referring to the zone
map.
2. Turn the ignition to the ON/RUN
position.
3. With the compass display turned
on, press and hold the COMP side of
the control for no more than six
seconds until the zone selection
number appears in the mirror
display window. If a ªCº appears
repeat this step.
4. Release the COMP side of the
control, then press it down again.
5. Continue to press until your zone number is shown in the mirror
display, then release.
COMP MIRROR
NW
Driver Controls
77
Page 78 of 240

6. The display will show all segments, then return to normal compass
mode within ten seconds.
Compass calibration adjustment
Perform this adjustment in an open area free from steel structures and
high voltage lines.
1. Start the vehicle.
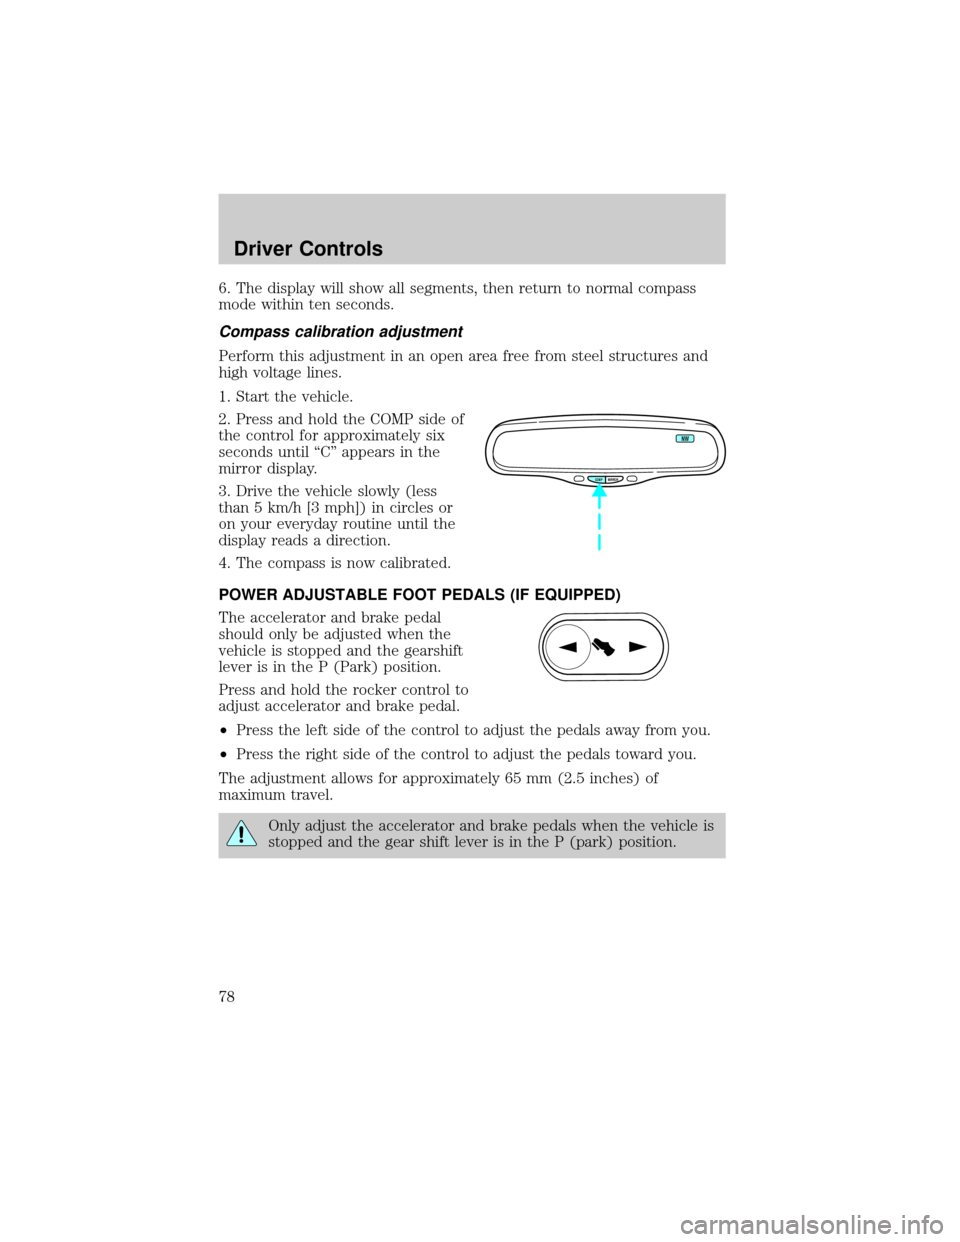
2. Press and hold the COMP side of
the control for approximately six
seconds until ªCº appears in the
mirror display.
3. Drive the vehicle slowly (less
than 5 km/h [3 mph]) in circles or
on your everyday routine until the
display reads a direction.
4. The compass is now calibrated.
POWER ADJUSTABLE FOOT PEDALS (IF EQUIPPED)
The accelerator and brake pedal
should only be adjusted when the
vehicle is stopped and the gearshift
lever is in the P (Park) position.
Press and hold the rocker control to
adjust accelerator and brake pedal.
²Press the left side of the control to adjust the pedals away from you.
²Press the right side of the control to adjust the pedals toward you.
The adjustment allows for approximately 65 mm (2.5 inches) of
maximum travel.
Only adjust the accelerator and brake pedals when the vehicle is
stopped and the gear shift lever is in the P (park) position.
COMP MIRROR
NW
Driver Controls
78
Page 161 of 240
Fuse/Relay
LocationFuse Amp
RatingPassenger Compartment Fuse
Panel Description
8 25A Power Train Control Module
(PCM) Power Relay, Coil-on
-Plugs, Radio Noise Capacitor,
Passive Anti-theft System (PATS)
9 Ð Not Used
10 10A Rear Window Defrost
11 Ð Not Used
12 Ð Not Used
13 5A Radio
14 10A Traction Control Switch, Anti-lock
Brakes (ABS), Instrument Cluster
15 15A Speed Control Servo, Main Light
Switch Illumination, Lighting
Control Module (LCM), Clock,
Police Power Relay
16 15A Reversing lamps, Turn Signals,
Shift Lock, DRL Module, EVO
Steering, Electronic Day/Night
Mirror
17 30A Wiper Motor, Wiper Control
Module
18 30A Heater Blower Motor
19 20A Auxiliary Power Point
20 Ð Not Used
21 15A Multifunction Switch, Lighting
Control Module (LCM), PATS
Indicator, Parking Lamps,
Instrument Panel Light
22 15A Speed Control Servo, Hazard
Lights
Roadside Emergencies
161