Page 1 of 240
Introduction 4
Instrument Cluster 10
Warning and control lights 10
Gauges 17
Entertainment Systems 22
AM/FM stereo 22
AM/FM stereo cassette 26
AM/FM stereo with CD 33
AM/FM stereo cassette (CD changer compatible) 39
CD changer 49
Climate Controls 54
Manual heating and air conditioning 54
Electronic automatic temperature control 56
Lights 63
Headlamps 63
Turn signal control 65
Bulb replacement 65
Driver Controls 72
Windshield wiper/washer control 72
Steering wheel adjustment 73
Power windows 74
Mirrors 75
Speed control 79
Message center 83
Locks and Security 91
Keys 91
Locks 91
Anti-theft system 93
Table of Contents
1
Page 8 of 240
These are some of the symbols you may see on your vehicle.
Vehicle Symbol Glossary
Safety Alert
See Owner's Guide
Fasten Safety BeltAir Bag-Front
Air Bag-SideChild Seat
Child Seat Installation
WarningChild Seat Tether
Anchorage
Brake SystemAnti-Lock Brake System
Brake Fluid -
Non-Petroleum BasedTraction Control
AdvanceTracMaster Lighting Switch
Hazard Warning FlasherFog Lamps-Front
Fuse CompartmentFuel Pump Reset
Windshield Wash/WipeWindshield
Defrost/Demist
Rear Window
Defrost/DemistPower Windows
Front/Rear
Introduction
8
Page 9 of 240
Vehicle Symbol Glossary
Power Window Lockout
Child Safety Door
Lock/Unlock
Interior Luggage
Compartment Release
Symbol
Panic Alarm
Engine OilEngine Coolant
Engine Coolant
TemperatureDo Not Open When Hot
BatteryAvoid Smoking, Flames,
or Sparks
Battery AcidExplosive Gas
Fan WarningPower Steering Fluid
Maintain Correct Fluid
LevelMAX
MIN
Emission System
Engine Air FilterPassenger Compartment
Air Filter
JackCheck fuel cap
Low tire warning
Introduction
9
Page 12 of 240

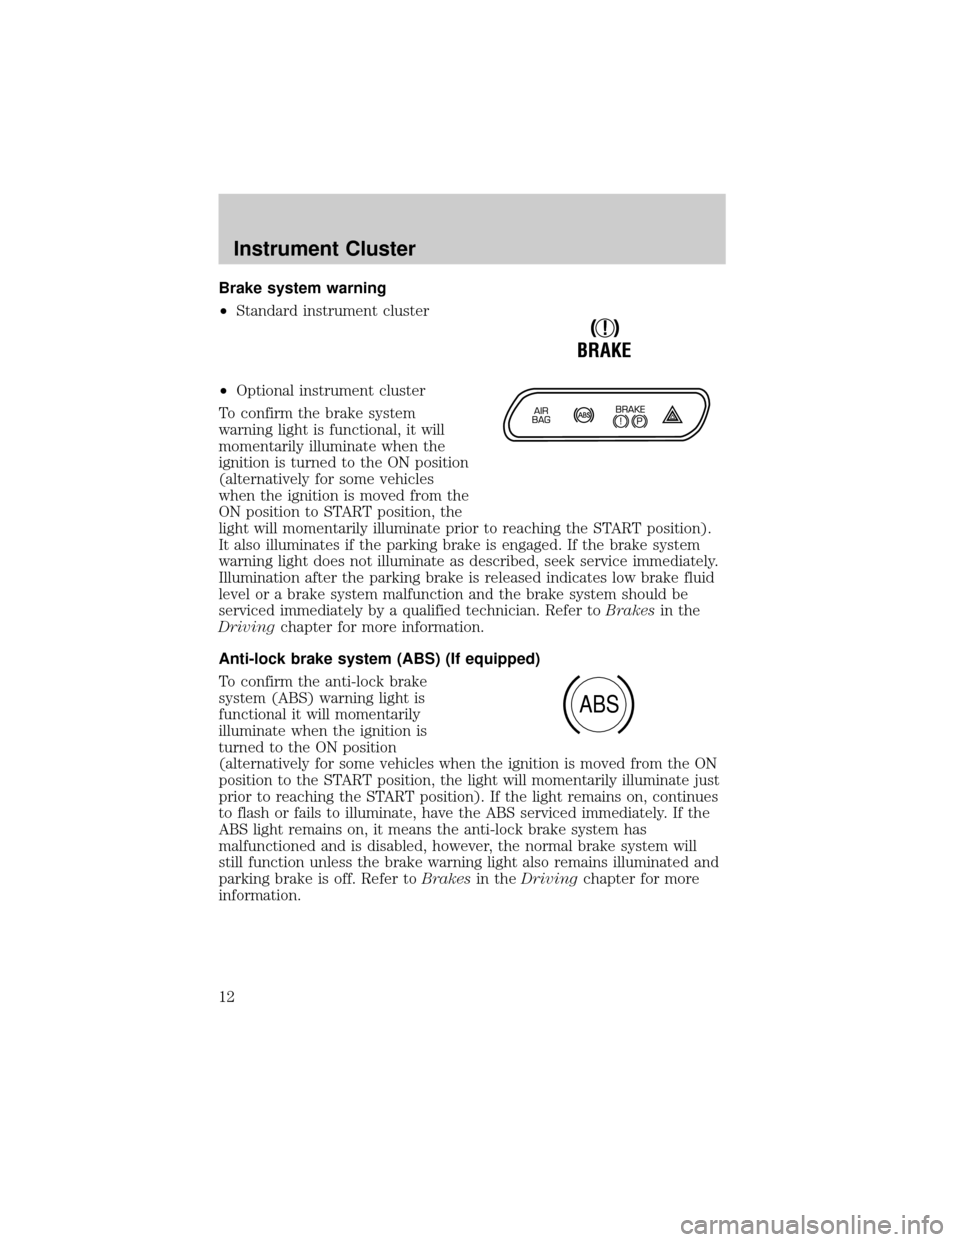
Brake system warning
²Standard instrument cluster
²Optional instrument cluster
To confirm the brake system
warning light is functional, it will
momentarily illuminate when the
ignition is turned to the ON position
(alternatively for some vehicles
when the ignition is moved from the
ON position to START position, the
light will momentarily illuminate prior to reaching the START position).
It also illuminates if the parking brake is engaged. If the brake system
warning light does not illuminate as described, seek service immediately.
Illumination after the parking brake is released indicates low brake fluid
level or a brake system malfunction and the brake system should be
serviced immediately by a qualified technician. Refer toBrakesin the
Drivingchapter for more information.
Anti-lock brake system (ABS) (If equipped)
To confirm the anti-lock brake
system (ABS) warning light is
functional it will momentarily
illuminate when the ignition is
turned to the ON position
(alternatively for some vehicles when the ignition is moved from the ON
position to the START position, the light will momentarily illuminate just
prior to reaching the START position). If the light remains on, continues
to flash or fails to illuminate, have the ABS serviced immediately. If the
ABS light remains on, it means the anti-lock brake system has
malfunctioned and is disabled, however, the normal brake system will
still function unless the brake warning light also remains illuminated and
parking brake is off. Refer toBrakesin theDrivingchapter for more
information.
!
BRAKE
ABS
Instrument Cluster
12
Page 25 of 240

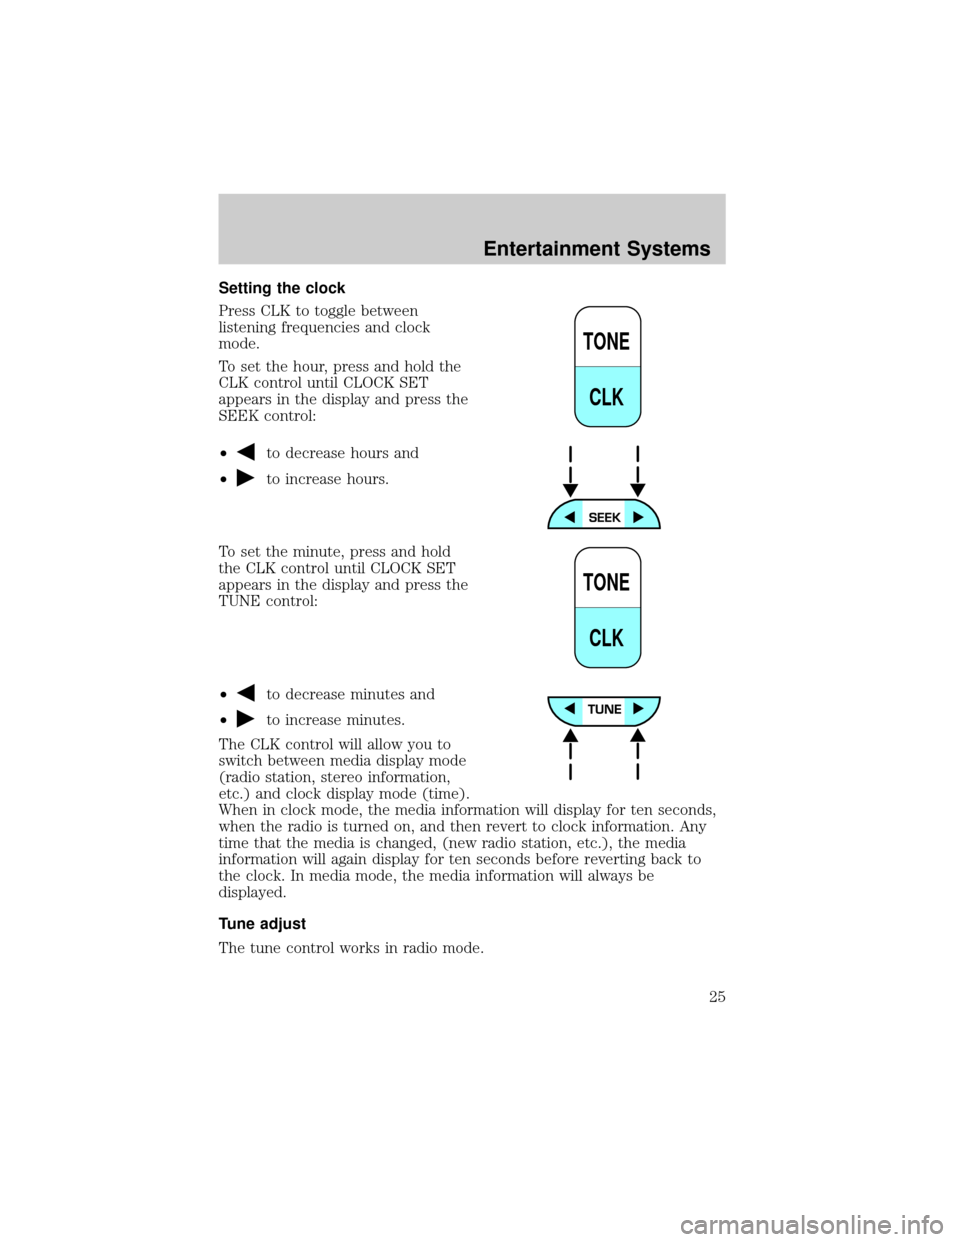
Setting the clock
Press CLK to toggle between
listening frequencies and clock
mode.
To set the hour, press and hold the
CLK control until CLOCK SET
appears in the display and press the
SEEK control:
²
to decrease hours and
²
to increase hours.
To set the minute, press and hold
the CLK control until CLOCK SET
appears in the display and press the
TUNE control:
²
to decrease minutes and
²
to increase minutes.
The CLK control will allow you to
switch between media display mode
(radio station, stereo information,
etc.) and clock display mode (time).
When in clock mode, the media information will display for ten seconds,
when the radio is turned on, and then revert to clock information. Any
time that the media is changed, (new radio station, etc.), the media
information will again display for ten seconds before reverting back to
the clock. In media mode, the media information will always be
displayed.
Tune adjust
The tune control works in radio mode.
TONE
CLK
TONE
CLK
Entertainment Systems
25
Page 30 of 240
Setting the clock
Press CLK to toggle between
listening frequencies and clock
mode while in radio mode.
To set the hour, press and hold the
CLK control and press the SEEK
control:
²
to decrease hours and
²
to increase hours.
To set the minute, press and hold
the CLK control and press the
TUNE control:
²
to decrease minutes and
²
to increase minutes.
The CLK control will allow you to switch between media display mode
(radio station, stereo information, etc.) and clock display mode (time).
When in clock mode, the media information will display for 10 seconds,
when the radio is turned on, and then revert to clock information. Any
time that the media is changed, (new radio station, etc.), the media
information will again display for 10 seconds before reverting back to the
clock. In media mode, the media information will always be displayed.
Tune adjust
The tune control works in radio mode.
TAPE
AMS
CLK
SEEK
TUNE
TAPE
AMS
CLK
SEEK
TUNE
Entertainment Systems
30
Page 36 of 240
AM/FM select in CD or CD changer mode (if equipped)
The AM/FM control to stop CD play and begin radio play.
Radio station memory preset
The radio is equipped with four or six station memory preset controls.
These controls can be used to select up to four or six preset AM stations
and eight or twelve FM stations (four to six in FM1 and four to six in
FM2).
Setting memory preset stations
1. Select the frequency band with the AM/FM select control.
2. Select a station. Refer toTune adjustorSeek functionfor more
information on selecting a station.
3. Press and hold a memory preset control until the sound returns,
indicating the station is held in memory on the control you selected.
Setting the clock
Press CLK to toggle between
listening frequencies and clock
mode while in radio mode.
To set the hour, press and hold the
CLK control.
Press the SEEK control:
²
to decrease hours and
²
to increase hours.
12 3456
SCN
CLK
SEEK
DISCS
TUNE
Entertainment Systems
36
Page 44 of 240

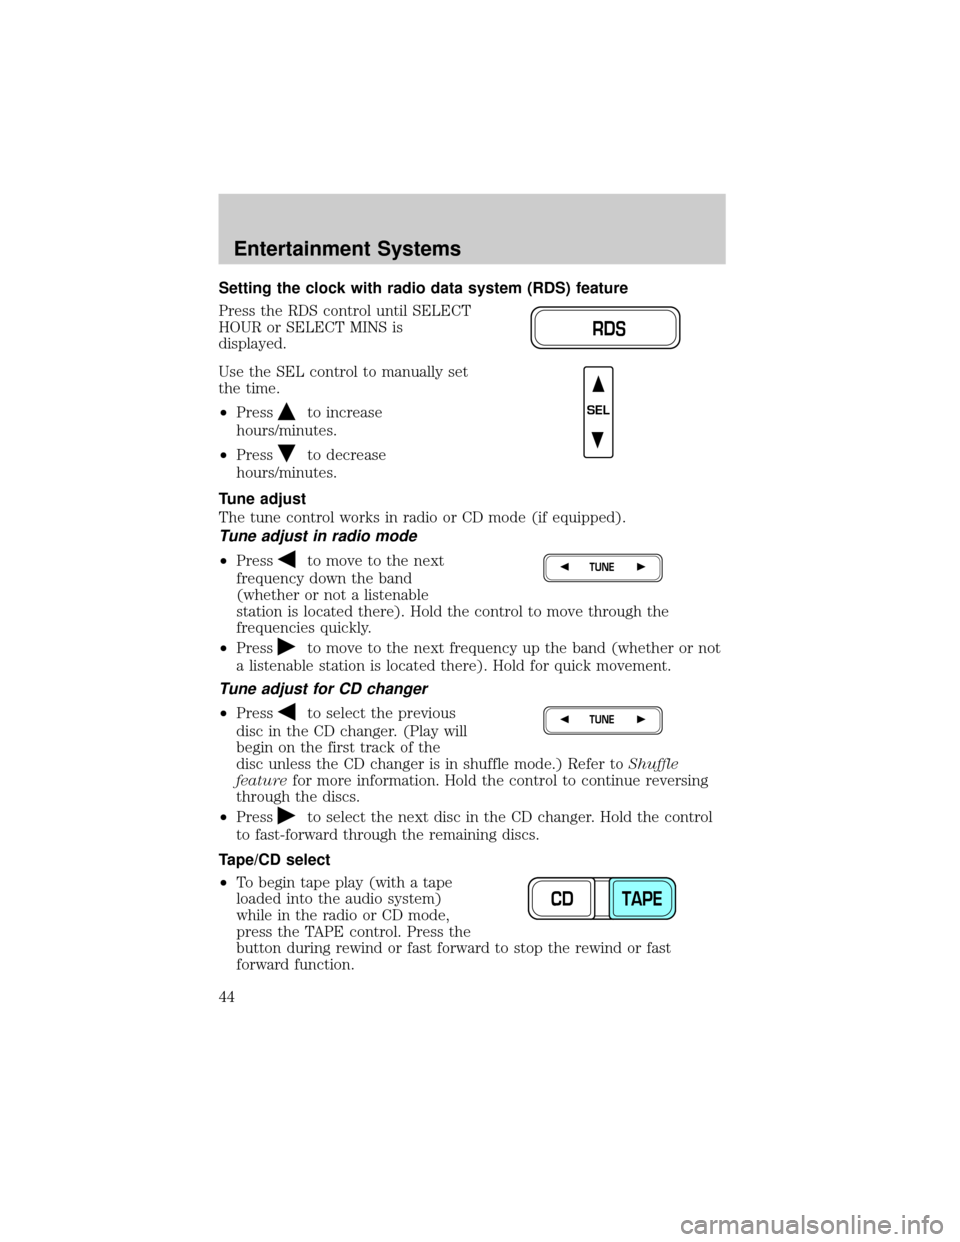
Setting the clock with radio data system (RDS) feature
Press the RDS control until SELECT
HOUR or SELECT MINS is
displayed.
Use the SEL control to manually set
the time.
²Press
to increase
hours/minutes.
²Press
to decrease
hours/minutes.
Tune adjust
The tune control works in radio or CD mode (if equipped).
Tune adjust in radio mode
²Pressto move to the next
frequency down the band
(whether or not a listenable
station is located there). Hold the control to move through the
frequencies quickly.
²Press
to move to the next frequency up the band (whether or not
a listenable station is located there). Hold for quick movement.
Tune adjust for CD changer
²Pressto select the previous
disc in the CD changer. (Play will
begin on the first track of the
disc unless the CD changer is in shuffle mode.) Refer toShuffle
featurefor more information. Hold the control to continue reversing
through the discs.
²Press
to select the next disc in the CD changer. Hold the control
to fast-forward through the remaining discs.
Tape/CD select
²To begin tape play (with a tape
loaded into the audio system)
while in the radio or CD mode,
press the TAPE control. Press the
button during rewind or fast forward to stop the rewind or fast
forward function.
RDS
SEL
TUNE
TUNE
CD TAPE
Entertainment Systems
44