Page 19 of 240
Battery voltage gauge (if equipped)
Indicates battery voltage. If the
pointer moves and stays outside the
normal operating range (as
indicated), have the vehicle's
electrical system checked as soon as
possible.
Fuel gauge
Displays approximately how much fuel is in the fuel tank. The fuel gauge
may vary slightly when the vehicle is in motion or on a grade.
When refueling the vehicle from empty indication, the amount of fuel
that can be added will be less than the advertised capacity due to the
reserve fuel.
²Standard instrument cluster
²Optional instrument cluster
A minimum of four gallons must be
added or removed from the fuel
tank in order for the gauge to
instantaneously update. If less than
four gallons is added, the gauge will
take between five to ten minutes to
update.
VOLTSH
L
E
FUELF
F
E
/2 1
Instrument Cluster
19
Page 21 of 240
²Optional instrument cluster
Refer toElectronic Message Centerin theDriver controlschapter for
information on how to switch the display from metric to English
measurements.
Trip odometer
Registers the kilometers (miles) of
individual journeys. To reset,
depress the control.
Refer toElectronic Message Centerin theDriver controlschapter for
Trip A and Trip B features on the optional instrument cluster.
km/h
MPH
km S
MPH km/h10 203040506070
80
90
10 0
11 0
12 0
20 406080100
120
140
160
180
200
0000000
0 0 0 0
Instrument Cluster
21
Page 25 of 240

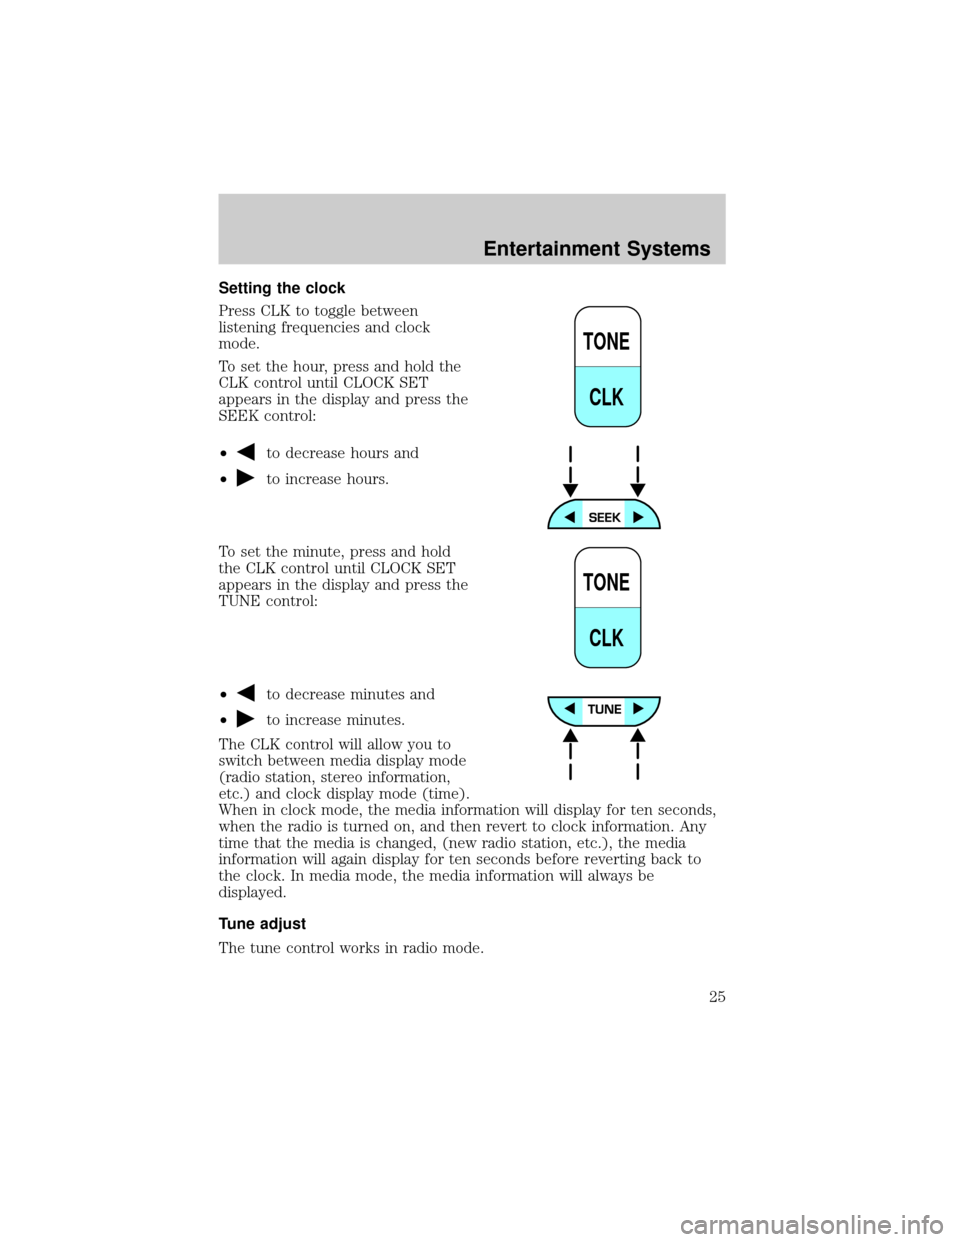
Setting the clock
Press CLK to toggle between
listening frequencies and clock
mode.
To set the hour, press and hold the
CLK control until CLOCK SET
appears in the display and press the
SEEK control:
²
to decrease hours and
²
to increase hours.
To set the minute, press and hold
the CLK control until CLOCK SET
appears in the display and press the
TUNE control:
²
to decrease minutes and
²
to increase minutes.
The CLK control will allow you to
switch between media display mode
(radio station, stereo information,
etc.) and clock display mode (time).
When in clock mode, the media information will display for ten seconds,
when the radio is turned on, and then revert to clock information. Any
time that the media is changed, (new radio station, etc.), the media
information will again display for ten seconds before reverting back to
the clock. In media mode, the media information will always be
displayed.
Tune adjust
The tune control works in radio mode.
TONE
CLK
TONE
CLK
Entertainment Systems
25
Page 30 of 240
Setting the clock
Press CLK to toggle between
listening frequencies and clock
mode while in radio mode.
To set the hour, press and hold the
CLK control and press the SEEK
control:
²
to decrease hours and
²
to increase hours.
To set the minute, press and hold
the CLK control and press the
TUNE control:
²
to decrease minutes and
²
to increase minutes.
The CLK control will allow you to switch between media display mode
(radio station, stereo information, etc.) and clock display mode (time).
When in clock mode, the media information will display for 10 seconds,
when the radio is turned on, and then revert to clock information. Any
time that the media is changed, (new radio station, etc.), the media
information will again display for 10 seconds before reverting back to the
clock. In media mode, the media information will always be displayed.
Tune adjust
The tune control works in radio mode.
TAPE
AMS
CLK
SEEK
TUNE
TAPE
AMS
CLK
SEEK
TUNE
Entertainment Systems
30
Page 44 of 240

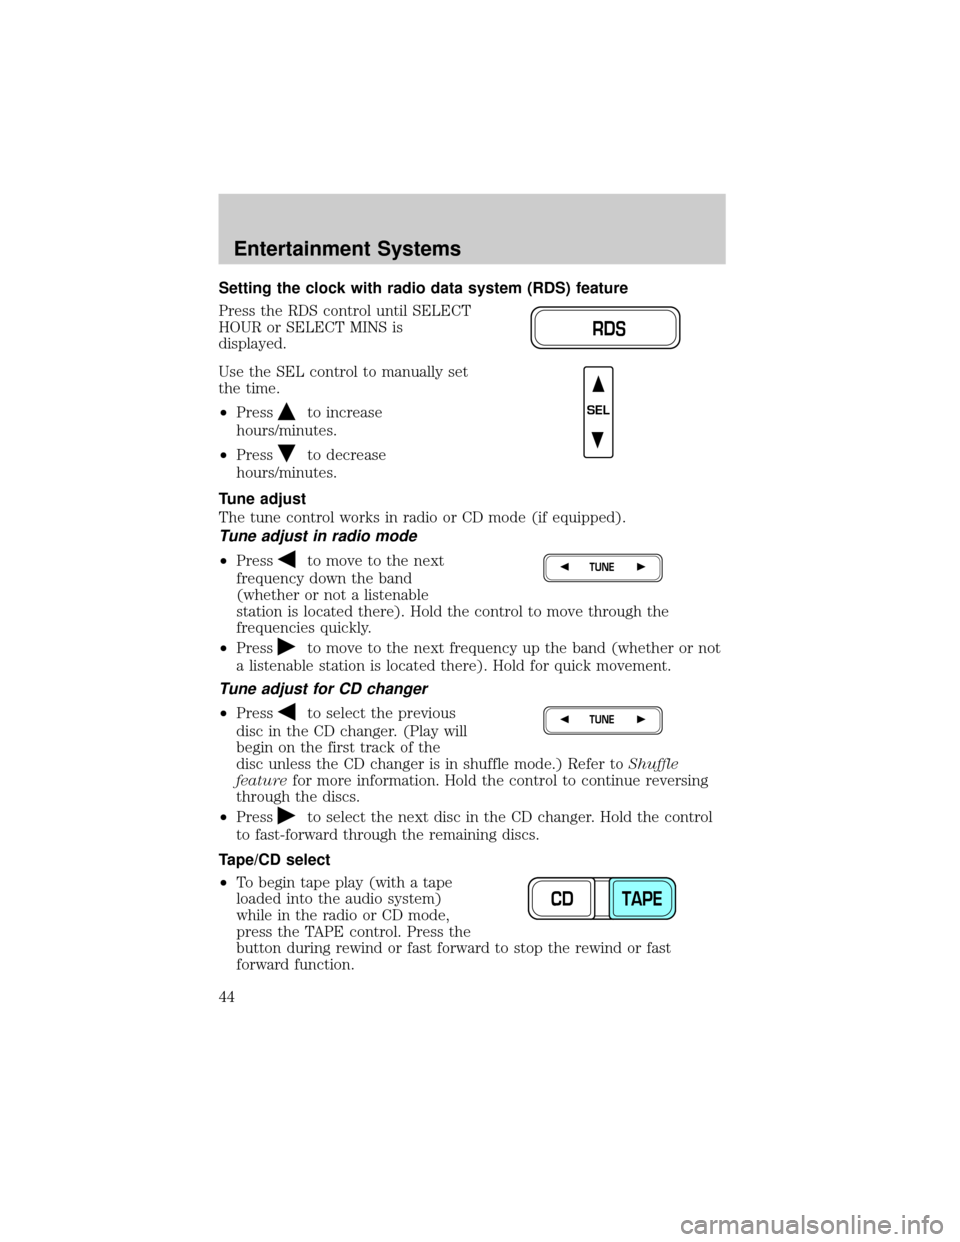
Setting the clock with radio data system (RDS) feature
Press the RDS control until SELECT
HOUR or SELECT MINS is
displayed.
Use the SEL control to manually set
the time.
²Press
to increase
hours/minutes.
²Press
to decrease
hours/minutes.
Tune adjust
The tune control works in radio or CD mode (if equipped).
Tune adjust in radio mode
²Pressto move to the next
frequency down the band
(whether or not a listenable
station is located there). Hold the control to move through the
frequencies quickly.
²Press
to move to the next frequency up the band (whether or not
a listenable station is located there). Hold for quick movement.
Tune adjust for CD changer
²Pressto select the previous
disc in the CD changer. (Play will
begin on the first track of the
disc unless the CD changer is in shuffle mode.) Refer toShuffle
featurefor more information. Hold the control to continue reversing
through the discs.
²Press
to select the next disc in the CD changer. Hold the control
to fast-forward through the remaining discs.
Tape/CD select
²To begin tape play (with a tape
loaded into the audio system)
while in the radio or CD mode,
press the TAPE control. Press the
button during rewind or fast forward to stop the rewind or fast
forward function.
RDS
SEL
TUNE
TUNE
CD TAPE
Entertainment Systems
44
Page 47 of 240

Radio data system (RDS) feature
This feature allows your audio system to receive station identification or
program type from RDS-equipped FM radio stations.
The Federal Communications Commission (FCC) and the Canadian Radio
and Telecommunications Commission (CRTC) recommend FM radio
broadcasters to use RDS technology to transmit information. FM radio
stations are independently operated and individually elect to use RDS
technology to transmit station ID and program type as desired.
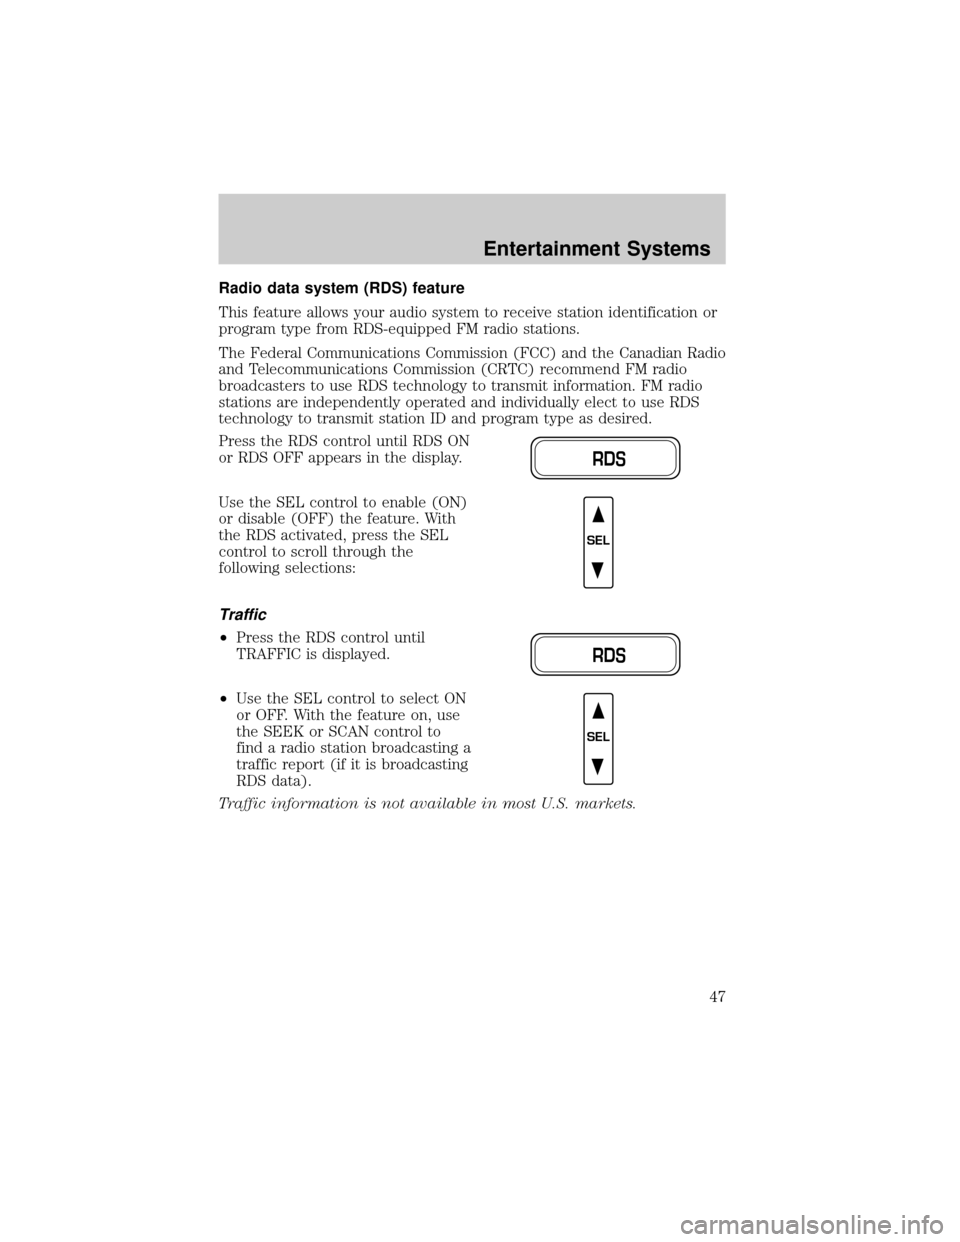
Press the RDS control until RDS ON
or RDS OFF appears in the display.
Use the SEL control to enable (ON)
or disable (OFF) the feature. With
the RDS activated, press the SEL
control to scroll through the
following selections:
Traffic
²Press the RDS control until
TRAFFIC is displayed.
²Use the SEL control to select ON
or OFF. With the feature on, use
the SEEK or SCAN control to
find a radio station broadcasting a
traffic report (if it is broadcasting
RDS data).
Traffic information is not available in most U.S. markets.
RDS
SEL
RDS
SEL
Entertainment Systems
47
Page 48 of 240
Program type
²Press the RDS control until the
FIND program type is displayed.
²Use the SEL control to select the
program type. With the feature
on, use the SEEK or SCAN
control to find the desired
program type from the following
selections:
²Classic
²Country
²Info
²Jazz
²Oldies
²R&B
²Religious
²Rock
²Soft
²To p 4 0
Show
²With RDS activated, press the
RDS control until SHOW is
displayed.
²Use the SEL control to select
TYPE (the display shows the
program type), NAME (the
display shows the call letters of
the station) or NONE.
RDS
SEL
RDS
SEL
Entertainment Systems
48
Page 53 of 240

RADIO FREQUENCY INFORMATION
The Federal Communications Commission (FCC) and the Canadian Radio
and Telecommunications Commission(CRTC) establish the frequencies
AM and FM stations may use for their broadcasts. Allowable frequencies
are:
AM 530, 540±1600, 1610 kHz
FM 87.7, 87.9±107.7, 107.9 MHz
Not all frequencies are used in a given area.
RADIO RECEPTION FACTORS
Three factors can affect radio reception:
²Distance/strength.The further an FM signal travels, the weaker it is.
The listenable range of the average FM station is approximately 40 km
(24 miles). This range can be affected by ªsignal modulation.º Signal
modulation is a process radio stations use to increase their
strength/volume relative to other stations.
²Terrain.Hills, mountains and tall buildings between your vehicle's
antenna and the radio station signal can cause FM reception problems.
Static can be caused on AM stations by power lines, electric fences,
traffic lights and thunderstorms. Moving away from an interfering
structure (out of its ªshadowº) returns your reception to normal.
²Station overload.Weak signals are sometimes captured by stronger
signals when you pass a broadcast tower. A stronger signal may
temporarily overtake a weaker signal and play while the weak station
frequency is displayed.
The audio system automatically switches to single channel reception if it
will improve the reception of a station normally received in stereo.
AUDIO SYSTEM WARRANTIES AND SERVICE
Refer to theWarranty Guidefor audio system warranty information.
If service is necessary, see your dealer or a qualified technician.
Entertainment Systems
53