Page 383 of 486
6-11 Engine Compartment Overview
When you lift the hood, you'll see these items:
A. Underhood Fuse Block
B. Remote Positive (+) Terminal
C. Windshield Washer
Fluid ReservoirD. Radiator Pressure Cap
E. Power Steering Fluid Reservoir
F. Engine Oil Fill Cap
G. Engine Oil DipstickH. Transaxle Fluid Dipstick
I. Brake Master Cylinder Reservoir
J. Engine Air Cleaner/Filter
K. Engine Coolant Reservoir
Page 411 of 486
6-39
9. Align the pins on the bottom of the headlamp
assembly with the holes in the lamp support bracket
while placing the holes in the assembly over the
bolts where the wing nuts attach.
10. Reinstall the wing nuts.
11. To reinstall the front turn signal/parking
lamp assembly See ªFront Turn
Signal/Parking/Sidemarker Lampsº next.
Front Turn Signal/Parking/Sidemarker Lamps
1. Open the hood.
2. Remove the thumbscrew attaching the front
turn signal/parking lamp assembly to the
headlamp assembly.
3. Pull the front turn signal/parking lamp assembly
away from the vehicle.
4. Unscrew the bulb socket from the lamp assembly by
pressing the tab while turning it counterclockwise.
Page 437 of 486

6-65 Fuses and Circuit Breakers
The wiring circuits in your vehicle are protected from
short circuits by a combination of fuses, circuit breakers
and fusible thermal links.
Look at the silver
-colored band inside the fuse. If the
band is broken or melted, replace the fuse. Be sure you
replace a bad fuse with a new one of the identical size
and rating.
If you ever have a problem on the road and don't have a
spare fuse, you can borrow one that has the same
amperage or use one of the spare fuses in the underhood
fuse block. Just pick some feature of your vehicle that
you can get along without
-- like the radio or cigarette
lighter
-- and use its fuse, if it is the right amperage.
Replace it as soon as you can.
There are two fuse blocks in your vehicle: the
instrument panel fuse block and the underhood
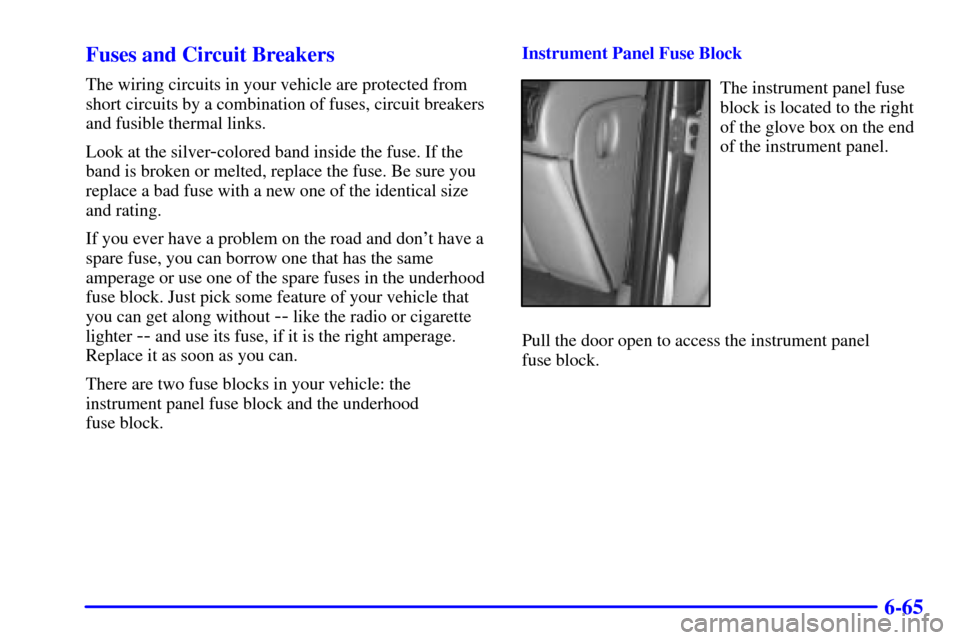
fuse block.Instrument Panel Fuse Block
The instrument panel fuse
block is located to the right
of the glove box on the end
of the instrument panel.
Pull the door open to access the instrument panel
fuse block.
Page 439 of 486

6-67
Fuses Usage
PWR LOCK Power Door Locks
HTD MIRROR Heated Mirrors
RH T/LP Driver's Side Taillamp
RR FOG LP Fog Lamps
CIGAR/DIC/APO
FRTCigarette Lighter, DIC, Front
Auxiliary Power Outlets
T/SIG Turn Signal Switch
PWR QTR VENT Interior Lamp and Multifunction
Switch (Power Vent Switch)
FRT/WPR/WSHR Windshield Wiper/Washer Motor
and Switch
HAZARD Hazard Switch
RR PWR SCKT Rear Electric Accessory
Plug Housing
DRL Daytime Running Lamp
Control Module
LH T/LP Passenger's Side TaillampFuses Usage
RR DEFOG/HTD
MIRRORRear Window Defogger Relay,
Heated Mirrors
ON STAR OnStar
�
SIR Inflatable Restraint
Control Module
HVAC BLOWER Heater
-A/C Control
MALL
CLUSTERInstrument Cluster, Body Control
Module, Electronic Level
Control (ELC) Sensor and Relay
STOP LAMP Stoplamp Switch
CLUSTER BATT Module/Electronic Brake
Control Module/Electronic
Brake Traction Control
Module (EBCM/EBTCM)
ENHANCED
EVAP/AWDEvaporative Emissions (EVAP)
Canister Vent Solenoid Valve,
All
-Wheel Drive (AWD)
Blank Not Used
ELC/TRAILER ELC Air Compressor and ELC
Relay, Trailer Harness
Page 441 of 486
6-69
Underhood Fuse Block
This fuse block is located
in the engine compartment,
in front of the windshield
washer fluid reservoir.
See ªEngine Compartment
Overviewº in the Index
for more information
on location.
The fuses marked spare are available if a replacement
fuse is needed.
To remove the cover, turn the knob counterclockwise
and lift up.
When finished, to put the cover back on, turn the knob
clockwise to tighten it. Make sure that the remote
positive (+) terminal cover is on correctly.
Maxi Fuse Usage
1 Coolant Fans
2 Not Used
3 Circuit Breakers: Front Comfort
Controls Hi Blower, and
Headlamp Fuses (Instrument
Panel): Hazard and Stoplamp
4 Circuit Breaker: Power Seat. Fuses
(Instrument Panel): Electronic
Level Control and Rear Defogger
Page 442 of 486
6-70
Maxi Fuse Usage
5 Ignition Switch to Fuses
(Instrument Panel): ABS/TCS
Ignition, Cruise, DRL, Electronic
PRNDL, Ignition 1, PSD, Air Bag,
Turn Signal and Powertrain
Control Module [IGN MAIN
Relay (Underhood Fuse Block:
A/C Clutch, Electronic Ignition,
Ignition 1
-U/H, INJ, TCC)]
6 Coolant Fans
7 Fuses (Instrument Panel): ABS
Module Battery, Cigarette Lighter,
Courtesy Lamps, Front Power
Socket, Power Locks, Power
Mirrors and Right Rear
Power SocketMaxi Fuse Usage
8 Ignition Switch to Fuses (I/P):
Body Control Module Program,
Front Comfort Controls
Low/Medium Blower, Front
Wiper/Washer, HVAC/DRL,
MALL/Radio/DIC, Power
Quarter Vent, Rear HVAC,
Rear Wiper/Washer. SWC
Accessory and Power Window
Circuit Breaker
Mini Relays Usage
9 Right Fan 1, Left Fan 2
10 Left Fan 2
11 Fuses: A/C Clutch, Ignition
1
-U/H, INS, Electronic
Ignition, TCC
12 Right Fan 1, Left Fan 2
Page 443 of 486
6-71
Micro Relays Usage
13 A/C Clutch
14 Fuel Pump
15 Not Used
16 Horn
17 Left Fog Lamp, Right Fog Lamp,
Fog Lamp Indicator
Mini Fuse Usage
18 Fuel Injectors 1
-6
19 Not Used
20 Not Used
21 Evaporative Emissions (EVAP)
Canister Purge Valve, Heated
Oxygen Sensors 1 and 2, Mass Air
Flow (MAF) Sensor
22 Not Used
23 Not Used
24 Not UsedMini Fuse Usage
25 Ignition Control Module (ICM)
26 Not Used
27 Transaxle Range Switch
to Back
-up Lamps
28 A/C Clutch Relay to A/C
Compressor Clutch Oil
29 Driver Information Display,
Heater A/C Control, Radio, Rear
Side Door Actuator Control
Motor, Remote Control Door Lock
Receiver (RCDLR), Security
Indicator Lamp and
Theft
-Deterrent Shock Sensor
30 Generator
31 Automatic Transaxle (Torque
Converter Clutch Solenoids)
Stoplamp Switch to Powertrain
Control Module
32 Fuel Pump Relay
Page 463 of 486

7-17 At Least Once a Year
Key Lock Cylinders Service
Lubricate the key lock cylinders with the lubricant
specified in Part D.
Body Lubrication Service
Lubricate all key lock cylinders, hood latch assemblies,
secondary latches, pivots, spring anchor and release
pawl, hood and door hinges, rear folding seats, fuel door
hinge, liftgate hinges, power sliding door cable and
sliding door track(s). Part D tells you what to use. More
frequent lubrication may be required when exposed to a
corrosive environment.Starter Switch Check
CAUTION:
When you are doing this check, the vehicle could
move suddenly. If it does, you or others could be
injured. Follow the steps below.
1. Before you start, be sure you have enough room
around the vehicle.
2. Firmly apply both the parking brake and the regular
brake. See ªParking Brakeº in the Index if necessary.
Do not use the accelerator pedal, and be ready to turn
off the engine immediately if it starts.
3. Try to start the engine in each gear. The starter
should work only in PARK (P) or NEUTRAL (N).
If the starter works in any other position, your
vehicle needs service.