Page 375 of 497
6-10 Engine Compartment Overview
When you lift up the hood on the VORTEC 4300 V6 engine, you'll see the following:
A. Engine Air Cleaner/Filter
B. Coolant Surge Tank
C. Air Filter Restriction Indicator
D. Engine Oil Dipstick
E. Automatic Transmission Dipstick
(If Equipped)F. F a n
G. Engine Oil Fill
H. Power Steering Fluid Reservoir
I. Remote Negative (
-)
Terminal (GND)
J. Remote Positive (+) TerminalK. Brake Fluid Reservoir
L. Clutch Fluid Reservoir
(If Equipped)
M. Underhood Fuse Block
N. Battery
O. Windshield Washer Fluid Reservoir
Page 376 of 497
6-11
When you lift up the hood on the VORTEC 5300 V8 engine (VORTEC 4800 and 6000 V8 engines similar), you will
see the following:
A. Engine Air Cleaner/Filter
B. Coolant Surge Tank
C. Air Filter Restriction Indicator
D. Engine Oil Dipstick
E. Automatic Transmission Dipstick
(If Equipped)F. Engine Oil Fill
G. Fan
H. Remote Negative (
-)
Terminal (GND)
I. Power Steering Fluid Reservoir
J. Remote Positive (+) TerminalK. Brake Fluid Reservoir
L. Clutch Fluid Reservoir
(If Equipped)
M. Underhood Fuse Block
N. Battery
O. Windshield Washer Fluid Reservoir
Page 377 of 497
6-12
When you lift up the hood on the VORTEC 8100 V8 engine you will see the following:
A. Engine Air Cleaner/Filter
B. Coolant Surge Tank
C. Air Filter Restriction Indicator
D. Engine Oil Dipstick
E. Automatic Transmission Dipstick
(If Equipped)F. Engine Oil Fill
G. Fan
H. Remote Negative (
-)
Terminal (GND)
I. Remote Positive (+) Terminal
J. Power Steering Fluid ReservoirK. Brake Fluid Reservoir
L. Clutch Fluid Reservoir
(If Equipped)
M. Underhood Fuse Block
N. Battery
O. Windshield Washer Fluid Reservoir
Page 389 of 497
6-24
Checking the Fluid Level
Prepare your vehicle as follows:
�Park your vehicle on a level place. Keep the
engine running.
�With the parking brake applied, place the shift lever
in PARK (P).
�With your foot on the brake pedal, move the shift
lever through each gear range, pausing for about
three seconds in each range. Then, position the shift
lever in PARK (P).
�Let the engine run at idle for three minutes or more.
Then, without shutting off the engine, follow these steps:
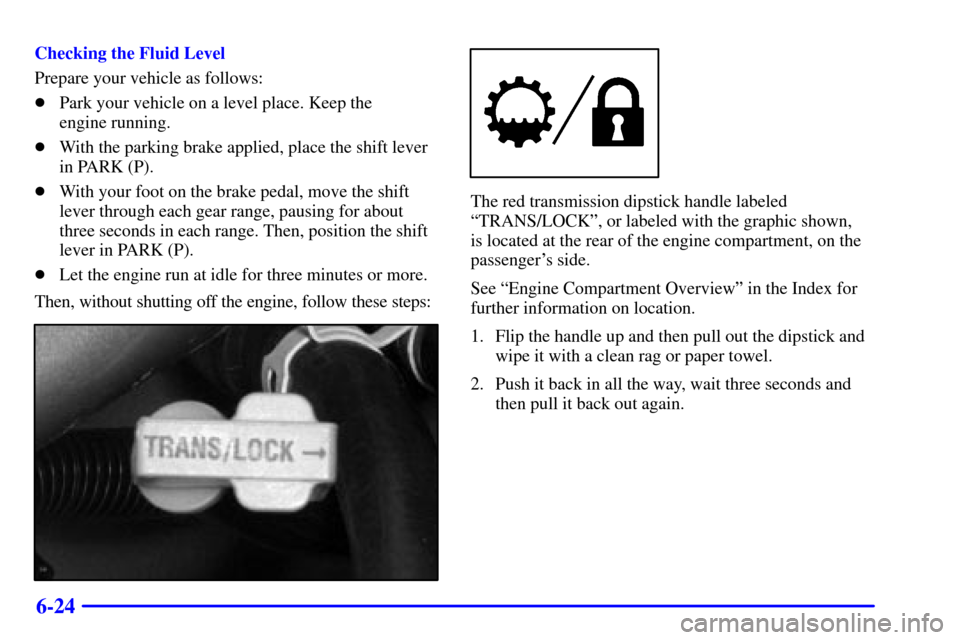
The red transmission dipstick handle labeled
ªTRANS/LOCKº, or labeled with the graphic shown,
is located at the rear of the engine compartment, on the
passenger's side.
See ªEngine Compartment Overviewº in the Index for
further information on location.
1. Flip the handle up and then pull out the dipstick and
wipe it with a clean rag or paper towel.
2. Push it back in all the way, wait three seconds and
then pull it back out again.
Page 392 of 497
.
�With")
6-27
Checking the Fluid Level
Prepare your vehicle as follows:
�Park your vehicle on a level place. Keep the
engine running.
�With the parking brake applied, place the shift lever
in PARK (P).
�With your foot on the brake pedal, run the engine for
at least once minute and shift to DRIVE (D). Then
shift to NEUTRAL (N) and then REVERSE (R) to
fill the hydraulic system. Then, position the shift
lever in PARK (P).
�Allow the engine to run at idle (500
- 800 rpm).
Slowly release the brake pedal.
Then, without shutting off the engine, follow these steps:Cold Check Procedure
The purpose of the cold check is to determine if the
transmission has enough fluid to be operated safely until
a hot check can be made. The fluid level rises as fluid
temperature increases. DO NOT fill above the COLD
CHECK band if the transmission fluid is below normal
operating temperatures.
1. Pull out the dipstick and wipe it with a clean rag or
paper towel.
2. Push it back in all the way, wait three seconds and
then pull it back out again.
3. Check the fluid level reading. Repeat the check
procedure to verify the reading.
4. If the fluid level is within the COLD CHECK band,
the transmission may be operated until the fluid is
hot enough to perform a hot check. If the fluid level
is not within the COLD CHECK band, add or drain
fluid as necessary to bring the level into the middle
of the COLD CHECK band.
5. Perform a hot check at the first opportunity after the
normal operating temperature of 160�F (71�C) to
200�F (93�C) is reached.
6. If the fluid level is in the acceptable range, push the
dipstick back in all the way.
Page 406 of 497

6-41
NOTICE:
�When using concentrated washer fluid,
follow the manufacturer's instructions for
adding water.
�Don't mix water with ready
-to-use washer
fluid. Water can cause the solution to freeze
and damage your washer fluid tank and
other parts of the washer system. Also,
water doesn't clean as well as washer fluid.
�Fill your washer fluid tank only
three
-quarters full when it's very cold. This
allows for expansion if freezing occurs,
which could damage the tank if it is
completely full.
�Don't use engine coolant (antifreeze) in
your windshield washer. It can damage
your washer system and paint.
Brakes
Brake Fluid
Your brake master cylinder
reservoir is located in the
rear of the engine
compartment on the driver's
side of the vehicle.
Your brake master cylinder reservoir is filled with
DOT
-3 brake fluid. See ªEngine Compartment
Overviewº in the Index for the location of the reservoir.
There are only two reasons why the brake fluid level in the
reservoir might go down. The first is that the brake fluid
goes down to an acceptable level during normal brake
lining wear. When new linings are put in, the fluid level
goes back up. The other reason is that fluid is leaking out
of the brake system. If it is, you should have your brake
system fixed, since a leak means that sooner or later your
brakes won't work well, or won't work at all.
Page 407 of 497

6-42
So, it isn't a good idea to ªtop offº your brake fluid.
Adding brake fluid won't correct a leak. If you add fluid
when your linings are worn, then you'll have too much
fluid when you get new brake linings. You should add
(or remove) brake fluid, as necessary, only when work is
done on the brake hydraulic system.
CAUTION:
If you have too much brake fluid, it can spill on
the engine. The fluid will burn if the engine is
hot enough. You or others could be burned,
and your vehicle could be damaged. Add brake
fluid only when work is done on the brake
hydraulic system. See ªChecking Brake Fluidº in
this section.
Refer to the Maintenance Schedule to determine when to
check your brake fluid. See ªPeriodic Maintenance
Inspectionsº in the Index.Checking Brake Fluid
You can check the brake fluid without taking off the cap.
Just look at the brake fluid reservoir. The fluid level
should be above MIN. If it isn't, have your brake system
checked to see if there is a leak.
After work is done on the brake hydraulic system,
make sure the level is above the MIN but not over the
MAX mark.
Page 408 of 497

6-43
What to Add
When you do need brake fluid, use only DOT
-3 brake
fluid. Refer to ªRecommended Fluids and Lubricantsº
in the Index. Use new brake fluid from a sealed
container only.
Always clean the brake fluid reservoir cap and the area
around the cap before removing it. This will help keep
dirt from entering the reservoir.
CAUTION:
With the wrong kind of fluid in your brake
system, your brakes may not work well, or they
may not even work at all. This could cause a
crash. Always use the proper brake fluid.
NOTICE:
�Using the wrong fluid can badly damage
brake system parts. For example, just a few
drops of mineral
-based oil, such as engine
oil, in your brake system can damage brake
system parts so badly that they'll have to be
replaced. Don't let someone put in the
wrong kind of fluid.
�If you spill brake fluid on your vehicle's
painted surfaces, the paint finish can be
damaged. Be careful not to spill brake fluid
on your vehicle. If you do, wash it off
immediately. See ªAppearance Careº in
the Index.

, you will
see the following:
A. Engine Air Cleaner/Filter
B. Coolant Surge Tank
C. Air Filter Rest")