Page 277 of 397
5-24
The following steps will tell you how to use the jack and
change a tire.
Removing the Spare Tire and Tools
The equipment you'll need is in the trunk. The steps for
removing the compact spare tire and installing it on the
vehicle are listed below.
1. Turn the center nut on
the compact spare tire
cover counterclockwise
to remove it. Then
remove the cover.
Page 278 of 397
5-25
2. Remove the compact spare tire from the trunk. See
ªCompact Spare Tireº later in this section for more
information about the compact spare.3. Turn the nut holding the jack counterclockwise and
remove it. Then remove the jack and wrench.
Page 285 of 397
5-32
NOTICE:
Improperly tightened wheel nuts can lead to
brake pulsation and rotor damage. To avoid
expensive brake repairs, evenly tighten the wheel
nuts in the proper sequence and to the proper
torque specification.
Don't try to put the wheel cover on your compact
spare tire. It won't fit. Store the wheel cover in the
trunk until you have the flat tire repaired or replaced.
NOTICE:
Wheel covers won't fit on your compact spare.
If you try to put a wheel cover on your compact
spare, you could damage the cover or the spare.
Storing the Flat Tire and Tools
CAUTION:
Storing a jack, a tire or other equipment in the
passenger compartment of the vehicle could
cause injury. In a sudden stop or collision, loose
equipment could strike someone. Store all these
in the proper place.
After you've put the compact spare tire on your vehicle,
you'll need to store the flat tire in the trunk. Use the
following procedure to secure the flat tire in the trunk.
Page 286 of 397
5-33
When storing a full-size tire, use the extension and
protector /guide located in the foam holder to help
prevent wheel surface damage.To store a full
-size tire do the following:
1. Place the tire in the trunk, valve stem facing down
with the protector/guide through a wheel bolt hole.
2. Remove the protector/guide and attach the
retainer securely. The cover will not fit over a
full
-size tire, so be sure to store the cover as far
forward as possible.
3. When you put the compact spare tire back in
the trunk, place the protector/guide back in the
foam holder.
4. Put the cover back over the compact spare tire and
tighten the center nut.
Page 287 of 397
5-34 Storing the Spare Tire and Tools
CAUTION:
Storing a jack, a tire or other equipment in the
passenger compartment of the vehicle could
cause injury. In a sudden stop or collision, loose
equipment could strike someone. Store all these
in the proper place.
The compact spare tire is for temporary use only.
Replace the compact spare tire with a full
-size tire as
soon as you can. See ªCompact Spare Tireº in the Index.
See the storage instructions label to return your compact
spare tire to your trunk properly.
A. Retainer
B. Cover
C. Compact Spare Tire
D. Nut
E. Jack
F. Wrench
G. Lock Nut Tool
H. Foam Holder
I. Extension and
Protective Guide
J. Bolt Screw
Page 297 of 397

6-8
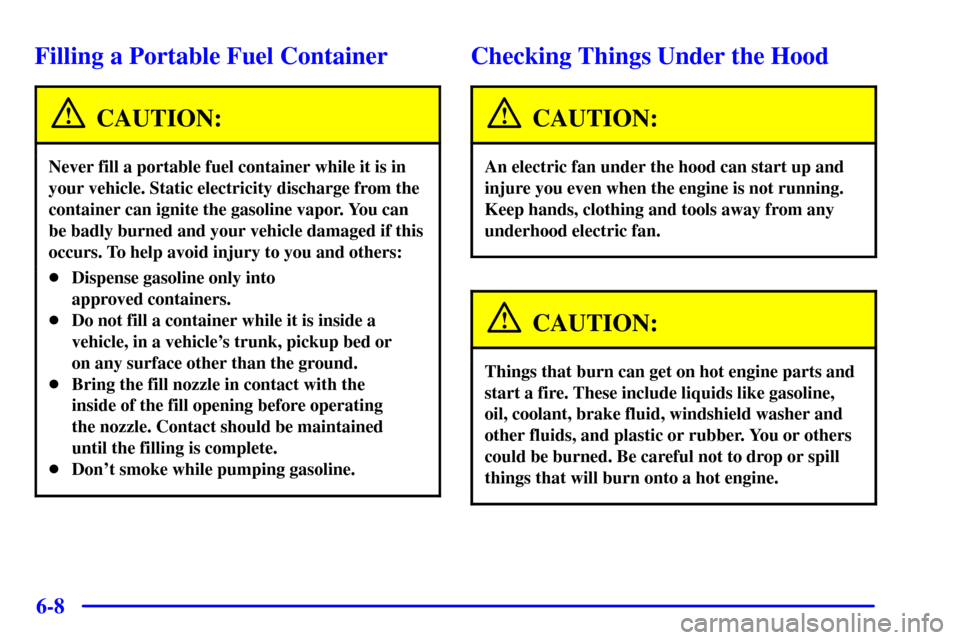
Filling a Portable Fuel Container
CAUTION:
Never fill a portable fuel container while it is in
your vehicle. Static electricity discharge from the
container can ignite the gasoline vapor. You can
be badly burned and your vehicle damaged if this
occurs. To help avoid injury to you and others:
�Dispense gasoline only into
approved containers.
�Do not fill a container while it is inside a
vehicle, in a vehicle's trunk, pickup bed or
on any surface other than the ground.
�Bring the fill nozzle in contact with the
inside of the fill opening before operating
the nozzle. Contact should be maintained
until the filling is complete.
�Don't smoke while pumping gasoline.
Checking Things Under the Hood
CAUTION:
An electric fan under the hood can start up and
injure you even when the engine is not running.
Keep hands, clothing and tools away from any
underhood electric fan.
CAUTION:
Things that burn can get on hot engine parts and
start a fire. These include liquids like gasoline,
oil, coolant, brake fluid, windshield washer and
other fluids, and plastic or rubber. You or others
could be burned. Be careful not to drop or spill
things that will burn onto a hot engine.
Page 327 of 397
6-38 Tail/Stop/Turn Signal and Rear
Sidemarker Lamps
A. Rear Sidemarker Lamp
B. Tail/Stop/Turn Signal Lamp1. Open the trunk. Remove the convenience net, if
your vehicle has one. Unhook the net from the
upper wing nut.
2. Remove the two upper (convenience net) wing nuts.
3. Pull the carpet away from the rear of the vehicle.
4. Unscrew the two
remaining wing nuts.
Page 328 of 397
6-39
5. Pull the assembly from the body carefully.
6. To remove a socket, press the tab, turn the socket
counterclockwise and pull it out.
7. Pull the old bulb out. Do not twist it.
8. Push the new bulb into the socket.
9. Reinstall the socket in the assembly. Tighten the
socket by turning it clockwise.
10. Reinstall the assembly and the two lower wing nuts.
11. Reinstall the carpeting.
12. Reinstall the upper (convenience net) wing nut and
convenience net, if equipped.Back-Up Lamp
The back-up lamps are located in the applique on the
rear of the trunk lid.
1. Open the trunk.
2. Remove the nine wing nuts.
3. Pull the rear trunk applique away from the vehicle.
4. To remove a socket press the tab, turn the socket
counterclockwise and pull it out.
5. Pull the old bulb out. Do not twist it.
6. Push the new bulb into the socket.
7. Reinstall the socket in the assembly. Tighten the
socket by turning it clockwise.
8. Reinstall the applique and the nine wing nuts.