Page 102 of 384

2-44
Turn Signal on Chime
A chime will remind you if you leave the turn signal on
for more than 3/4 mile (1.2 km) of driving.
If you need to leave the turn signal on for more than
3/4 mile (1.2 km), turn off the signal and then turn it
back on.
Headlamp High/Low-Beam Changer
To change the headlamps from low beam to high or high
to low, push the turn signal lever all the way forward.
When the high beams
are on, this light on the
instrument panel cluster
also will be on. To change
the headlamps from high to
low, pull the lever rearward.
Lamps on Reminder
If you turn the ignition off and leave the headlamps or
parking lamps on and open a door, you will hear a chime
reminding you to turn off the lamps.
Flash-to-Pass Feature
To use the flash-to-pass feature, momentarily pull the
turn signal lever toward you. The high
-beam indicator
will flash to indicate to the other driver that you intend
to pass. If the low
-beam headlamps are off and you
have the optional fog lamps on, the fog lamps will flash.
Windshield Wipers
Use this lever located on the right side of the steering
column to operate the windshield wipers.
Page 108 of 384
2-50
Headlamps Doors
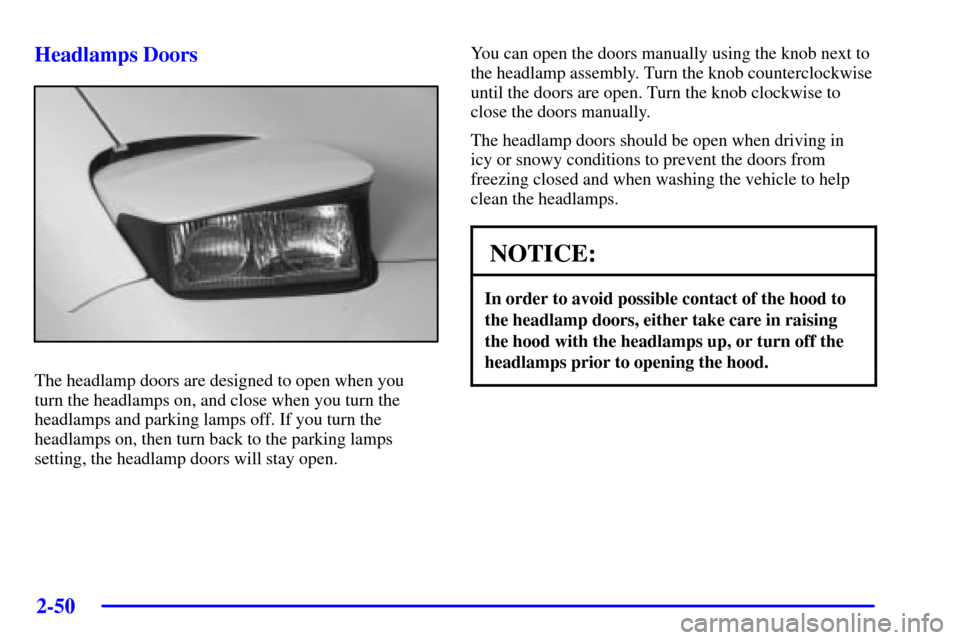
The headlamp doors are designed to open when you
turn the headlamps on, and close when you turn the
headlamps and parking lamps off. If you turn the
headlamps on, then turn back to the parking lamps
setting, the headlamp doors will stay open.You can open the doors manually using the knob next to
the headlamp assembly. Turn the knob counterclockwise
until the doors are open. Turn the knob clockwise to
close the doors manually.
The headlamp doors should be open when driving in
icy or snowy conditions to prevent the doors from
freezing closed and when washing the vehicle to help
clean the headlamps.
NOTICE:
In order to avoid possible contact of the hood to
the headlamp doors, either take care in raising
the hood with the headlamps up, or turn off the
headlamps prior to opening the hood.
Page 111 of 384
2-53
Interior Lamps
Instrument Panel Brightness Control
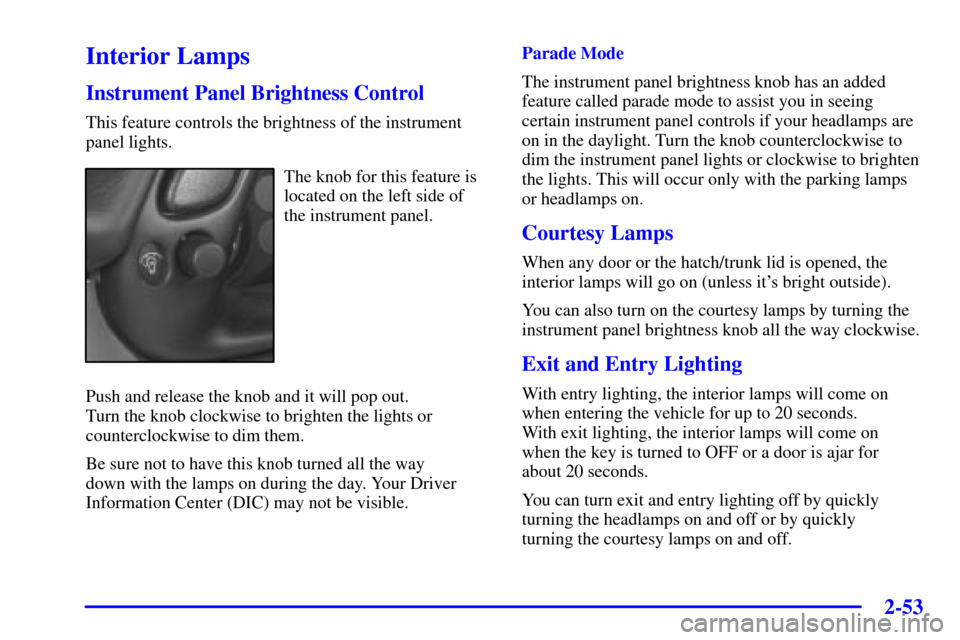
This feature controls the brightness of the instrument
panel lights.
The knob for this feature is
located on the left side of
the instrument panel.
Push and release the knob and it will pop out.
Turn the knob clockwise to brighten the lights or
counterclockwise to dim them.
Be sure not to have this knob turned all the way
down with the lamps on during the day. Your Driver
Information Center (DIC) may not be visible.Parade Mode
The instrument panel brightness knob has an added
feature called parade mode to assist you in seeing
certain instrument panel controls if your headlamps are
on in the daylight. Turn the knob counterclockwise to
dim the instrument panel lights or clockwise to brighten
the lights. This will occur only with the parking lamps
or headlamps on.
Courtesy Lamps
When any door or the hatch/trunk lid is opened, the
interior lamps will go on (unless it's bright outside).
You can also turn on the courtesy lamps by turning the
instrument panel brightness knob all the way clockwise.
Exit and Entry Lighting
With entry lighting, the interior lamps will come on
when entering the vehicle for up to 20 seconds.
With exit lighting, the interior lamps will come on
when the key is turned to OFF or a door is ajar for
about 20 seconds.
You can turn exit and entry lighting off by quickly
turning the headlamps on and off or by quickly
turning the courtesy lamps on and off.
Page 112 of 384

2-54
Reading Lamps
Your inside rearview mirror includes two reading lamps.
The lamps will go on when a door is opened. When the
doors are closed, each lamp can be turned on individually
by pressing the switch (each lamp has its own switch).
There is also an interior console flood lamp located
underneath the rearview mirror which remains on
at all times.
Inadvertent Load Control
Your vehicle has a feature to help prevent you from
draining the battery in case the underhood lamp, vanity
mirror lamps, cargo lamps, reading lamps, console or
glove box lamps are accidentally left on. If you leave
any of these lamps on, they will automatically time
out after about 15 minutes. To reset it, all of the
above lamps must be turned off or the ignition key
must be in ON.
Mirrors
Inside Day/Night Rearview Mirror
An inside rearview mirror is attached above the
windshield. The mirror pivots so that you can adjust it.
You can adjust the mirror for day or night driving.
Pull the tab for night driving to reduce glare. Push the
tab forward for daytime driving.
Page 115 of 384
2-57
Storage Compartments
Glove Box
To open the glove box, lift up on the lever. Use your
door key to lock or unlock it. The glove box has a
light inside.
Instrument Panel Cupholder
The cupholder is located on the center console in front
of the ashtray. To open it, place your thumb on the left
side of the lid and push down. Raise the right side with
your index finger.
Center Console Storage
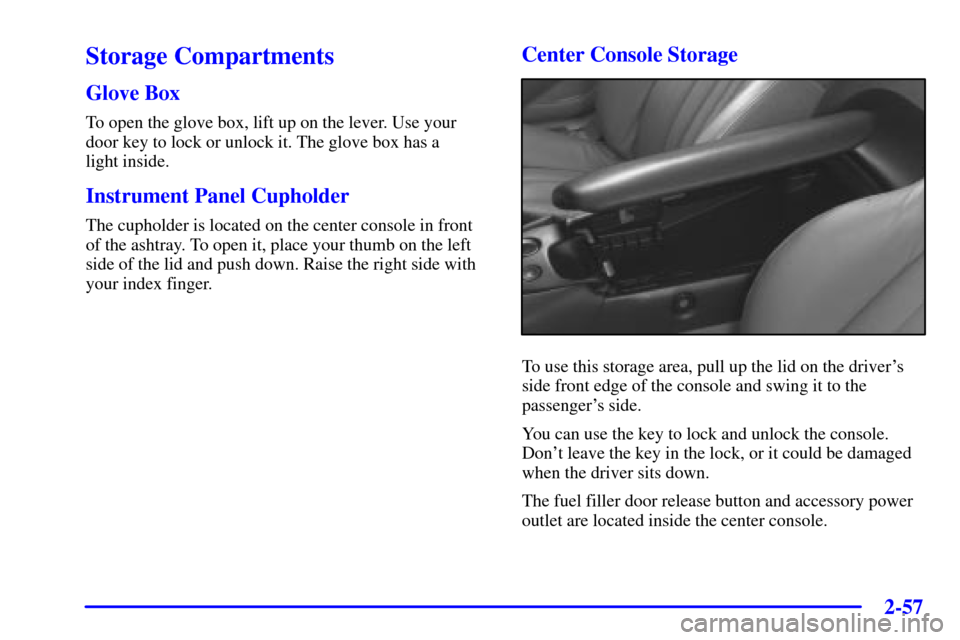
To use this storage area, pull up the lid on the driver's
side front edge of the console and swing it to the
passenger's side.
You can use the key to lock and unlock the console.
Don't leave the key in the lock, or it could be damaged
when the driver sits down.
The fuel filler door release button and accessory power
outlet are located inside the center console.
Page 120 of 384

2-62
Floor Mats
Your vehicle's floor mats are specially designed to
remain in position under your feet and out of reach of
the accelerator pedal. The driver's side floor mat is held
in place by two locator hooks and the passenger's side
is held in place by one.
Be sure that the driver's side floor mat is properly
placed on the floor so that it does not block the
movement of the accelerator pedal.
How to Remove and Replace the Floor Mats
To remove the floor mats,
pull up on the rear of the
mat to disconnect from the
locator hooks.
To reinstall the floor mats, line up the openings in the floor
mat over the locator hooks and push down into place.
Roof Panel (If Equipped)
Removing the Roof Panel
CAUTION:
Don't try to remove the roof panel while the
vehicle is moving. Trying to remove the roof
panel while the vehicle is moving could cause
an accident. The panel could fall into the vehicle
and cause you to lose control, or it could fly off
and strike another vehicle. You or others could
be injured. Remove the roof panel only when the
vehicle is parked.
Until you are sure you can remove the panel alone,
have someone help you.
Page 121 of 384
2-63
NOTICE:
To avoid damage to the roof panel, paint and
weatherstripping, do not drop or rest it on its
edges. Place the roof panel in the egg
-shaped
stowage receivers after removing it from
the vehicle.
1. Park on a level surface, set the parking brake firmly
and shift an automatic transmission into PARK (P).
Shift a manual transmission into REVERSE (R).
2. Turn the ignition key to OFF. Lower both sun visors
and turn them toward the door glass.
3. Open the rear liftgate and remove any items that may
interfere with proper storage of the roof panel.
4. Make sure to install the two egg-shaped
stowage receivers into the floor of the rear storage
compartment. Secure both receivers into their proper
positions by turning them counterclockwise.
5. Lower the windows and open the doors.
Page 123 of 384
2-65
7. To unlock the rear of the roof panel, press the latch
release button with your thumb and pull down the
latch lever with your fingers.
8. After releasing the latches, return the sun visors to
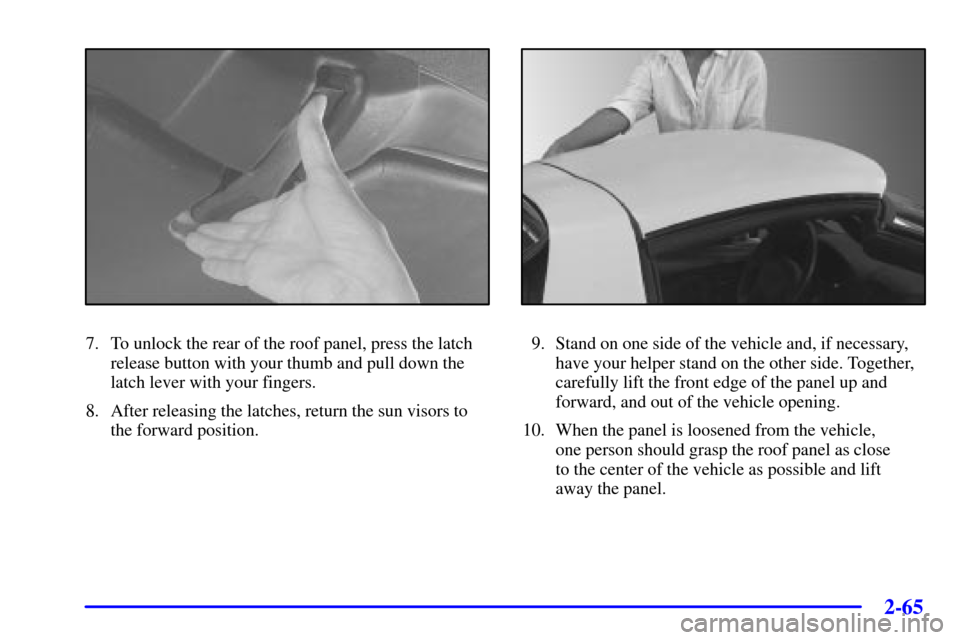
the forward position.9. Stand on one side of the vehicle and, if necessary,
have your helper stand on the other side. Together,
carefully lift the front edge of the panel up and
forward, and out of the vehicle opening.
10. When the panel is loosened from the vehicle,
one person should grasp the roof panel as close
to the center of the vehicle as possible and lift
away the panel.