Page 1922 of 5127
Secondary Information Center (SIC)
The secondary information center (SIC) displays some of the warning lights and indicators. The SIC is located in the
center of the instrument panel, above the center air outlets. The digital clock is also located in the center of the
SIC. SeeClock on page 3-32andInstrument Panel Overview on page 3-4for more information. United States shown, Canada similar
3-31
Page 1923 of 5127
Clock
Your vehicle has a digital clock. The clock is located in
the secondary instrument cluster on the center of
the instrument panel, above the center air outlets. When
the ignition is turned to ACC or ON, the time is
displayed in the digital clock. There are two adjusting
buttons for the digital clock:
H (Hour):To go forward one hour, press the H button
once. To go forward more than one hour, press and hold
the button until the correct hour is reached.
M (Minute):To go forward one minute, press the
M button once. To go forward more than one minute,
press and hold the button until the correct minute
is reached.
After disconnecting the battery or replacing the fuse,
reset the clock.
Safety Belt Reminder Light
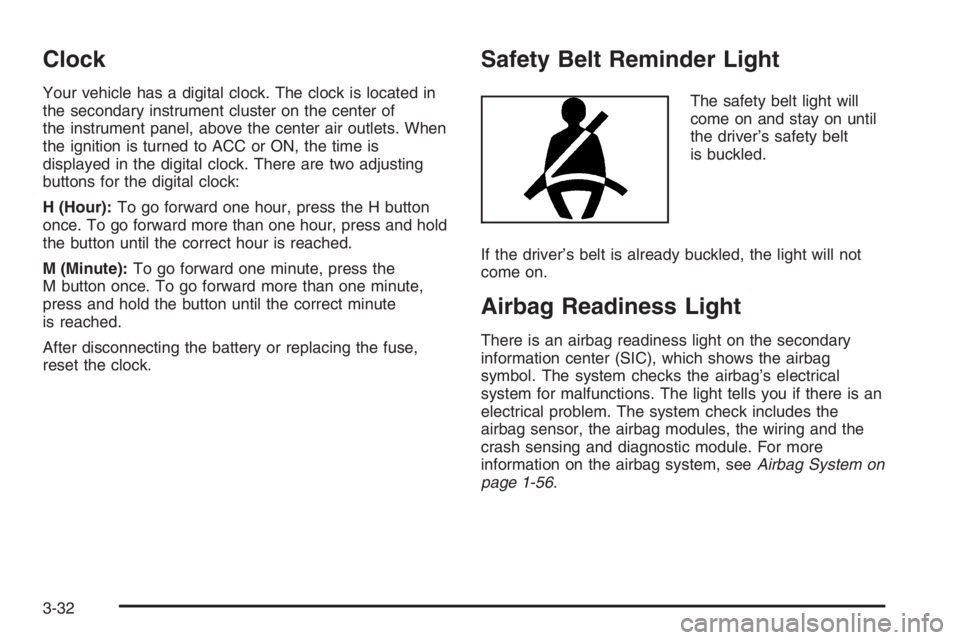
The safety belt light will
come on and stay on until
the driver’s safety belt
is buckled.
If the driver’s belt is already buckled, the light will not
come on.
Airbag Readiness Light
There is an airbag readiness light on the secondary
information center (SIC), which shows the airbag
symbol. The system checks the airbag’s electrical
system for malfunctions. The light tells you if there is an
electrical problem. The system check includes the
airbag sensor, the airbag modules, the wiring and the
crash sensing and diagnostic module. For more
information on the airbag system, seeAirbag System on
page 1-56.
3-32
Page 1943 of 5127
CD Messages
CHECK CD:If this message appears on the display
and/or the CD comes out, it could be for one of the
following reasons:
•It is very hot. When the temperature returns to
normal, the CD should play.
•You are driving on a very rough road. When the
road becomes smoother, the CD should play.
•The CD is dirty, scratched, wet, or upside down.
•The air is very humid. If so, wait about an hour and
try again.
•The format of the CD may not be compatible. See
“MP3 Format” earlier in this section.
•There may have been a problem while burning
the CD.
•The label may be caught in the CD player.
If the CD is not playing correctly, for any other reason,
try a known good CD.
If any error occurs repeatedly or if an error cannot be
corrected, contact your dealer. If the radio displays
an error message, write it down and provide it to your
dealer when reporting the problem.
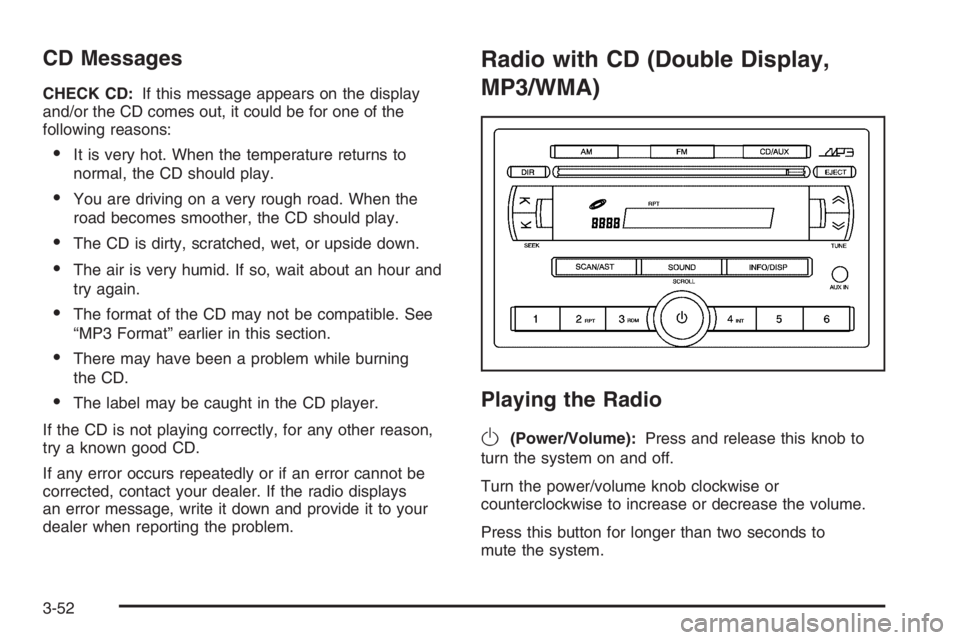
Radio with CD (Double Display,
MP3/WMA)
Playing the Radio
O
(Power/Volume):Press and release this knob to
turn the system on and off.
Turn the power/volume knob clockwise or
counterclockwise to increase or decrease the volume.
Press this button for longer than two seconds to
mute the system.
3-52
Page 1952 of 5127
The auxiliary input jack will also accept cell phone
connectors. Plug the cell phone connector into
the auxiliary input jack to hear the other side of a cell
phone’s conversation through the vehicle sound system.
To use a portable audio player, connect a 3.5 mm
(1/8 inch) cable to the radio’s front auxiliary input jack.
When a device is connected, press the radio CD/AUX
button as needed to begin playing audio from the device
over the car speakers.
CD/AUX (CD/Auxiliary):Press this button once to play
a CD while a portable audio device is playing. Press
this button a second time for the system will begin
playing audio from the connected portable audio player.
Once in this mode, “Auxinput” will appear on display.
If the auxiliary jack does not detect the presence of an
output jack, the aux mode will be prevented from
coming up.
O(Power/Volume):Turn this knob clockwise or
counterclockwise to increase or decrease the volume of
the portable player. You may need to do additional
volume adjustments from the portable device if
the volume does not go loud or soft enough.
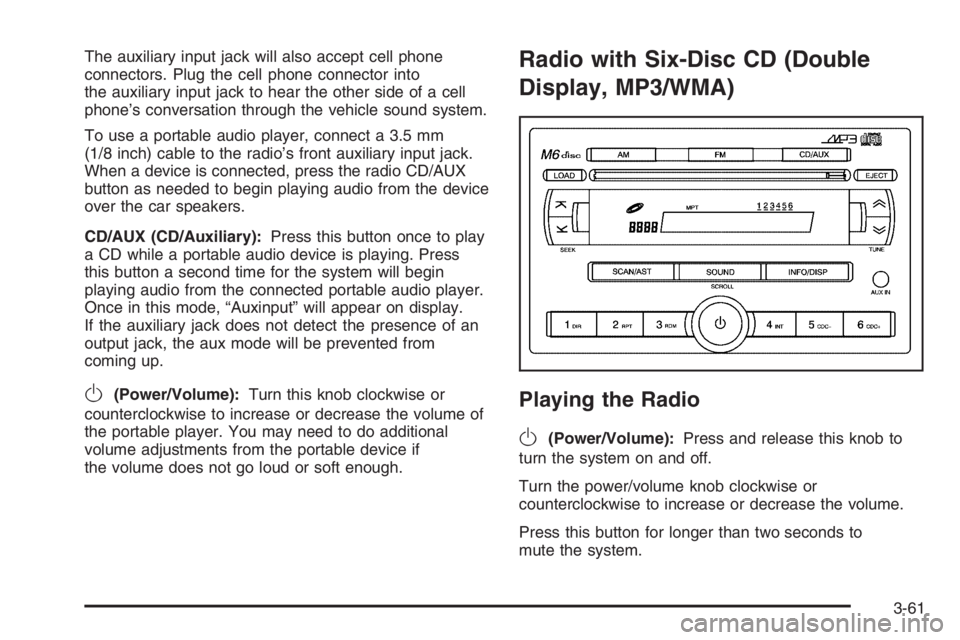
Radio with Six-Disc CD (Double
Display, MP3/WMA)
Playing the Radio
O
(Power/Volume):Press and release this knob to
turn the system on and off.
Turn the power/volume knob clockwise or
counterclockwise to increase or decrease the volume.
Press this button for longer than two seconds to
mute the system.
3-61
Page 1961 of 5127
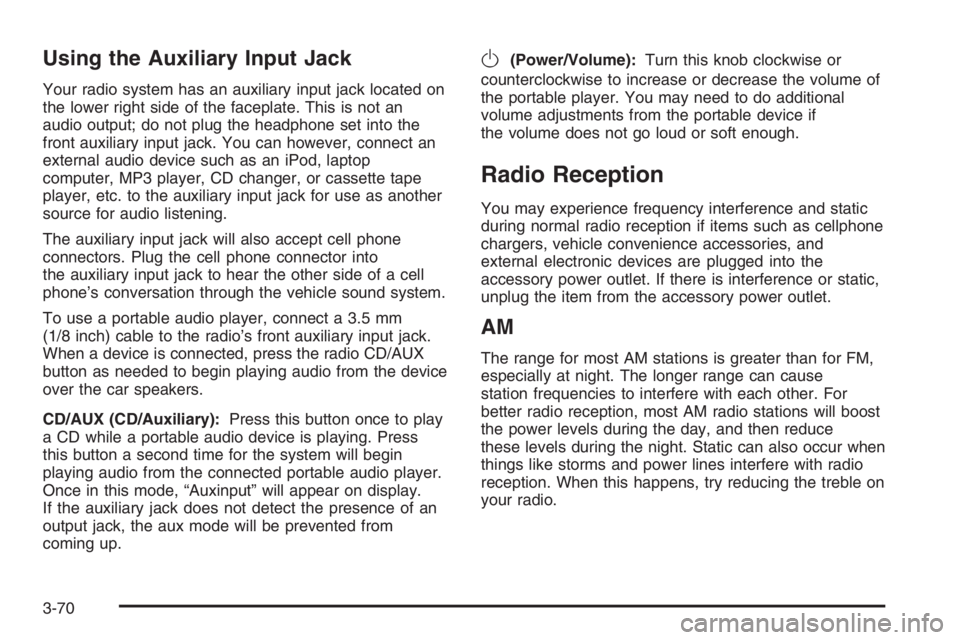
Using the Auxiliary Input Jack
Your radio system has an auxiliary input jack located on
the lower right side of the faceplate. This is not an
audio output; do not plug the headphone set into the
front auxiliary input jack. You can however, connect an
external audio device such as an iPod, laptop
computer, MP3 player, CD changer, or cassette tape
player, etc. to the auxiliary input jack for use as another
source for audio listening.
The auxiliary input jack will also accept cell phone
connectors. Plug the cell phone connector into
the auxiliary input jack to hear the other side of a cell
phone’s conversation through the vehicle sound system.
To use a portable audio player, connect a 3.5 mm
(1/8 inch) cable to the radio’s front auxiliary input jack.
When a device is connected, press the radio CD/AUX
button as needed to begin playing audio from the device
over the car speakers.
CD/AUX (CD/Auxiliary):Press this button once to play
a CD while a portable audio device is playing. Press
this button a second time for the system will begin
playing audio from the connected portable audio player.
Once in this mode, “Auxinput” will appear on display.
If the auxiliary jack does not detect the presence of an
output jack, the aux mode will be prevented from
coming up.
O(Power/Volume):Turn this knob clockwise or
counterclockwise to increase or decrease the volume of
the portable player. You may need to do additional
volume adjustments from the portable device if
the volume does not go loud or soft enough.
Radio Reception
You may experience frequency interference and static
during normal radio reception if items such as cellphone
chargers, vehicle convenience accessories, and
external electronic devices are plugged into the
accessory power outlet. If there is interference or static,
unplug the item from the accessory power outlet.
AM
The range for most AM stations is greater than for FM,
especially at night. The longer range can cause
station frequencies to interfere with each other. For
better radio reception, most AM radio stations will boost
the power levels during the day, and then reduce
these levels during the night. Static can also occur when
things like storms and power lines interfere with radio
reception. When this happens, try reducing the treble on
your radio.
3-70
Page 1973 of 5127
Try to adjust your speed so you can “drive” through the
curve. Maintain a reasonable, steady speed. Wait to
accelerate until you are out of the curve, and then
accelerate gently into the straightaway.
Adding non-GM accessories can affect your vehicle’s
performance. SeeAccessories and Modifications
on page 5-3.
Steering in Emergencies
There are times when steering can be more effective
than braking. For example, you come over a hill and find
a truck stopped in your lane, or a car suddenly pulls
out from nowhere, or a child darts out from between
parked cars and stops right in front of you. You
can avoid these problems by braking — if you can stop
in time. But sometimes you cannot; there is not room.
That is the time for evasive action — steering around the
problem.
Your vehicle can perform very well in emergencies like
these. First apply your brakes — but, unless you
have anti-lock brakes, not enough to lock your wheels.
SeeBraking on page 4-6. It is better to remove as
much speed as you can from a possible collision. Then
steer around the problem, to the left or right depending
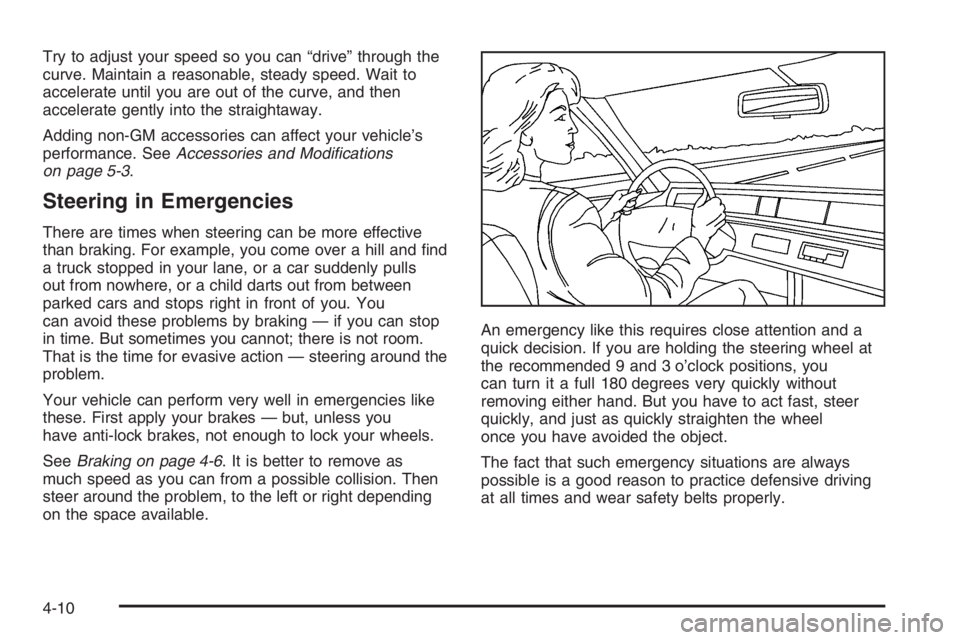
on the space available.An emergency like this requires close attention and a
quick decision. If you are holding the steering wheel at
the recommended 9 and 3 o’clock positions, you
can turn it a full 180 degrees very quickly without
removing either hand. But you have to act fast, steer
quickly, and just as quickly straighten the wheel
once you have avoided the object.
The fact that such emergency situations are always
possible is a good reason to practice defensive driving
at all times and wear safety belts properly.
4-10
Page 2007 of 5127
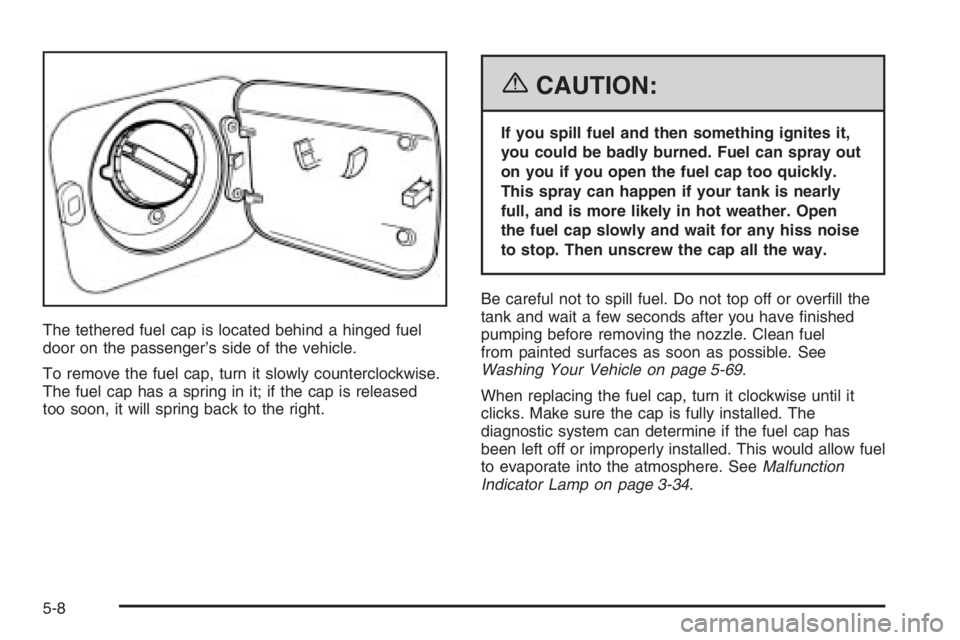
The tethered fuel cap is located behind a hinged fuel
door on the passenger’s side of the vehicle.
To remove the fuel cap, turn it slowly counterclockwise.
The fuel cap has a spring in it; if the cap is released
too soon, it will spring back to the right.
{CAUTION:
If you spill fuel and then something ignites it,
you could be badly burned. Fuel can spray out
on you if you open the fuel cap too quickly.
This spray can happen if your tank is nearly
full, and is more likely in hot weather. Open
the fuel cap slowly and wait for any hiss noise
to stop. Then unscrew the cap all the way.
Be careful not to spill fuel. Do not top off or overfill the
tank and wait a few seconds after you have finished
pumping before removing the nozzle. Clean fuel
from painted surfaces as soon as possible. See
Washing Your Vehicle on page 5-69.
When replacing the fuel cap, turn it clockwise until it
clicks. Make sure the cap is fully installed. The
diagnostic system can determine if the fuel cap has
been left off or improperly installed. This would allow fuel
to evaporate into the atmosphere. SeeMalfunction
Indicator Lamp on page 3-34.
5-8
Page 2028 of 5127
{CAUTION:
You can be burned if you spill coolant on hot
engine parts. Coolant contains ethylene glycol
and it will burn if the engine parts are hot
enough. Do not spill coolant on a hot engine.
1. You can remove the coolant surge tank pressure
cap when the cooling system, including the coolant
surge tank pressure cap and upper radiator
hose, is no longer hot. Turn the pressure cap
slowly counterclockwise about two or two and
one-half turns.
If you hear a hiss, wait for that to stop. This will
allow any pressure still left to be vented out
the discharge hose.2. Then keep turning the pressure cap slowly, and
remove it.
5-29