Page 272 of 395

6-8
When you put the fuel cap back on, turn it to the right
(clockwise) until you hear a clicking sound. Make sure
you fully install the cap. The diagnostic system can
determine if the fuel cap has been left off or improperly
installed. This would allow fuel to evaporate into the
atmosphere. See ªMalfunction Indicator Lampº in
the Index.
NOTICE:
If you need a new fuel cap, be sure to get the
right type. Your dealer can get one for you. If you
get the wrong type, it may not fit properly. This
may cause your malfunction indicator lamp to
light and may damage your fuel tank and
emissions system. See ªMalfunction Indicator
Lampº in the Index.
Filling a Portable Fuel Container
CAUTION:
Never fill a portable fuel container while it is in
your vehicle. Static electricity discharge from the
container can ignite the gasoline vapor. You can
be badly burned and your vehicle damaged if this
occurs. To help avoid injury to you and others:
�Dispense gasoline only into
approved containers.
�Do not fill a container while it is inside a
vehicle, in a vehicle's trunk, pickup bed or
on any surface other than the ground.
�Bring the fill nozzle in contact with the
inside of the fill opening before operating
the nozzle. Contact should be maintained
until the filling is complete.
�Don't smoke while pumping gasoline.
Page 276 of 395
6-12
Engine Oil
If the ENGINE OIL LOW - CHECK LEVEL DIC
message appears on the instrument cluster, it means
you need to check your engine oil level right away. For
more information, see ªDIC Warnings and Messagesº
in the Index.
You should check your engine oil level regularly; this is
an added reminder.
Checking Engine Oil
It's a good idea to check your engine oil every time you
get fuel. In order to get an accurate reading, the oil must
be warm and the vehicle must be on level ground.
The engine oil dipstick is
located behind the engine
cooling fans and in front of
the engine oil fill cap. The
top of the dipstick is a
round, yellow loop. See
ªEngine Compartment
Overviewº in the Index
for more information
on location.
Turn off the engine and give the oil several minutes to
drain back into the oil pan. If you don't, the oil dipstick
might not show the actual level.
Page 313 of 395

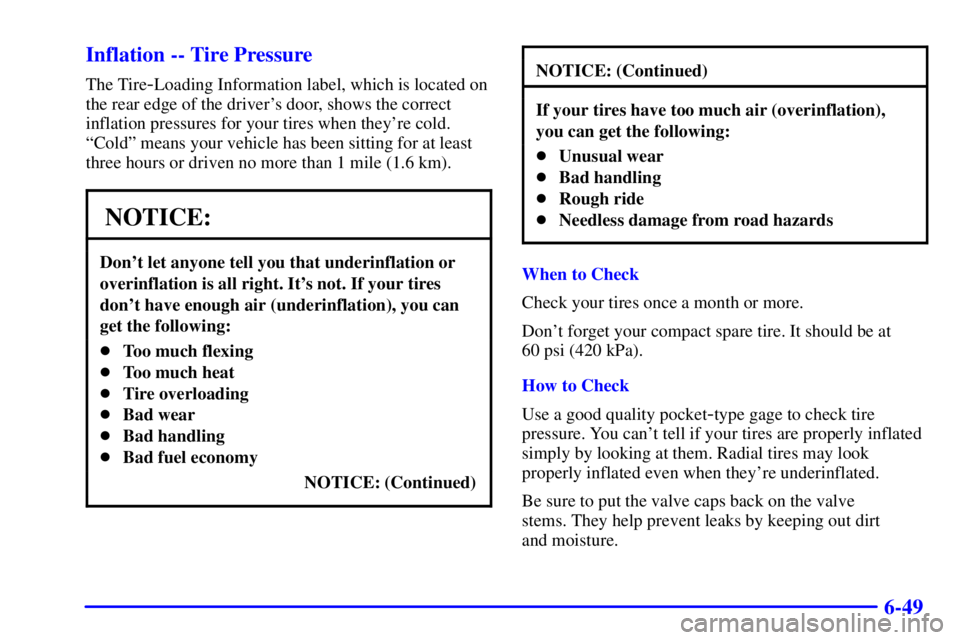
6-49 Inflation -- Tire Pressure
The Tire-Loading Information label, which is located on
the rear edge of the driver's door, shows the correct
inflation pressures for your tires when they're cold.
ªColdº means your vehicle has been sitting for at least
three hours or driven no more than 1 mile (1.6 km).
NOTICE:
Don't let anyone tell you that underinflation or
overinflation is all right. It's not. If your tires
don't have enough air (underinflation), you can
get the following:
�Too much flexing
�Too much heat
�Tire overloading
�Bad wear
�Bad handling
�Bad fuel economy
NOTICE: (Continued)
NOTICE: (Continued)
If your tires have too much air (overinflation),
you can get the following:
�Unusual wear
�Bad handling
�Rough ride
�Needless damage from road hazards
When to Check
Check your tires once a month or more.
Don't forget your compact spare tire. It should be at
60 psi (420 kPa).
How to Check
Use a good quality pocket
-type gage to check tire
pressure. You can't tell if your tires are properly inflated
simply by looking at them. Radial tires may look
properly inflated even when they're underinflated.
Be sure to put the valve caps back on the valve
stems. They help prevent leaks by keeping out dirt
and moisture.
Page 340 of 395

6-76
Minifuses Usage
17 Radio
18 Driver Heated Seat Module
19 Rear Door Module
20 Trunk Release
21 Spare
22 Instrument Panel Ashtray
Cigarette Lighter
23 Spare
24 Spare
25 Passenger Heated Seat Module
26 Right Rear Cig Lighter
27 Left Rear Cig Lighter
28 RFA, Memory Seat Module,
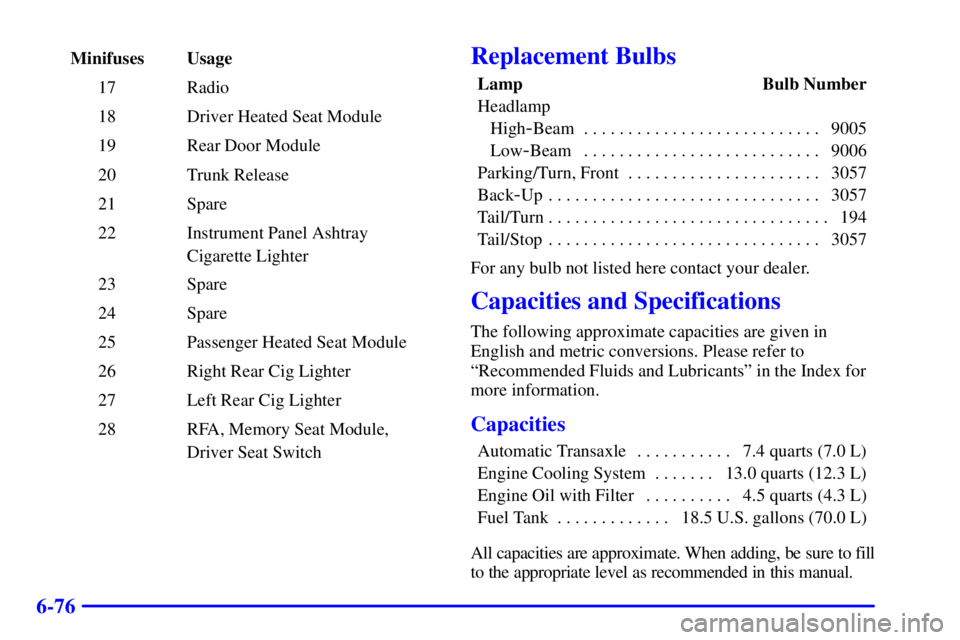
Driver Seat SwitchReplacement Bulbs
Lamp Bulb Number
Headlamp
High
-Beam 9005. . . . . . . . . . . . . . . . . . . . . . . . . . .
Low
-Beam 9006. . . . . . . . . . . . . . . . . . . . . . . . . . .
Parking/Turn, Front 3057. . . . . . . . . . . . . . . . . . . . . .
Back
-Up 3057. . . . . . . . . . . . . . . . . . . . . . . . . . . . . . .
Tail/Turn 194. . . . . . . . . . . . . . . . . . . . . . . . . . . . . . . .
Tail/Stop 3057. . . . . . . . . . . . . . . . . . . . . . . . . . . . . . .
For any bulb not listed here contact your dealer.
Capacities and Specifications
The following approximate capacities are given in
English and metric conversions. Please refer to
ªRecommended Fluids and Lubricantsº in the Index for
more information.
Capacities
Automatic Transaxle 7.4 quarts (7.0 L). . . . . . . . . . .
Engine Cooling System 13.0 quarts (12.3 L). . . . . . .
Engine Oil with Filter 4.5 quarts (4.3 L). . . . . . . . . .
Fuel Tank 18.5 U.S. gallons (70.0 L). . . . . . . . . . . . .
All capacities are approximate. When adding, be sure to fill
to the appropriate level as recommended in this manual.
Page 341 of 395

6-77 Wheel Nut Torque
100 lb-ft (140 N´m)
Engine Specifications
VIN Engine Code
3800 V6 Engine (L36) K. . . . . . . . . . . . . . . . . . . . . . .
3800 V6 Supercharged Engine (L67) 1. . . . . . . . . . .
TypeV6 . . . . . . . . . . . . . . . . . . . . . . . . . . . . . . . . . . . .
Displacement3.8L . . . . . . . . . . . . . . . . . . . . . . . . . . .
Firing Order1
-6-5-4-3-2 . . . . . . . . . . . . . . . . . . . . .
Air Conditioning
Refrigerant Capacity
If you do your own service work, you'll need the proper
service manual. See ªDoing Your Own Service Workº in
the Index for additional information. It is recommended
that service work on your air conditioning system be
performed by a qualified technician.
Air Conditioning
Refrigerant R
-134a 2.2 lbs. (1.0 kg). . . . . . . . . . . . .
Use Refrigerant Oil, R
-134a Systems
Normal Maintenance
Replacement Parts
Engine Air Cleaner/Filter A-1096C* . . . . . . . . . . . . . .
Engine Oil Filter PF
-47* . . . . . . . . . . . . . . . . . . . . . .
Fuel Filter GF
-627* . . . . . . . . . . . . . . . . . . . . . . . . . . .
Passenger Compartment
Air Filter GM Part No. 52472175. . . . . . . . . . . . . . .
PCV Valve
3800 V6 Engine (L36) GM Part No. 17113515. . . . .
3800 V6 Supercharged Engine (L67) CV
-892C* . . . .
Spark Plugs 41
-921* . . . . . . . . . . . . . . . . . . . . . . . . . .
Gap 0.060 inch (.152 cm)
Windshield Wiper Blades
Type Hook Style. . . . . . . . . . . . . . . . . . . . . . . . . . . . .
Length 22.0 inches (56.0 cm). . . . . . . . . . . . . . . . . . .
*ACDelco
� part number.
Page 377 of 395

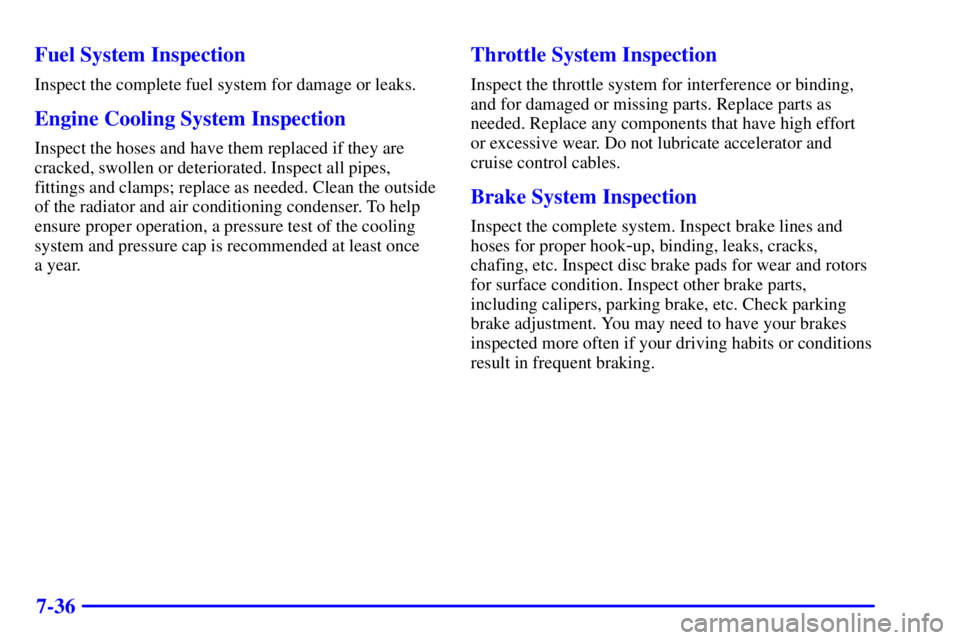
7-36 Fuel System Inspection
Inspect the complete fuel system for damage or leaks.
Engine Cooling System Inspection
Inspect the hoses and have them replaced if they are
cracked, swollen or deteriorated. Inspect all pipes,
fittings and clamps; replace as needed. Clean the outside
of the radiator and air conditioning condenser. To help
ensure proper operation, a pressure test of the cooling
system and pressure cap is recommended at least once
a year.
Throttle System Inspection
Inspect the throttle system for interference or binding,
and for damaged or missing parts. Replace parts as
needed. Replace any components that have high effort
or excessive wear. Do not lubricate accelerator and
cruise control cables.
Brake System Inspection
Inspect the complete system. Inspect brake lines and
hoses for proper hook
-up, binding, leaks, cracks,
chafing, etc. Inspect disc brake pads for wear and rotors
for surface condition. Inspect other brake parts,
including calipers, parking brake, etc. Check parking
brake adjustment. You may need to have your brakes
inspected more often if your driving habits or conditions
result in frequent braking.