Page 102 of 395

2-39
As you signal a turn or a lane change, if the arrows flash
at twice the normal rate, this may indicate that a signal
bulb may be burned out and other drivers won't see your
turn signal.
If a bulb is burned out, replace it to help avoid an
accident. If the arrows don't go on at all when you
signal a turn, check the fuse (see ªFuses and Circuit
Breakersº in the Index) and for burned
-out bulbs.
If you have a trailer towing option with added wiring for
the trailer lamps, the signal indicator will flash even if a
turn signal bulb is burned out. Check the front and rear
turn signal lamps regularly to make sure they are
working. You do not need to add a different flasher.
Turn Signal On Chime
If your turn signal is left on for more than 3/4 of a mile
(1.2 km), a chime will sound at each flash of the turn
signal. To turn off the chime, move the turn signal lever
to the off position.
Headlamp High/Low-Beam Changer
To change the headlamps from low beam to high or
high to low, pull the turn signal lever toward you, then
release it.
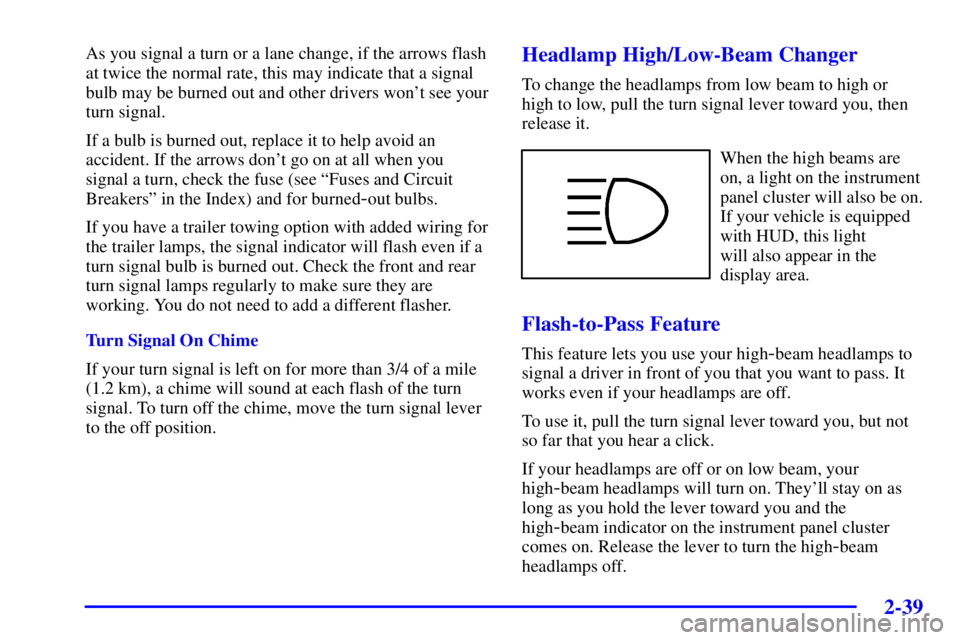
When the high beams are
on, a light on the instrument
panel cluster will also be on.
If your vehicle is equipped
with HUD, this light
will also appear in the
display area.
Flash-to-Pass Feature
This feature lets you use your high-beam headlamps to
signal a driver in front of you that you want to pass. It
works even if your headlamps are off.
To use it, pull the turn signal lever toward you, but not
so far that you hear a click.
If your headlamps are off or on low beam, your
high
-beam headlamps will turn on. They'll stay on as
long as you hold the lever toward you and the
high
-beam indicator on the instrument panel cluster
comes on. Release the lever to turn the high
-beam
headlamps off.
Page 231 of 395

4-39 Making Turns
NOTICE:
Making very sharp turns while trailering could
cause the trailer to come in contact with the
vehicle. Your vehicle could be damaged. Avoid
making very sharp turns while trailering.
When you're turning with a trailer, make wider
turns than normal. Do this so your trailer won't
strike soft shoulders, curbs, road signs, trees or other
objects. Avoid jerky or sudden maneuvers. Signal well
in advance.
Turn Signals When Towing a Trailer
When you tow a trailer, your vehicle may need a
different turn signal flasher and/or extra wiring. Check
with your dealer. The arrows on your instrument panel
will flash whenever you signal a turn or lane change.
Properly hooked up, the trailer lamps will also flash,
telling other drivers you're about to turn, change lanes
or stop.
When towing a trailer, the arrows on your instrument
panel will flash for turns even if the bulbs on the trailer
are burned out. Thus, you may think drivers behind you
are seeing your signal when they are not. It's important
to check occasionally to be sure the trailer bulbs are
still working.
Your vehicle has bulb warning lights. When you plug a
trailer lighting system into your vehicle's lighting
system, its bulb warning lights may not let you know if
one of your lamps goes out. So, when you have a trailer
lighting system plugged in, be sure to check your
vehicle and trailer lamps from time to time to be sure
they're all working. Once you disconnect the trailer
lamps, the bulb warning lights again can tell you if one
of your vehicle lamps is out.
Page 265 of 395

6-
6-1
Section 6 Service and Appearance Care
Here you will find information about the care of your vehicle. This section begins with service and fuel information,
and then it shows how to check important fluid and lubricant levels. There is also technical information about your
vehicle, and a part devoted to its appearance care.
6
-2 Service
6
-3 Fuel
6
-5 Fuels in Foreign Countries
6
-6 Filling Your Tank
6
-8 Filling a Portable Fuel Container
6
-9 Checking Things Under the Hood
6
-12 Engine Oil
6
-17 Engine Air Cleaner/Filter
6
-20 Passenger Compartment Air Filter
6
-20 Supercharger Oil
6
-21 Automatic Transaxle Fluid
6
-25 Engine Coolant
6
-28 Radiator Pressure Cap
6
-28 Power Steering Fluid
6
-29 Windshield Washer Fluid
6
-31 Brakes
6
-34 Battery6
-35 Bulb Replacement
6
-46 Windshield Wiper Blade Replacement
6
-48 Tires
6
-57 Appearance Care
6
-58 Cleaning the Inside of Your Vehicle
6
-62 Cleaning the Outside of Your Vehicle
6
-64 Underbody Maintenance
6
-64 Chemical Paint Spotting
6
-65 GM Vehicle Care/Appearance Materials
6
-66 Vehicle Identification Number (VIN)
6
-66 Service Parts Identification Label
6
-67 Electrical System
6
-73 Removing the Rear Seat Cushion
6
-76 Replacement Bulbs
6
-76 Capacities and Specifications
6
-77 Normal Maintenance Replacement Parts
Page 299 of 395
6-35 Vehicle Storage
If you're not going to drive your vehicle for 25 days
or more, remove the black, negative (
-) cable from
the battery. This will help keep your battery from
running down.
CAUTION:
Batteries have acid that can burn you and gas
that can explode. You can be badly hurt if you
aren't careful. See ªJump Startingº in the Index
for tips on working around a battery without
getting hurt.
Contact your dealer to learn how to prepare your vehicle
for longer storage periods.
Also, for your audio system, see ªTheft
-Deterrent
Featureº in the Index.
Bulb Replacement
For the type of bulb to use, see ªReplacement Bulbsº
in the Index.
For any bulb changing procedure not listed in this
section, contact your dealer.
Halogen Bulbs
CAUTION:
Halogen bulbs have pressurized gas inside and
can burst if you drop or scratch the bulb. You or
others could be injured. Be sure to read and
follow the instructions on the bulb package.
Page 301 of 395
6-37
2. Pull the headlamp assembly away from the vehicle.
3. Remove the bulb socket
by turning it one
-quarter
turn counterclockwise,
while pressing it firmly.
Then pull it out. You can
use a tool to remove the
bulb socket if you are
unable to do it by hand.
4. Remove the wire connector from the bulb by
lifting the lock tab and pulling it away from the
plastic base.
5. Replace the old bulb with a new bulb. Make sure not
to touch the new bulb element with your fingers, as
the oils on your hands will reduce bulb life.
6. Reverse Steps 1 through 4 to reassemble the
headlamp assembly.
Page 304 of 395
6-40
1. Turn the horizontal
aiming screw (A)
until the
indicator (B) is
lined up with zero.
2. Turn the vertical aiming screw (C) until the level
bubble (D) is lined up with zero.Front Turn Signal
1. Once the headlamp assembly has been removed,
reach down from the top of the vehicle and, while
pressing the lock tab on the socket, turn the socket
one
-quarter turn counterclockwise and pull it out.
2. Remove the old bulb by
pulling it straight out of
the socket.
3. Replace the bulb and turn the bulb assembly back
into place.
Page 306 of 395
6-42
6. Pull the taillamp assembly away from the vehicle.
7. Remove the bulb socket
assembly by turning the
socket one
-quarter turn
counterclockwise and
pulling it out.
8. Once the socket has
been removed, pull
the bulb straight out
to remove it from
the socket.
9. Replace it with a new bulb.
10. Reverse Steps 1 through 8 to reinstall the
taillamp assembly.
Page 309 of 395
6-45
5. From inside the trunk compartment, remove the nuts
from the studs.6. Pull the taillamp assembly away from the
trunk lid. The bulbs are located on the back
side of the assembly.