2002 BMW Z3 buttons
[x] Cancel search: buttonsPage 30 of 187

30n
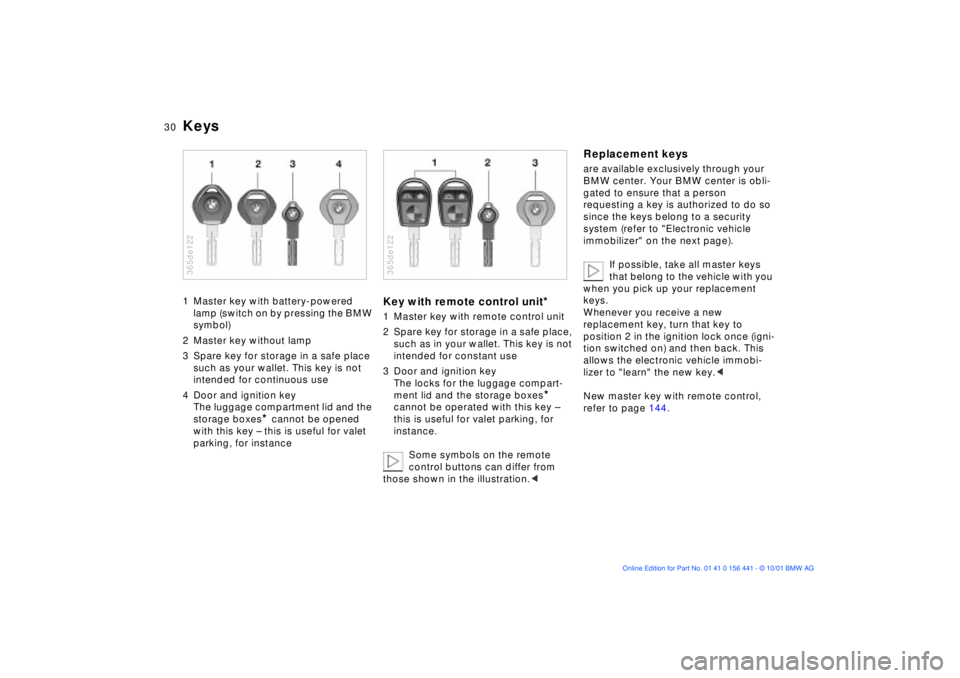
Keys1 Master key with battery-powered
lamp (switch on by pressing the BMW
symbol)
2 Master key without lamp
3 Spare key for storage in a safe place
such as your wallet. This key is not
intended for continuous use
4 Door and ignition key
The luggage compartment lid and the
storage boxes
* cannot be opened
with this key Ð this is useful for valet
parking, for instance
365de122
Key with remote control unit
*
1 Master key with remote control unit
2 Spare key for storage in a safe place,
such as in your wallet. This key is not
intended for constant use
3 Door and ignition key
The locks for the luggage compart-
ment lid and the storage boxes
*
cannot be operated with this key Ð
this is useful for valet parking, for
instance.
Some symbols on the remote
control buttons can differ from
those shown in the illustration.<
365de122
Replacement keysare available exclusively through your
BMW center. Your BMW center is obli-
gated to ensure that a person
requesting a key is authorized to do so
since the keys belong to a security
system (refer to "Electronic vehicle
immobilizer" on the next page).
If possible, take all master keys
that belong to the vehicle with you
when you pick up your replacement
keys.
Whenever you receive a new
replacement key, turn that key to
position 2 in the ignition lock once (igni-
tion switched on) and then back. This
allows the electronic vehicle immobi-
lizer to "learn" the new key.<
New master key with remote control,
refer to page 144.
Page 32 of 187

32n
Central locking system Opening and closing Ð from the outsideThe conceptThe central locking system becomes
operational when the doors are closed.
The system simultaneously engages
and releases the locks on the
>doors
>luggage compartment
>fuel filler door.
The central locking system can be
operated
>from outside via the door locks, the
luggage compartment lock as well as
via the remote control
*
>from inside via the safety lock
buttons (locks doors only).
The anti-theft system is automatically
activated whenever you activate the
central locking system from outside the
vehicle. It prevents the doors from
being unlocked with the lock buttons or
release handles.
The central locking system unlocks
automatically in the event of an acci-
dent. In addition, the hazard warning
flashers and interior lamps come on.
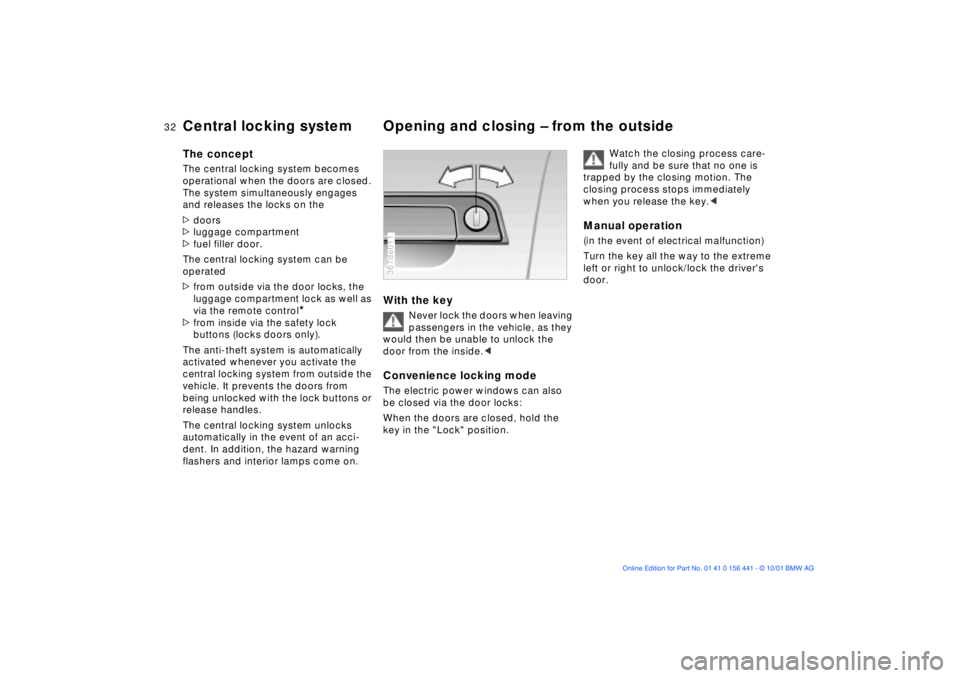
With the key
Never lock the doors when leaving
passengers in the vehicle, as they
would then be unable to unlock the
door from the inside.<
Convenience locking modeThe electric power windows can also
be closed via the door locks:
When the doors are closed, hold the
key in the "Lock" position.367de011
Watch the closing process care-
fully and be sure that no one is
trapped by the closing motion. The
closing process stops immediately
when you release the key.<
Manual operation(in the event of electrical malfunction)
Turn the key all the way to the extreme
left or right to unlock/lock the driver's
door.
Page 70 of 187

70n
Clock Computer
*
You can correct the time by pressing
the buttons (arrows) with a sharp object
such as a ball-point pen.
Set the clock forward by pressing the
right button; set the clock back by
pressing the left button.367de728
Mode selectionYou can call up the computer data in
the display from ignition switch posi-
tion 1 with the turn indicator lever.
Press the button briefly to select the
next display mode.
In addition, you can display the time by
pressing the button.
With the button, the calculations
for average fuel consumption and
speed are reset and begin again.367us041
TimeThe display is provided at ignition key
position 1 or higher. In ignition key
position 0, the time is displayed for
approx. 8 seconds by pressing the
button.
Following a power loss, the clock auto-
matically switches to the setting mode:
the colon flashes. Two dashes are
displayed for entering the hour.367de716
Page 71 of 187

71n
IndexDataTechnologyRepairsMaintenanceControlsOverview
Computer
*
To enter the timeEnter the numbers for hours and
minutes by pressing the button.
Enter the hour first. Each time the
button is pressed, the hour display
increases by one. Pressing and holding
the button starts the rapid advance.
Confirm the time set with the
button. Now enter the minutes when
two zeros appear.
Enter the minutes in the same manner
as the hours.
Press the save button : the time is
started exactly on the second. The
colon stops flashing.To reset the timePress and hold the button for
approx. 3 seconds: enter the hour when
the colon begins to flash.
Enter the numbers by pressing the
button in the same manner as when
entering the time.
Setting the 12-hour or 24-hour
modePress and hold the buttons
simultaneously for approx. 1 second.
Then press the button. Now, the
mode changes from 12 to 24 hours
whenever you press the button.
When you select the 12-hour mode,
AM or PM will appear on the right-hand
side of the display panel.
The last mode selected is adopted
when you press or automatically
stored approx. 5 seconds after the last
setting.
Outside temperatureIf the outside temperature drops to
approx. +37.5 7 (+3 6), a warning
signal sounds (ice warning). The
temperature display appears automati-
cally and flashes for 8 seconds.
The warning is repeated whenever the
temperature has reached at least
+43 7 (+6 6) and then drops to
+37.5 7 (+3 6) again.
The ice warning does not alter the
fact that surface ice can form at
temperatures above +37.5 7 (+3 6),
on bridges or shaded road surfaces, for
instance.< 367us712
Page 89 of 187

89n
IndexDataTechnologyRepairsMaintenanceControlsOverview
Seat heating
*
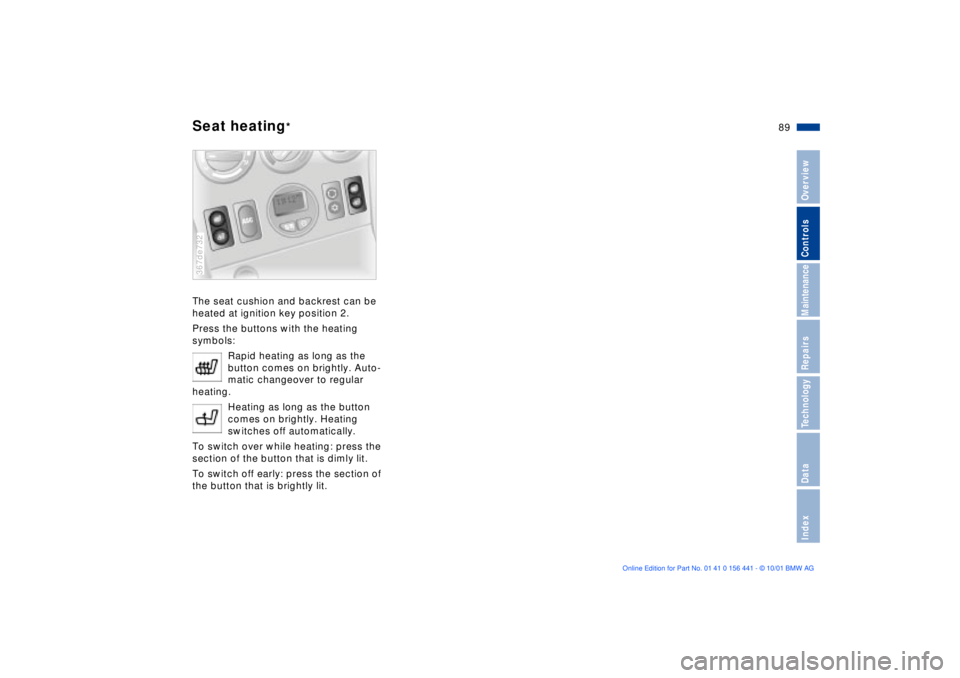
The seat cushion and backrest can be
heated at ignition key position 2.
Press the buttons with the heating
symbols:
Rapid heating as long as the
button comes on brightly. Auto-
matic changeover to regular
heating.
Heating as long as the button
comes on brightly. Heating
switches off automatically.
To switch over while heating: press the
section of the button that is dimly lit.
To switch off early: press the section of
the button that is brightly lit.367de732
Page 181 of 187

Everything from A to Z
181n
IndexDataTechnologyRepairsMaintenanceControlsOverview
Heated seats89
Heating and
ventilation80, 84
Heat-up, rapid83
Height171
Height adjustment, seats49
Help with jump starting158
High beams23, 64
bulb replacement137t
High Performance Synthetic
Oil124
High-mount brake lamp
(center)141
Hood release118t
Horn17
Hub cover150
Hydraulic brake assistant,
refer to DBCIIce warning71
Identification number of the
vehicle127
Identification, tires114
Ignition key30
Ignition switch58
Immobilizer, electronic31
Immobilizer, vehicle31Imprint4
Indicator lamps20
Inflation
pressures26t, 110
Inflation pressures,
tires26t
INSPECTION69
Instrument panel16
lighting76
Instruments18
Interface socket for onboard
diagnostics (OBD)133
Interior lamps77
bulb replacement142t
Interlock58
Intermittent wipe switch65
JJack146t
Jump-starting158tKKeys30
Keys with remote
control30, 33
Key, battery change143t
Kickdown63
LLamp switch76
Lashing eyes94
Leather care, refer to the
"Caring for your vehicle"
manual
Length171
License plate lamps
bulb replacement141t
Light-alloy wheel116
LIGHTS ON warning76
Limited slip differential166
Load-securing devices94
Lock buttons36
Locks, care105
Low beams76
bulb replacement137t
Low-fuel indicator lamp68
Lug bolts150, 151
Lug wrench147t
Luggage compartment36
capacity172
locking separately37
Luggage compartment lamp
bulb replacement142tLuggage compartment
lid36
electrical
malfunction37t
emergency release from
luggage compartment's
interior38
manual operation37t
MM + S tires115
Magic Eye
refer to Battery charge
condition154
Maintenance69, 128
Malfunction, cellular
phone107
Manual operation
doors32t
fuel filler door157t
luggage
compartment37t
luggage compartment
lid37t
Manual transmission61
Master key with battery
lamp143