2002 BMW M6 CONVERTIBLE key
[x] Cancel search: keyPage 43 of 186

43n
OverviewControlsMaintenanceRepairsDataIndex
Alarm systemTo arm and disarm the alarm
systemWhen the vehicle is locked or unlocked
with the key or the remote control, the
alarm system is also simultaneously
armed or disarmed.
You can have different acknowl-
edgment signals set to confirm
arming and disarming.<
You can also open the luggage
compartment lid/tailgate when the
system is armed by pressing the button
on the remote control (refer to page 35).
When you close the luggage compart-
ment lid/tailgate, the luggage compart-
ment is secured again.
Indicator lamp displays>The indicator lamp below the interior
rearview mirror flashes continuously:
the system is armed
>The indicator lamp flashes during
arming: door(s), the hood or luggage
compartment lid/tailgate are not
completely closed. Even if you do not
secure the indicated area, the system
begins to monitor the remaining
areas, and the indicator lamp flashes
continuously after 10 seconds.
However, the interior motion sensor
is not activated
>If the indicator lamp goes out when
the system is disarmed: no manipula-
tion or attempted intrusions have
been detected in the period since the
system was armed390de020
>If the indicator lamp flashes for
10 seconds when the system is
disarmed: an attempted entry has
been detected in the period since the
system was armed.
Following triggering of an alarm, the
indicator lamp will flash continuously.Avoiding unintentional alarmsThe tilt alarm sensor and interior motion
sensor may be switched off at the same
time. To prevent a false alarm from
being triggered (in garages with
elevator ramps, for instance), or when
the vehicle is transported by trailer or
train:
Lock the vehicle (arm the alarm system)
twice in succession: press button 2 on
the remote control transmitter twice
(refer to page 35), or turn the key in the
door lock to the right (lock) twice in
succession (refer to page 33).
The indicator lamp lights up briefly and
then flashes continuously. The tilt alarm
sensor and the interior motion sensor
are deactivated as long as the system is
armed.
Page 44 of 186

44n
Alarm system Electric power windowsInterior motion sensorIn order for the interior motion sensor to
function properly, the windows and
sliding/tilt sunroof must be completely
closed.
Nevertheless, you should deactivate
the interior motion sensor (refer to
"Avoiding unintentional alarms") if you
>leave children or animals in the
vehicle
>intend to leave the windows or
sliding/tilt sunroof open.
To open and close windowsFrom ignition key position 1:
>Depress the rocker switch until you
feel resistance:
The window continues moving for as
long as you maintain pressure on the
switch
>Press the rocker switch beyond the
resistance point:
The window moves automatically.
Press the switch a second time to
stop the window.390de055
After the ignition has been switched off:
>You can still operate the windows as
long as neither of the front doors has
been opened. To open the window,
press the switch beyond the resis-
tance point.
When leaving the vehicle, always
extract the ignition key from the
lock and remember to close the doors
to prevent children from operating the
power windows and injuring them-
selves, etc.<
For the convenience mode via the door
lock or the remote control, refer to
pages 33 or 35.Safety featureA contact strip is integrated into the
inner side of each of the upper window
frame sections. If pressure is exerted
against this contact strip while a
window is being raised, the system will
respond by stopping the window and
then retracting it a small distance.
Page 45 of 186
45n
OverviewControlsMaintenanceRepairsDataIndex
Electric power windows
Despite this safety feature, be
extremely careful that the closing
path of the window is not obstructed.
Otherwise, an object might not touch
the contact strip in some situations
(very thin objects, for instance).
You can override this safety feature by
pressing the switch beyond the resis-
tance point and holding it.
Because the power windows are sealed
at high pressure to prevent wind noise
when closed, a powerful motor is
required for efficient closing. When
closing the windows, always ensure
that they are not obstructed in any way.
Unsupervised use of these systems can
result in serious personal injury.
Remove the ignition key to deactivate
the electric power windows whenever
you leave the vehicle. Never leave the
keys in the vehicle with unsupervised
children. Never place anything that
could obstruct the driver's vision on or
next to the windows.<
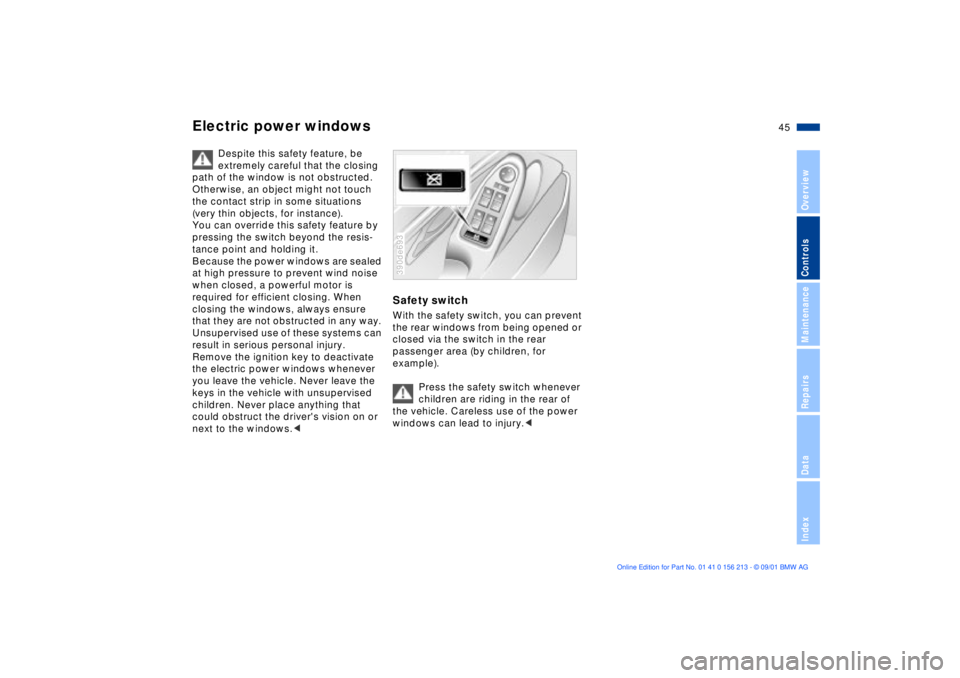
Safety switchWith the safety switch, you can prevent
the rear windows from being opened or
closed via the switch in the rear
passenger area (by children, for
example).
Press the safety switch whenever
children are riding in the rear of
the vehicle. Careless use of the power
windows can lead to injury.< 390de693
Page 46 of 186

46n
Sliding/tilt sunroof
*
To prevent injuries, exercise care
when closing the sliding/tilt
sunroof and keep it in your field of
vision until it is shut.
Before leaving the vehicle, switch off
the electric sunroof mechanism by
taking out the ignition key. Do not leave
children unattended in the vehicle with
access to vehicle keys. The key could
be used to start the engine and operate
vehicle systems such as the power
sunroof, etc. Unsupervised use of these
systems can result in serious personal
injury.<
For the convenience mode via the door
lock or the remote control, refer to
page 33 or 35.
Raising Ð Opening Ð ClosingWith the ignition key in position 1 or 2,
press the switch or slide it in the
desired direction until you feel resis-
tance.
When lifting, the headliner retracts
several inches.
The headliner insert can not be
closed with the sunroof in its
raised position.<
After the ignition has been switched off,
you can still operate the sliding/tilt
sunroof as long as neither of the front
doors has been opened.390de724
Automatic
* opening and closing
Press the switch past the resistance
point and then release it.
Other automatic operations are:
>With the sunroof open, press the
switch briefly toward "Lift:" the
sunroof automatically extends to its
fully-raised position
>With the sunroof lifted, press the
switch briefly toward "Open:" the
sunroof automatically opens all the
way.
Pressing the switch again briefly stops
the motion.Safety featureIf the sliding/tilt sunroof encounters
resistance at a point roughly past the
middle of its travel when it is closing,
the closing cycle is interrupted and the
sliding/tilt sunroof will open again
slightly.
Page 47 of 186
47n
OverviewControlsMaintenanceRepairsDataIndex
Sliding/tilt sunroof
*
Despite this safety feature, be
extremely careful that the travel
path of the sunroof is not obstructed
whenever it is closed. Remember that
the safety mechanism may not be able
to detect obstructions under all circum-
stances (with very thin objects, for
instance). You can disable this safety
feature by pressing the switch beyond
the pressure point and holding it.<
Sliding/tilt sunroof with glass
moonroof
*
The options and control procedures are
essentially the same as those previ-
ously described for the sliding/tilt
sunroof. In order to open the raised
roof, press the control switch towards
"Open" and maintain pressure until the
roof has reached the desired position.
The headliner insert slides back some-
what when you raise the sunroof, and
retracts along with the sunroof panel
when you slide it back. The insert then
remains open, and you can slide it back
and forth to adjust it whenever the
sunroof is not fully retracted.
Interruption in the electrical
supplyAfter interruptions in the electrical
supply (when the battery is discon-
nected, for instance), the sunroof may
only lift. To reinitialize the mechanism:
1. Raise the sliding/tilt sunroof fully
2. Press and hold the switch for approx
twenty seconds.390de725
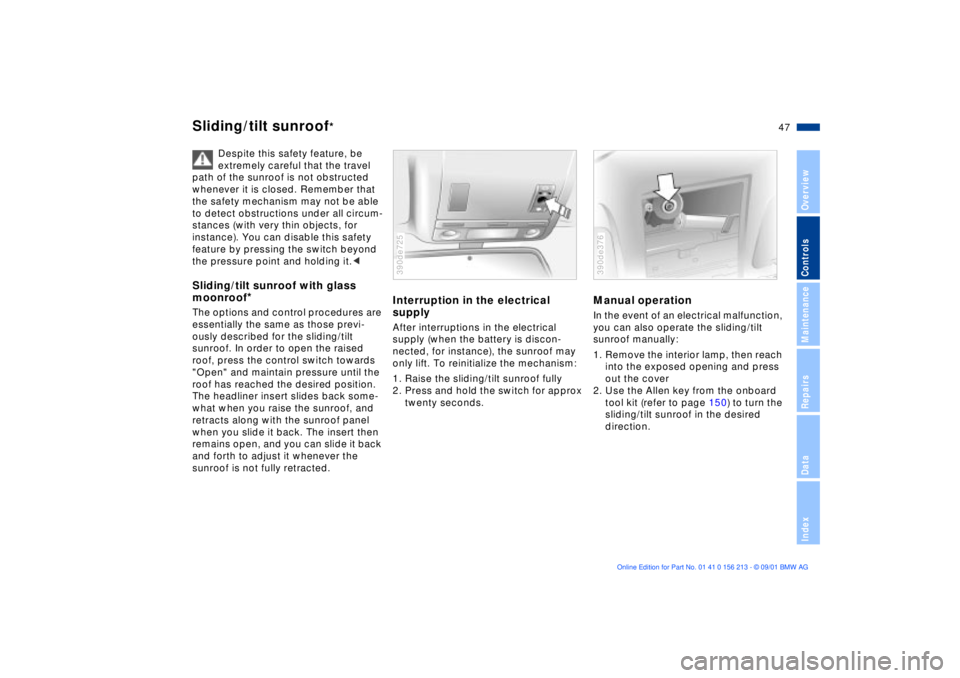
Manual operationIn the event of an electrical malfunction,
you can also operate the sliding/tilt
sunroof manually:
1. Remove the interior lamp, then reach
into the exposed opening and press
out the cover
2. Use the Allen key from the onboard
tool kit (refer to page 150) to turn the
sliding/tilt sunroof in the desired
direction.390de376
Page 54 of 186
54n
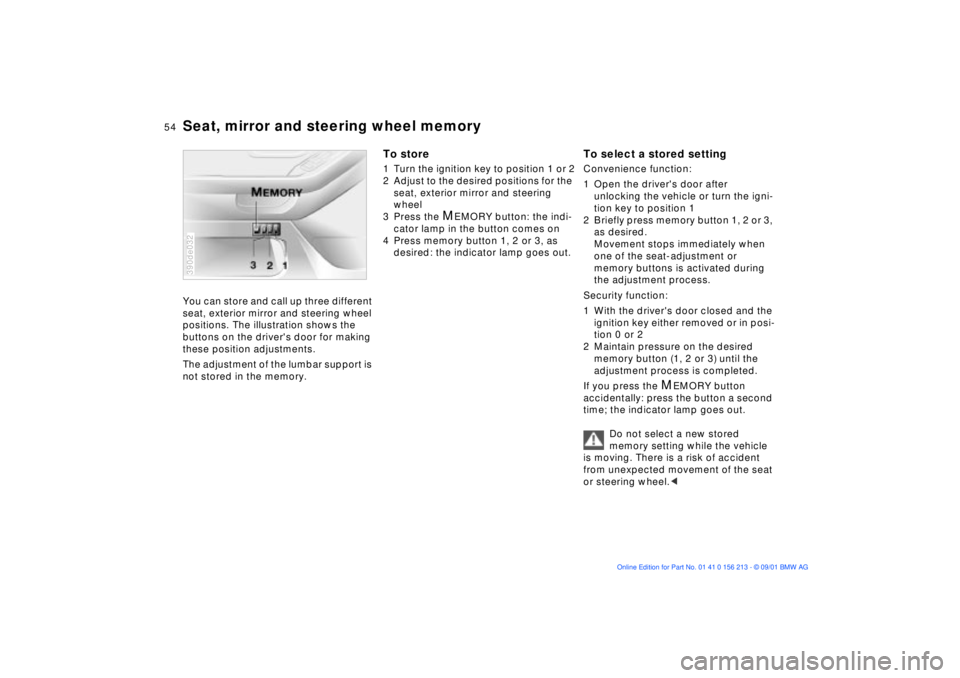
Seat, mirror and steering wheel memoryYou can store and call up three different
seat, exterior mirror and steering wheel
positions. The illustration shows the
buttons on the driver's door for making
these position adjustments.
The adjustment of the lumbar support is
not stored in the memory.390de032
To store1 Turn the ignition key to position 1 or 2
2 Adjust to the desired positions for the
seat, exterior mirror and steering
wheel
3 Press the
M
EMORY button: the indi-
cator lamp in the button comes on
4 Press memory button 1, 2 or 3, as
desired: the indicator lamp goes out.
To select a stored settingConvenience function:
1 Open the driver's door after
unlocking the vehicle or turn the igni-
tion key to position 1
2 Briefly press memory button 1, 2 or 3,
as desired.
Movement stops immediately when
one of the seat-adjustment or
memory buttons is activated during
the adjustment process.
Security function:
1 With the driver's door closed and the
ignition key either removed or in posi-
tion 0 or 2
2 Maintain pressure on the desired
memory button (1, 2 or 3) until the
adjustment process is completed.
If you press the
M
EMORY button
accidentally: press the button a second
time; the indicator lamp goes out.
Do not select a new stored
memory setting while the vehicle
is moving. There is a risk of accident
from unexpected movement of the seat
or steering wheel.<
Page 55 of 186
55n
OverviewControlsMaintenanceRepairsDataIndex
Seat, mirror and steering wheel memory Seat heating
*
Your BMW center can adjust your
vehicle's systems in such a
manner that your personalized settings
are automatically called up for the seat,
mirror and steering wheel positions
when you unlock the vehicle with your
personal remote control key.<
Before using the key memory
feature to unlock the vehicle
always ensure that no objects are
stored in the footwell behind the
driver's seat. If you fail to do so,
persons or objects could be injured or
damaged if the seat should move back-
ward.<
Passenger-side exterior mirror tilt
function(automatic curb monitor)
1 Move the mirror selector switch
(arrow) to the "driver's mirror" posi-
tion
2 When the selector lever is placed in
"Reverse," the passenger-side mirror
tilts downward to help the driver
monitor the area directly adjacent to
the vehicle during parking (curbs,
etc.).
You can deactivate this automatic
feature by setting the mirror selection
switch to the "passenger-side" posi-
tion.390de720
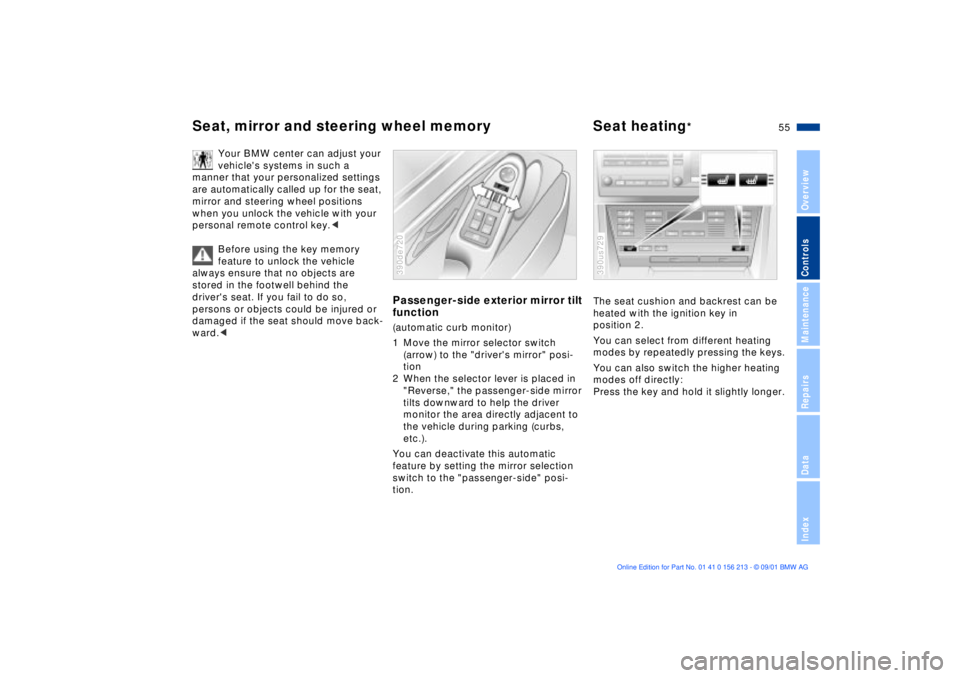
The seat cushion and backrest can be
heated with the ignition key in
position 2.
You can select from different heating
modes by repeatedly pressing the keys.
You can also switch the higher heating
modes off directly:
Press the key and hold it slightly longer.390us729
Page 56 of 186
56n
Adjusting steering wheel Heated steering wheel
*
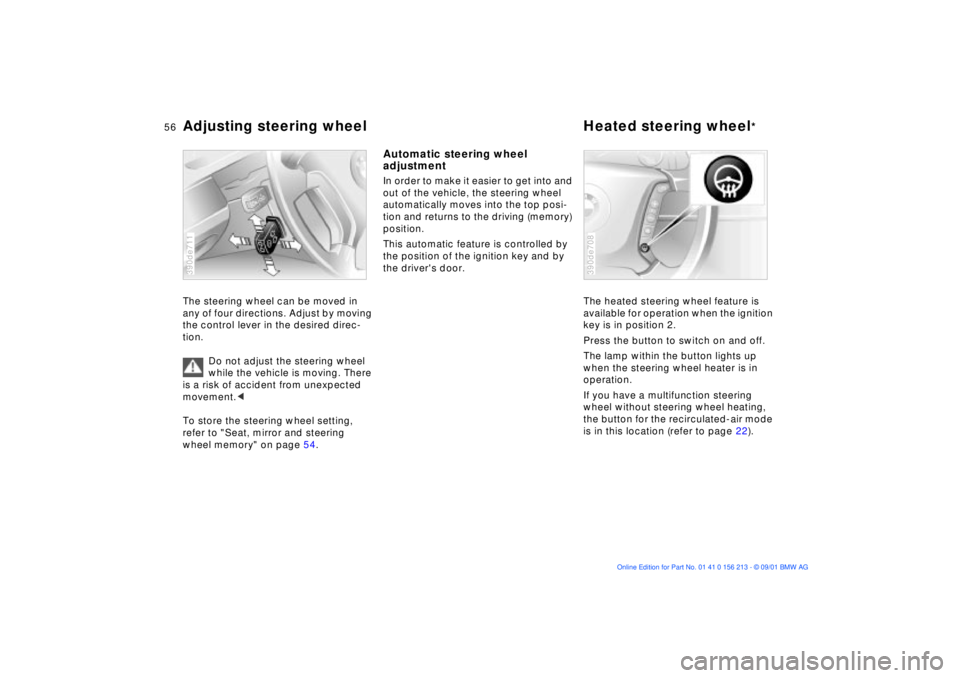
The steering wheel can be moved in
any of four directions. Adjust by moving
the control lever in the desired direc-
tion.
Do not adjust the steering wheel
while the vehicle is moving. There
is a risk of accident from unexpected
movement.<
To store the steering wheel setting,
refer to "Seat, mirror and steering
wheel memory" on page 54.390de711
Automatic steering wheel
adjustmentIn order to make it easier to get into and
out of the vehicle, the steering wheel
automatically moves into the top posi-
tion and returns to the driving (memory)
position.
This automatic feature is controlled by
the position of the ignition key and by
the driver's door.
The heated steering wheel feature is
available for operation when the ignition
key is in position 2.
Press the button to switch on and off.
The lamp within the button lights up
when the steering wheel heater is in
operation.
If you have a multifunction steering
wheel without steering wheel heating,
the button for the recirculated-air mode
is in this location (refer to page 22).
390de708