Page 118 of 154

118n
Coolant Brake fluidChecking coolant level and
adding coolantCorrect coolant level when the engine
is cold (approx. 68 7/20 6):
In the translucent container's visible
range, as far as the graduation marked
KALT/COLD.
1. Turn the cap counterclockwise
slightly in order to allow accumulated
pressure to escape
2. If the coolant is low, slowly add
coolant until the correct level is
reached Ð do not overfill.
Comply with the applicable envi-
ronmental laws regulating the
disposal of extended-duty antifreeze
with corrosion inhibitor.<39mde111
Brake fluid level
The warning lamp for the brake
system hydraulic circuits comes
on and/or the message "CHECK
BRAKE FLUID" appears in the
Check Control panel:
Brake fluid level too low.
To add brake fluidThe brake fluid reservoir is located
under the microfilter housing on the
driver's side of the vehicle. For adding
brake fluid or for determining and
correcting the cause of brake fluid loss,
consult your BMW center. Your BMW
center is familiar with the specifications
for factory-approved brake fluids
(DOT 4).
Brake fluid loss may result in extended
brake pedal travel. If this occurs, refer
to the information on page 108.
Brake fluid is hygroscopic, that is,
it absorbs moisture from the air
over time.
In order to ensure the safety and reli-
ability of the brake system, have the
brake fluid changed every two years at
a BMW center. Refer also to the Service
and Warranty Information Booklet (US
models) or the Warranty and Service
Guide Booklet (Canadian models).
Brake fluid is toxic and damages the
vehicle's paint. You should always store
it in its original container and in a loca-
tion which is out of reach of children.
Do not spill the fluid and do not fill the
brake fluid reservoir beyond the MAX
mark. The brake fluid could ignite upon
contact with hot engine parts and
cause serious burns.<
Comply with the applicable envi-
ronmental laws regulating
the disposal of brake fluid.<
Page 133 of 154

133n
OverviewControlsMaintenanceRepairsDataIndex
Do not use spray starter fluids to start
the engine.
When your battery is discharged you
can used two jumper cables to start
your vehicle with power from the
battery in a second vehicle. You can
also use the same method to help start
another vehicle. Use only jumper cables
with fully insulated handles on the
terminal clamps.
Do not touch high-voltage wiring
and cables on a running engine.
There is a risk of fatal injury if you do
this. Carefully observe the following
instructions to avoid personal injury
and/or damage to one or both vehi-
cles.<
1. Ensure that the battery in the
support vehicle is also rated at
12 volts. This information is
provided on the top of the battery
casing
2. Do not disconnect your battery from
your vehicle's electrical system.
Switch off all electrical accessories
in both vehicles
3. Make absolutely certain that there
is no contact between the body-
work of the two vehicles Ð short
circuit hazard
4. Start the engine on the support
vehicle and allow it to run5. Use one jumper cable (+) to
connect the positive terminal of the
battery in the support vehicle with
the auxiliary positive terminal
provided in the engine compart-
ment of your BMW specifically for
jump-starting. The cover of the
auxiliary terminal for use in jump-
starting your BMW is identified by a
"+" symbol, refer to illustration. Flip
the cap out to open
39mde112
Jump-starting
Page 135 of 154

135n
OverviewControlsMaintenanceRepairsDataIndex
Towing the vehicleTow fittingThe screw-in tow fitting is stored in the
onboard tool kit; be sure that it remains
in the vehicle at all times. This fitting
is designed for installation in the tow
sockets located at the front and rear of
the vehicle, and is intended for towing
on proper road surfaces only.
It should not be used to pull a vehicle
out of deep snow, mud, sand, etc.
Always observe all applicable towing
laws and regulations.Access to tow sockets Front:
Apply pressure to the arrow symbol on
the cover; remove the cover.390de087
Rear:
Apply pressure to the arrow symbol on
the cover; remove the cover.
Screw the tow fitting in until it
bottoms firmly. Failure to screw
the fitting in securely can lead to thread
damage.
Never attach tie-down hooks, chains,
straps, or tow hooks to tie rods, control
arms, or any other part of the vehicle
suspension, as severe damage to these
components will occur, leading to
possible accidents.<
Use only a nylon towing strap to tow
the vehicle. The inherent resilience of
this material helps protect both vehicles
from sudden jerking movements.394de088
Keep the vehicles in line and avoid
towing at an offset angle. Ensure
that the tow rope connecting the two
vehicles is tight, with no slack, before
starting off.<
The towed vehicle should always
be the lighter of the two vehicles.
If this is not the case, it is no longer
possible to control vehicle response.<
Tow-startingIt is better to start the vehicle's engine
by jump-starting. For instructions on
jump-starting, refer to page 133.
Never attempt to use your vehicle to
push another vehicle, as damage to the
energy-absorbing bumpers could
result.
Page 146 of 154
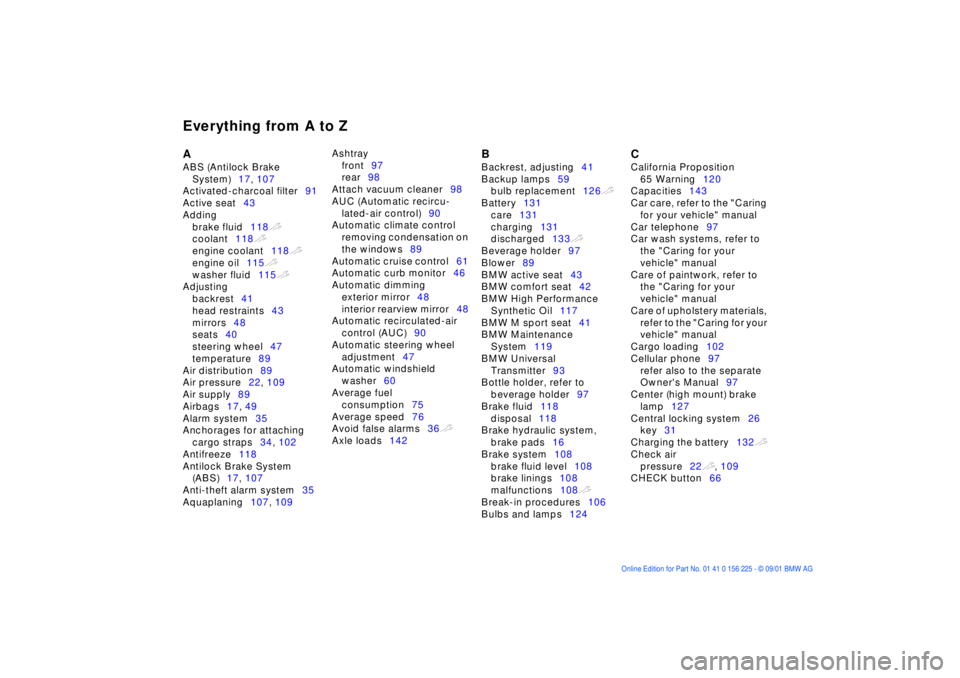
Everything from A to Z
A
ABS (Antilock Brake System) 17, 107
Activated-charcoal filter 91
Active seat 43
Adding brake fluid 118t
coolant 118t
engine coolant 118t
engine oil 115t
washer fluid 115t
Adjusting backrest 41
head restraints 43
mirrors 48
seats 40
steering wheel 47
temperature 89
Air distribution 89
Air pressure 22, 109
Air supply 89
Airbags 17, 49
Alarm system 35
Anchorages for attaching cargo straps 34, 102
Antifreeze 118
Antilock Brake System (ABS) 17, 107
Anti-theft alarm system 35
Aquaplaning 107, 109 Ashtray
front 97
rear 98
Attach vacuum cleaner 98
AUC (Automatic recircu- lated-air control) 90
Automatic climate control removing condensation on
the windows 89
Automatic cruise control 61
Automatic curb monitor 46
Automatic dimming exterior mirror 48
interior rearview mirror 48
Automatic recirculated-air control (AUC) 90
Automatic steering wheel adjustment 47
Automatic windshield washer 60
Average fuel consumption 75
Average speed 76
Avoid false alarms 36t
Axle loads 142 B
Backrest, adjusting 41
Backup lamps 59
bulb replacement 126t
Battery 131
care 131
charging 131
discharged 133t
Beverage holder 97
Blower 89
BMW active seat 43
BMW comfort seat 42
BMW High Performance Synthetic Oil 117
BMW M sport seat 41
BMW Maintenance System 119
BMW Universal Transmitter 93
Bottle holder, refer to beverage holder 97
Brake fluid 118
disposal 118
Brake hydraulic system, brake pads 16
Brake system 108
brake fluid level 108
brake linings 108
malfunctions 108t
Break-in procedures 106
Bulbs and lamps 124 C
California Proposition 65 Warning 120
Capacities 143
Car care, refer to the "Caring for your vehicle" manual
Car telephone 97
Car wash systems, refer to the "Caring for your
vehicle" manual
Care of paintwork, refer to the "Caring for your
vehicle" manual
Care of upholstery materials, refer to the "Caring for your
vehicle" manual
Cargo loading 102
Cellular phone 97
refer also to the separate
Owner's Manual 97
Center (high mount) brake lamp 127
Central locking system 26
key 31
Charging the battery 132t
Check air pressure 22t , 109
CHECK button 66