Page 121 of 186
121n
OverviewControlsMaintenanceRepairsDataIndex
Ski bag
*
Loading1. Press the release button (arrow 1) to
unlock the cover panel in the luggage
compartment
2. Press the detent levers (arrows 2)
inward and fold the cover to the front
3. Extend the ski bag between the front
seats. The zipper provides conve-
nient access to the inside of the bag,
and can also be left open to promote
drying394de749
4. Use the magnetic retainers to attach
the cover panel to the upper surface
(metal surface below rear tray) of the
luggage compartment.
To store the ski bag, perform the above
steps in reverse sequence.
An unsecured ski bag could lead
to loss of vehicle control and in
case of an accident to personal injury.< 394de750
Securing the load
Secure the bag's contents by
tightening down the retaining
strap at the buckle.<
Please ensure that the skis are clean
before loading them into the bag. Take
care to avoid damage from sharp
edges.
530de284
Page 122 of 186
122n
Ski bag
*
With through-loading system1. Fold the center armrest outward.
Loosen the trim from the upper
Velcro¨ fastener and place it on the
armrest
2. Press button 1 downward and swing
the cover forward
3. Press knob 2: the cover in the
luggage compartment is unlocked.394de751
In the sport wagon1. Fold the center armrest outward.
Loosen the trim from the upper
Velcro¨ fastener and place it on the
armrest
2. Press button 1 downward and swing
the cover forward
3. Press button 2: the cover in the
cargo area is unlocked.392de752
Page 123 of 186

123n
OverviewControlsMaintenanceRepairsDataIndex
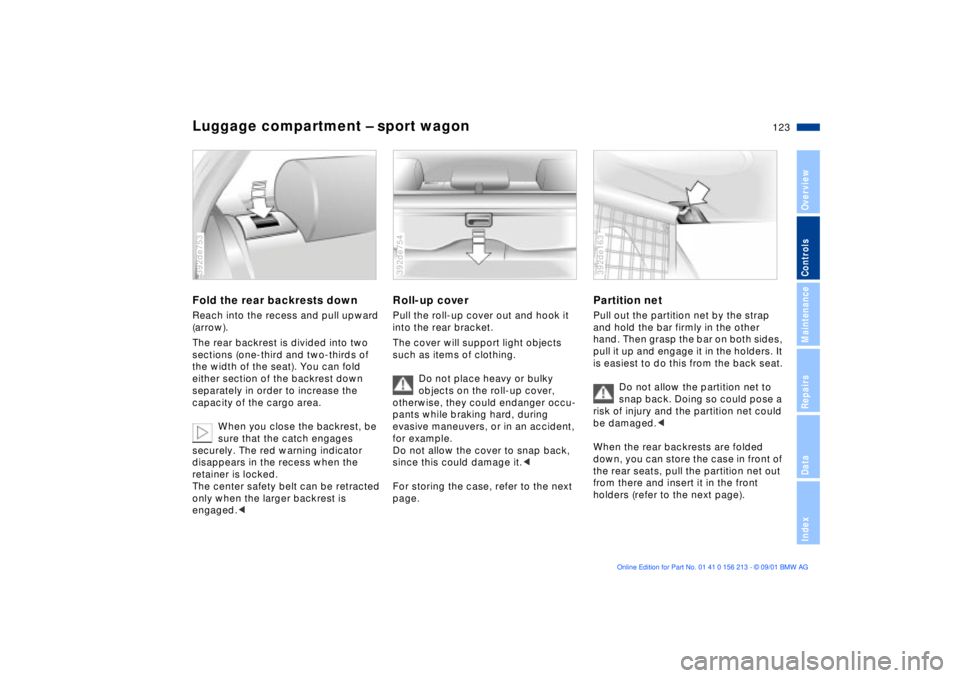
Luggage compartment Ð sport wagonFold the rear backrests downReach into the recess and pull upward
(arrow).
The rear backrest is divided into two
sections (one-third and two-thirds of
the width of the seat). You can fold
either section of the backrest down
separately in order to increase the
capacity of the cargo area.
When you close the backrest, be
sure that the catch engages
securely. The red warning indicator
disappears in the recess when the
retainer is locked.
The center safety belt can be retracted
only when the larger backrest is
engaged.<392de753
Roll-up coverPull the roll-up cover out and hook it
into the rear bracket.
The cover will support light objects
such as items of clothing.
Do not place heavy or bulky
objects on the roll-up cover,
otherwise, they could endanger occu-
pants while braking hard, during
evasive maneuvers, or in an accident,
for example.
Do not allow the cover to snap back,
since this could damage it.<
For storing the case, refer to the next
page.392de754
Partition netPull out the partition net by the strap
and hold the bar firmly in the other
hand. Then grasp the bar on both sides,
pull it up and engage it in the holders. It
is easiest to do this from the back seat.
Do not allow the partition net to
snap back. Doing so could pose a
risk of injury and the partition net could
be damaged.<
When the rear backrests are folded
down, you can store the case in front of
the rear seats, pull the partition net out
from there and insert it in the front
holders (refer to the next page).392de163
Page 125 of 186
125n
OverviewControlsMaintenanceRepairsDataIndex
Luggage compartment Ð sport wagonFloor compartmentTo release: press the handle in the
recess and fold the cover upward on
the handle (large arrow).
You can lock the cover with a master
key.
The dividers in the compartment can be
rearranged. If you remove the divider
and turn the divider retainer to the left
and remove it, you have a level storage
compartment.392de779
Fold the floor cover upLift up the black retainer on the lower
side of the panel and hook it into the
upper frame of the tailgate cutout.
Before you fold the floor cover down,
return the retainer to its original posi-
tion.392de168
Fold up the spare tire coverLift up the cover and hook it into the red
retainer on the floor panel (arrow).
Before you fold the cover down, return
the retainer to its original position.392de169
Page 131 of 186

131n
OverviewControlsMaintenanceRepairsDataIndex
Driving notes Antilock Brake System
Brakes:
Do not drive with your foot resting
on the brake pedal. Even light but
consistent pedal pressure can lead to
high temperatures, brake wear and
possibly even brake failure.
Aquaplaning:
When driving on wet or slushy roads,
reduce vehicle speed. If you do not, a
wedge of water may form between the
tires and the road surface. This
phenomenon is referred to as aqua-
planing or hydroplaning. It is character-
ized by a partial or complete loss of
contact between the tires and the road
surface. The ultimate results are loss of
steering and braking control.
Driving through water:
When there is water on the roads, do
not drive in it if it is deeper than
1 ft (30 cm), and even then, only at
walking speed, otherwise the vehicle
can sustain damage to the engine, the
electrical systems and the transmission.
Rear parcel tray:
Do not place heavy or hard objects on
the cargo area cover. These objects
could endanger vehicle occupants
during heavy brake applications or
evasive maneuvers.
Clothes hooks:
Hang items of clothing from the hooks
so that they will not obstruct the driver's
vision. Do not hang heavy objects on
the hooks. If you do so, they could
cause personal injury during braking or
evasive maneuvers.<
The conceptThe Antilock Brake System (ABS) keeps
the wheels from locking during braking,
thereby enhancing active driving safety.Braking with ABSIf you are in a situation that requires full
braking, you will exploit the full benefits
of the ABS system if you apply
maximum pedal pressure ("panic stop").
Since the vehicle maintains steering
responsiveness, you can avoid possible
obstacles with a minimum of steering
effort, despite the full brake application.
Pulsation at the brake pedal combined
with sounds from the hydraulic circuits
indicates to the driver that ABS is in its
active mode.
Page 137 of 186
137n
OverviewControlsMaintenanceRepairsDataIndex
HoodTo unlockPull the lever located under the left-
hand side of the instrument panel.
Do not work on your vehicle
without appropriate skills. Failure
to work in an informed, professional
manner when servicing components
and materials constitutes a safety
hazard for vehicle occupants and other
road users. If you are not familiar with
the guidelines, please have the opera-
tions performed by your BMW center.<390de759
To openPull the release handle and open the
hood.390de760
To closeAllow the hood to fall from a height
of about 12 in (30 cm) so that it audibly
engages.
To avoid injuries, be sure that the
travel path of the hood is clear
when it is closed, as with all closing
procedures.
If you notice that the hood is not
completely closed while driving, stop
immediately and close it securely.< 390de761
Page 142 of 186

142n
Coolant
Do not add coolant to the cooling
system when the engine is hot. If
you attempt to do so, escaping coolant
can cause burns.
To avoid the possibility of damage later
on, never use anything other than
factory-approved, nitrite and amino-
free extended-duty antifreeze with
corrosion inhibitor. Your BMW center is
familiar with the factory specifications.
Antifreeze and anti-corrosion agents
are hazardous to health. You should
always store it in its original container
and in a location which is out of reach
of children.
Extended-duty antifreeze with corro-
sion inhibitor contains the flammable
substance ethyleneÐglycol. For this
reason, do not spill antifreeze with
corrosion inhibitor on hot engine parts.
It could catch fire and cause burns.<
Checking coolant level and
adding coolantCorrect coolant level when the engine
is cold (approx. 687/206):
Unscrew the cap from the expansion
tank.
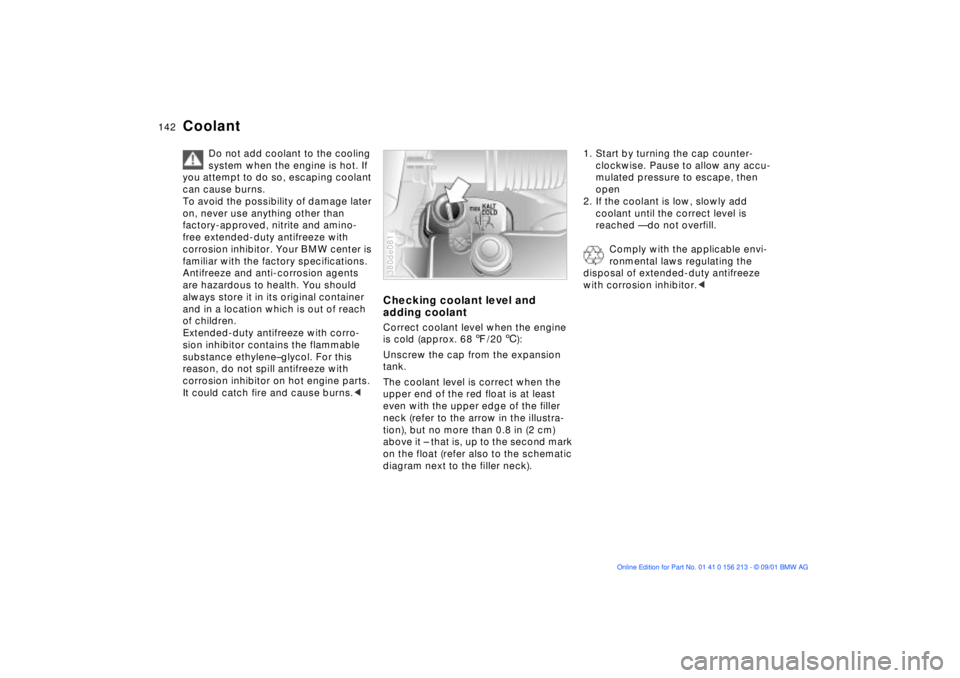
The coolant level is correct when the
upper end of the red float is at least
even with the upper edge of the filler
neck (refer to the arrow in the illustra-
tion), but no more than 0.8 in (2 cm)
above it Ð that is, up to the second mark
on the float (refer also to the schematic
diagram next to the filler neck).380de081
1. Start by turning the cap counter-
clockwise. Pause to allow any accu-
mulated pressure to escape, then
open
2. If the coolant is low, slowly add
coolant until the correct level is
reached Ñ do not overfill.
Comply with the applicable envi-
ronmental laws regulating the
disposal of extended-duty antifreeze
with corrosion inhibitor.<
Page 156 of 186

156n
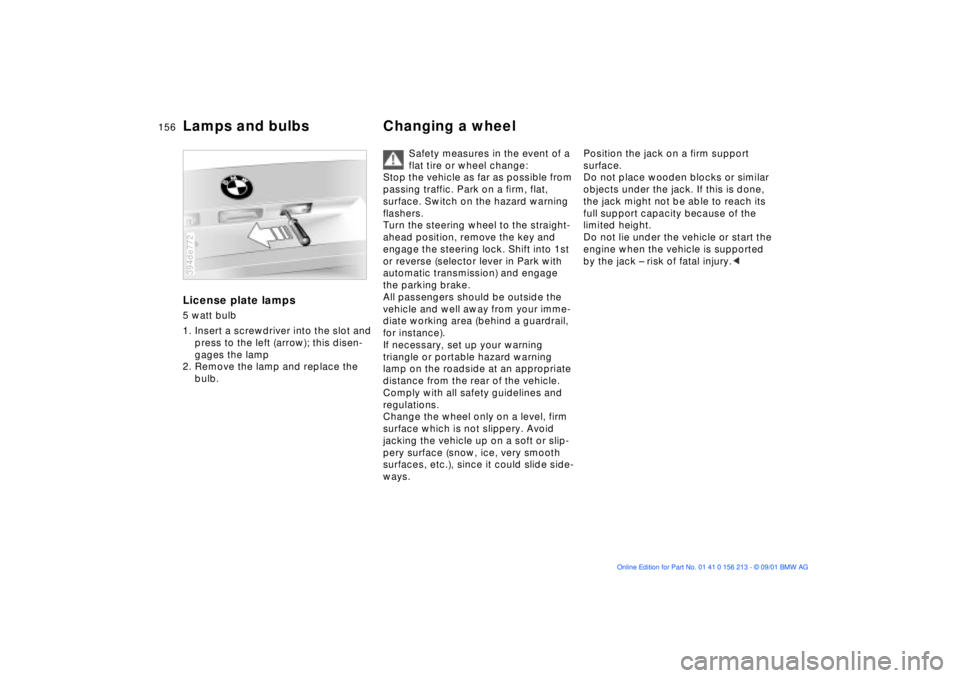
Lamps and bulbs Changing a wheelLicense plate lamps5 watt bulb
1. Insert a screwdriver into the slot and
press to the left (arrow); this disen-
gages the lamp
2. Remove the lamp and replace the
bulb.394de772
Safety measures in the event of a
flat tire or wheel change:
Stop the vehicle as far as possible from
passing traffic. Park on a firm, flat,
surface. Switch on the hazard warning
flashers.
Turn the steering wheel to the straight-
ahead position, remove the key and
engage the steering lock. Shift into 1st
or reverse (selector lever in Park with
automatic transmission) and engage
the parking brake.
All passengers should be outside the
vehicle and well away from your imme-
diate working area (behind a guardrail,
for instance).
If necessary, set up your warning
triangle or portable hazard warning
lamp on the roadside at an appropriate
distance from the rear of the vehicle.
Comply with all safety guidelines and
regulations.
Change the wheel only on a level, firm
surface which is not slippery. Avoid
jacking the vehicle up on a soft or slip-
pery surface (snow, ice, very smooth
surfaces, etc.), since it could slide side-
ways.
Position the jack on a firm support
surface.
Do not place wooden blocks or similar
objects under the jack. If this is done,
the jack might not be able to reach its
full support capacity because of the
limited height.
Do not lie under the vehicle or start the
engine when the vehicle is supported
by the jack Ð risk of fatal injury.<