Page 521 of 626

5 - 47
CHAS
DIRECTION
LENKKOPF
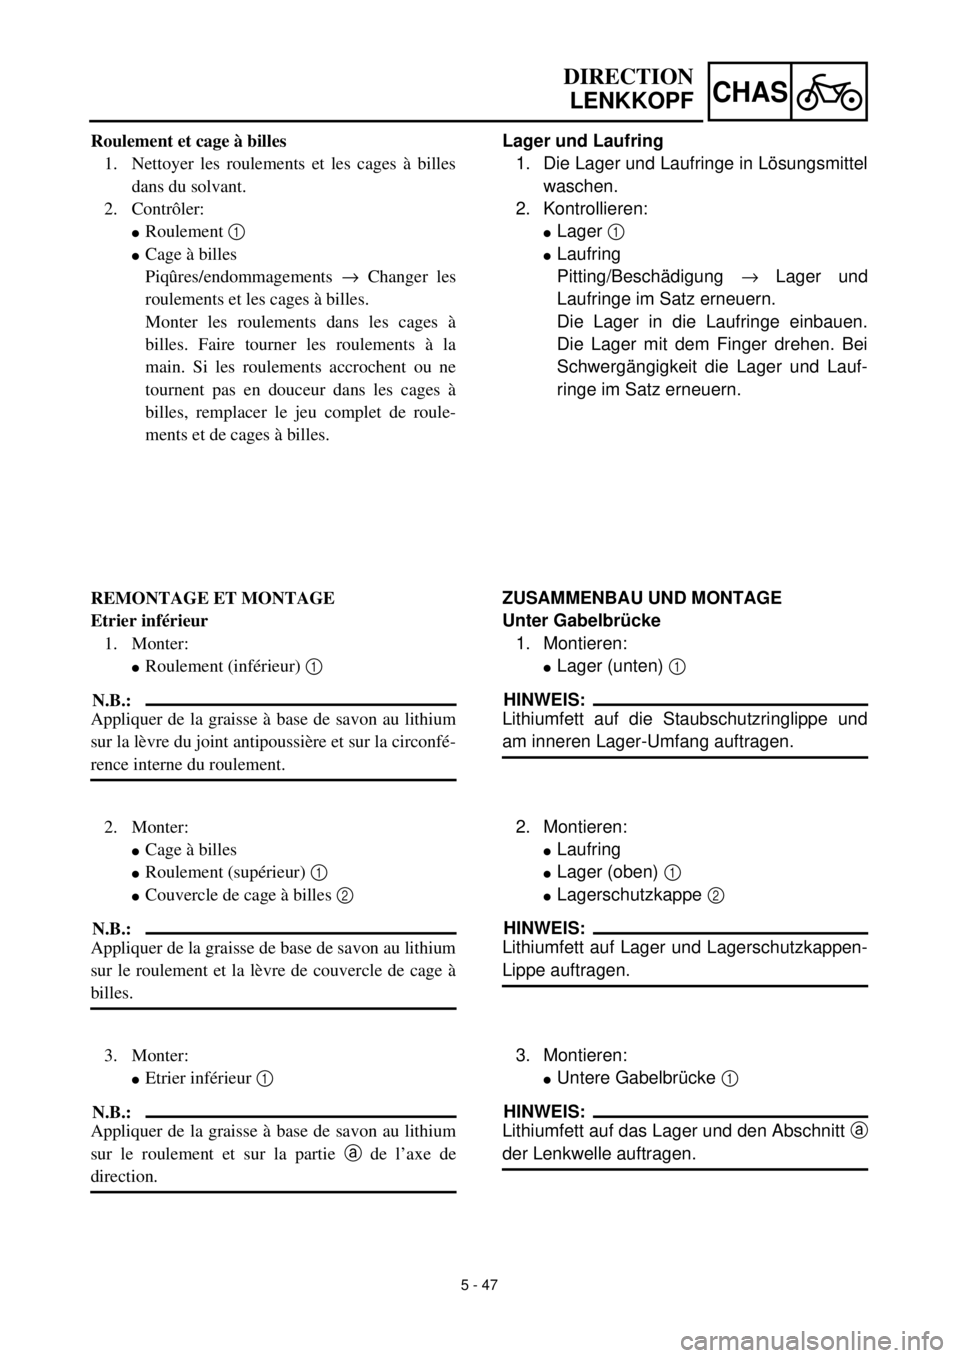
Lager und Laufring
1. Die Lager und Laufringe in Lösungsmittel
waschen.
2. Kontrollieren:
lLager 1
lLaufring
Pitting/Beschädigung ® Lager und
Laufringe im Satz erneuern.
Die Lager in die Laufringe einbauen.
Die Lager mit dem Finger drehen. Bei
Schwergängigkeit die Lager und Lauf-
ringe im Satz erneuern.
ZUSAMMENBAU UND MONTAGE
Unter Gabelbrücke
1. Montieren:
lLager (unten) 1
HINWEIS:
Lithiumfett auf die Staubschutzringlippe und
am inneren Lager-Umfang auftragen.
2. Montieren:
lLaufring
lLager (oben) 1
lLagerschutzkappe 2
HINWEIS:
Lithiumfett auf Lager und Lagerschutzkappen-
Lippe auftragen.
3. Montieren:
lUntere Gabelbrücke 1
HINWEIS:
Lithiumfett auf das Lager und den Abschnitt a
der Lenkwelle auftragen. Roulement et cage à billes
1. Nettoyer les roulements et les cages à billes
dans du solvant.
2. Contrôler:
lRoulement 1
lCage à billes
Piqûres/endommagements ® Changer les
roulements et les cages à billes.
Monter les roulements dans les cages à
billes. Faire tourner les roulements à la
main. Si les roulements accrochent ou ne
tournent pas en douceur dans les cages à
billes, remplacer le jeu complet de roule-
ments et de cages à billes.
REMONTAGE ET MONTAGE
Etrier inférieur
1. Monter:
lRoulement (inférieur) 1
N.B.:
Appliquer de la graisse à base de savon au lithium
sur la lèvre du joint antipoussière et sur la circonfé-
rence interne du roulement.
2. Monter:
lCage à billes
lRoulement (supérieur) 1
lCouvercle de cage à billes 2
N.B.:
Appliquer de la graisse de base de savon au lithium
sur le roulement et la lèvre de couvercle de cage à
billes.
3. Monter:
lEtrier inférieur 1
N.B.:
Appliquer de la graisse à base de savon au lithium
sur le roulement et sur la partie a de l’axe de
direction.
Page 526 of 626
5 - 50
CHASSWINGARM
EC570000
SWINGARM
Extent of removal:1 Swingarm removal
Extent of removal Order Part name Q’ty Remarks
STEERING REMOVAL
WARNING
Support the machine securely so there is nodanger of it falling over.
Preparation for removal Hold the machine by placing the
suitable stand under the engine.
Brake hose holder
Rear caliper
Bolt (brake pedal)
Drive chainRefer to “FRONT BRAKE AND REAR
BRAKE” section.
Shift the brake pedal backward.
1 Chain support 1
2 Chain tensioner (lower) 1
3 Bolt (rear shock absorber-relay
arm)1 Hold the swingarm.
4 Bolt (connecting rod) 1
5 Pivot shaft 1
6 Swingarm 1
1
Page 534 of 626
5 - 54
CHASSWINGARM
EC5751B1
Swingarm
1. Install:
lBush 1
lThrust bearing 2
lOil seal 3
lCollar 4
To swingarm 5.
NOTE:
Apply the molybdenum disulfide grease on the
bushes, thrust bearings and oil seal lips.
2. Install:
lCollar 1
To relay arm 2.
NOTE:
Apply the molybdenum disulfide grease on the
collars, bearings and oil seal lips.
3. Install:
lCollar 1
To connecting rod 2.
NOTE:
Apply the molybdenum disulfide grease on the
collar, bearings and oil seal lips.
4. Install:
lConnecting rod 1
lBolt (connecting rod) 2
lPlain washer 3
lNut (connecting rod) 4
To relay arm 5.
NOTE:
Apply the molybdenum disulfide grease on the
bolt.
ACHTUNG:CAUTION:
Install the nut on the left side of the chas-
sis. If you make a mistake in its installation
position, the nut contacts the swingarm
when stroking the rear shock absorber.
T R..80 Nm (8.0 m · kg, 58 ft · lb)
Page 535 of 626

5 - 54
CHAS
BRAS OSCILLANT
SCHWINGE
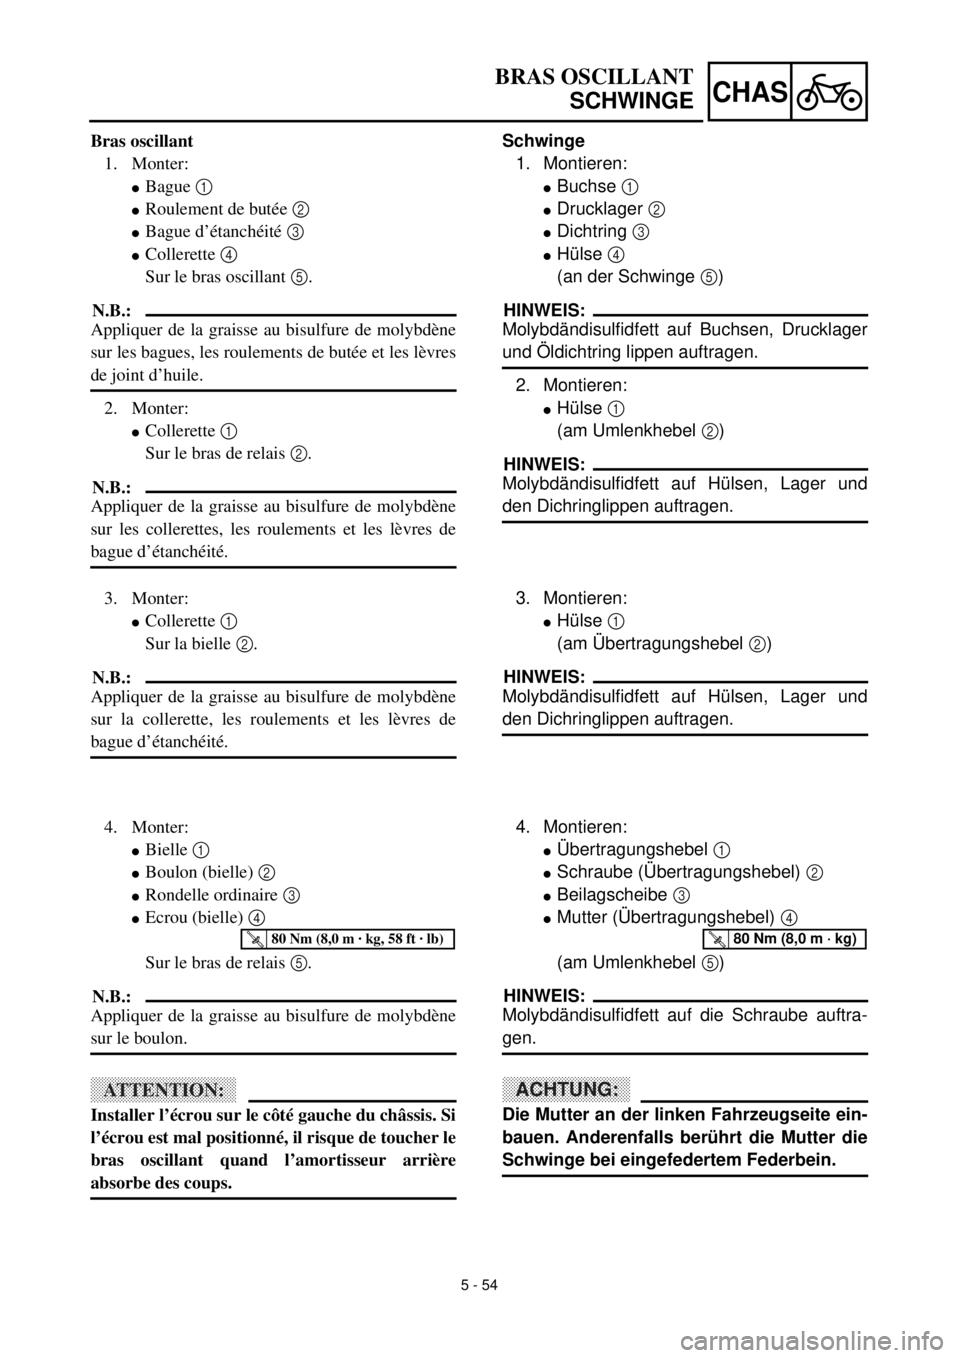
Schwinge
1. Montieren:
lBuchse 1
lDrucklager 2
lDichtring 3
lHülse 4
(an der Schwinge 5)
HINWEIS:
Molybdändisulfidfett auf Buchsen, Drucklager
und Öldichtring lippen auftragen.
2. Montieren:
lHülse 1
(am Umlenkhebel 2)
HINWEIS:
Molybdändisulfidfett auf Hülsen, Lager und
den Dichringlippen auftragen.
3. Montieren:
lHülse 1
(am Übertragungshebel 2)
HINWEIS:
Molybdändisulfidfett auf Hülsen, Lager und
den Dichringlippen auftragen.
4. Montieren:
lÜbertragungshebel 1
lSchraube (Übertragungshebel) 2
lBeilagscheibe 3
lMutter (Übertragungshebel) 4
(am Umlenkhebel 5)
HINWEIS:
Molybdändisulfidfett auf die Schraube auftra-
gen.
ACHTUNG:
Die Mutter an der linken Fahrzeugseite ein-
bauen. Anderenfalls berührt die Mutter die
Schwinge bei eingefedertem Federbein.
T R..80 Nm (8,0 m · kg)
Bras oscillant
1. Monter:
lBague 1
lRoulement de butée 2
lBague d’étanchéité 3
lCollerette 4
Sur le bras oscillant 5.
N.B.:
Appliquer de la graisse au bisulfure de molybdène
sur les bagues, les roulements de butée et les lèvres
de joint d’huile.
2. Monter:
lCollerette 1
Sur le bras de relais 2.
N.B.:
Appliquer de la graisse au bisulfure de molybdène
sur les collerettes, les roulements et les lèvres de
bague d’étanchéité.
3. Monter:
lCollerette 1
Sur la bielle 2.
N.B.:
Appliquer de la graisse au bisulfure de molybdène
sur la collerette, les roulements et les lèvres de
bague d’étanchéité.
4. Monter:
lBielle 1
lBoulon (bielle) 2
lRondelle ordinaire 3
lEcrou (bielle) 4
Sur le bras de relais 5.
N.B.:
Appliquer de la graisse au bisulfure de molybdène
sur le boulon.
ATTENTION:
Installer l’écrou sur le côté gauche du châssis. Si
l’écrou est mal positionné, il risque de toucher le
bras oscillant quand l’amortisseur arrière
absorbe des coups.
T R..80 Nm (8,0 m · kg, 58 ft · lb)
Page 536 of 626
5 - 55
CHASSWINGARM
5. Install:
lRelay arm 1
lBolt (relay arm) 2
lPlain washer 3
lNut (relay arm) 4
To swingarm.
NOTE:
lApply the molybdenum disulfide grease on
the bolt.
lDo not tighten the nut yet.
6. Install:
lSwingarm 1
lPivot shaft 2
NOTE:
lApply the molybdenum disulfide grease on
the pivot shaft.
lInsert the pivot shaft from right side.
T R..85 Nm (8.5 m · kg, 61 ft · lb)
7. Check:
lSwingarm side play a
Free play exists ® Replace thrust bear-
ing.
lSwingarm up and down movement b
Unsmooth movement/binding/rough
spots ® Grease or replace bearings,
bushes and collars.
8. Install:
lBolt (connecting rod) 1
lPlain washer 2
lNut (connecting rod) 3
NOTE:
lApply the molybdenum disulfide grease on
the bolt.
lDo not tighten the nut yet.
9. Install:
lPlain washer 1
lBolt (rear shock absorber-relay arm) 2
NOTE:
lApply the molybdenum disulfide grease on
the bolt.
lInsert the bolt from right side.
T R..53 Nm (5.3 m · kg, 38 ft · lb)
Page 540 of 626
5 - 57
CHASREAR SHOCK ABSORBER
EC580000
REAR SHOCK ABSORBER
Extent of removal:1 Rear shock absorber removal2 Rear shock absorber disassembly
Extent of removal Order Part name Q’ty Remarks
Preparation for removalREAR SHOCK ABSORBER
REMOVAL
Hold the machine by placing the
suitable stand under the engine.
WARNING
Support the machine securely so there is nodanger of it falling over.
Seat and fitting band Refer to “SEAT, FUEL TANK AND SIDE
COVERS” section.
Silencer Refer to “EXHAUST PIPE AND
SILENCER” section in the CHAPTER 4.
1 Bolt (reservoir tank) 1
2 Clamp (air cleaner joint) 1 Only loosening.
3 Rear frame 1
4 Bolt (rear shock absorber-relay
arm)1 Hold the swingarm.
5 Bolt (rear shock absorber-frame) 1
6 Rear shock absorber 1
7 Locknut 1 Only loosening.
8 Adjuster 1 Only loosening.
9 Spring guide (lower) 1
1
2
Page 542 of 626
5 - 58
CHASREAR SHOCK ABSORBER
Extent of removal Order Part name Q’ty Remarks
10 Spring guide (upper) 1
11 Spring (rear shock absorber) 1
12 Bearing 2 Refer to “REMOVAL POINTS”.
2
Page 544 of 626

5 - 59
CHAS
EC586000
HANDLING NOTE
WARNING
This shock absorber is provided with a
separate type tank filled with high-pressure
nitrogen gas. To prevent the danger of
explosion, read and understand the follow-
ing information before handling the shock
absorber.
The manufacturer can not be held respon-
sible for property damage or personal
injury that may result from improper han-
dling.
1. Never tamper or attempt to disassem-
ble the cylinder or the tank.
2. Never throw the shock absorber into
an open flame or other high heat. The
shock absorber may explode as a
result of nitrogen gas expansion and/
or damage to the hose.
3. Be careful not to damage any part of
the gas tank. A damaged gas tank will
impair the damping performance or
cause a malfunction.
4. Take care not to scratch the contact
surface of the piston rod with the cylin-
der; or oil could leak out.
5. Never attempt to remove the plug at
the bottom of the nitrogen gas tank. It
is very dangerous to remove the plug.
6. When scrapping the shock absorber,
follow the instructions on disposal.
EC587000
NOTES ON DISPOSAL (YAMAHA DEALERS
ONLY)
Before disposing the shock absorber, be sure
to extract the nitrogen gas from valve 1. Wear
eye protection to prevent eye damage from
escaping gas and/or metal chips.
WARNING
To dispose of a damaged or worn-out
shock absorber, take the unit to your
Yamaha dealer for this disposal procedure.
REAR SHOCK ABSORBER