2001 VOLVO S60 mirror
[x] Cancel search: mirrorPage 4 of 128

6. Horn4
7. Instrument panel30
8. Audio controls67
9. Windshield wipers41
10. Parking brake (hand brake)45
11. Center console switches37, 38
12. Climate control51
13. Audio system61
14. 12 V socket45
15. Hazard warning flashers42
16. Glove compartment108
17. Panel vents53
18. Text window30
19. Temperature gauge30
20. Odometer/ Trip odometer/Cruise control indicator30/ 44
21. Speedometer30
22. Turn signal indicators30
23. Tachometer30
24. Ambient temperature/ Clock/Selected gear indicator30
25. Fuel gauge30
26. Indicator and warning symbols31
27. Cup holder (option)108
28. Panel vents53
29. Instrument lighting39
30. Lighting panel39
31. Reading lights104
32. Interior lighting104
33. Sun roof control49
34. Seat belt reminder4, 10
35. Rearview mirror48
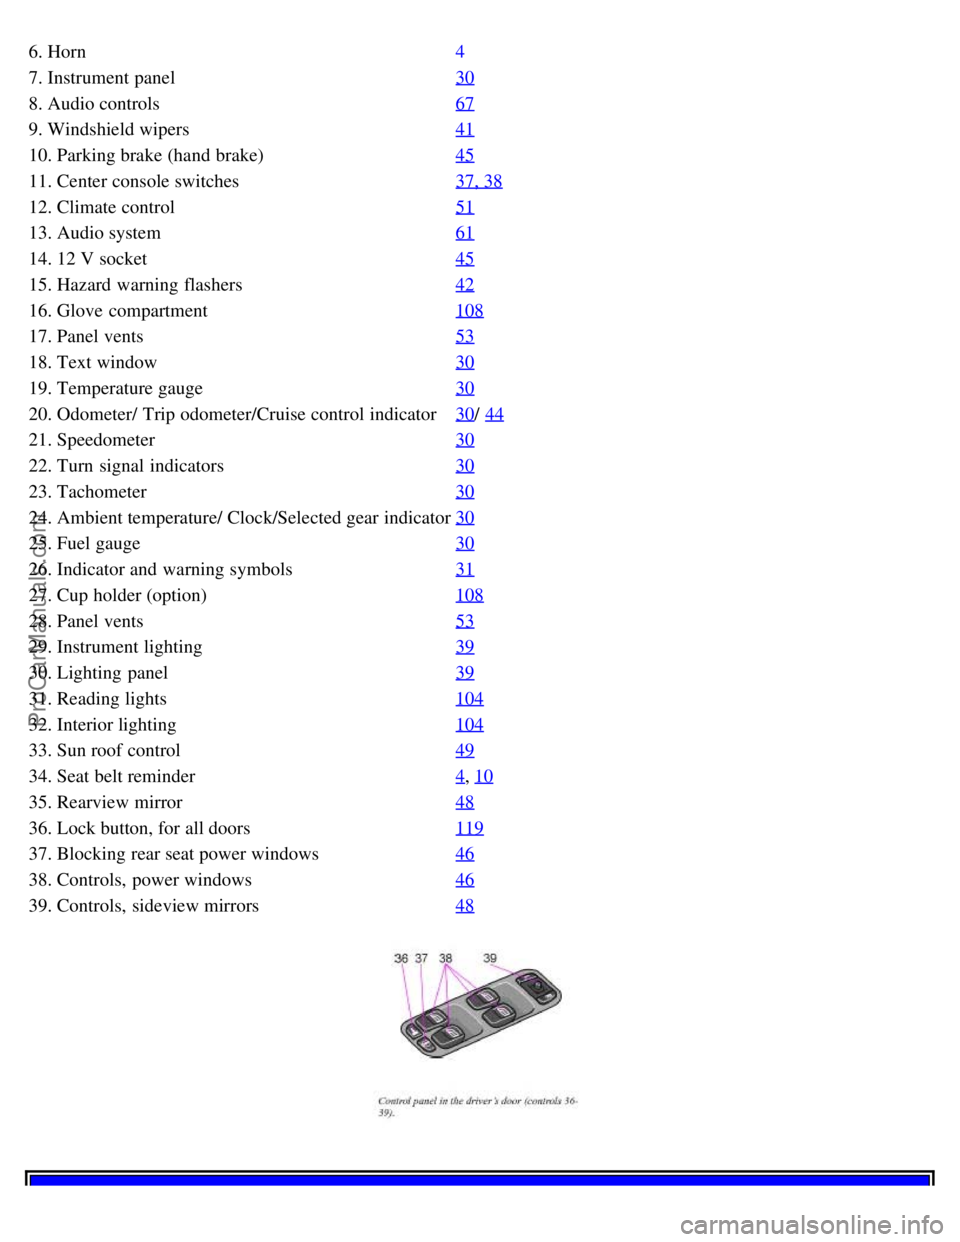
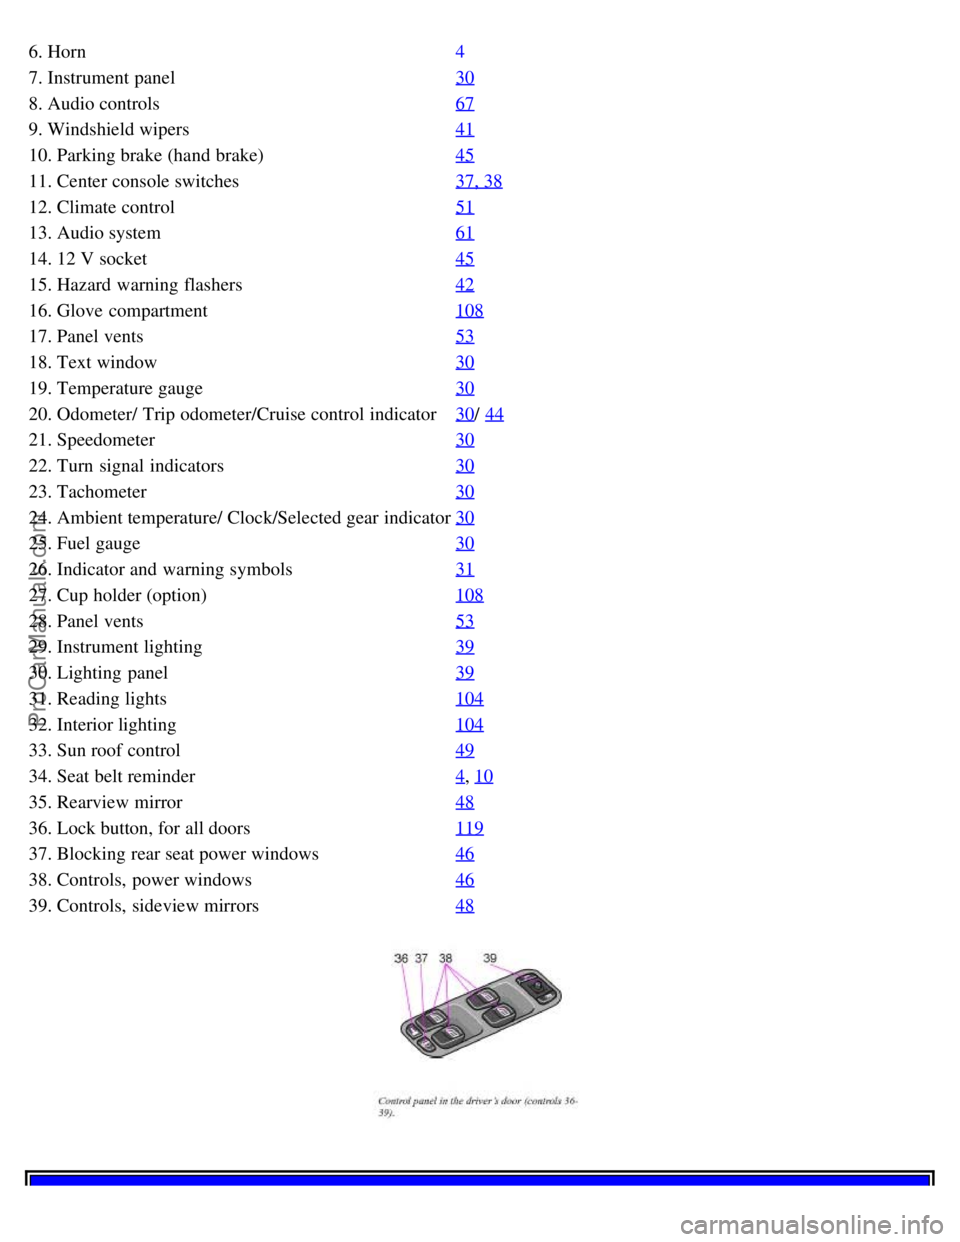
36. Lock button, for all doors119
37. Blocking rear seat power windows46
38. Controls, power windows46
39. Controls, sideview mirrors48
ProCarManuals.com
Page 6 of 128

2 0 0 1
VOLVO S60
Instruments and controls
pg. 29 Instruments and controls
Instrument panel 30
Indicator and warning symbols31
Steering wheel adjustment36
Switches in the center console37
Lighting panel39
Turn signals40
Windshield wipers/ washer41
Hazard warning flashers, rear window/ sideview mirror defroster, heated front seats42
Trip computer (option)43
Cruise control44
Parking brake, electric socket/ cigarette lighter45
Electrically operated windows46
Rearview mirror/ sideview mirrors48
Electrically operated sun roof49
pg. 30 Instrument panel
1. Turn signal indicators - right - left
2. Text window
The text window displays information and warning messages.
3. Temperature gauge
The pointer should be approximately midway on the gauge when driving. Do not drive the car if the warning light is
on. The text window will provide you with additional information. If the engine temperature remains high, check
coolant level - see page 169
.
4. Trip odometer
The trip odometers are used for measuring shorter distances. The right- hand digit gives tenth of a mile/ kilometer.
Press the button for more than 2 seconds to reset. Change between trip odometers 1 and 2 using one short press on the
button.
ProCarManuals.com
Page 14 of 128

2 0 0 1
VOLVO S60
pg. 40 Turn Signals
1. Lane change position
In maneuvers such as lane changing, the driver can flash the turn signals by moving the turn signal lever to the first
stop and holding it there. The lever will return to the neutral position when released.
2. Signal lever engaged for normal turns
3. High/ low beam switch (headlights on).
Move the lever towards the steering wheel and release it.
Headlight flasher (headlights off).
Move the lever towards the steering wheel. The headlight high beam will be on until the lever is released.
NOTE:
If the turn signal indicator flashes faster than normal, check for a burned- out turn signal bulb.
3. Exterior courtesy lights
Home Safe System
When you leave your car at night, you can make use of the courtesy lighting function:
Remove the key from the ignition switch.
Pull the direction indicator lever towards the steering wheel (as when using the headlight flasher function).
Exit the car and lock the doors. The headlights, parking lights, license plate lights and the lights in the sideview
mirrors will now come on and remain on for 30, 60 or 90 seconds (the time interval is at your discretion and can be
changed by an authorized Volvo retailer).
Approach lighting
When approaching the car at night, press the yellow button in the central locking remote control (see illustration on
page 117
). This lights up the interior courtesy lights, parking lights, license plate lights and the lights in the sideview
mirrors.
pg. 41 Windshield wipers/ washer
ProCarManuals.com
Page 15 of 128

Windshield wipers
Windshield wipers off
If the lever is in the 0 position and you move it upwards, the wipers will sweep one stroke at a time for as long as you
hold the lever up.
Intermittent wiper function With the lever in this position, you can set the wiper interval by twisting the
control ring (A) upward to increase wiper speed or downward to decrease the speed.
Rain sensor (option) The rain sensor replaces the intermittent wiper function. The windshield wiper speed increases
or decreases according to the amount of rain. The sensitivity of the sensor can be adjusted by twisting control A
upward or downward.
Wipers operate at "normal" speed
Wipers operate at "high" speed
3 - Windshield washer/ headlight washer (certain models)
The wipers will make 2- 3 sweeps across the windshield and headlights (certain models) after the lever is released.
pg. 42 Hazard warning flashers, rear window/ sideview mirror defroster, heated front seats
Hazard warning flashers
The four- way flasher should be used to indicate that the vehicle has become a traffic hazard. To activate the flashers,
press the triangular button in the center dash. Press the button again to turn off the flashers.
NOTE: Regulations regarding the use of the hazard warning flasher may vary, depending on where you live.
Sideview mirror and rear window defroster Press the switch to start heating the rear window and sideview mirrors
ProCarManuals.com
Page 16 of 128

to remove ice or condensation. An LED in the switch will light up.
A timer automatically switches off the heating to the sideview mirrors after approximately 6 minutes and to the rear
window after approxi- mately 12 minutes. The LED will go out correspondingly.
Heated front seats (option)
The front seat heating can be switched on and off as required.
Press the switch once for maximum seat heating. Both LEDs in the switch will be lit.
Press the switch a second time for comfort heating. One LED in the switch will be lit.
Press the switch a third time to turn the heating off completely. The seat heating for the passenger seat should be
switched off when the seat is not occupied.
pg. 43 Trip computer (option)
The trip computer stores information gathered from several systems in your car and has four menus that can be
displayed in the text window.
Driving distance on current fuel reserve
Average fuel consumption
Current fuel consumption
Average speed
NOTE: Warning messages from the car's monitoring systems will override the trip computer function. If a warning
message is displayed in the text window while you are using the trip computer, you must acknowledge the message
by pressing button A. Press button A again to return to the trip computer function.
Trip computer controls
The four trip computer functions can be accessed by twisting control B one step at a time in either direction. Twisting
a fifth time returns you to the original function.
The trip computer can be reset (current data will be erased from system memory) by pressing RESET (button C).
Trip computer functions
Driving distance on current fuel reserve This function shows the approximate distance that can be driven on the fuel
remaining in the tank. This calculation is based on average fuel consumption during the last 12 miles (20 km) of
driving and the amount of fuel remaining in the tank when the reading was taken.
When the driving distance on current fuel reserve is less than 12 miles (20 km), "----" will be displayed in the text
window.
Average fuel consumption
ProCarManuals.com
Page 20 of 128

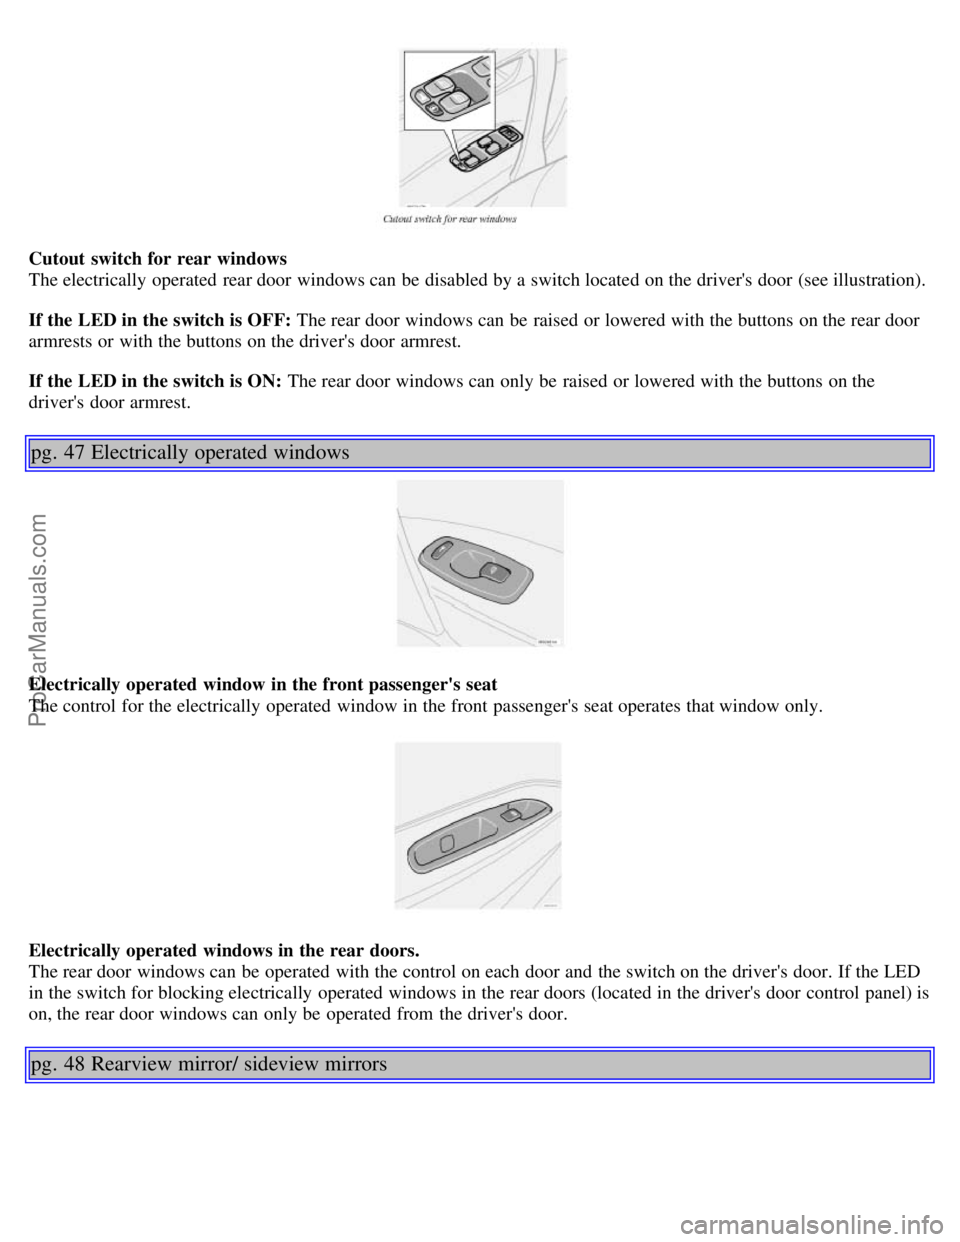
Cutout switch for rear windows
The electrically operated rear door windows can be disabled by a switch located on the driver's door (see illustration).
If the LED in the switch is OFF: The rear door windows can be raised or lowered with the buttons on the rear door
armrests or with the buttons on the driver's door armrest.
If the LED in the switch is ON: The rear door windows can only be raised or lowered with the buttons on the
driver's door armrest.
pg. 47 Electrically operated windows
Electrically operated window in the front passenger's seat
The control for the electrically operated window in the front passenger's seat operates that window only.
Electrically operated windows in the rear doors.
The rear door windows can be operated with the control on each door and the switch on the driver's door. If the LED
in the switch for blocking electrically operated windows in the rear doors (located in the driver's door control panel) is
on, the rear door windows can only be operated from the driver's door.
pg. 48 Rearview mirror/ sideview mirrors
ProCarManuals.com
Page 21 of 128

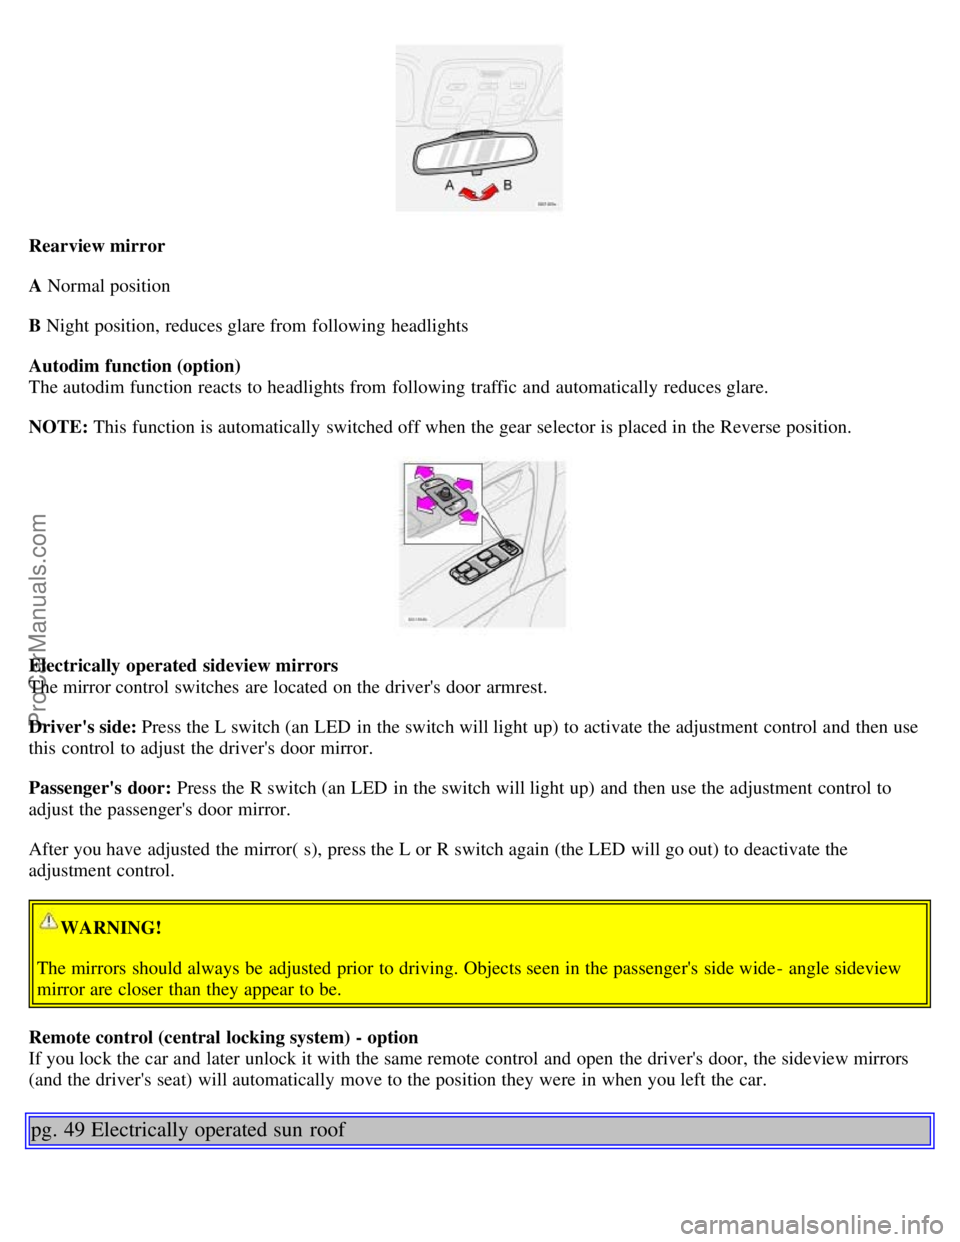
Rearview mirror
A Normal position
B Night position, reduces glare from following headlights
Autodim function (option)
The autodim function reacts to headlights from following traffic and automatically reduces glare.
NOTE: This function is automatically switched off when the gear selector is placed in the Reverse position.
Electrically operated sideview mirrors
The mirror control switches are located on the driver's door armrest.
Driver's side: Press the L switch (an LED in the switch will light up) to activate the adjustment control and then use
this control to adjust the driver's door mirror.
Passenger's door: Press the R switch (an LED in the switch will light up) and then use the adjustment control to
adjust the passenger's door mirror.
After you have adjusted the mirror( s), press the L or R switch again (the LED will go out) to deactivate the
adjustment control.
WARNING!
The mirrors should always be adjusted prior to driving. Objects seen in the passenger's side wide - angle sideview
mirror are closer than they appear to be.
Remote control (central locking system) - option
If you lock the car and later unlock it with the same remote control and open the driver's door, the sideview mirrors
(and the driver's seat) will automatically move to the position they were in when you left the car.
pg. 49 Electrically operated sun roof
ProCarManuals.com
Page 27 of 128

6. Horn4
7. Instrument panel30
8. Audio controls67
9. Windshield wipers41
10. Parking brake (hand brake)45
11. Center console switches37, 38
12. Climate control51
13. Audio system61
14. 12 V socket45
15. Hazard warning flashers42
16. Glove compartment108
17. Panel vents53
18. Text window30
19. Temperature gauge30
20. Odometer/ Trip odometer/Cruise control indicator30/ 44
21. Speedometer30
22. Turn signal indicators30
23. Tachometer30
24. Ambient temperature/ Clock/Selected gear indicator30
25. Fuel gauge30
26. Indicator and warning symbols31
27. Cup holder (option)108
28. Panel vents53
29. Instrument lighting39
30. Lighting panel39
31. Reading lights104
32. Interior lighting104
33. Sun roof control49
34. Seat belt reminder4, 10
35. Rearview mirror48
36. Lock button, for all doors119
37. Blocking rear seat power windows46
38. Controls, power windows46
39. Controls, sideview mirrors48
ProCarManuals.com